• stem+node ceramics
  • HOME
  • Food Recipes
  • About
  • Contact
Menu

The Lovely Crazy

Street Address
City, State, Zip
Phone Number

Your Custom Text Here

The Lovely Crazy

  • stem+node ceramics
  • HOME
  • Food Recipes
  • About
  • Contact

Spiced Black Bean and Cauliflower Stuffed Acorn Squash

November 3, 2018 Colleen Stem
IMG_2096.jpg
IMG_2097.jpg
IMG_2069.jpg

The thing with having an abundance of squash in the house, and having the abundance keep growing (we get a lot of squashes at farm share) is that I need to cook just about every meal with said abundance, which I am totally on happy to do. I welcome all the squash. I am excited about all the squash. I could eat al the squash all day, everyday. And I do. But that is me. The mr and the others the I sometimes cook for, they are not as squash crazy as me and get sick of plain old roasted squash so I am trying to change it up and make new and interesting things out of the squash so no one gets bored with it.

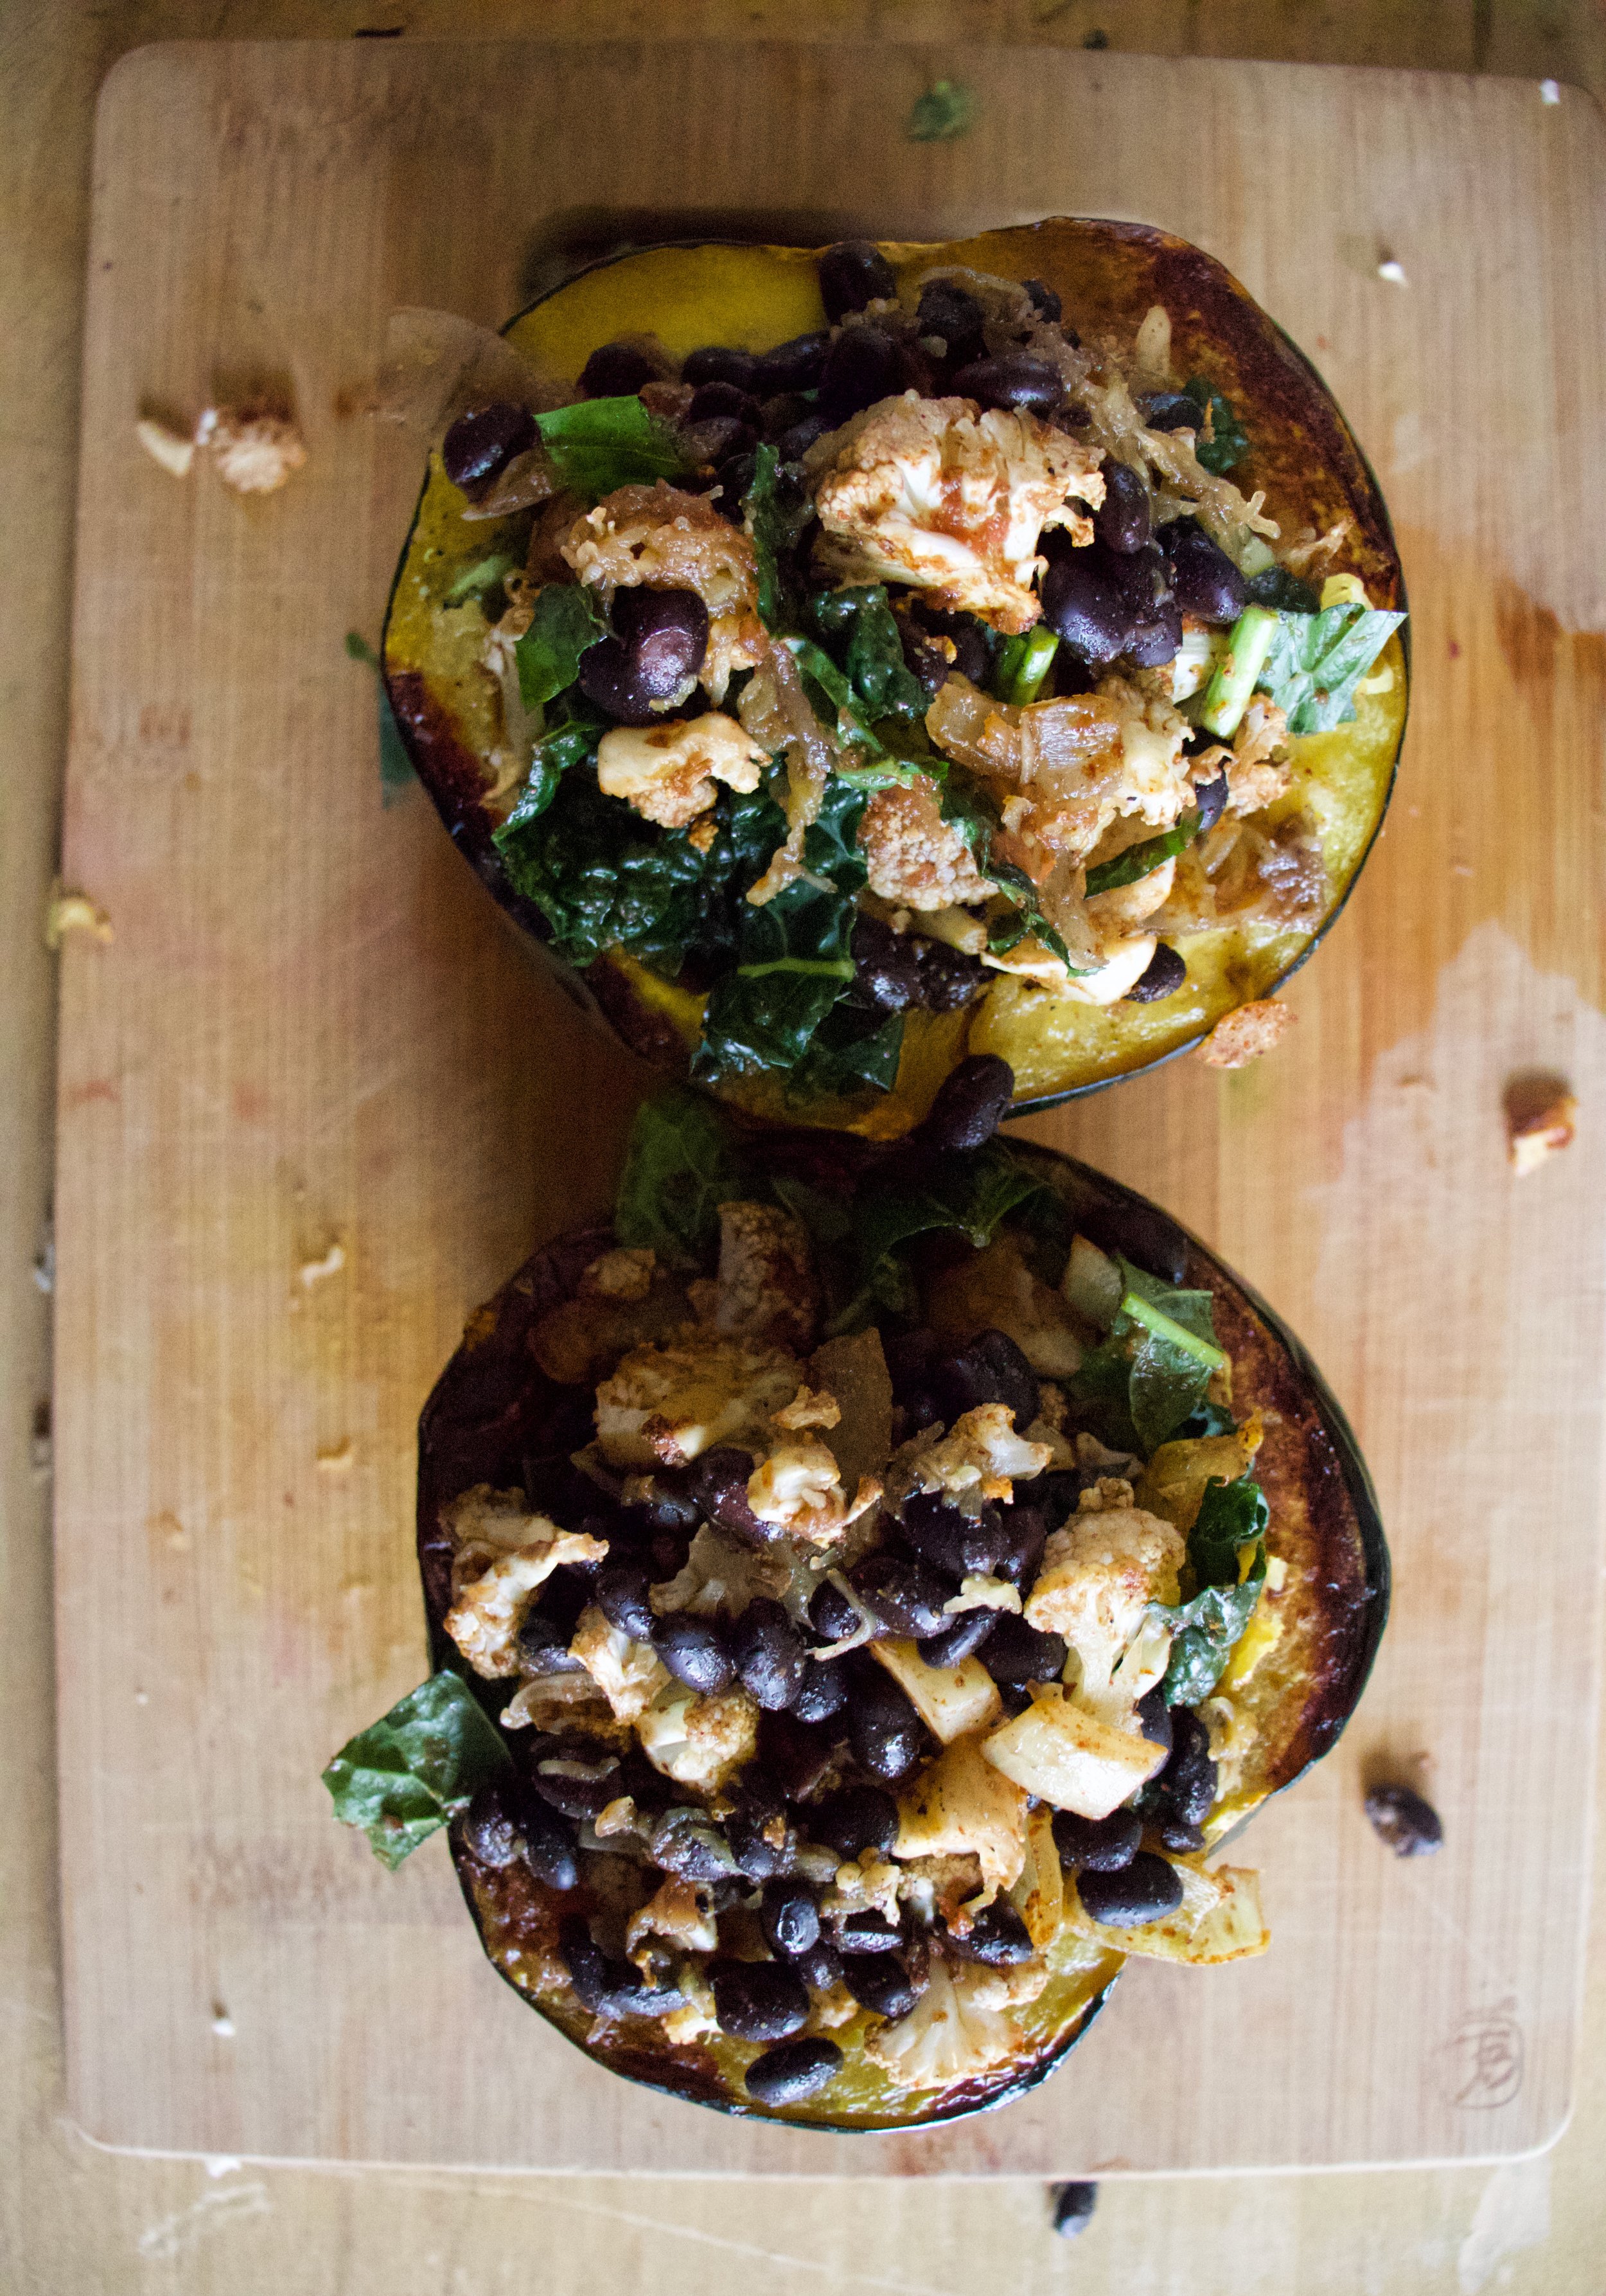
Yes, I know stuffing an acorn squash is hardly a new idea, but this squash is not stuffed with the usual rice and stuff, it stuffed with lots of black beans and cumin and chili powder spiced cauliflower (and a few other things). The combination of all the flavors with the acorn squash really hit all the right spots for a tasty, not boring squash meal. It is a brilliant combination of flavors that even the not so keen on squash person will love.

That is my opinion of course but it will be your opinion too after you make and eat these. We will brilliant together.

To the stuffed squash.

The stuff. An acorn squash, some cauliflower, cooked black beans, an onion, and a few kale leaves. Also need some cumin, chili powder, salt and pepper. salsa, and olive oil.

Start by cutting the squash in half and scooping out all the seeds.

Place the squash open side down on a baking sheet or in a skillet lightly oiled and then stick into a hot oven to roast.

After the squash goes in, dice up the onion and cauliflower into small little pieces.

Place the chopped stuff onto a baking sheet. Drizzle with olive oil and toss with the cumin, chili powder, salt, and pepper. Get that into the oven too.

Roasted, and ready. Stop, do not eat it all, but you might want too, it is so freaking good.

And once this guy in fork tender, its ready as well.

IMG_2048.jpg

Scoop out a bit of the cooked squash from each side making the well bigger. More room to stuff.

Get everything together. Chop the kale, grab a bowl.

IMG_2055.jpg
IMG_2059.jpg

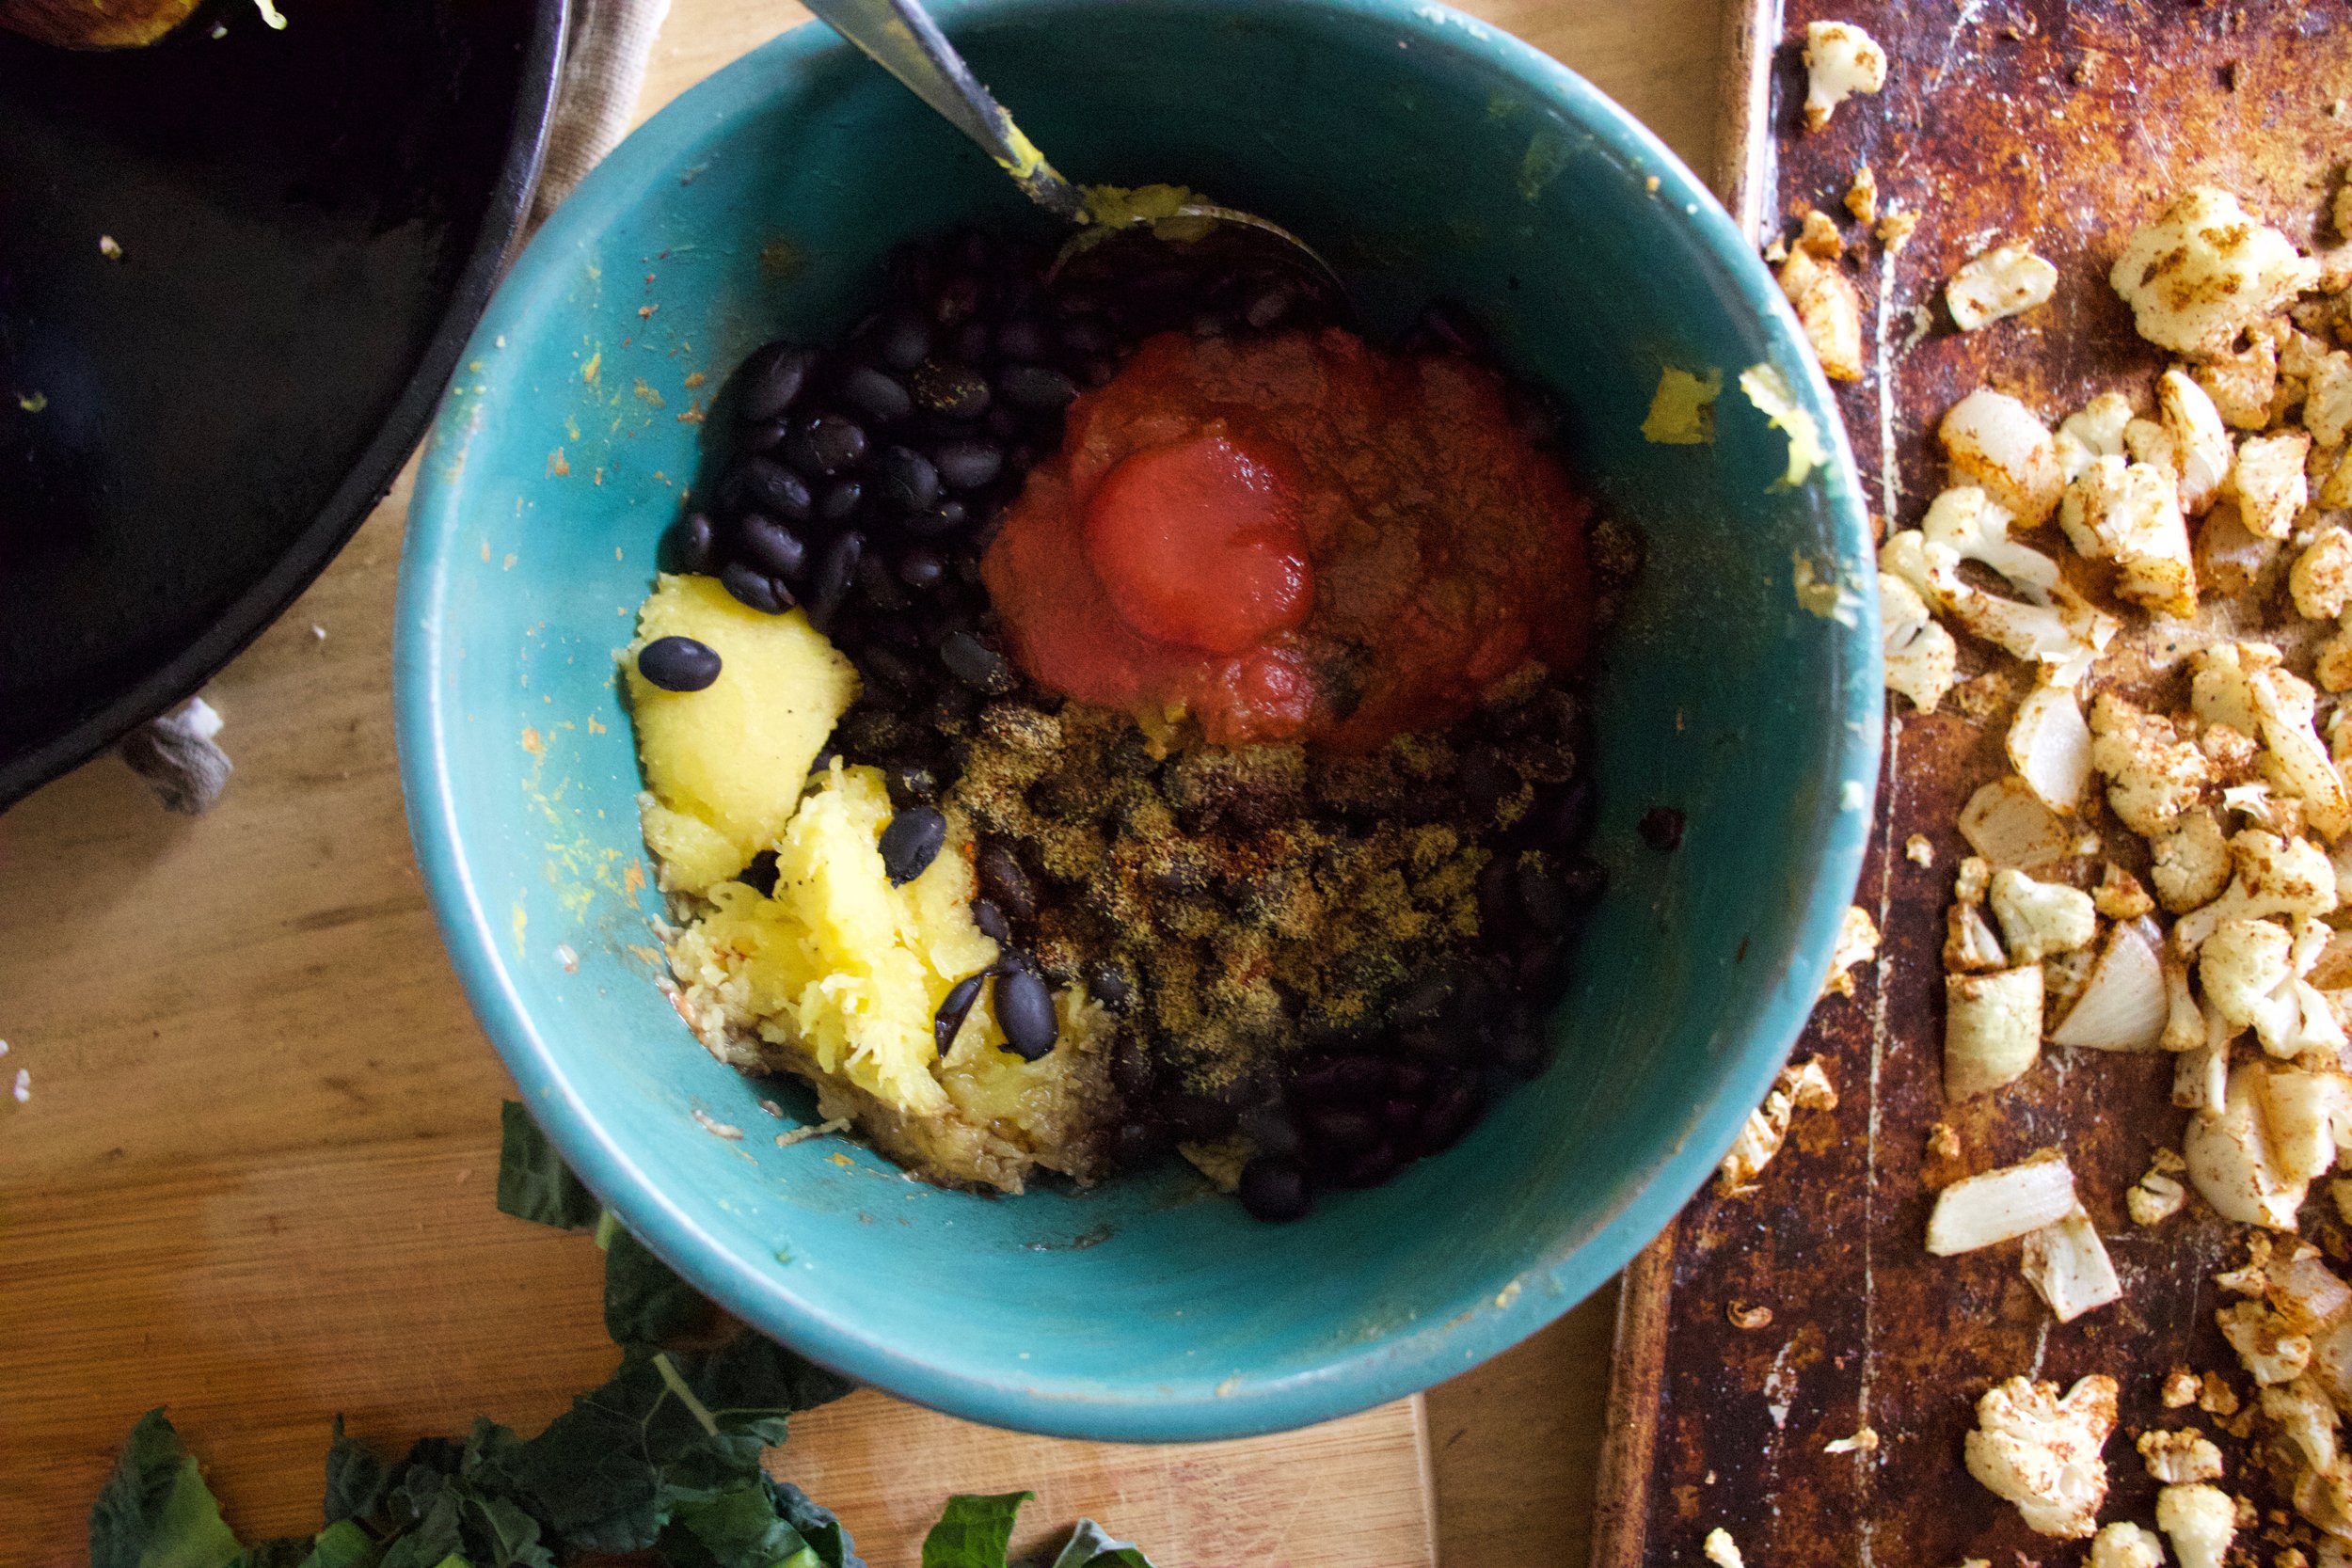
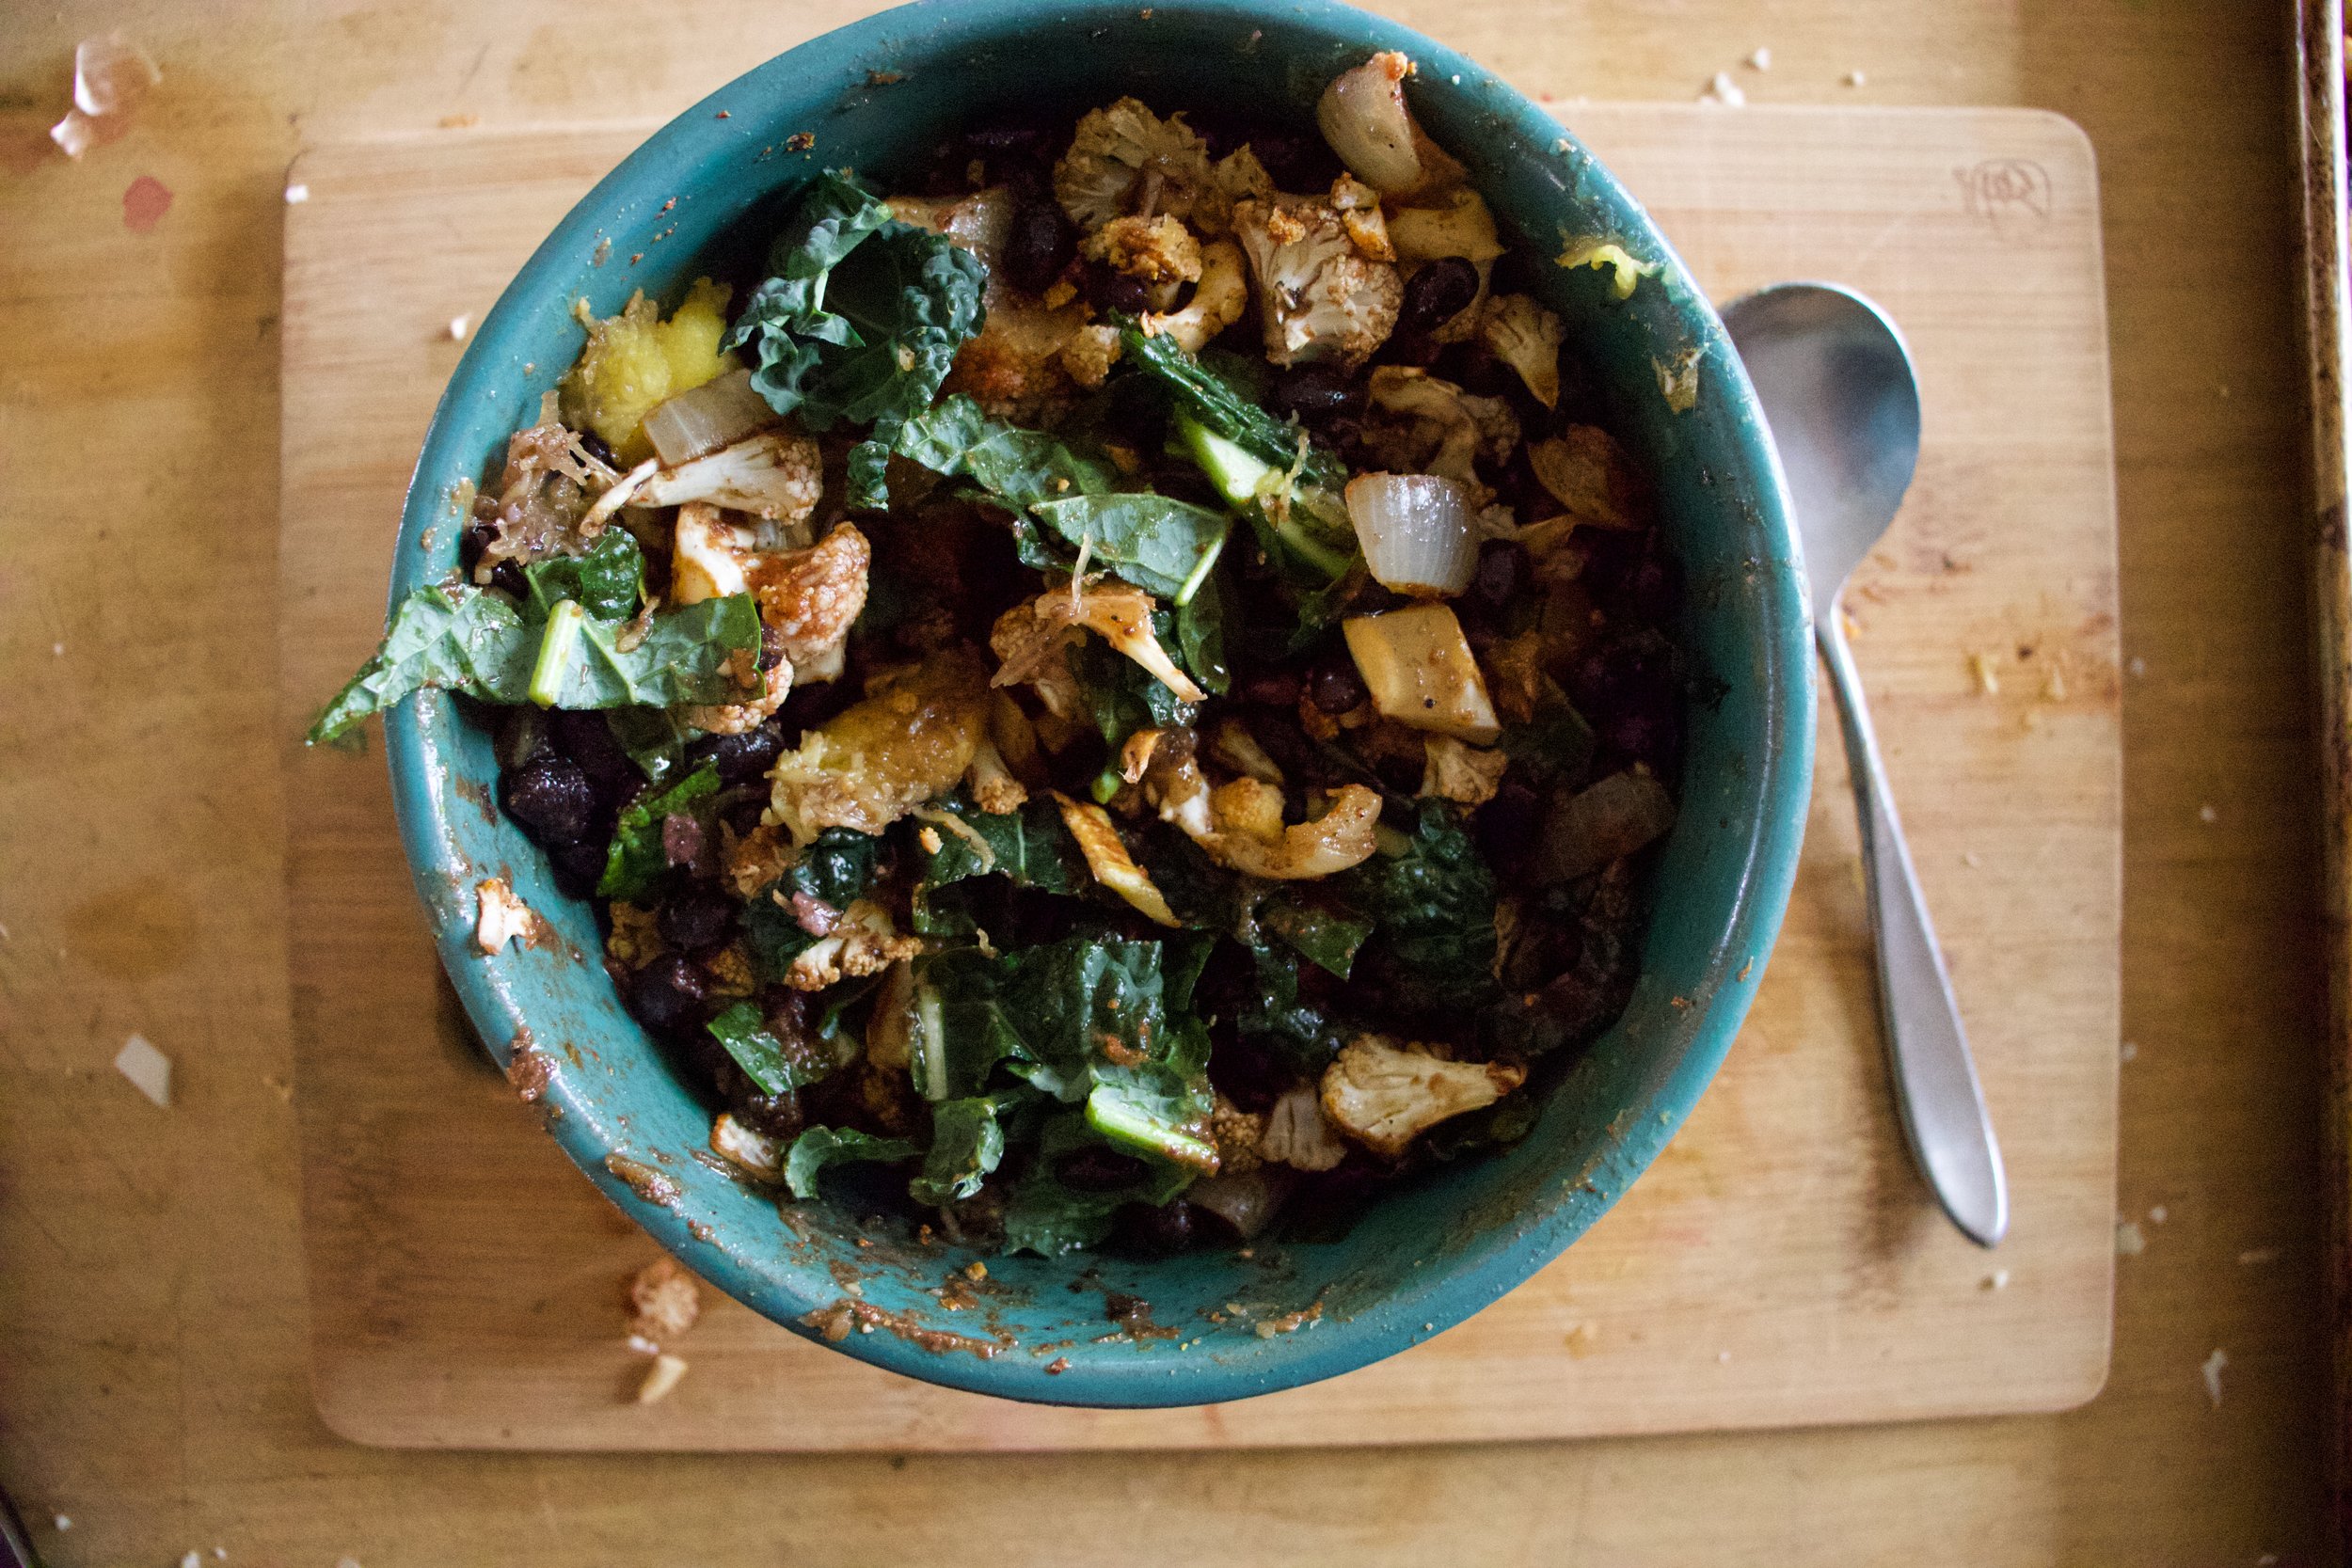
The black beans, salsa, scooped out cooked squash go into bowl. Add in the roasted cauliflower and onion and the chopped kale and mix.

Now stuff each side. Get as much in as you can, mound it as high as you can and place back into oven to bake for a little bit longer.

Cooked and slightly crispy in all the right ways.

These stuffed suckers are everything we all wanted and didn’t know we needed. Fantastic, and all the more when serves with extra salsa, sliced avocado, and a wedge of lime.

Go get at it.

Bye!

-C


Spiced Black Bean and Cauliflower Stuffed Acorn Squash

Makes 2 stuffed halves. This recipe is very easy to fiddle with and can easily be double or tripled.

  • 1 medium sized acorn squash

  • 1 1/2 cups cooked black beans

  • 1/4 head of cauliflower (about 2 cups chopped before roasting)

  • a small onion

  • a few kale leaves

  • 1/4 cup thick and chunky salsa

  • 2 teaspoons cumin

  • 1 teaspoon chili pepper

  • salt and pepper

  • olive oil

  • Avocado, lime, extra salsa (optional)

Preheat oven to 400

Slice acorn squash in half and scoop out all the seeds. (seeds can be roasted). Place both halves cut side down on a lightly oiled baking sheet or oven safe skillet and place in oven to roast for about 30-35 minutes or until the squash is fork tender.

Once squash is in oven, dice the onion and cauliflower into small pieces and place on a baking sheet. Drizzle with olive oil and toss together with the cumin, chili powder, salt, and pepper. Place into oven along with the squash. Roast for 15-20 minutes or until the cauliflower is lightly browned and tender.

When the cauliflower is roasted and squash is cooked, get all the rest of the ingredients ready. Dice up the kale . Take each side of squash and scoop out about an inch more of cooked squash, leaving a good sized well. Place cooked squash into a bowl and kind of mash it up. Add in the beans, the salsa, the kale, and the roasted cauliflower and onions. Season with salt and pepper and mix it all up. Take filling and fill the squashes, stuffing as much as you can in and mounding it on top. Place the halves back onto baking sheet or skillet and place back into oven for 10-15 minutes until nice and browned and slightly crispy on top. Pull from oven and serve. Although not necessary, extra salsa, avocado, a lime are much appreciated.

In beans, dinner, entree, grain free, Gluten Free, pulses, Vegan, Vegetables, winter Tags Spiced Black Bean and Cauliflower Stuffed Acorn Squash, Stuffed squash, acorn squash, winter squash, vegan, dinner, plant based, beans, pulses, spices, protein, gluten free, grain free, dairy free
1 Comment

Butter Bean Cabbage Rolls

October 6, 2018 Colleen Stem
IMG_1293.jpg
IMG_1265.jpg

A lot of times I make food that I don’t nessasrily care to eat because well, I love to make for other people. Take all the cakes, I love to make cake, it makes me so happy to make a cake, but I don’t eat cake. I never eat cake.

This is not one of those times. I basically made these cabbage rolls all for me. Sure I shared them with the mr because it was dinner but honestly, he was’t the biggest fan (he hate celery). And to be honest, I was glad he didn’t really like them because these things were bonkers amazing to me whichh means I got to eat them all myself. In fact I thought they were so good that I made them twice this week. And not just because I have a shit load of cabbage right now, (I stocked up on cabbage and have like 15 heads in the pantry and stuffed in the fridge), although it helped that I do.

I ♥️ cabbage.

And now I ♥️ these cabbage rolls.

To the rolls!

IMG_1166.jpg

The stuff. A head of cabbage, a can of butter beans (cooked from dried beans or canned), crushed tomato (also home made or canned), a couple stocks of celery, a carrot, an onion, some garlic, Italian seasoning, salt and pepper, and a little olive oil.

IMG_0987.jpg
IMG_0997.jpg
IMG_0999.jpg

Start by getting the cabbage leaves to roll the filling in. You are basically just going to dunk the whole head of cabbage, with the core removed, into a big pot of boiling water until the outer leaves are tender enough to peel away. You are going to want to 12-14 nice leaves so peel away using tongs. Once you have all the leaves, remove the rest of the cabbage ans place the leaves back into the pot to cook until completely tender and soft. Remove then from the water and place them into a bowl and let them cool.

Meanwhile the filling. Take roughly half of the remaining cabbage and rough chop it up along with the celery, carrot, onion and garlic.

IMG_1176.jpg
IMG_1182 2.jpg

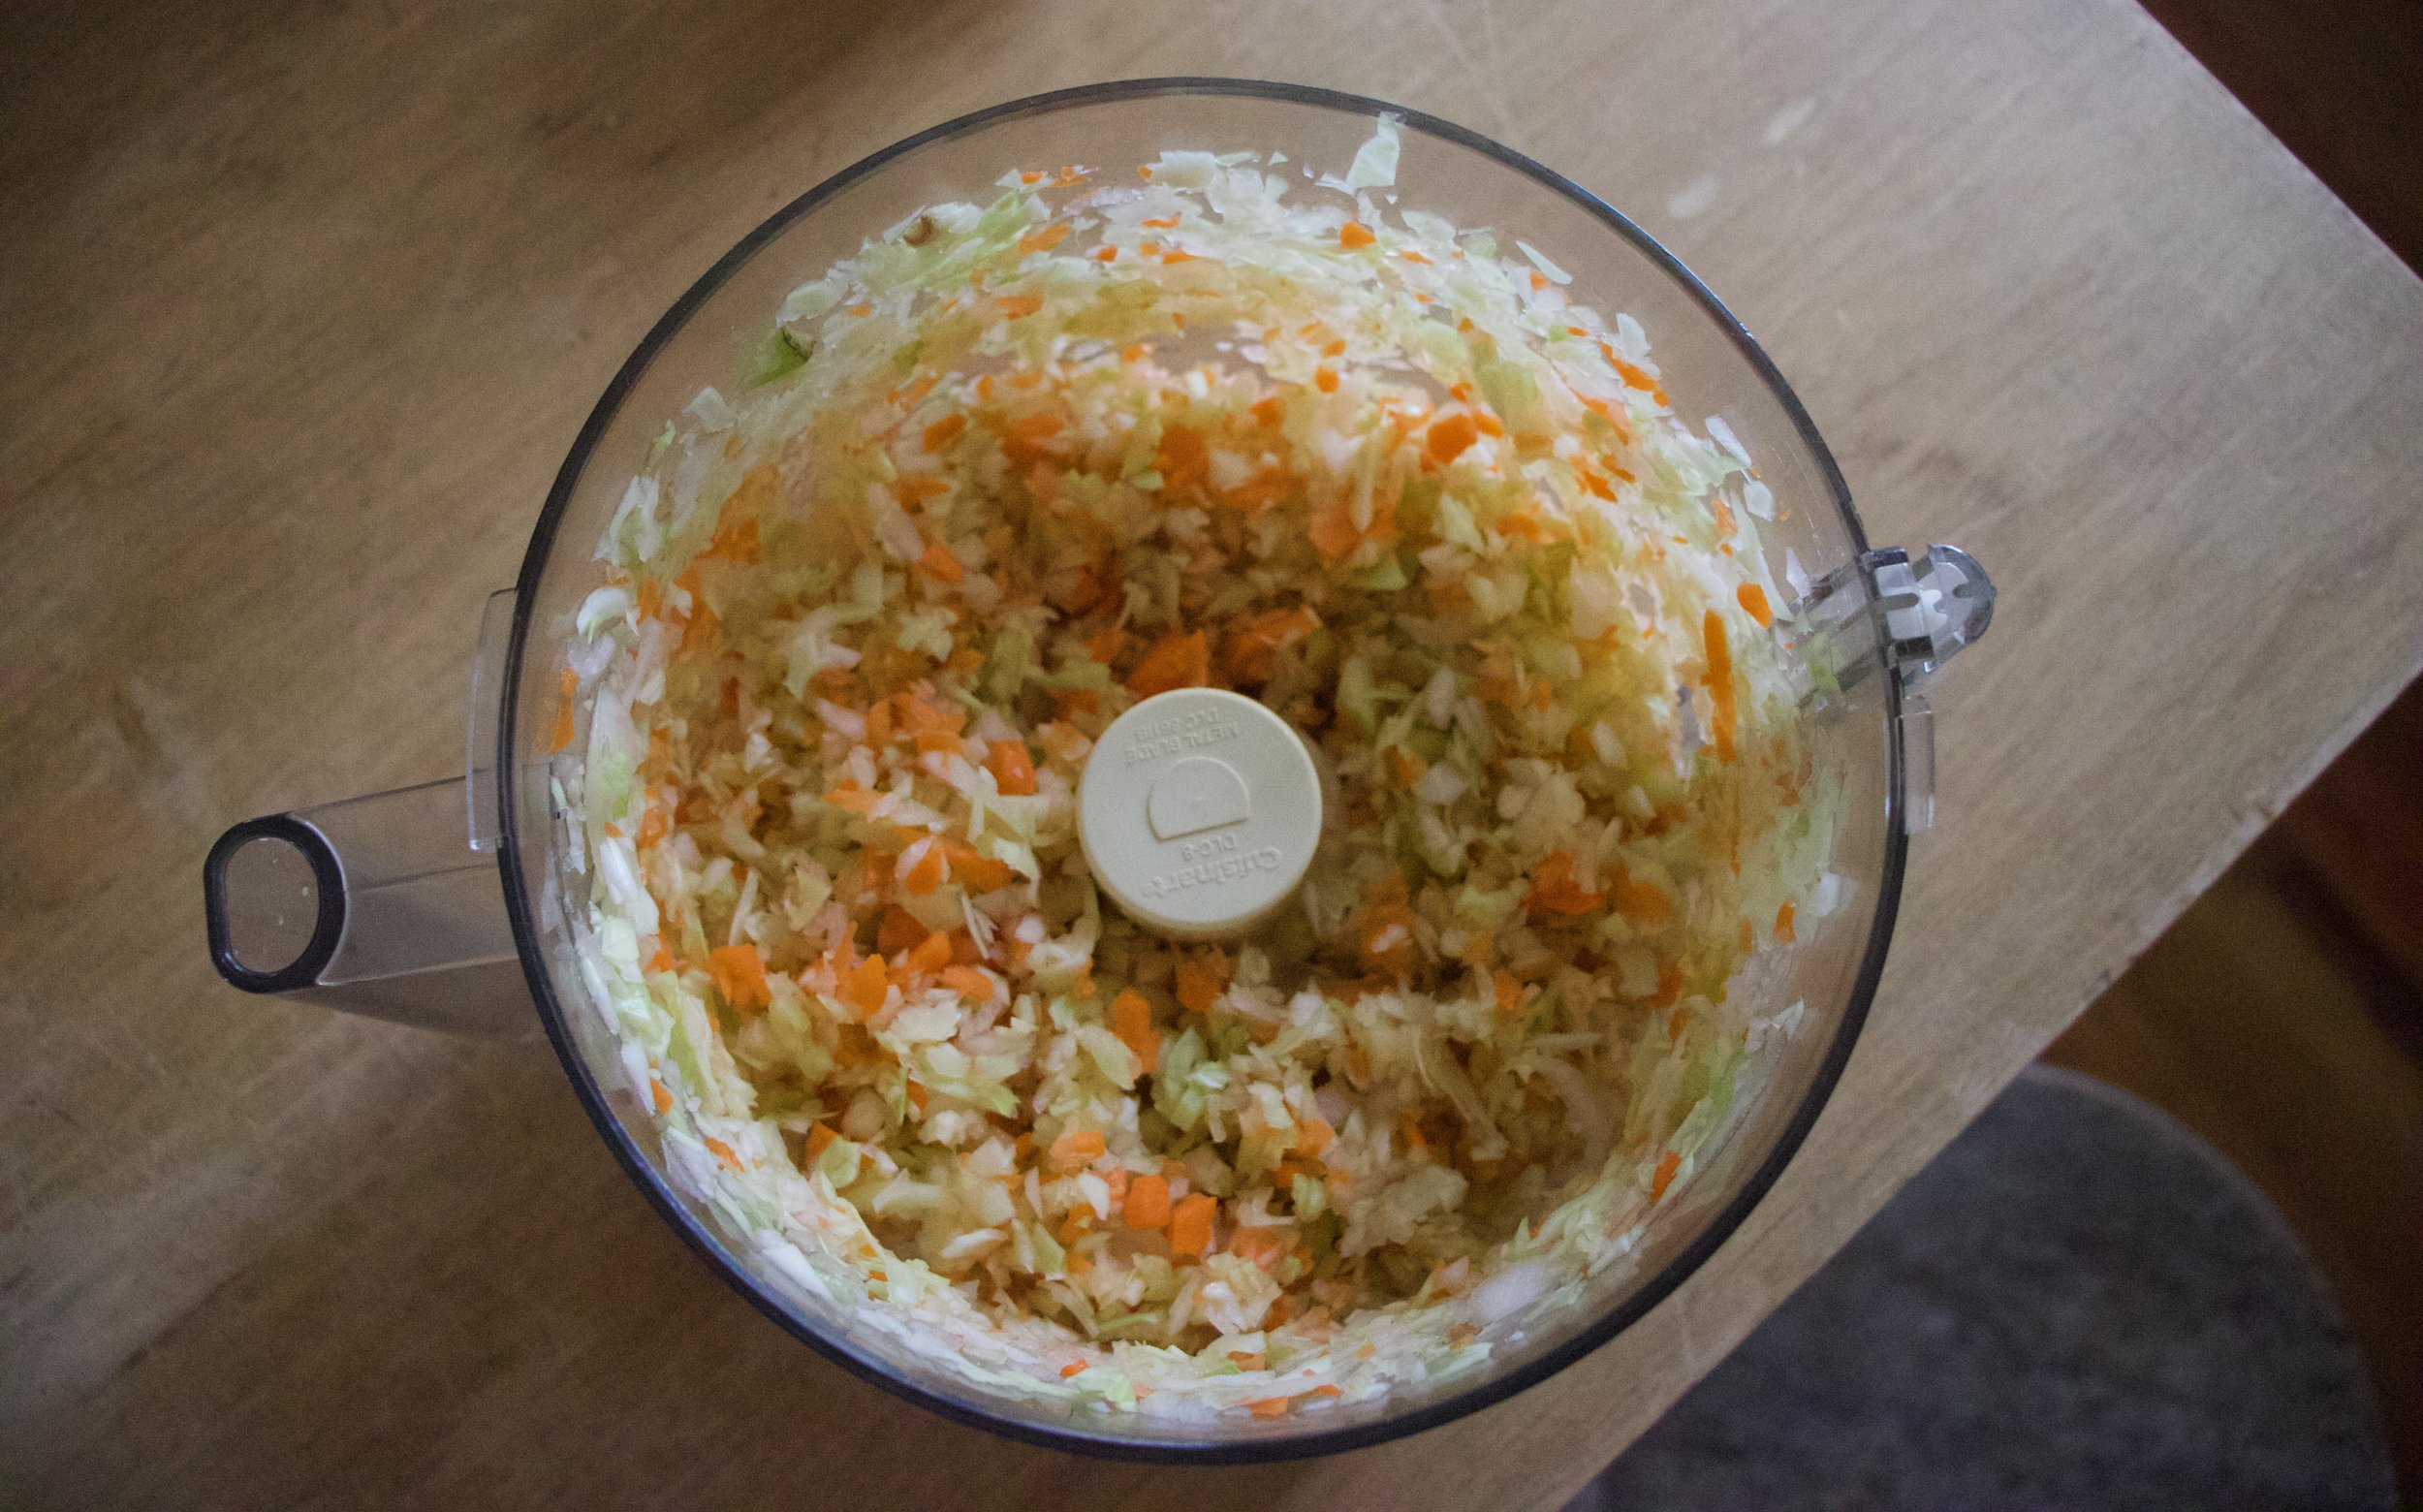
Place it all into food processor and pulse until its a small chunky chunk consistancy.

Add a splash of olive oil to a pan then dump the veggies on in. Sprinkle with salt and pepper and the Italian seasoning then set on a medium heat on the stove to start to cook the veggies a bit.

IMG_1190.jpg
IMG_1193.jpg

One the veggies are out and cooking, pulse up the butter beans in the food processor until not quite smooth. Some chunk is good.

Veggies a bit cooked.

Dump the veggies back into the food processor with the beans, along with a little of the crushed tomato. Pulse a few times.

IMG_1208.jpg

That is the filling. Time to roll.

IMG_1220.jpg
IMG_1222.jpg
IMG_1225.jpg

Pat each leave dry and lay flat on counter. If your cabbage leaves have thick ribs you can slice them down the middle, just not to far up into the leaf. Add about 1/3 of a cup of the filling (add less for smaller leaves) and then roll as tightly as you can like a burrito without the filling coming out. Repeat until all the filling is gone.

IMG_1229.jpg
IMG_1243.jpg

Place all of the rolls nice and cozy into a oven safe pan, preferably the pan you have been using to cook the veggies in (you want them to fit close together, it helps then from opening up during cooking ) and cover then all up with crushed tomato.

Now all you need to do is stick the whole thing in the oven.

IMG_1251.jpg

Cooked and looking good.

IMG_1270 2.jpg

If you got it, spinkled with some green scallions and parsley for color and flavor and the all you need to do it eat. Eat one or eat them all because they are freaking fantastic!

P.S. Left overs are just as good, if not better cold.

YAY CABBAGE!

Stay cool.

-C


Butter Bean Cabbage Rolls

  • A medium sized head of cabbage

  • 2 cups (or 1 can) cooked butter beans

  • an onion

  • 1 large carrots

  • 2 stalks of celery

  • 3 cloves garlic

  • 3 1/2 cups crushed tomatoes (or a 28 oz can)

  • 1 tablespoon Italian seasoning

  • olive oil

  • salt and pepper

First thing, bring a large pot of water to a boil. Remove the core from the head of cabbage and place the cabbage head into the boiling water. Gently peal away 12-14 of the outer leaves from the head then remove the head. Place the leaves back into the boiling water until they are soft and plyable. Remove from water and place in a large bowl.

Preheat oven to 400

Rough chop about half of the remaining cabbage head (like a little more then a cup) the carrot, celery, onion, and the garlic and place into a food processor. Pulse until its a small chunk consistency. Add a drizzle of olive oil to a skillet (if you can, use a oven safe skillet the can also be used to bake the rolls in) and dump the veggies in. Sprinkle with the Italian seasoning, salt and pepper, and place on a medium heat to cook for a few minutes. While the veggies are cooking, drain the beans and dump them into the food processsor. Pulse until not quite smooth. After the veggies have started to become fragrant and are not completely raw, dump those veggies back into the food processor with the beans. Add about 1/3 cup of the crushed tomato and pulse until combined.

To assemble the rolls. Pat the leaves dry and lay flat. If a leaf has a really thick rib, cut it down the middle, but not to far up the leaf.. Place about 1/3 cup of filling into each leaf (less if the leaves are small) and roll each one up like a burrito, as tight as you can without ripping the cabbage. Place rolls into oven safe skillet, bumped up against each other if they can. Once all the rolls are assembled and in skillet, pour the crushed tomatoes all over, getting the sauce in between each of the rolls.

And then place the rolls into oven to bake for an hour.

Once the rolls looked cooked and maybe a little crisp on an edge or two, remove and let cool a few minutes before serving.

Chopped parsley and scallions are nice to sprinkle on top if you got it.

Eat, and eat some more. Any left over should be placed into the fridge and eaten just a short few hours later cold, while standing in from of the fridge because these cold are almost better then hot. So good!

In Vegetables, Vegan, pulses, grain free, Gluten Free, entree, Dairy Free, casserole, beans Tags Butter Bean Cabbage Rolls, beans, pulses, lima beans, vegan, gluten free, grain free, dairy free, plant based, dinner, cabbage rolls, healthy, entree
Comment

Cumin Roasted Pumpkin and Swiss Chard with Red Lentils

September 29, 2018 Colleen Stem
IMG_0915.jpg
IMG_0876 2.jpg

Are you as excited about pumpkin season as I am. And not because of pumpkin spice this or that, I am talking about real squash pumpkin. I am so excited, and have started a stash. I have about 10 sugar pumpkins all through the house. Equal parts fall decor and dinner. Being able to eat your decorations is key to a successful life. I am 100 percent sure about that.

So now that we have established that it’s time to eat pumpkin, we also have to realized that there are more ways to eat pumpkin then in baked goods. Savory pumpkin is just as good, if not better then sweet pumpkin. I mean, it’s a squash and don’t we all love a good ssavory squash situation? If you don’t, well you are in the wrong place my friend.

This dish here pretty much sums up all that I ever want to eat again. Roasted pumpkin with cumin is one of the best things ever. No joke. Swiss chard is definitely my favorite green, besides spinach, (and I love kale, but chard is better then kale too!) and red lentils are my favorite kind of lentils. All I all, this small list of ingredients makes for one heck of a dish. I was pre making this for dinner for Barb and the mr. and ended up making something else for dinner so I could eat and save it all for myself. I did not share one bit of this and feel zero bad about it. I mean, I made it so it is mine. They had chili, I secretly ate this.

It’s come to that. I am hiding my pumpkin and lentil dish. What is wrong with me? Ha!

Now to the best pumpkin dish ever!

IMG_0772.jpg

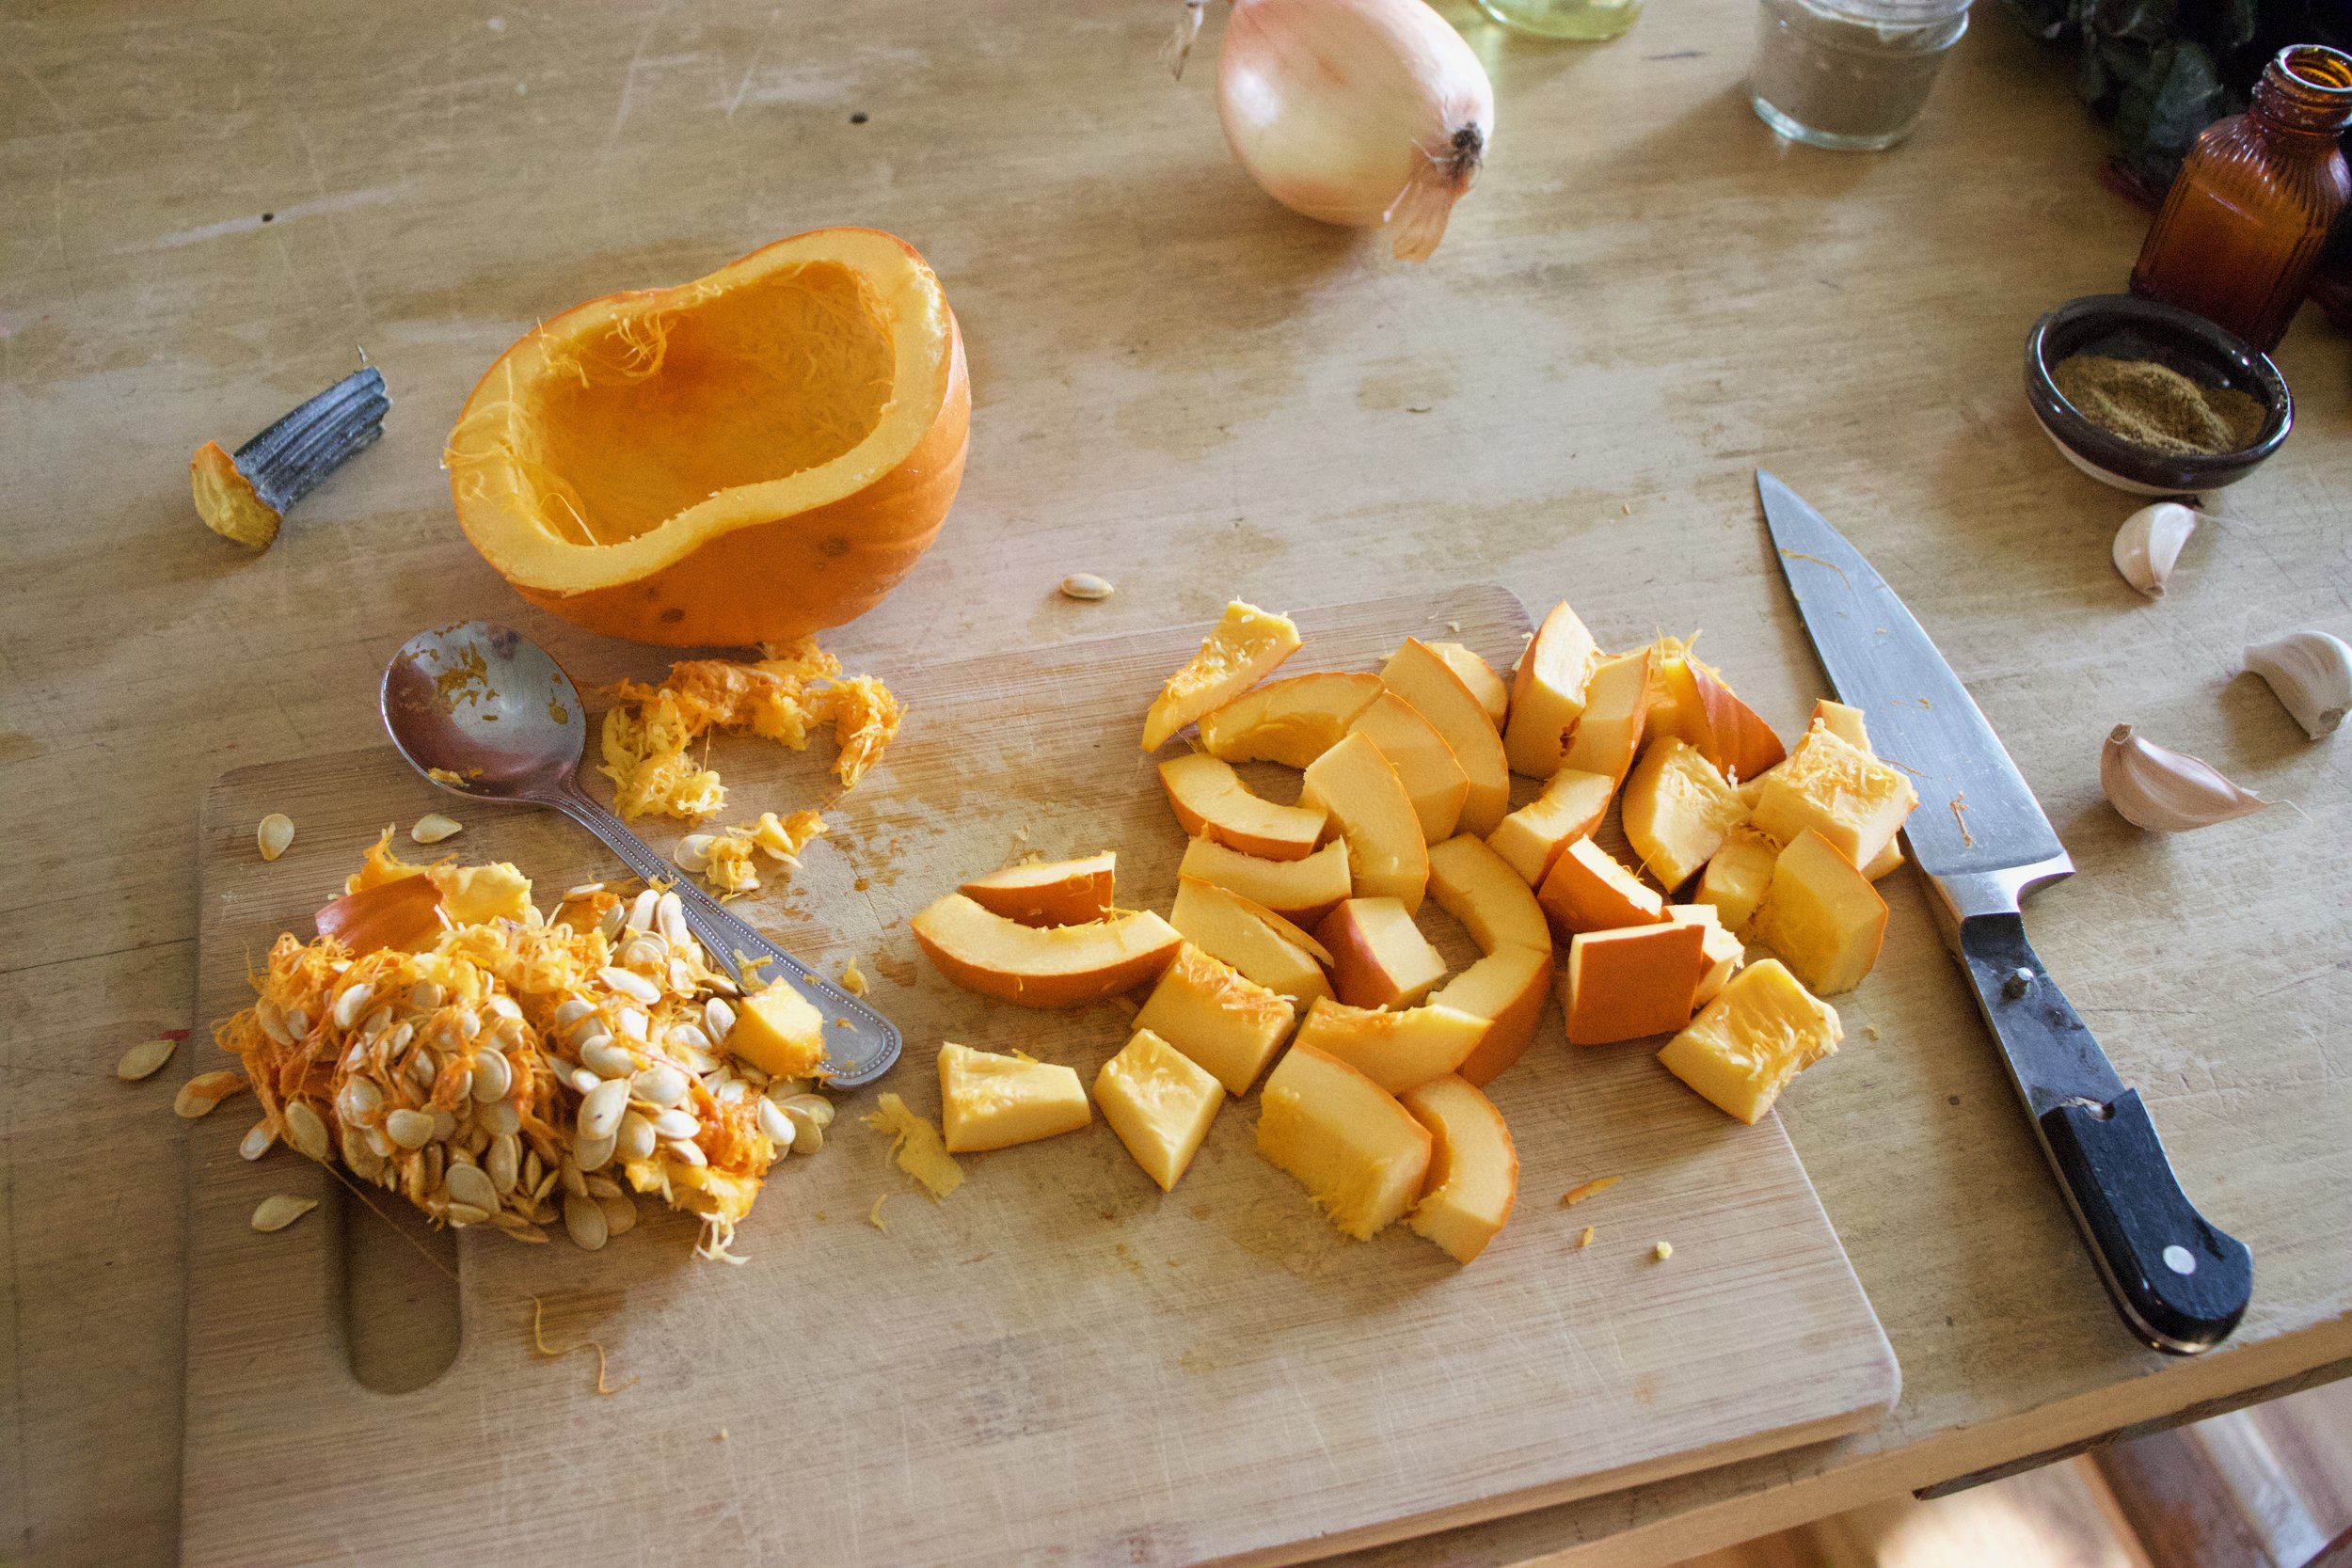
The stuff. A sugar pumpkin, some swiss chard, an onion, red lentils, a few cloves of garlic. cumin, salt and pepper, and olive oil.

IMG_0775 2.jpg
IMG_0781 2.jpg
IMG_0785.jpg

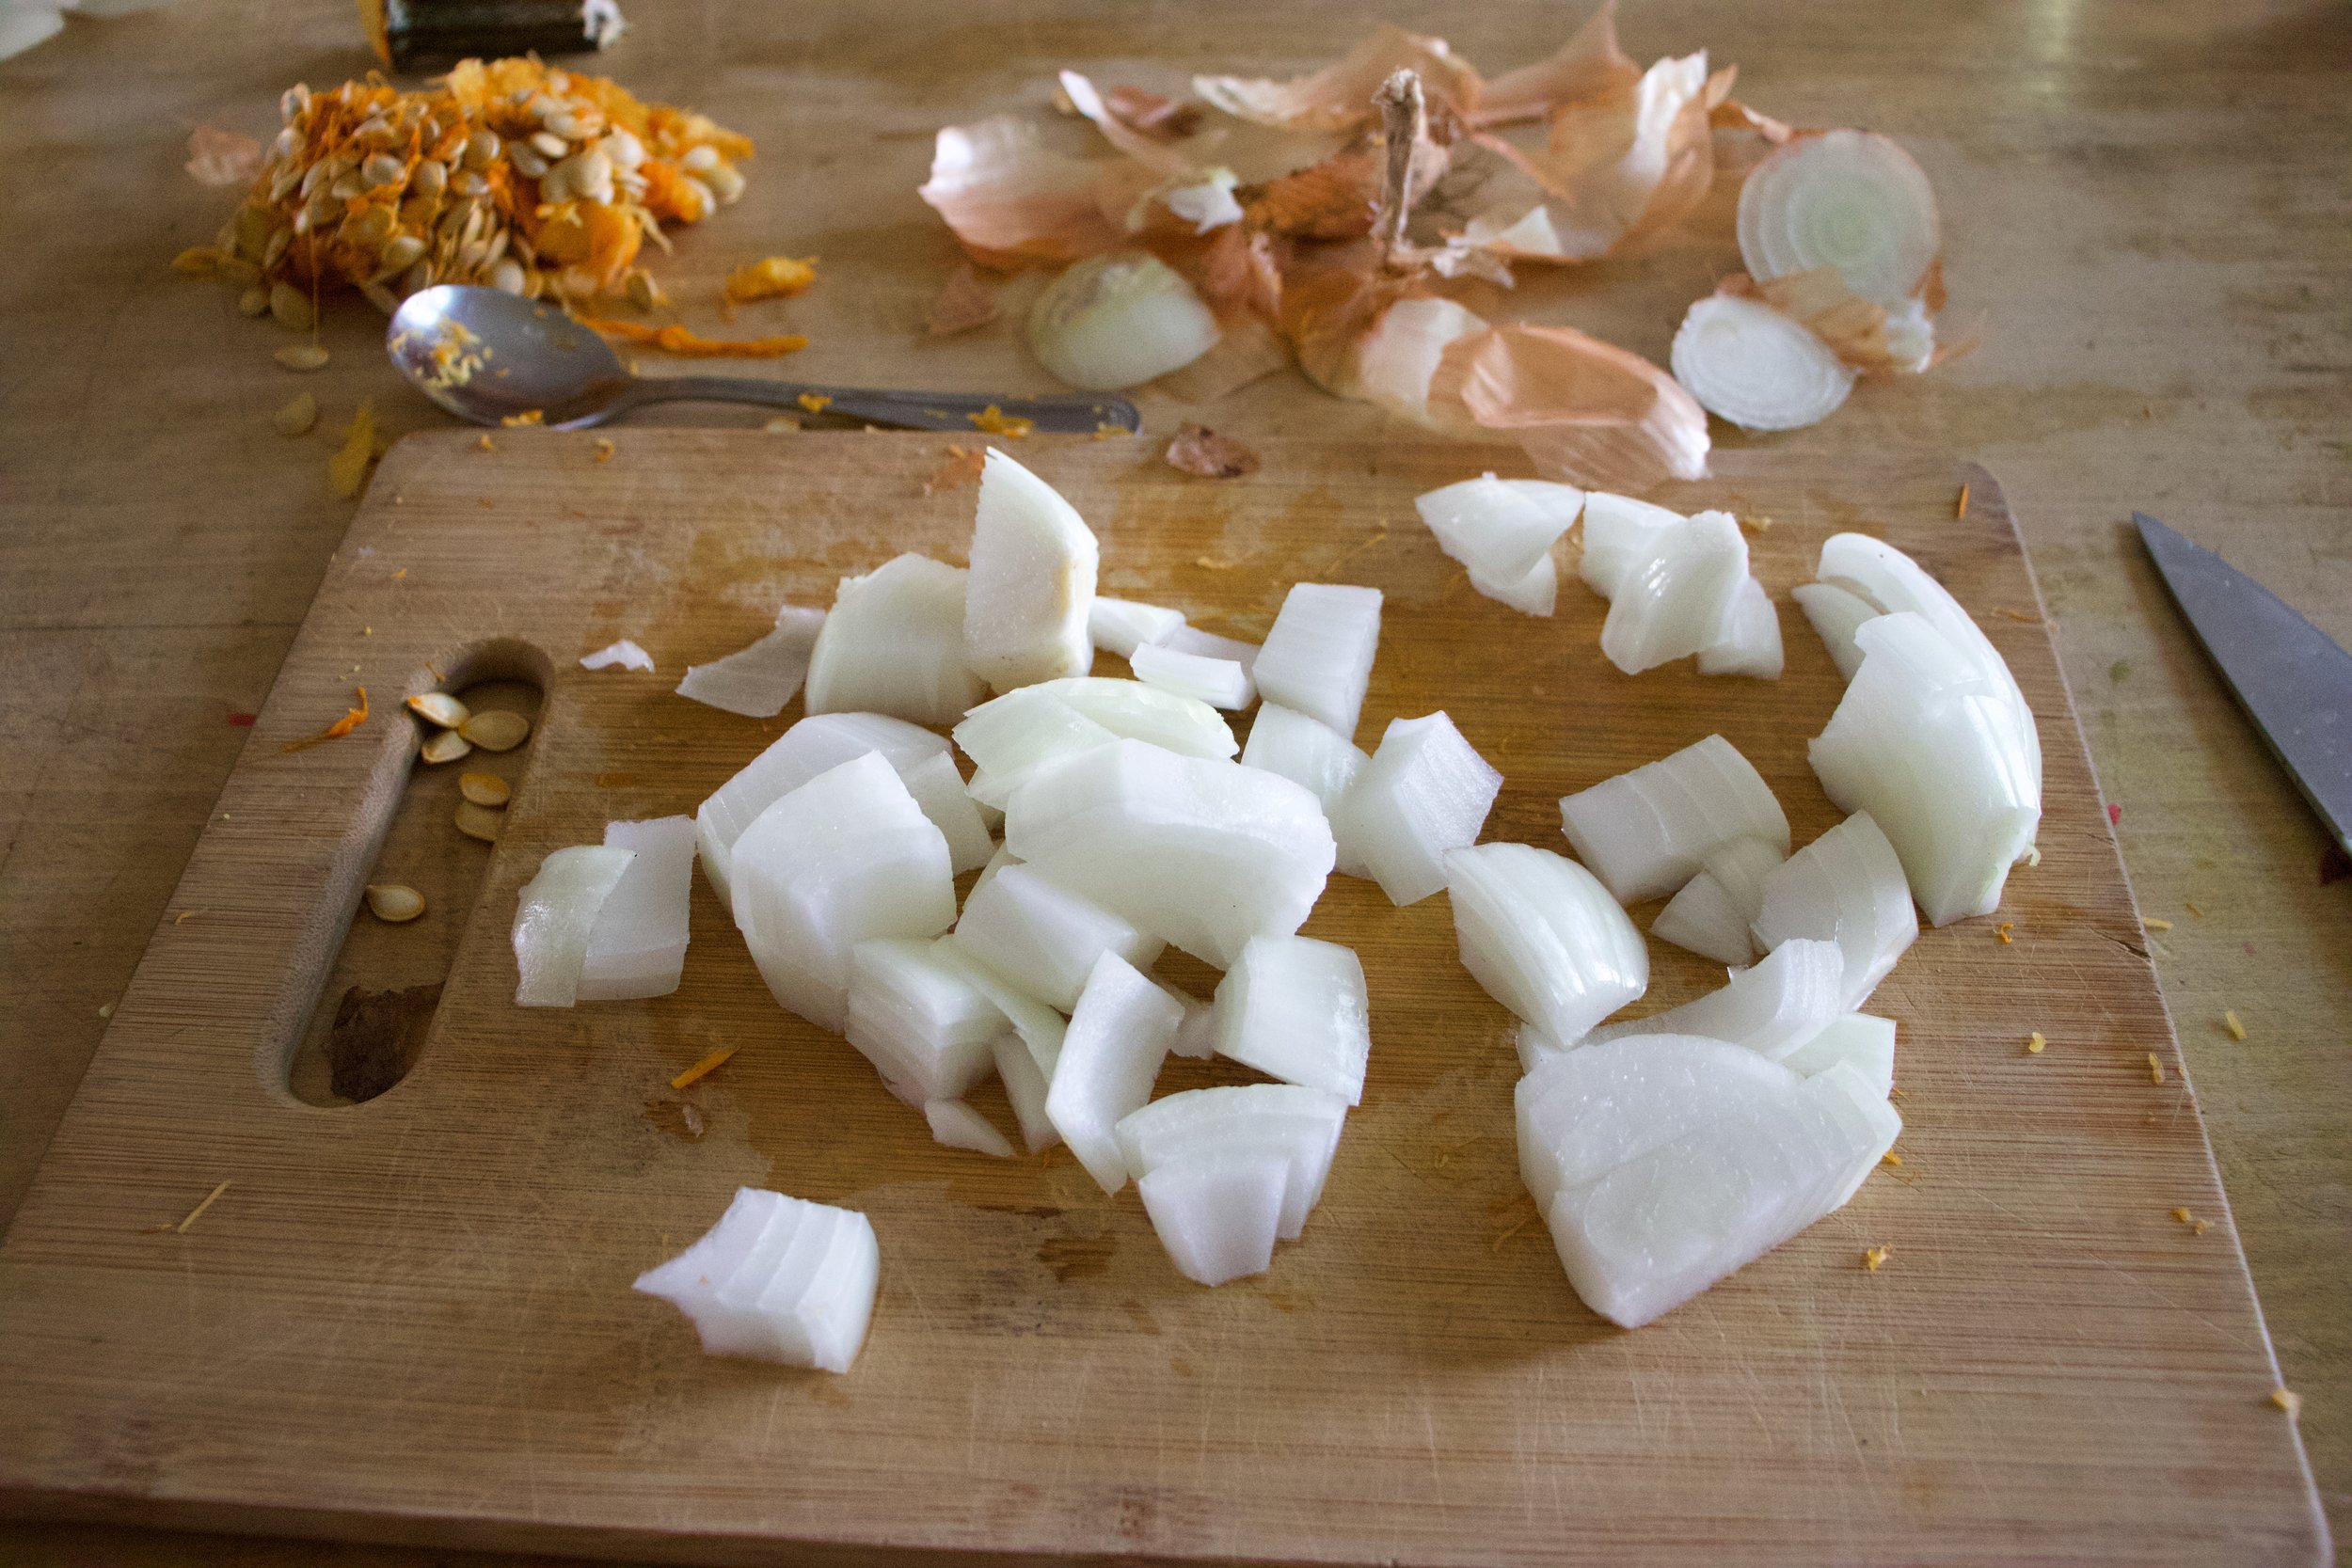
Cut the pumpkin in half, scoop the seeds out (save for roasting later), and chop into mouth sized chunks. Dice the onion up, and remove the stalk and thicker part of the rib from the chard leaves and dice up the stalk. Stick the leaves to the side.

IMG_0790.jpg

Place all the chopped up stuff onto a baking sheet, drizzle with a little bit of oil, dump on some cumin and sprinkle with salt and pepper then toss it all around.

IMG_0798.jpg

A fall roast ready for the oven.

IMG_0802.jpg
IMG_0825.jpg

Once veggies are in oven roasting, make the lentils. Water and lentil in a pot, bring to a boil, turn on low and let cook until lentils are done. Once cooked, sprinkle in a pinch of salt.

Also mince up the garlic and rough chop up the chard leaves.

IMG_0826.jpg
IMG_0834.jpg

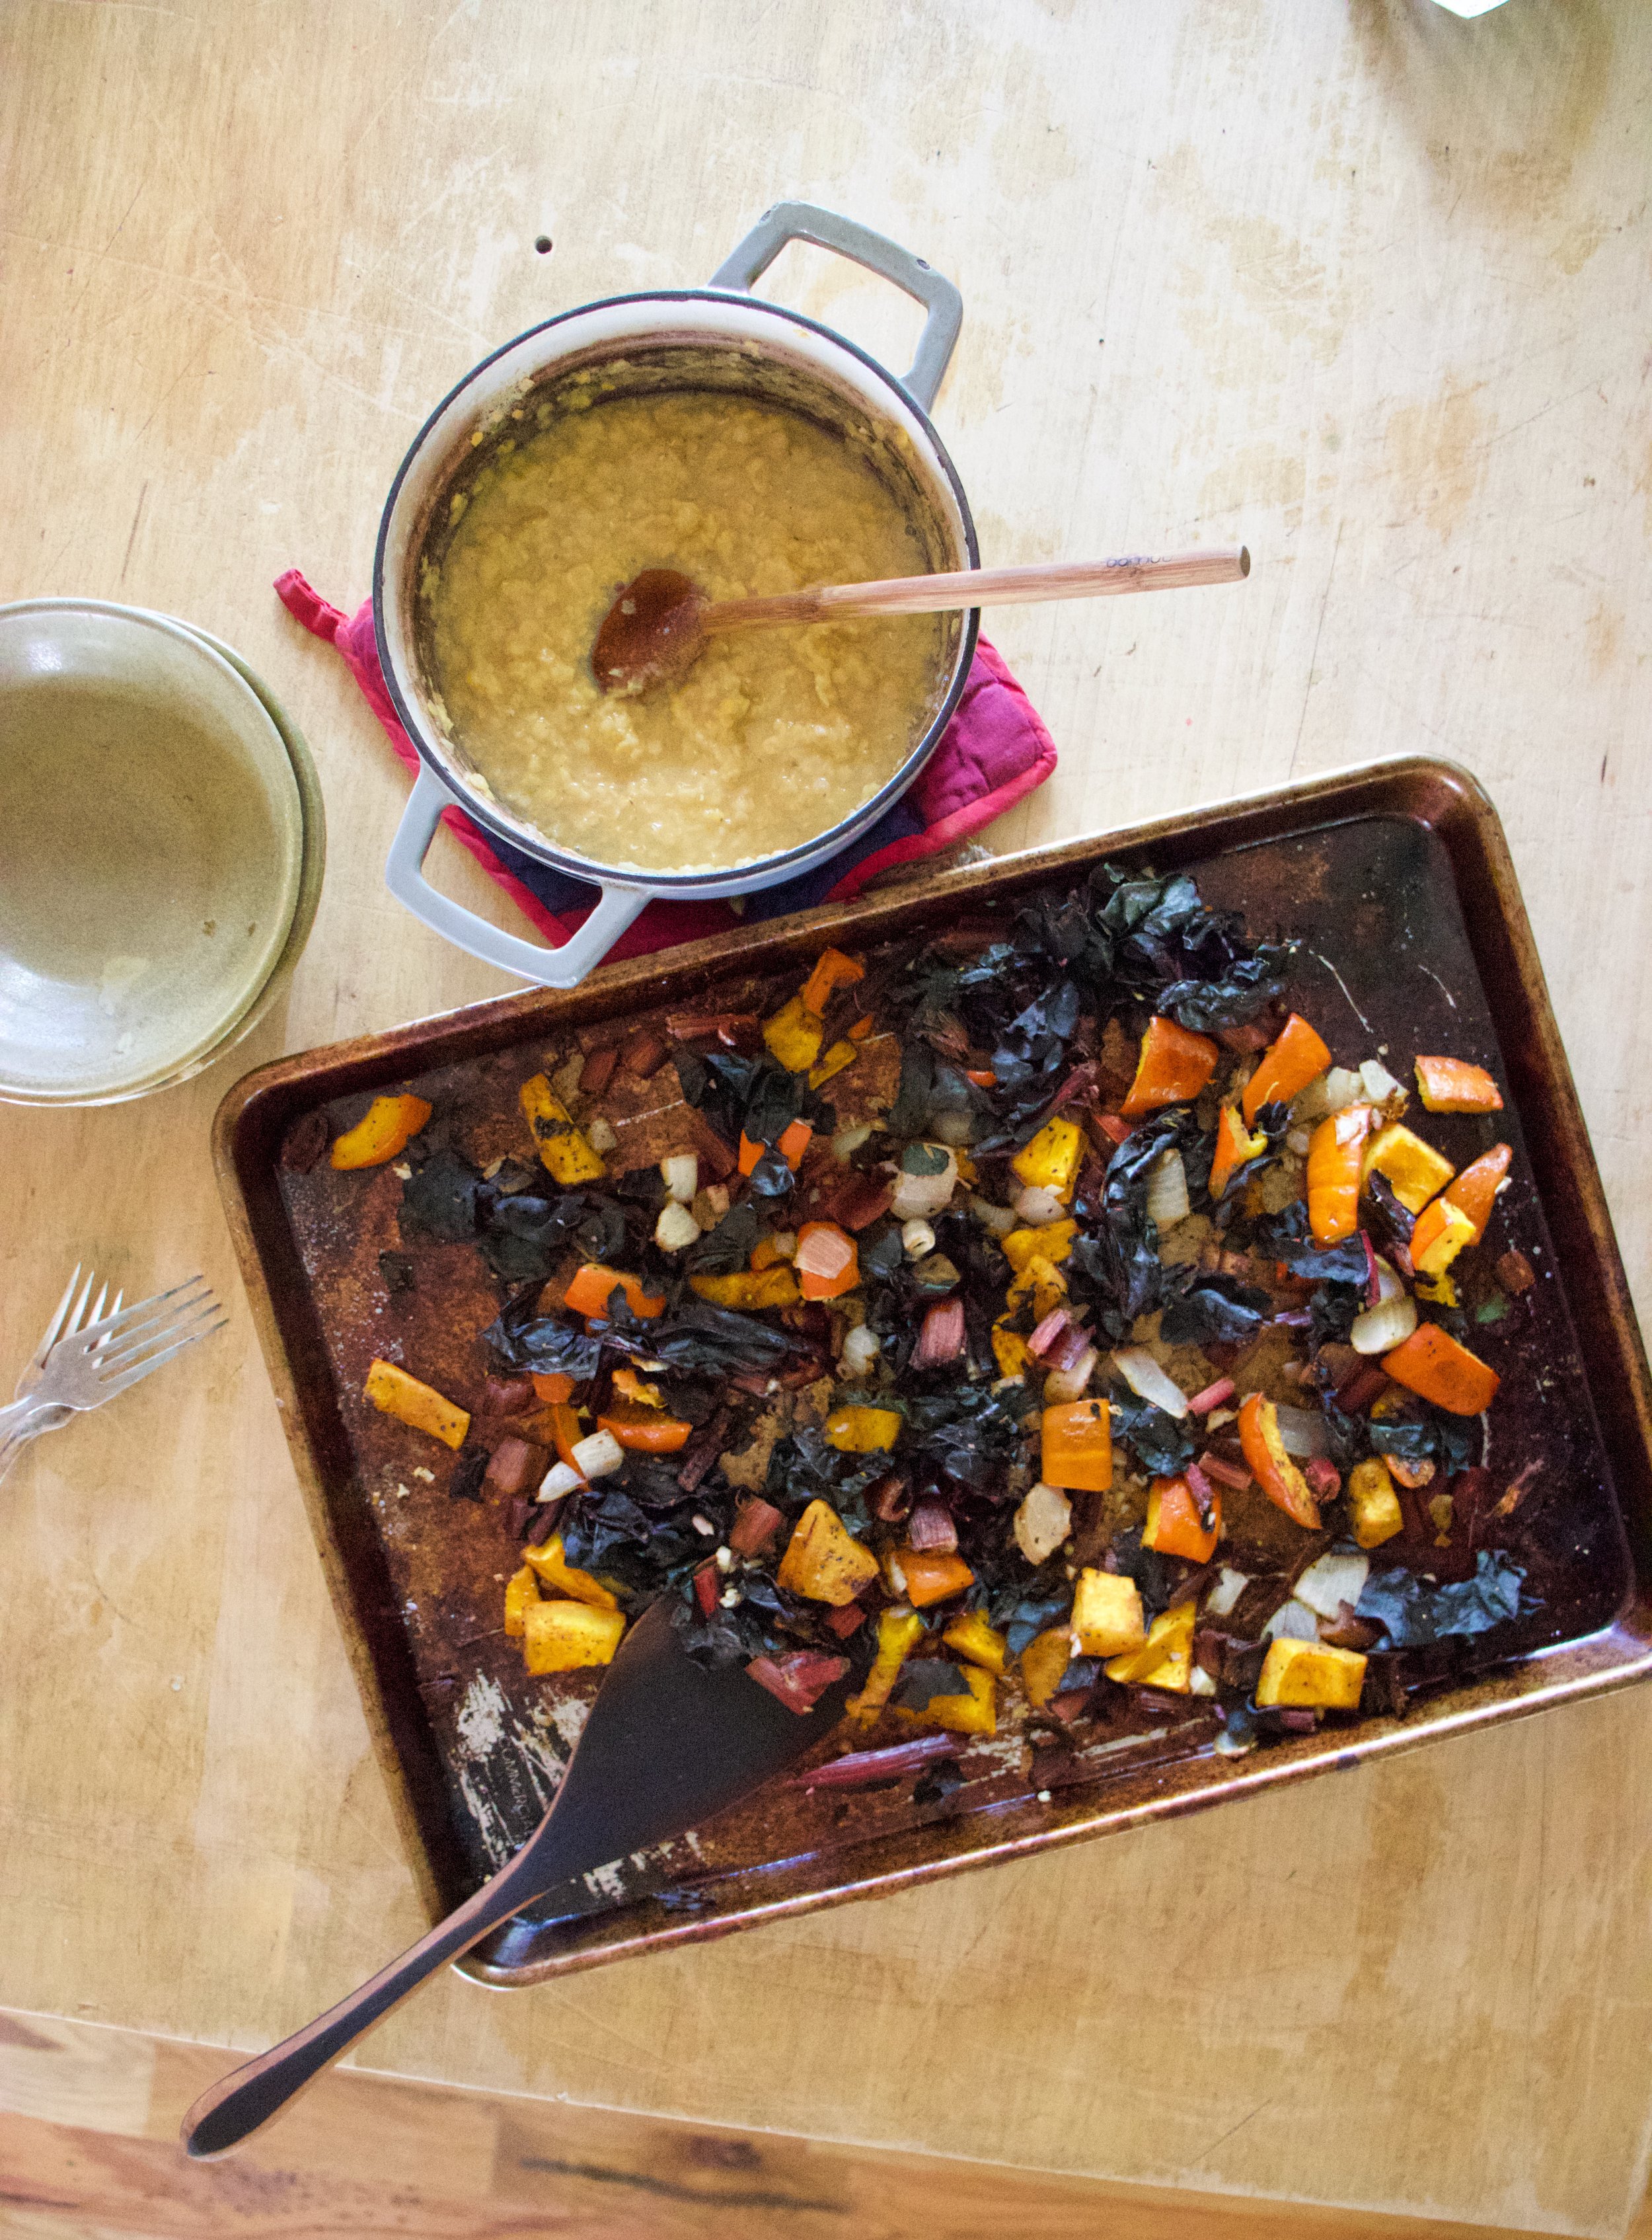
Fall veggies are looking nice and roasted and tasting all so good. Toss in the minced garlic and chopped chard leaves and pop the baking sheet back into the oven for a little longer just until the garlic and leaves are cooked too.

IMG_0853.jpg

Look at that. So good.

Now you have your lentils and the cumin roasted pan of goodness. If you have a lime, cut that up too because it will make this all just perfect. Perfect I tell you.

Here it is. A bowl of red lentils, piled high with cumin roasted pumpkin and chard with a fresh squeeze of lime. Once you aat a few bites, tell me. Best fall dish ever, right!?!

Have a fantastic fall weekend.

-C


Cumin Roasted Pumpkin and Swiss chard with Red Lentils

serve 2-3

  • 1 pie pumpkin

  • 1 bunch of Swiss chard (between 5-6 large stalks, more if the stalks are small)

  • 1 yellow onion

  • 2-3 cloves garlic

  • 1 cup died red lentils

  • 3 cups water

  • 2 tablespoons cumin

  • A lime (optional)

  • salt and pepper

  • olive oil

Preheat oven to 400

Start by cutting pumpkin in half and removing seeds, (place seeds aside for later to roast), then cut the pumpkin into inch or so cubes. Grab the chard, remove the stalks and ribs from the leaves, place leaves to the side, and dice the stalks up. Dice onion into medium sized chunks and place all of what you have just chopped on a baking sheet. Drizzle a teaspoon or two of oil all over. Spinkle on the cumin and a pinch of salt and pepper and toss around. Evenly distribute the veggies on the pan and stick into the oven to roast, for about 25 minutes, or until the pumpkin and chard stalks are fork tender. In the meantime rough chop the leaves and mince the garlic. When the pumpkin and chard are just about done, remove pan from oven and toss in the garlic and leaves. Place pan back into oven for another 8-10 minutes or until the leaves have cooked. Remove from oven.

While the veggies are roasting, make the lentils. Place the water and lentils into a medium sized pot and bring to a boil. Once boiling, turn down to low, giving it a stir ever few minutes until lentils are soft.Once cooked, remove from heat and season with pinch of salt salt.

When the lentils are cooked and the veggies are roasted, it’s time to eat. Spoon lentils into a bowl and top with roasted veggies. Season with more salt and pepper if needed and cut up lime (optional) and squeeze juice all over. Eat right away and save any for later.

In dinner, entree, fall, Gluten Free, grain free, pulses, quick and easy, Vegan, Vegetables Tags Cumin Roasted Pumpkin and Swiss chard with Red Len, cumin, Cumin, vegan, vegan dinner, lentils, pulses, grain free, gluten free, plant based, clean eating, pumpkin, savory pumpkin, fall, fall dinner ideas, easy, protein
Comment

Creamy Tomato White Bean Soup

September 1, 2018 Colleen Stem
IMG_2074.jpg
IMG_2096.jpg
IMG_2111.jpg

This summer has been weird. And when I say weird, I mean too stupid freaking hot and humid and it's screwing up my life. I think I have gone a month, maybe more, without making soup. That is just not right. For as long as I can remember I have made soup, or at least eaten soup, just about everyday, even all summer long. But the terrible heat and humidity this year, I just have had no desire. It has been straight up shredded zucchini and whole tomatoes for some time now. I just don't want to have any residual added heat to my life.  But the other day, oh how lovely. I woke up with a chill,  enough that I needed to grab a long sleeve before leaving the house, and had the very strong urge to return home and get my soup on. And soup on I did!

For my first trip back into soup (oh how I missed soup!), I went simple and used what I, and many, many people have ample supplies of right now. Tomatoes. And beans because I wanted my soup to be thick and creamy and I had the beans so why the heck not.

This soup really requires very little and you get the most thick, delicious, creamy, tomatoey soup. Perfect to eat alone, but is fanatic with some crackers, or a hunk of crusty bread. And it uses a lot of tomatoes which is nice because I am (as are many of you.. My neighbor is bringing me HER tomatoes now too) trying to make a dent in the ever growing pile or these beauties on the counter. This soup dented it, until I went out to the garden a few minutes later. My pile is bigger then ever, which is fine because I am back on my soup game. 

IMG_1897.jpg

The stuff. Lots of tomatoes, some white beans (I used navy, but any white bean would be good) a large onion, a carrot, salt and pepper, a lemon, some olive oil, and honey (optional).

First off, chop the carrot and onion into chunks.

IMG_1932.jpg
IMG_1953.jpg

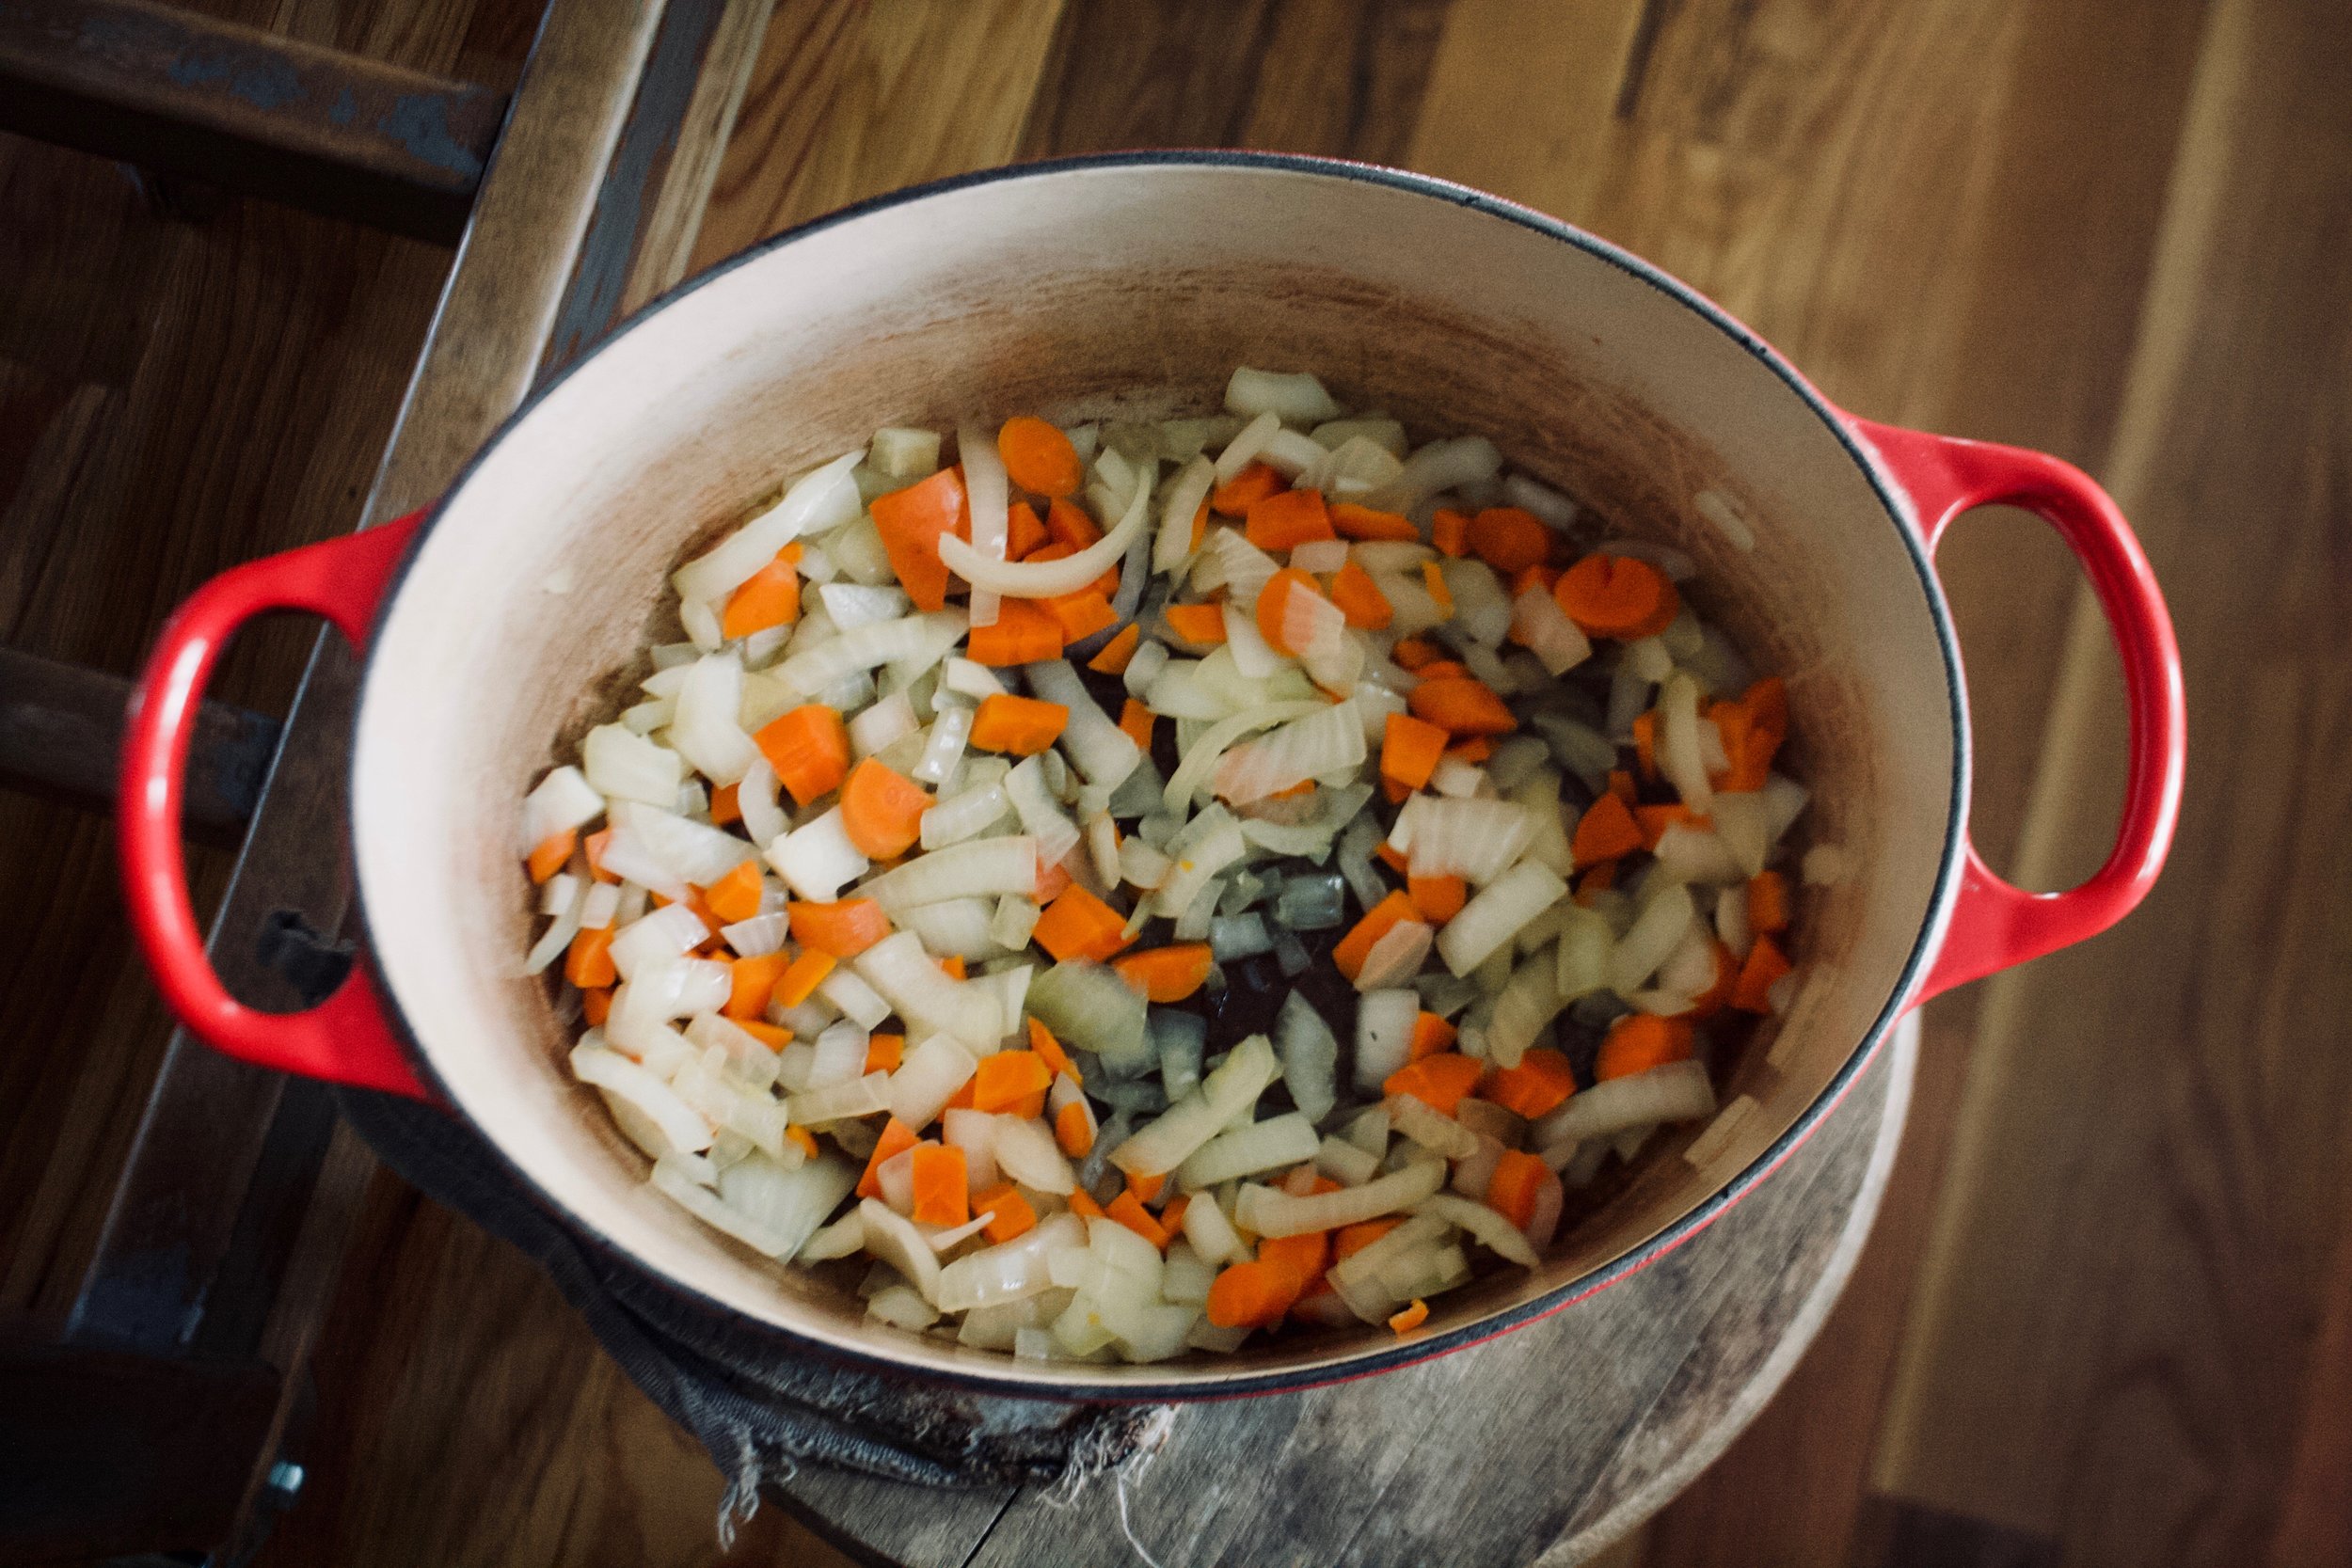
Toss the chopped stuff into a big ol' pot with a drizzle of olive oil and cook on a medium heat until nice and soft. 

IMG_1941 2.jpg

While veggies are cooking, core and cut up all those tomatoes. 

IMG_1989.jpg

When the veggies have cooked up a bit, add the tomatoes, the beans, and a sprinkle of salt and pepper to the pot and give it a good mix. Return to high heat, stirring even so often, until the tomatoes give off enough juiced to start boiling then turn heat down to medium and cook for a little while, like 1/2 an hour or 45 minutes.


IMG_2017.jpg

Until it looks lit this. The tomatoes have all fallen apart and the beans, carrots and onions are mushy. 

Blended with the juice of the lemon and a sprinkle of pepper and more salt if needed. 

IMG_2137.jpg

Now serve into a  bowls. Garnish with a drizzle of honey if you are feeling it. Sliced cherry tomatoes make for fancy garnish. 

IMG_2073.jpg

Creamy tomato bean soup for everyone!

Hurray for soup!

-C


Creamy Tomato White Bean Soup

Makes about 1/2 gallon (enough to serve a crowed or enough to serve one for a few days and maybe freeze some for later)

  • 10-12 large tomatoes 
  • 2 1/2 cup or 1 can of cooked white beans (I used navy but any white bean will be good)
  • 1 large onion
  • 1 large carrot
  • I lemon
  • olive oil
  • salt and pepper
  • honey (optional)

Start by chopping the onion and carrot up into small chunks. Grab a large heavy bottom pot, drizzle a teaspoon or two of olive on the bottom then toss in the chopped veggies. Place the pot on a medium heat, stirring occasionally until the onion and carrot start to soften. 

While the veggies are cooking, core and cut up all the tomatoes. Once the veggies are soft, dump in all the tomatoes, along with the beans and all the liquid they are in. Sprinkle with salt and pepper and turn heat up to high, giving it a good stir until the tomatoes start to get super juicy then bring the pot to a boil. Once boiling, reduce heat to medium and cook for another half hour to 45 minutes, giving it a stir ever so often.  When the tomatoes have completely fallen apart and the carrot, onions, and beans are mushy, you know its done. 

Remove the pot from heat and dd in the juice of the lemon. Using a hand blender, blend until it's a smooth creamy consistency. If you only have a counter belnder, let soup cool a little before handling and  be really freaking careful and blend a few cups at a time, making sure to have the blender lid on. Hot soup in the face is no fun.

Once soup is creamy and smooth, serve in bowls with a drizzle of honey (totally optional, but some people really like a touch of sweetness to their tomato soup) and more pepper to a taste. Garnish with thinly sliced cherry tomatoes if you are feeling fancy. 

Any extra soup can be refrigerated for up to a week. Can also be frozen. 

In Vegetables, Vegan, summer, soup, quick and easy, pulses, Dairy Free, beans Tags Creamy Tomato White Bean Soup, Tomato Soup, Soup, Beans, pulses, vegan, fall, tomatoes, fresh, simple, easy, few ingredients, creamy, gluten free, whole foods, plant based, garden food, dairy free
Comment

Sunflower Seed Hummus

June 30, 2018 Colleen Stem
IMG_9154.jpg
IMG_9129.jpg

Whatever you do, do not turn on your oven this weekend! But I guess if you have air conditioning and don't mind cranking it... well then go for it. And can I come stay with you?

But for the rest of us doing this weekend without the old A.C., we need to feed ourselves, feed ourselves without any fire because 100 degrees is no joke and any added heat from anything will likey tip us over the edge. I am already so close to that edge and it's a long way down..(Just ask the mr, he could tell you a thing or two about heat and me.. not good)

Enter hummus and veggies.

You can't really go wrong with a good hummus and veggies meal situation and sometimes it's all that can be right. I for one could eat bowls and bowls of hummus, and sometime do, so this is not a stretch for me. Especially this hummus. I knew I would like it, but man, was (was because I ate it all) it freaking delicious. The sunflower seeds really did it for me, gave it a little something extra, like a freshness that is still creamy and earthy, but is not quite, I don't know, dark as tahini?  It's kind of hard to explain without having you taste it (so make it and you tell me)  Don't get me wrong, I love tahini, but sometimes you just  got to mix it up. (Plus sunflowers seeds are dirt cheap. Tahini is not nearly as cheap so bonus there too.)  Maybe its because the sunflower seeds bring the sunshine to your mouth. A sun filled mouth of pureed seeds and beans.  Yup, that's what it is.

So here ya go, a no heat meal (or snack or spread). We got this.

The stuff.  Cooked chickpeas (no need to cook your own, canned is a okay), sunflower seeds, a lemon, a few cloves of garlic, salt, pepper, a little water, and some herby green like parsley or cilantro. 

IMG_9066.jpg
IMG_9079.jpg
IMG_9083.jpg

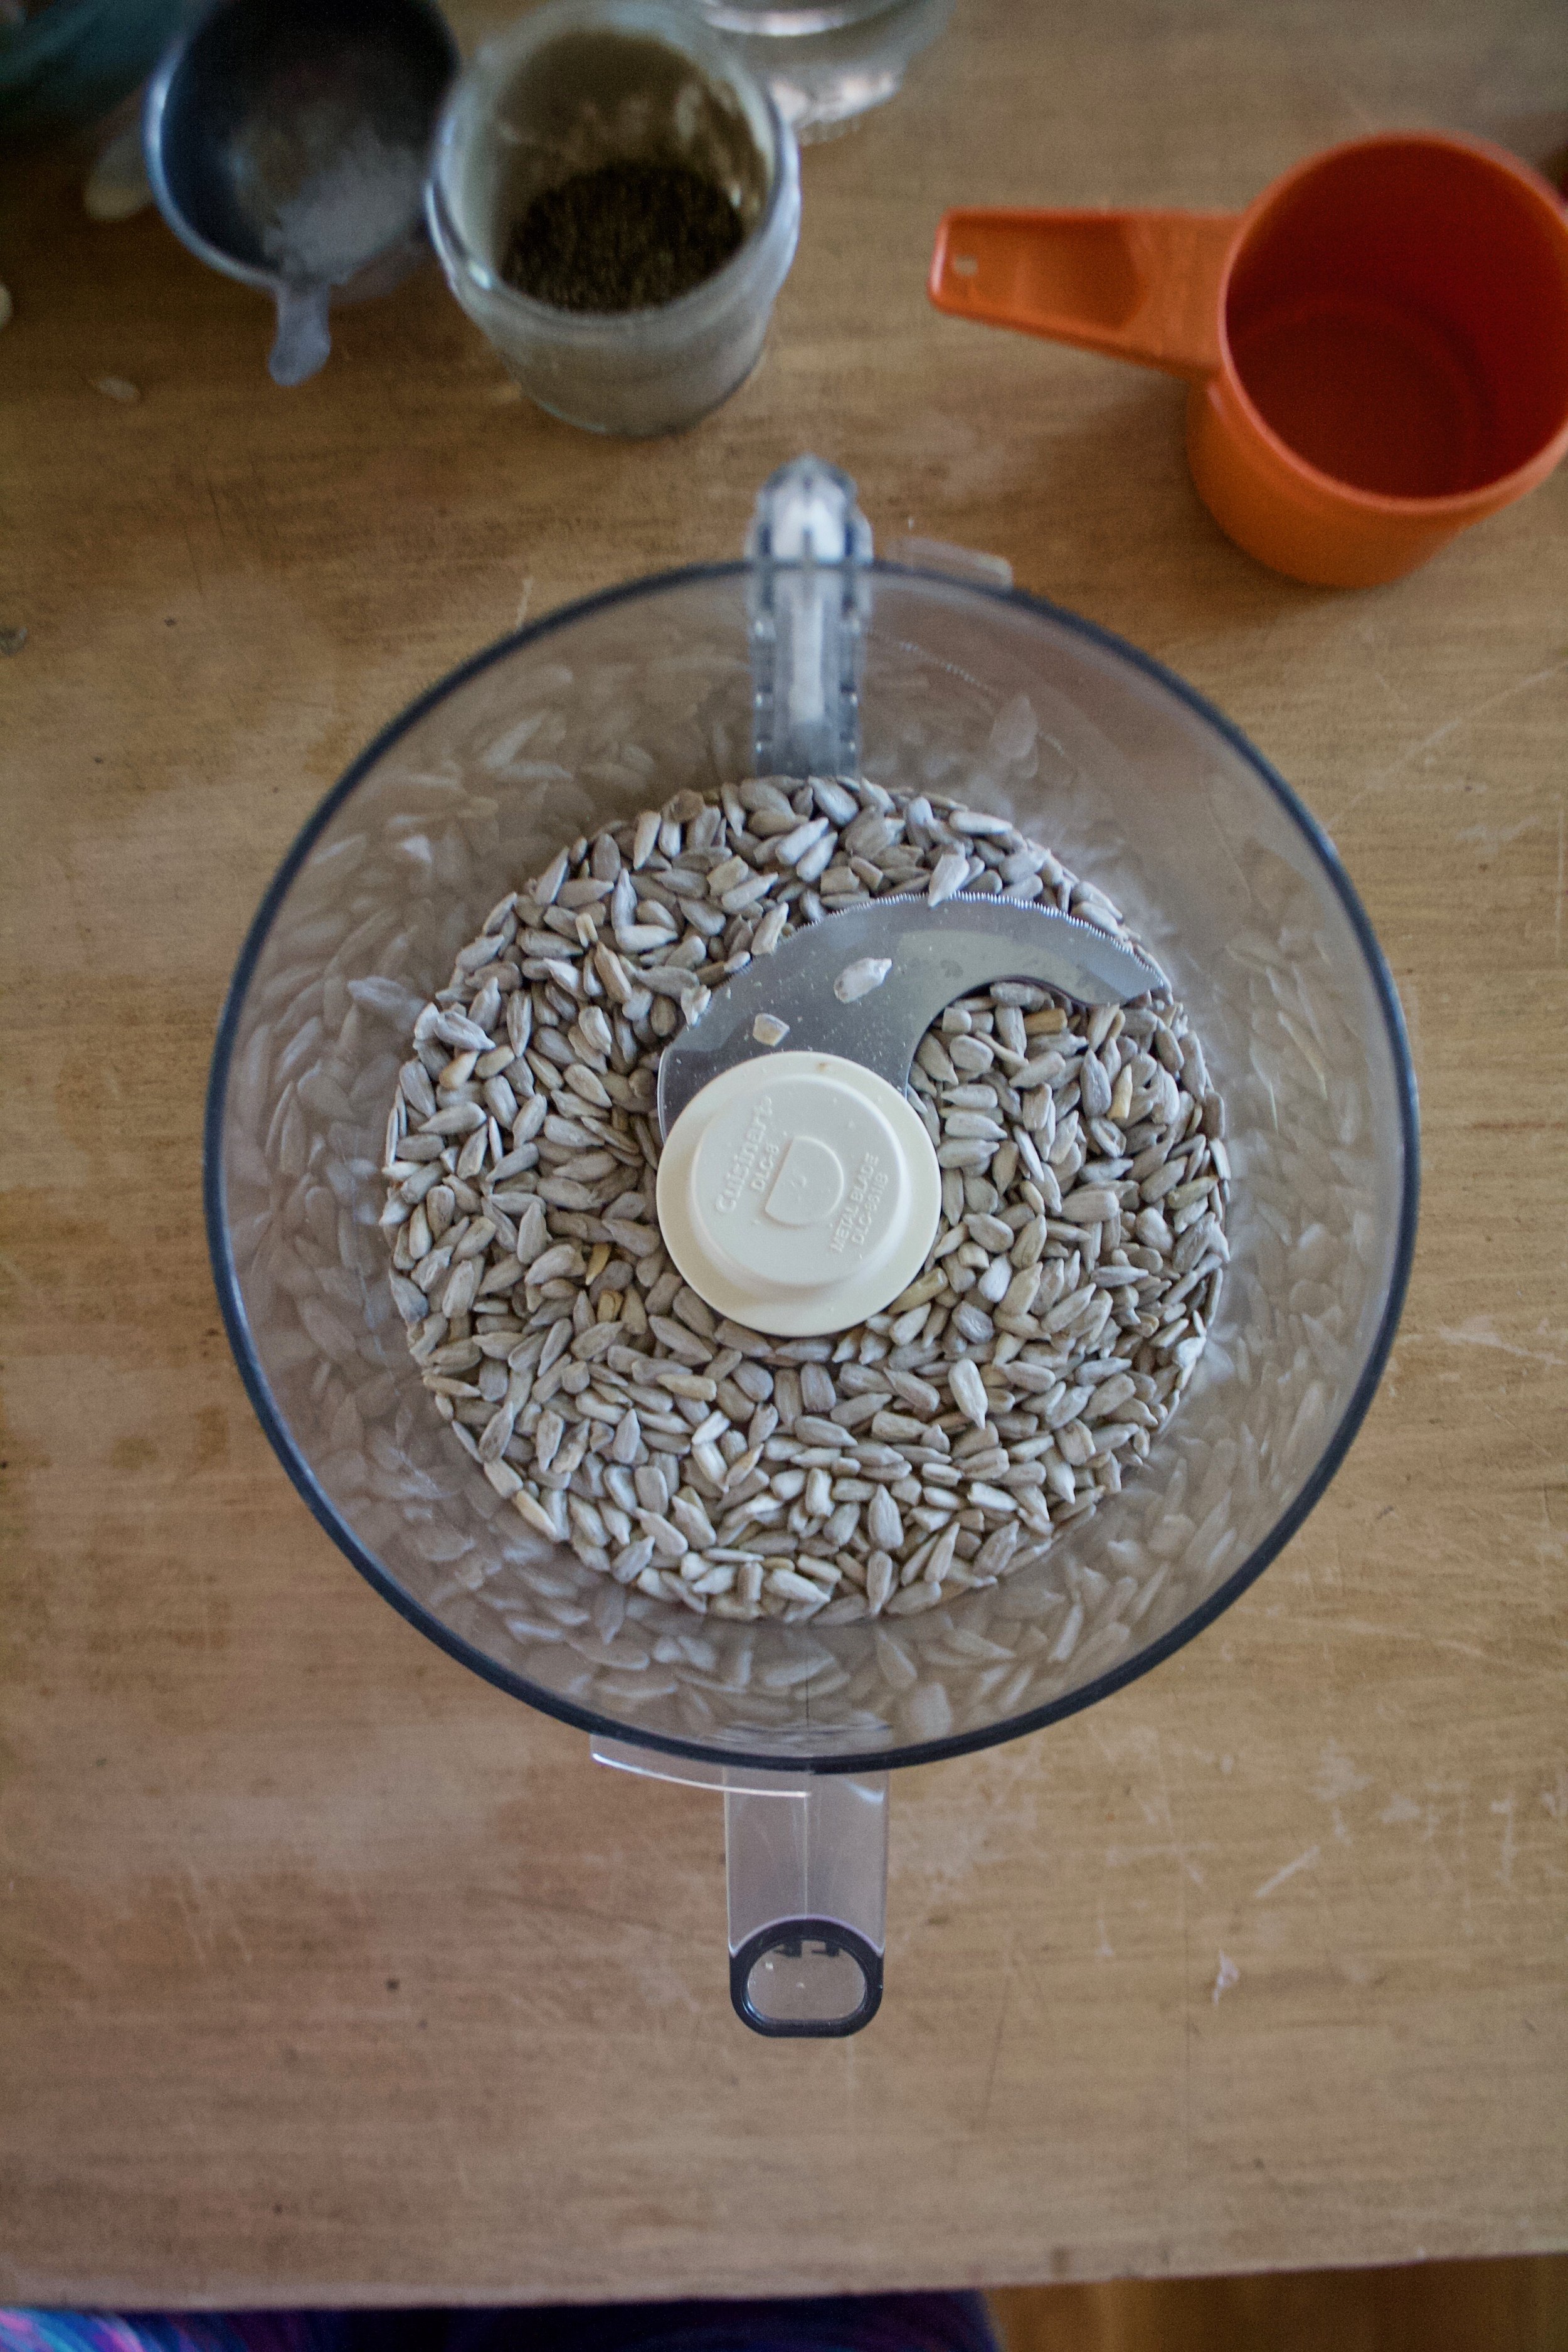
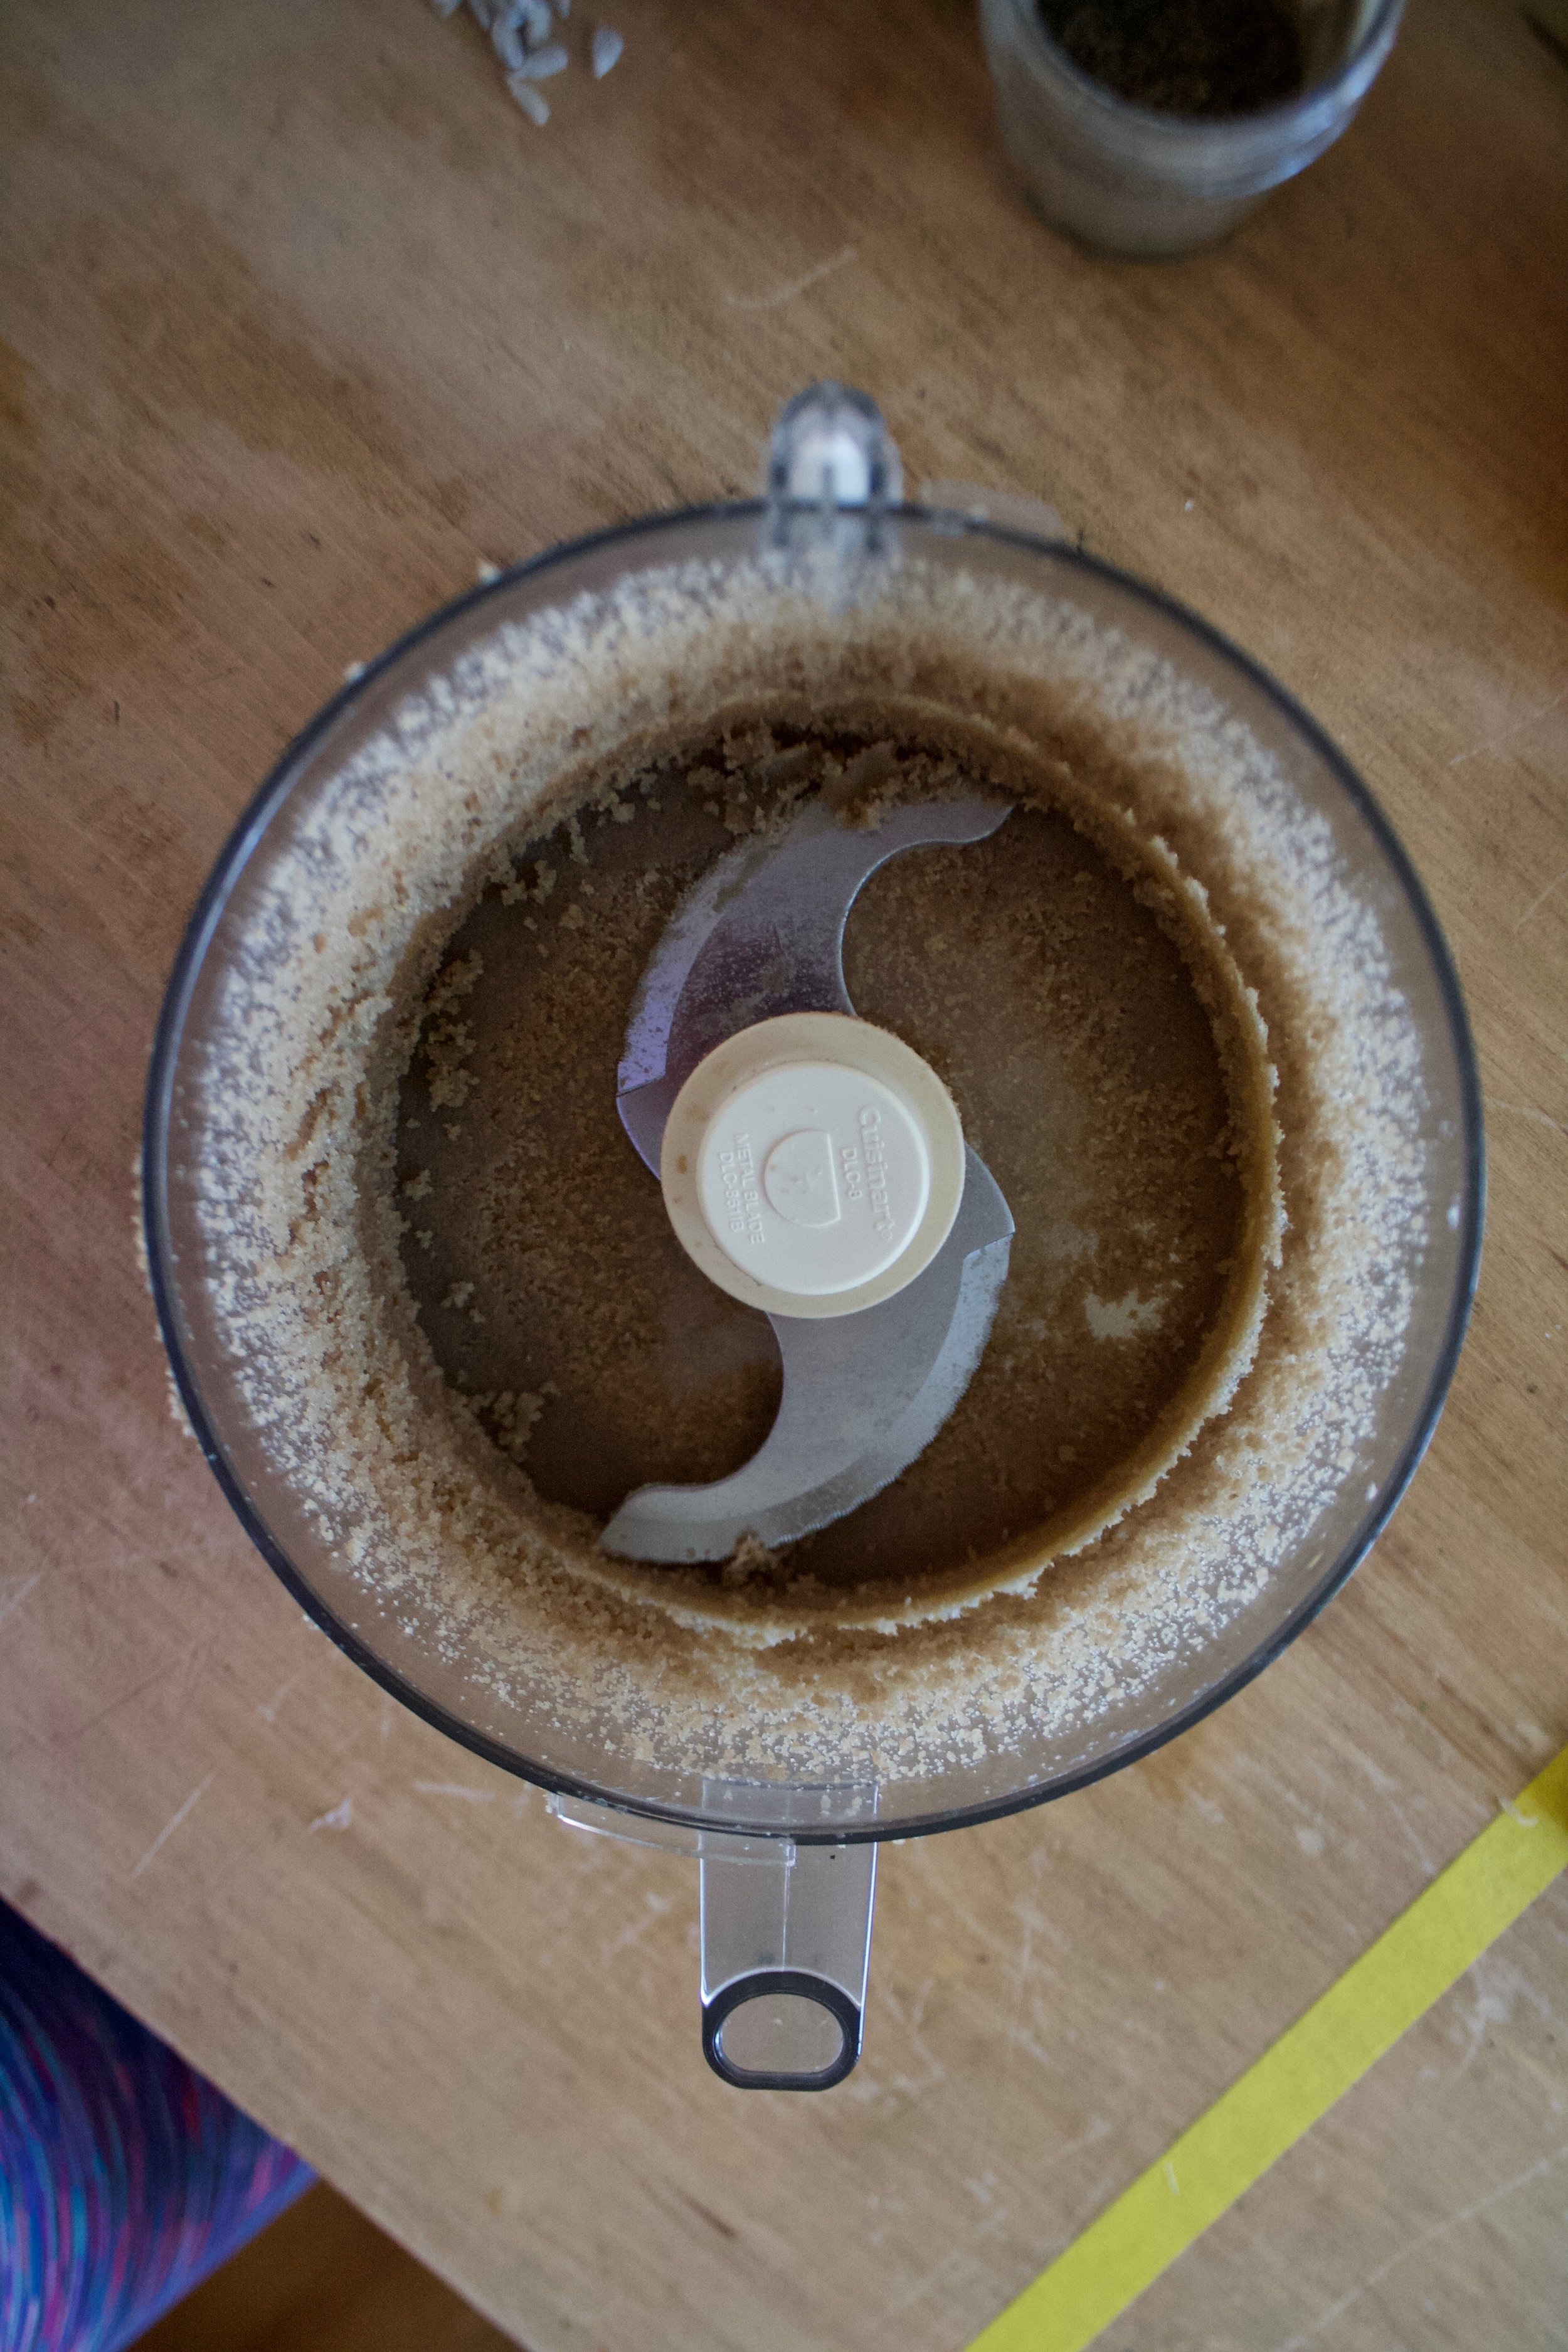
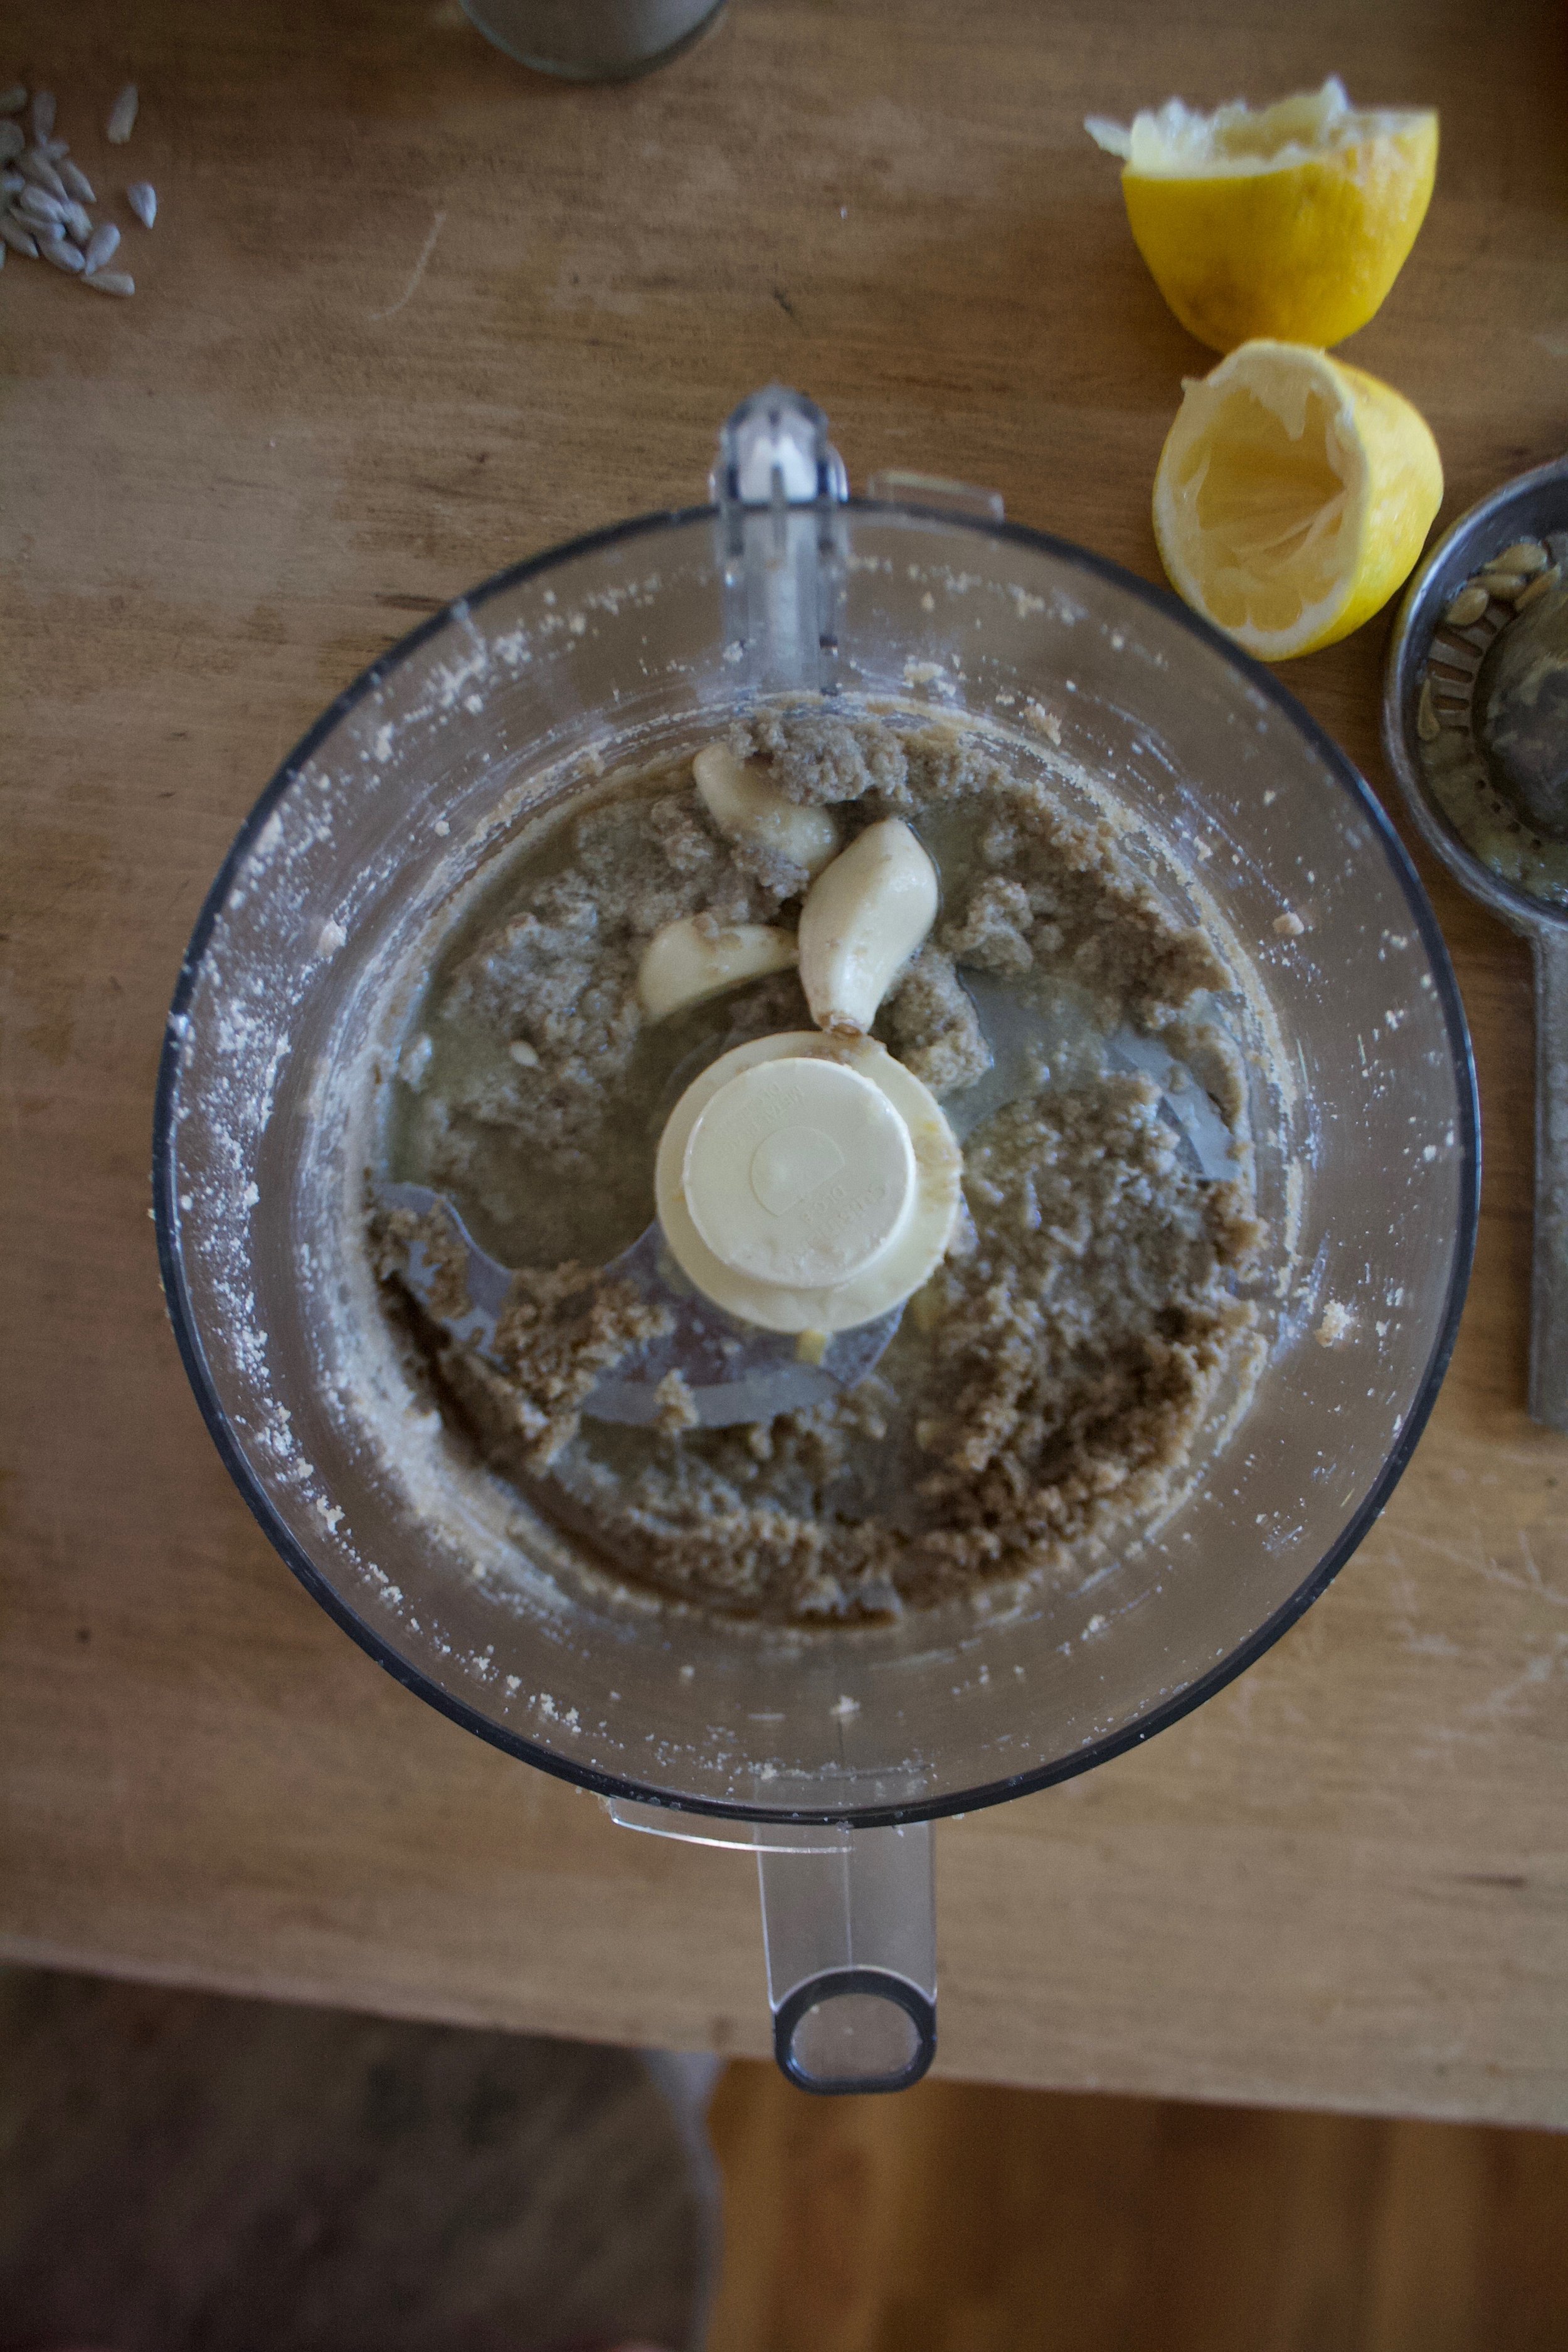
Hummus is pretty basic, it's just stuff blended up, but because we are starting with raw sunflower seeds, we need to really bend the shit out of them until they turn into a paste, so do that, which is going to a take about 8-10 minutes. Then once its pasty, add in the garlic and the juice of the lemon and blend until its all smooth.

IMG_9094.jpg

Could almost stop here at this point. Sunflower seed goodness all emulsified. Taste it, it is so good.

IMG_9100.jpg

Now add in the chickpeas and a pinch of salt and pepper.

IMG_9110.jpg

Blended until smooth with a little drizzle of water to give just the right consistency.  And that's it.

IMG_9225 2.jpg

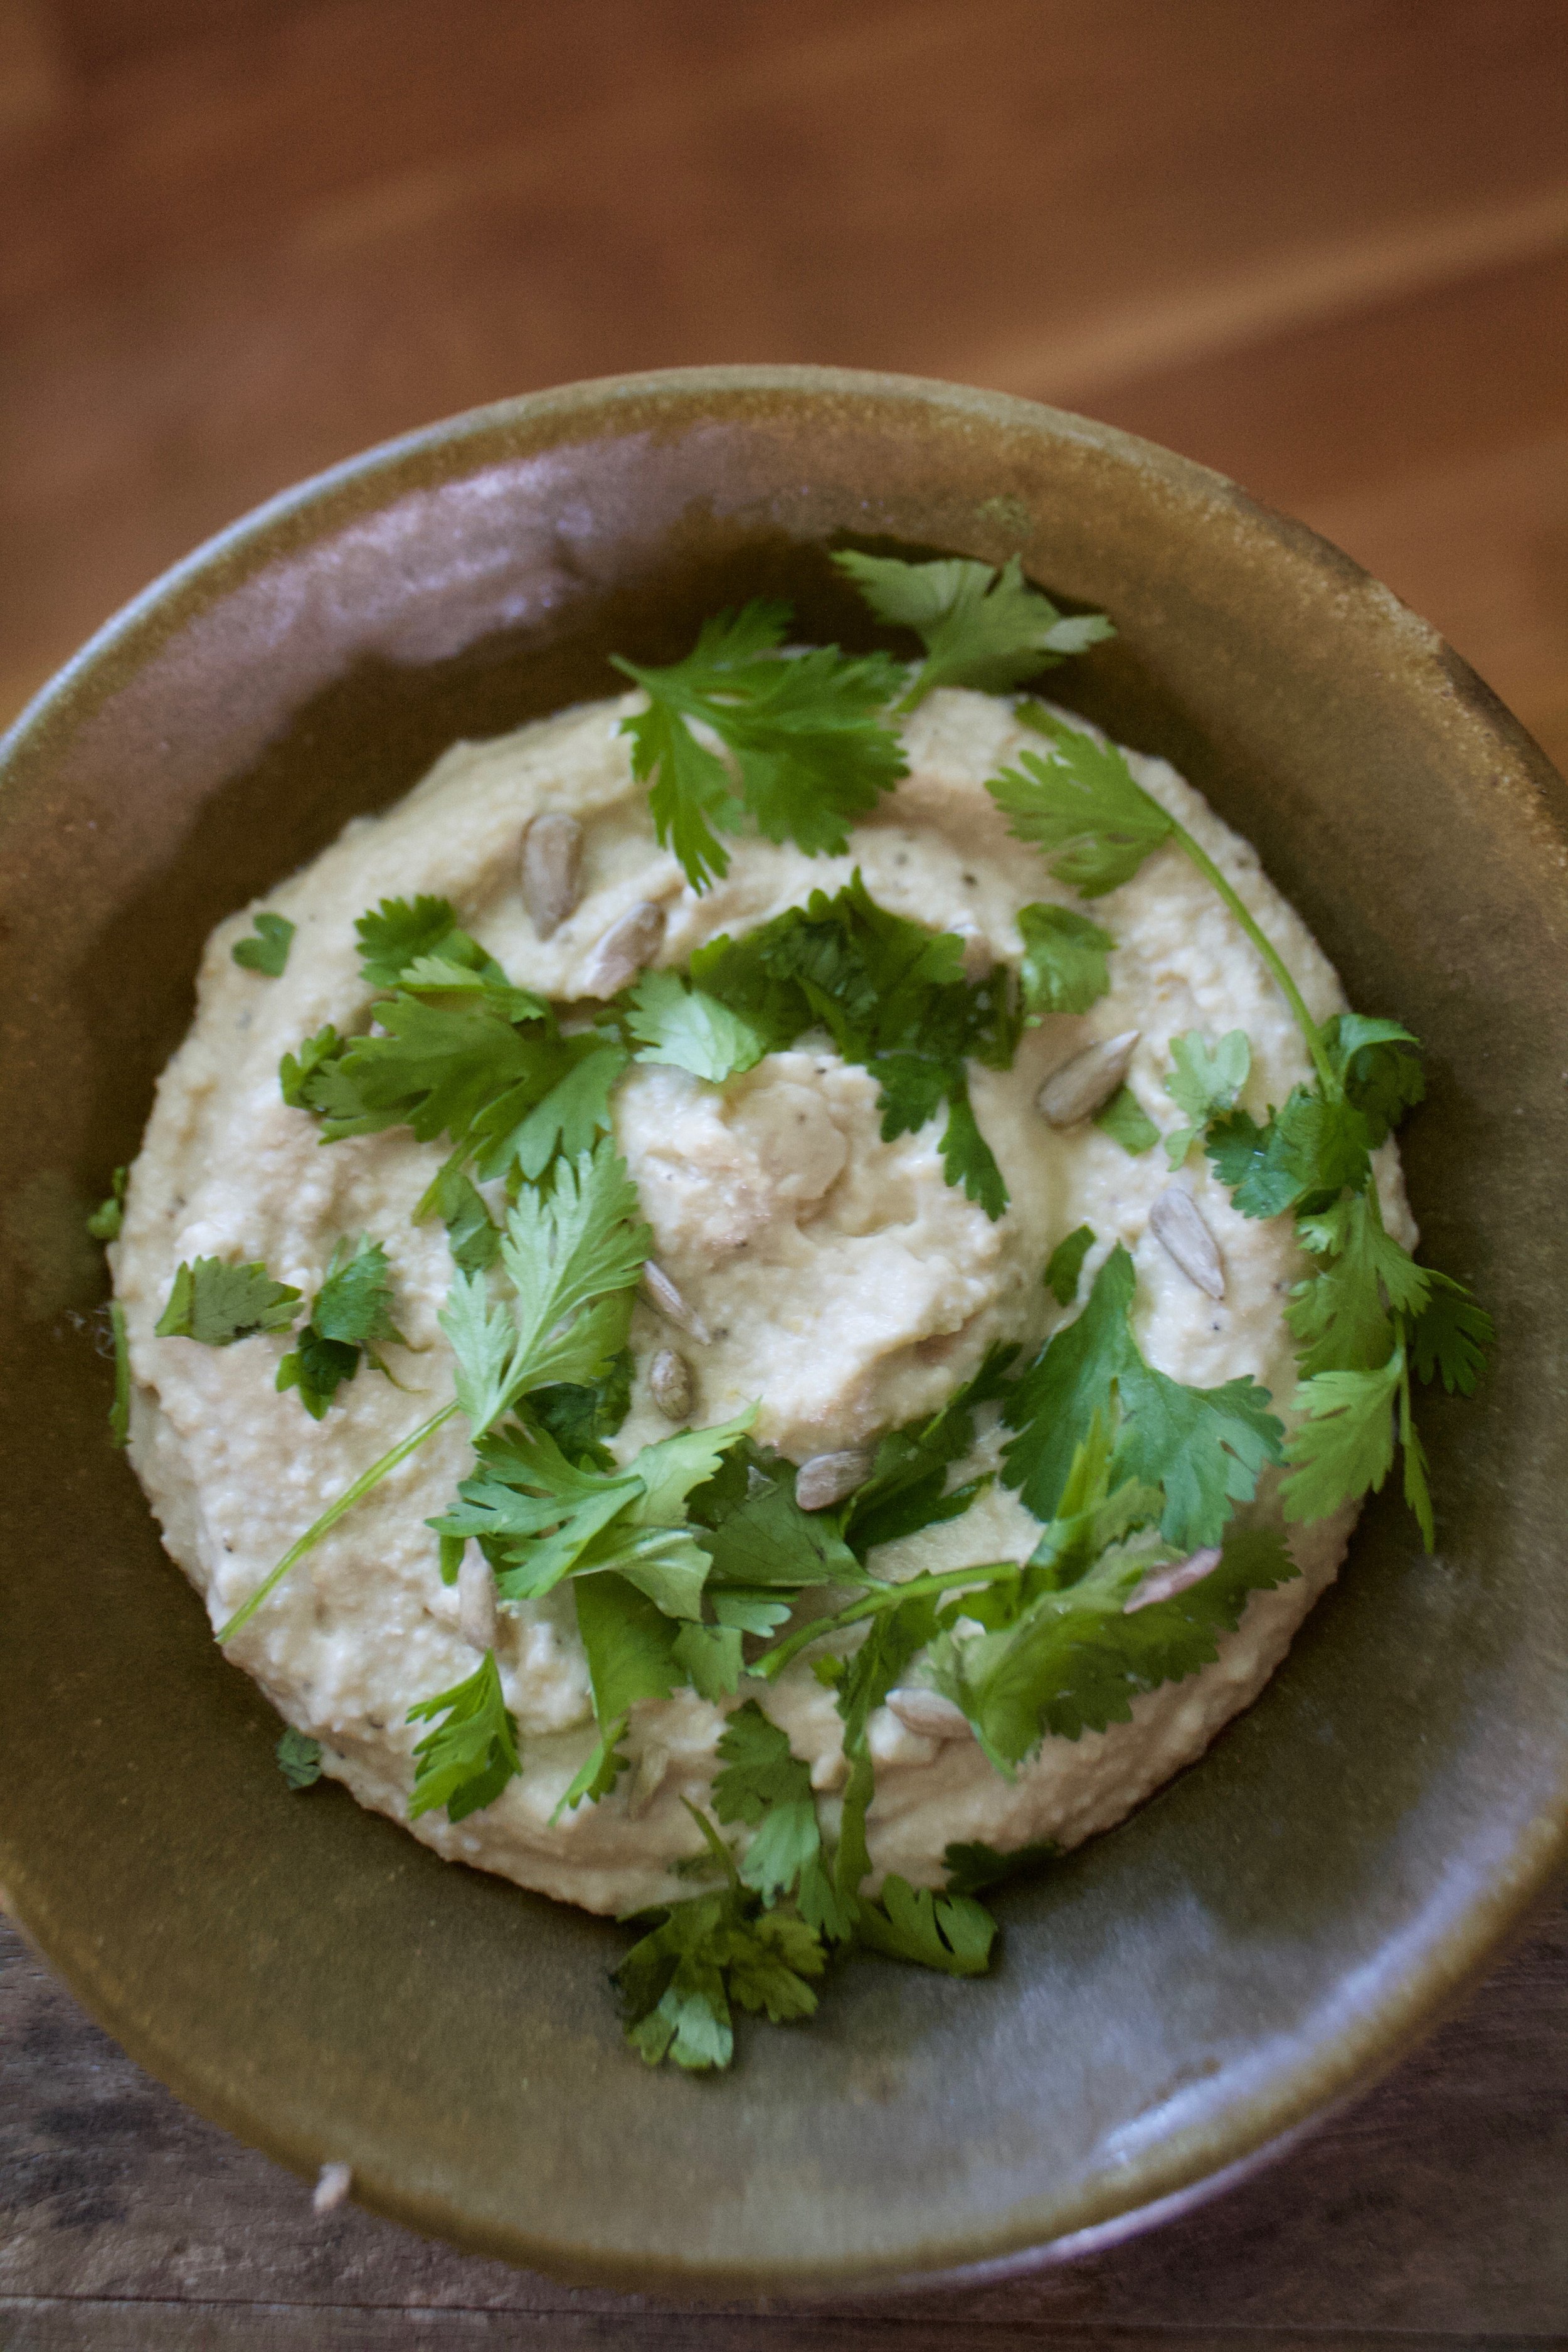
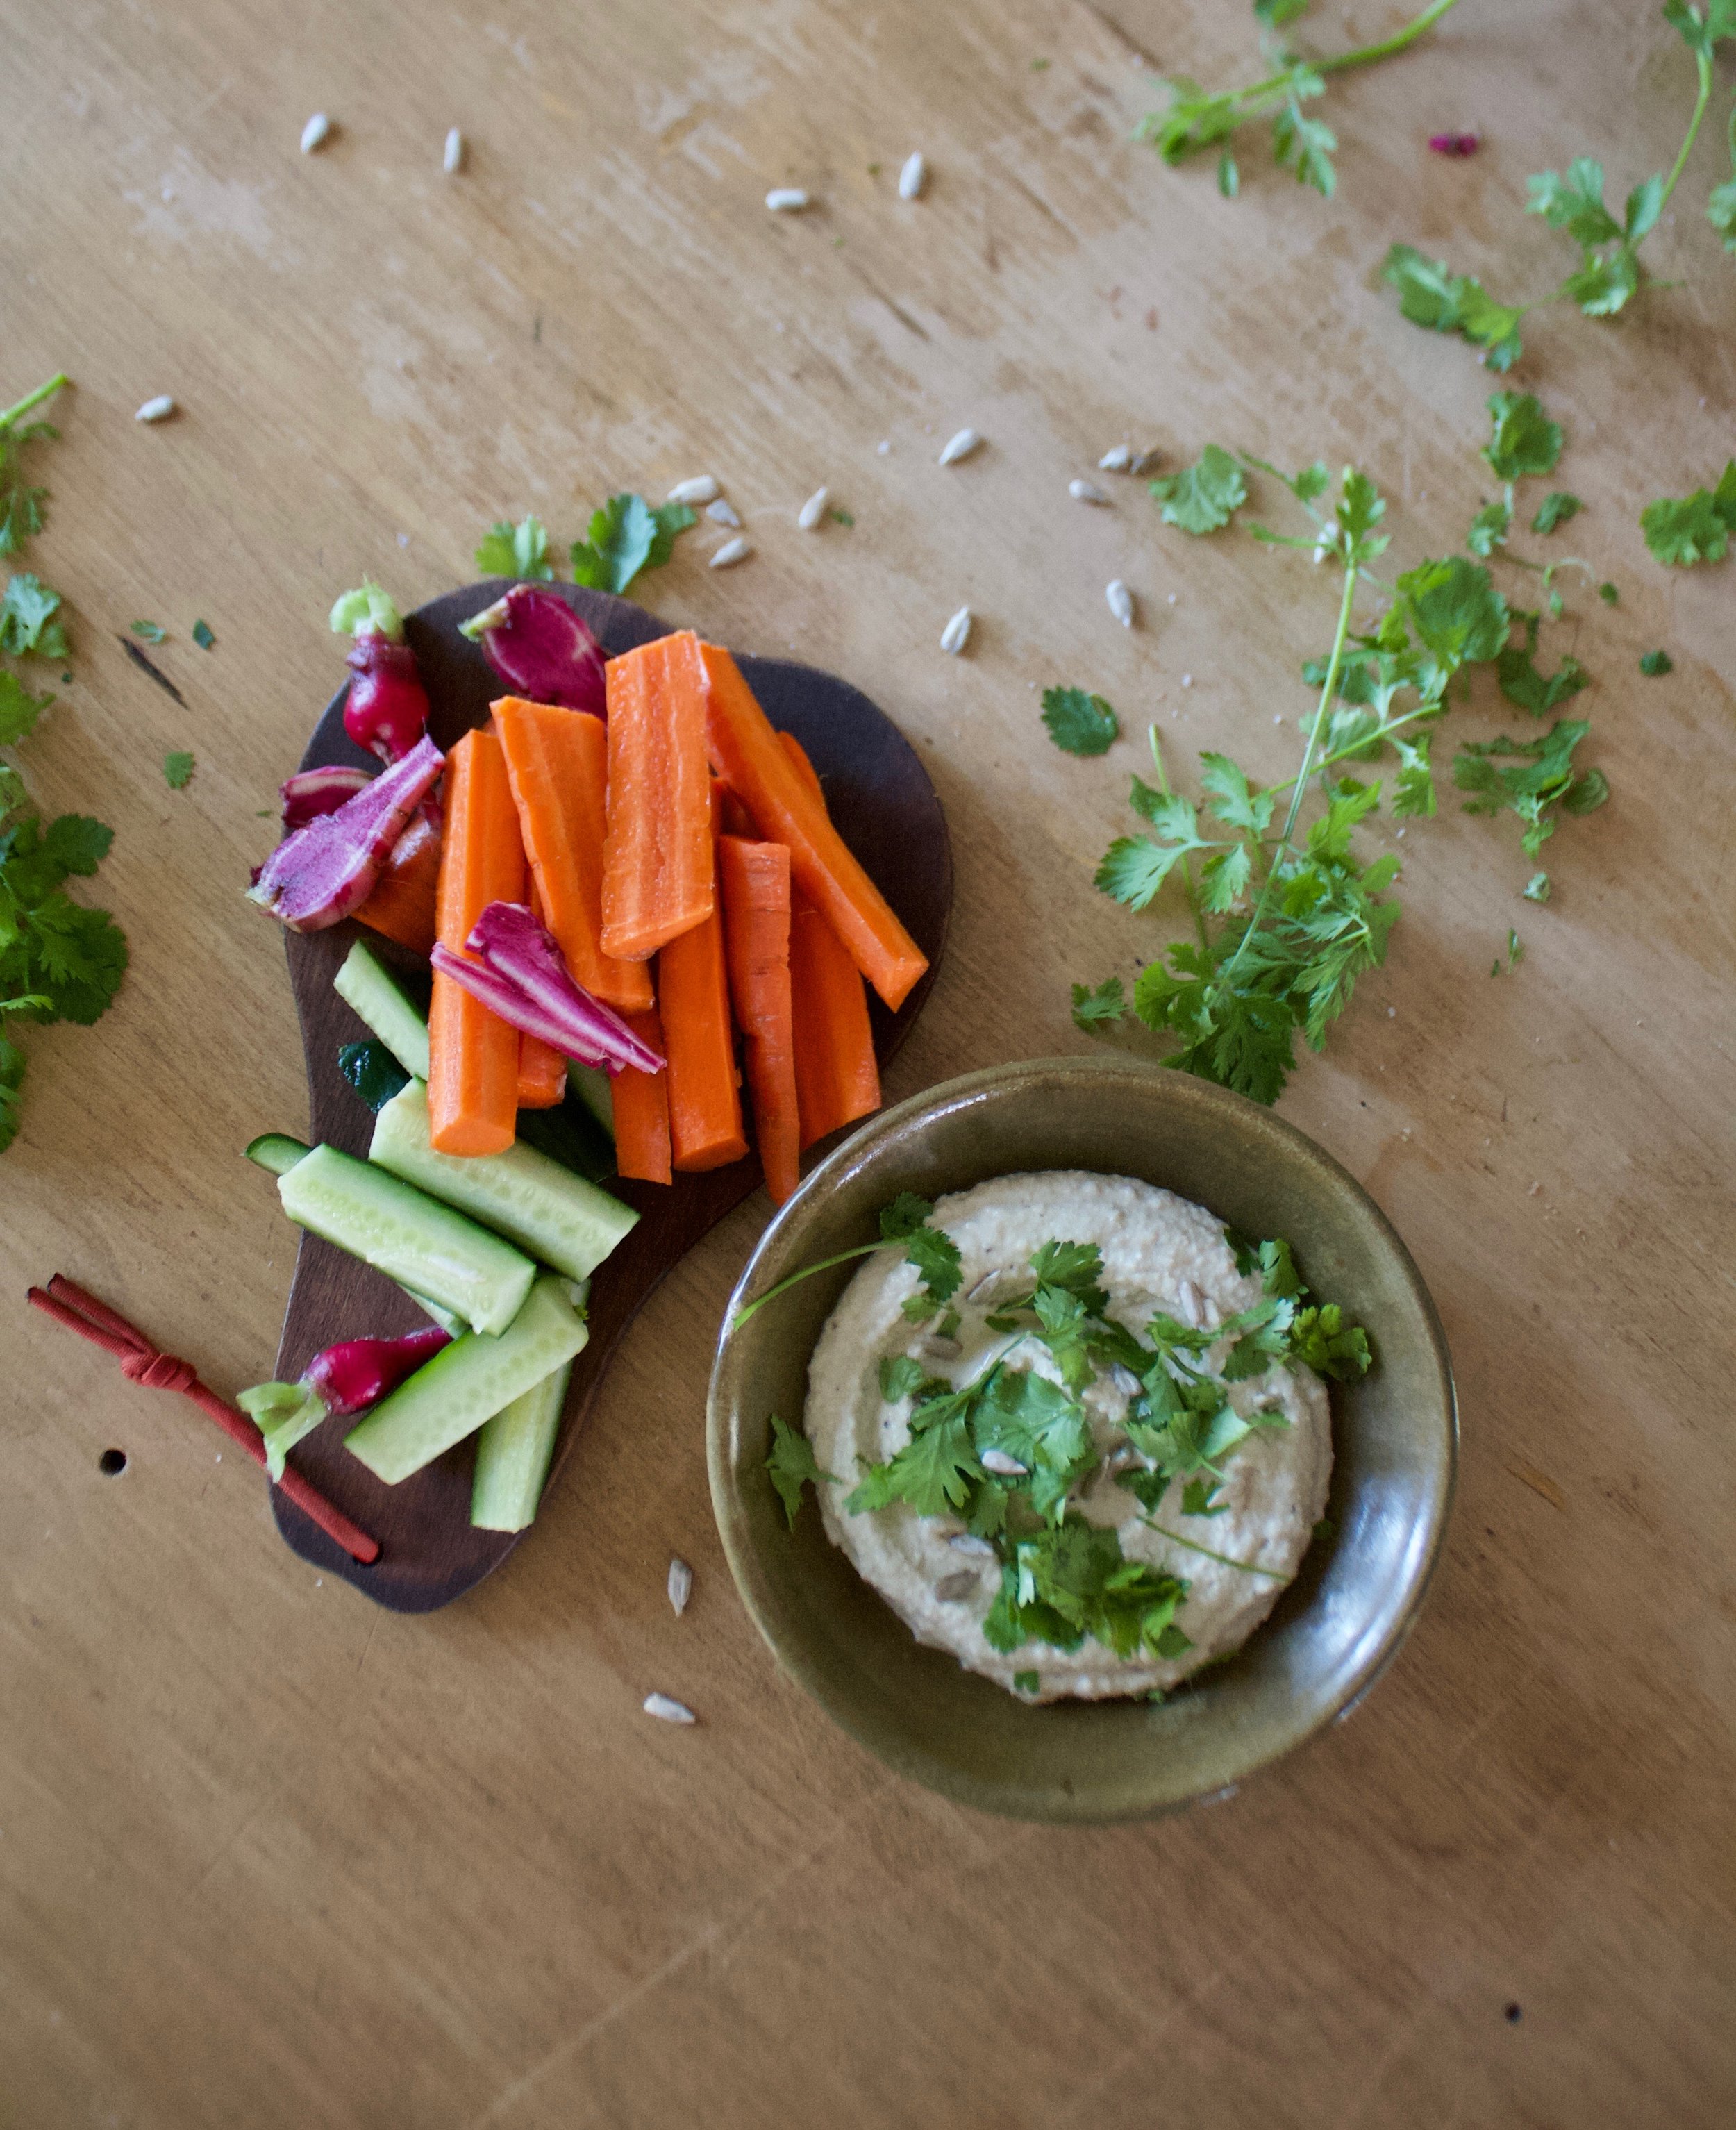
Pile a bowl full enough that you can call it dinner them top with a good amount of fresh herbs. Serve with chopped up fresh veggies or whatever you like and we are good to go.

Creamy, dreamy sunflower hummus, no heat required! 

Stay not melted!

-C


Sunflower Seed Hummus 

Makes about 2 3/4 cups

  • 2 1/2 cups cooked chickpeas (or one can) drained
  • 3/4 cup raw (can use toasted)unshelled sunflower seeds
  • l juicy lemon
  • 2-3 cloves garlic
  • 1-2 tablespoons ice water
  • salt and pepper
  • handful fresh herbs like parsley,cilantro and or dill (optional) 

Place the sunflower seeds in food processor and turn on until seeds turn into a paste, which will take about 8-10 minutes. After every few minutes, scrap the sides down to make sure it all gets blended. Once the seeds reach paste consistency, add in the juice of the lemon and the garlic. Blend until smooth. Last off, add in the chickpeas and a pinch or salt and pepper and blend until smooth, adding  in a tablespoon or two of water to get the hummus to the consistency of your liking. Once blended taste and check for seasoning (add more salt and or pepper if needed) 

When the hummus is done, scrape into bowl(s), and top with lots of fresh herbs and a sprinkle more of sunflower seeds. Now eat it. Eat with veggies, with bread, with pretzels, or with a spoon (or finger). Do what you need to do.

 Any left over, if there is any, can be store in the fridge for 2-3 days. 


In Vegetables, Vegan, summer, seeds, quick and easy, pulses, dinner Tags Sunflower Seed Hummus, nut free, tahini free hummus, hummus, seeds, vegan, gluten free, pulses, chick peas, no cook meals, easy, sunflower seeds, dinner, spreads, dips, summer
4 Comments
← Newer Posts Older Posts →
 

https://thelovelycrazy.squarespace.com/config#/|/about/

Me. Food Maker.Food eater. Woo HOO!

STEM+NODE  SMALL BATCH AND ONE OF A KIND POTTERY

stem+node ceramics


____________________

Subscribe

GET NEW POSTS IN YO EMAIL

You are AWESOME!!!


@thelovelycrazy 2014-2021