• stem+node ceramics
  • HOME
  • Food Recipes
  • About
  • Contact
Menu

The Lovely Crazy

Street Address
City, State, Zip
Phone Number

Your Custom Text Here

The Lovely Crazy

  • stem+node ceramics
  • HOME
  • Food Recipes
  • About
  • Contact

Cajun Lentil and Rice Bake

April 13, 2019 Colleen Stem
IMG_7419.jpg
IMG_7466.jpg
IMG_7428.jpg

It is spring yes? I know it is officially spring but around here it has been more or less still winter which is to be expected but is, at this point, no longer welcomed. I, as well as everyone else I talk to, are over it. Enough snow. enough of the hats and jackets. Just enough.

But the bright side of the chilly, cold weather is that we can and still want to turn the oven on and cook things. And because I turned the heat off a little prematurely, I am cold so I really want the oven on.

One skillet, a little chop action, a stir, some good time in the oven and there you go, food for your belly. Not a ton of dishes to do, steps to fallow, thoughts to think (other then eating thoughts). A good old, hearty, simple to toss together, spicy, delicious skillet of goodness. Prepare it fast, pop into warm oven, sit in kitchen drawing up plans for the spring veggie garden, and then eat yourself warm. What more can we ask for?

We can ask for spring weather because seriously. But other then that.

To the goodness of cajun lentils and rice!

IMG_7328.jpg

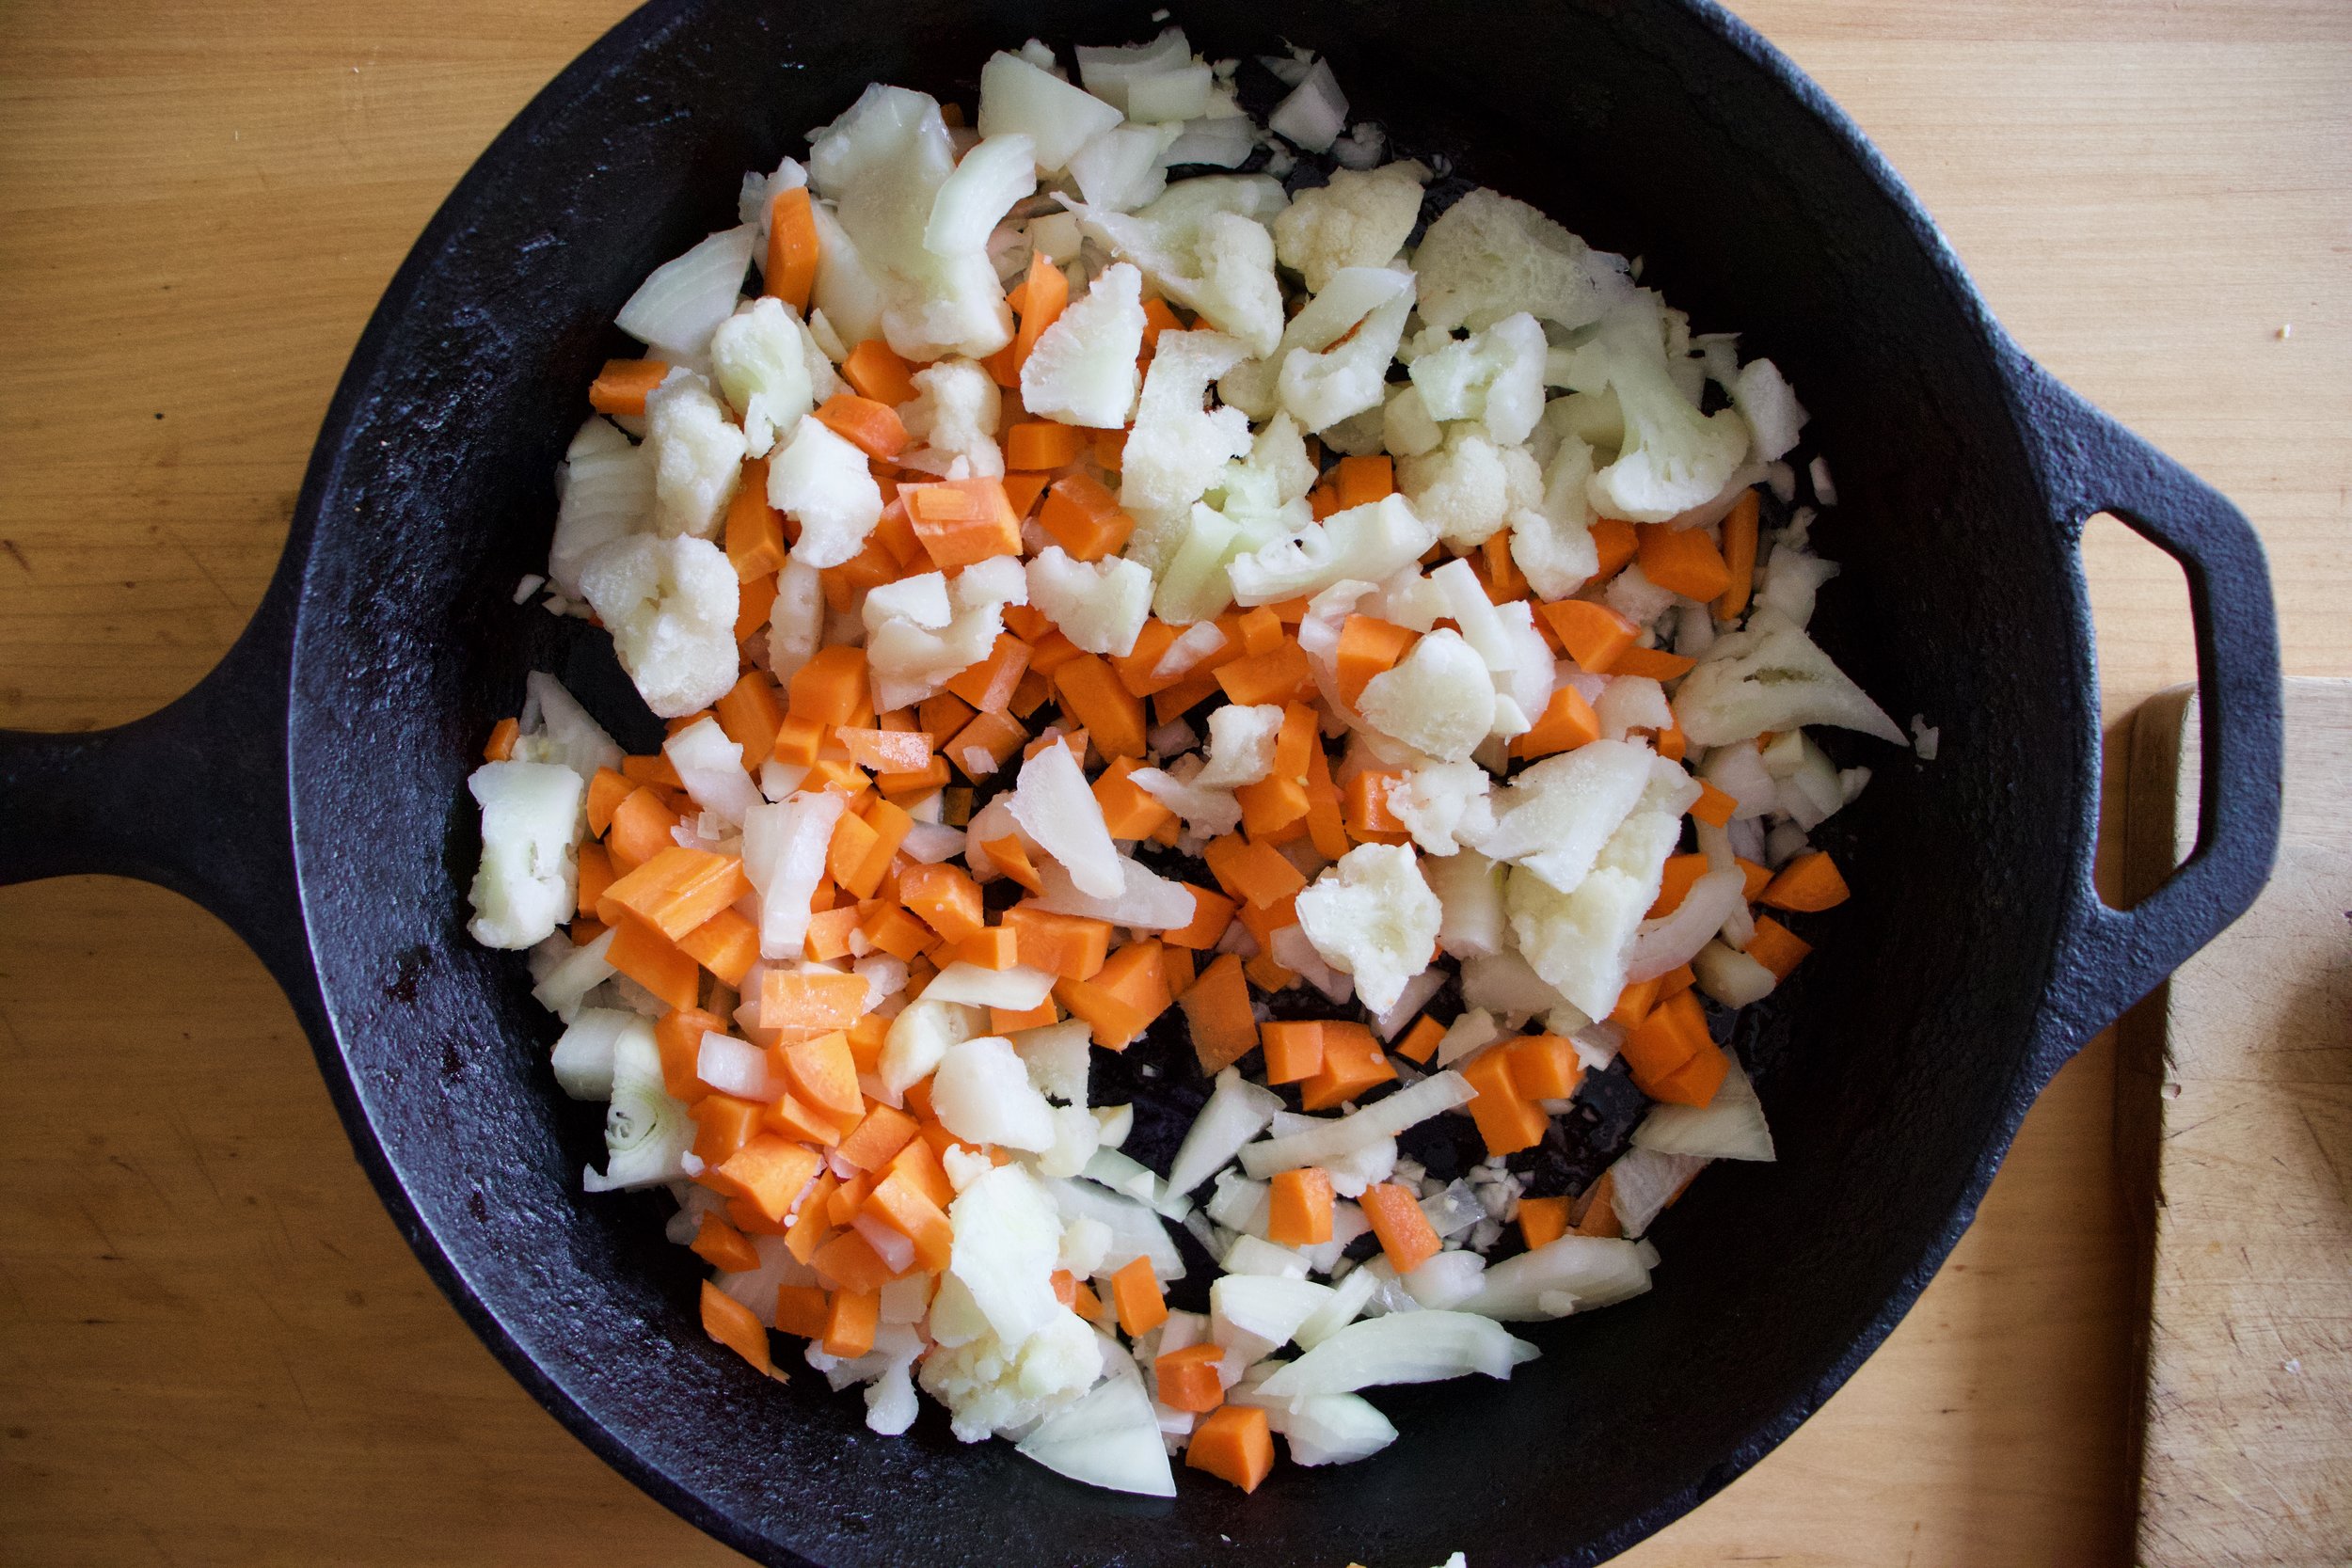
The stuff. Lentils, brown rice, cajun seasoning, some crushed tomatoes, an onion, a carrot, a few cloves garlic, some cauliflower, water, oil, and salt and pepper.

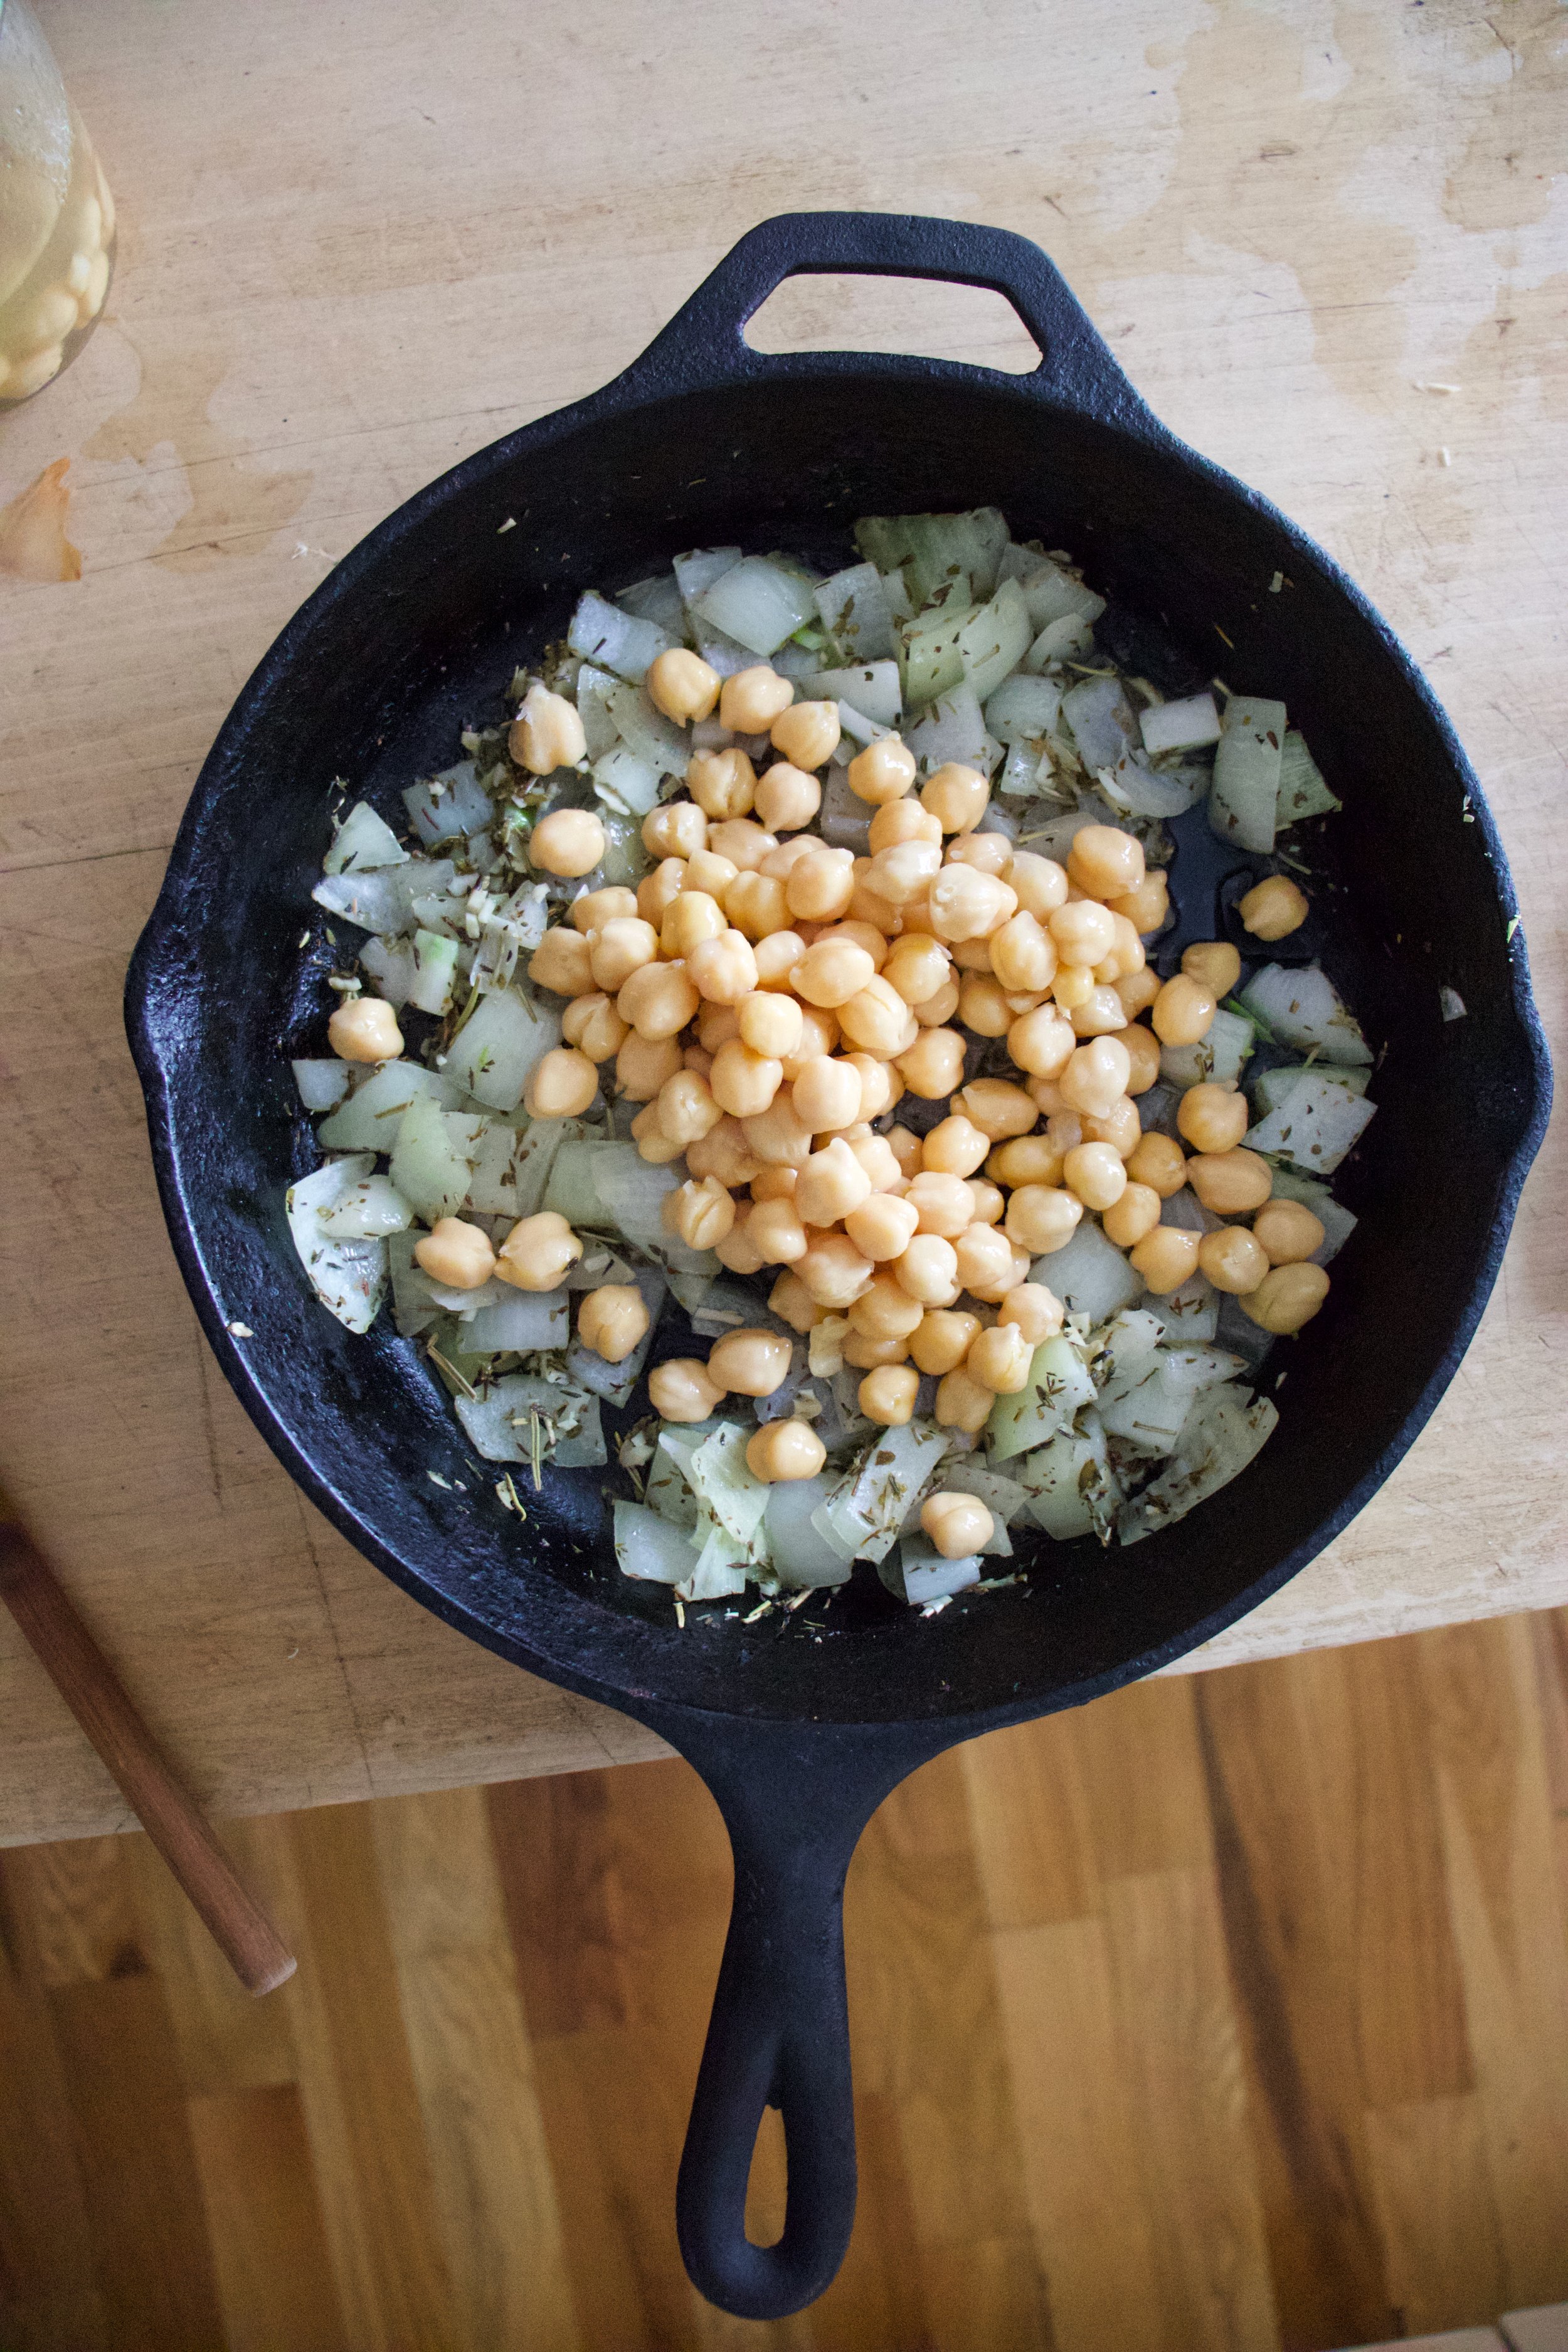
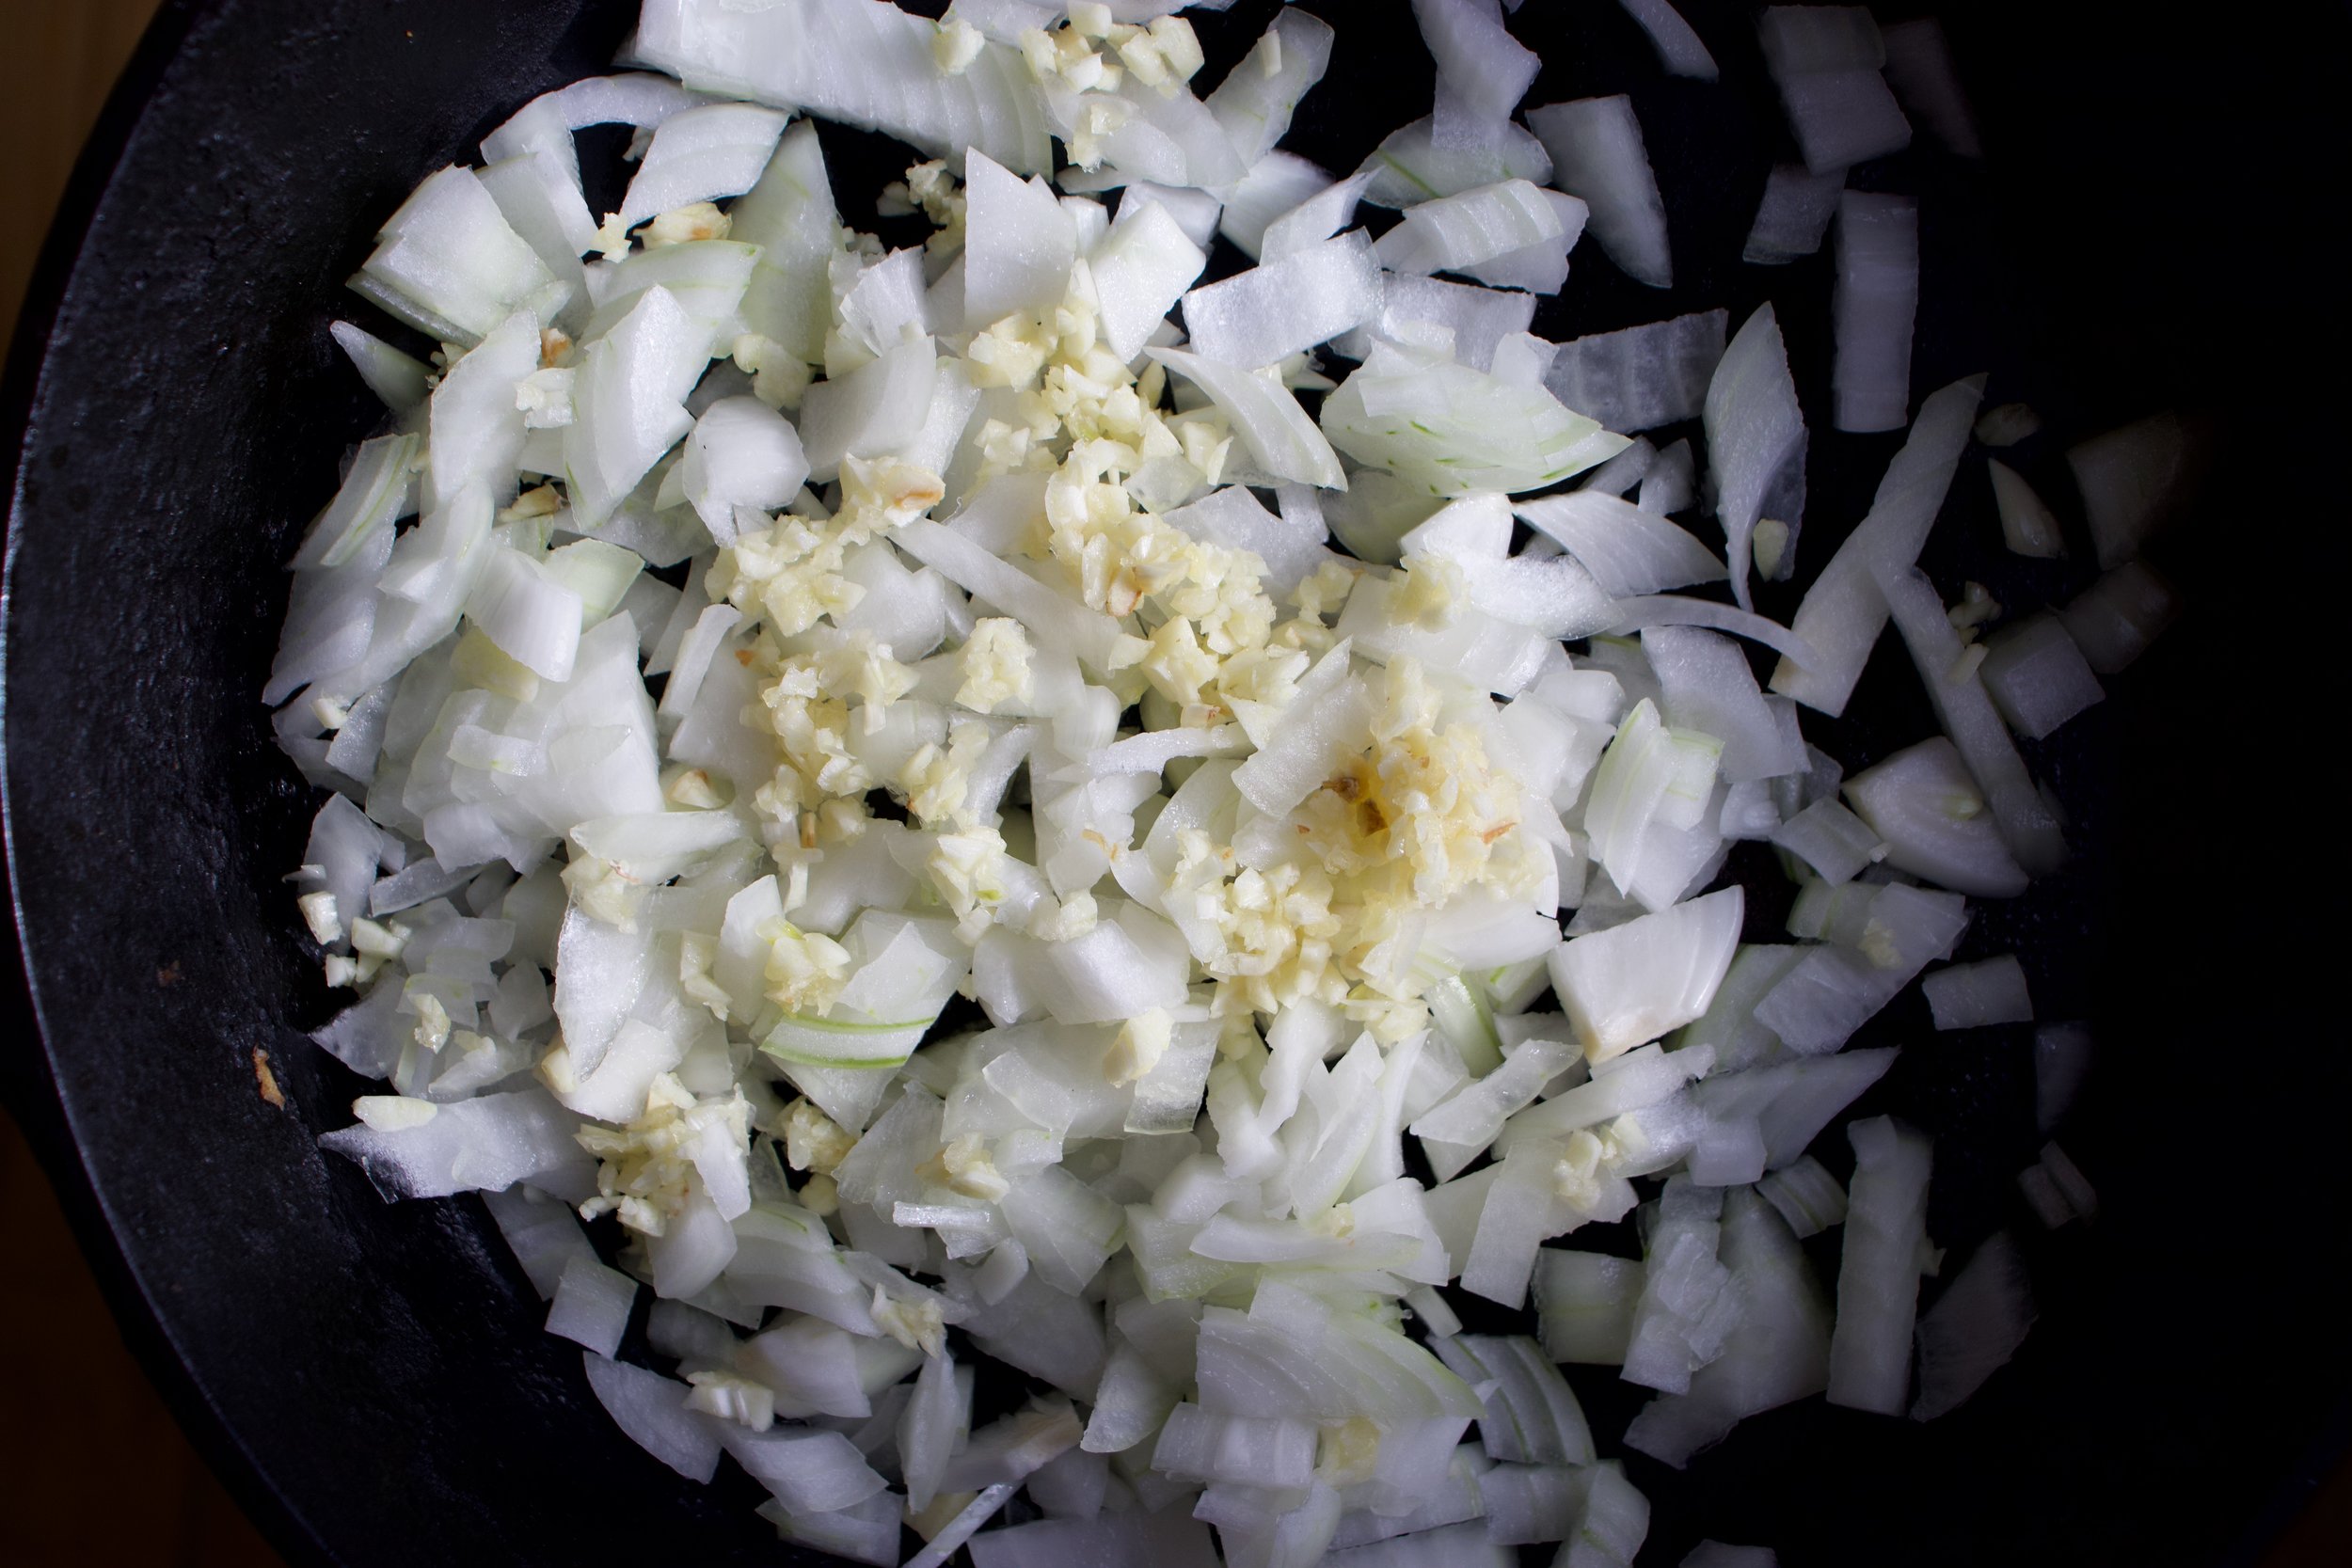
First off, mince garlic and chop up the cauliflower, carrot, and onion into small pieces.

IMG_7343.jpg
IMG_7347.jpg

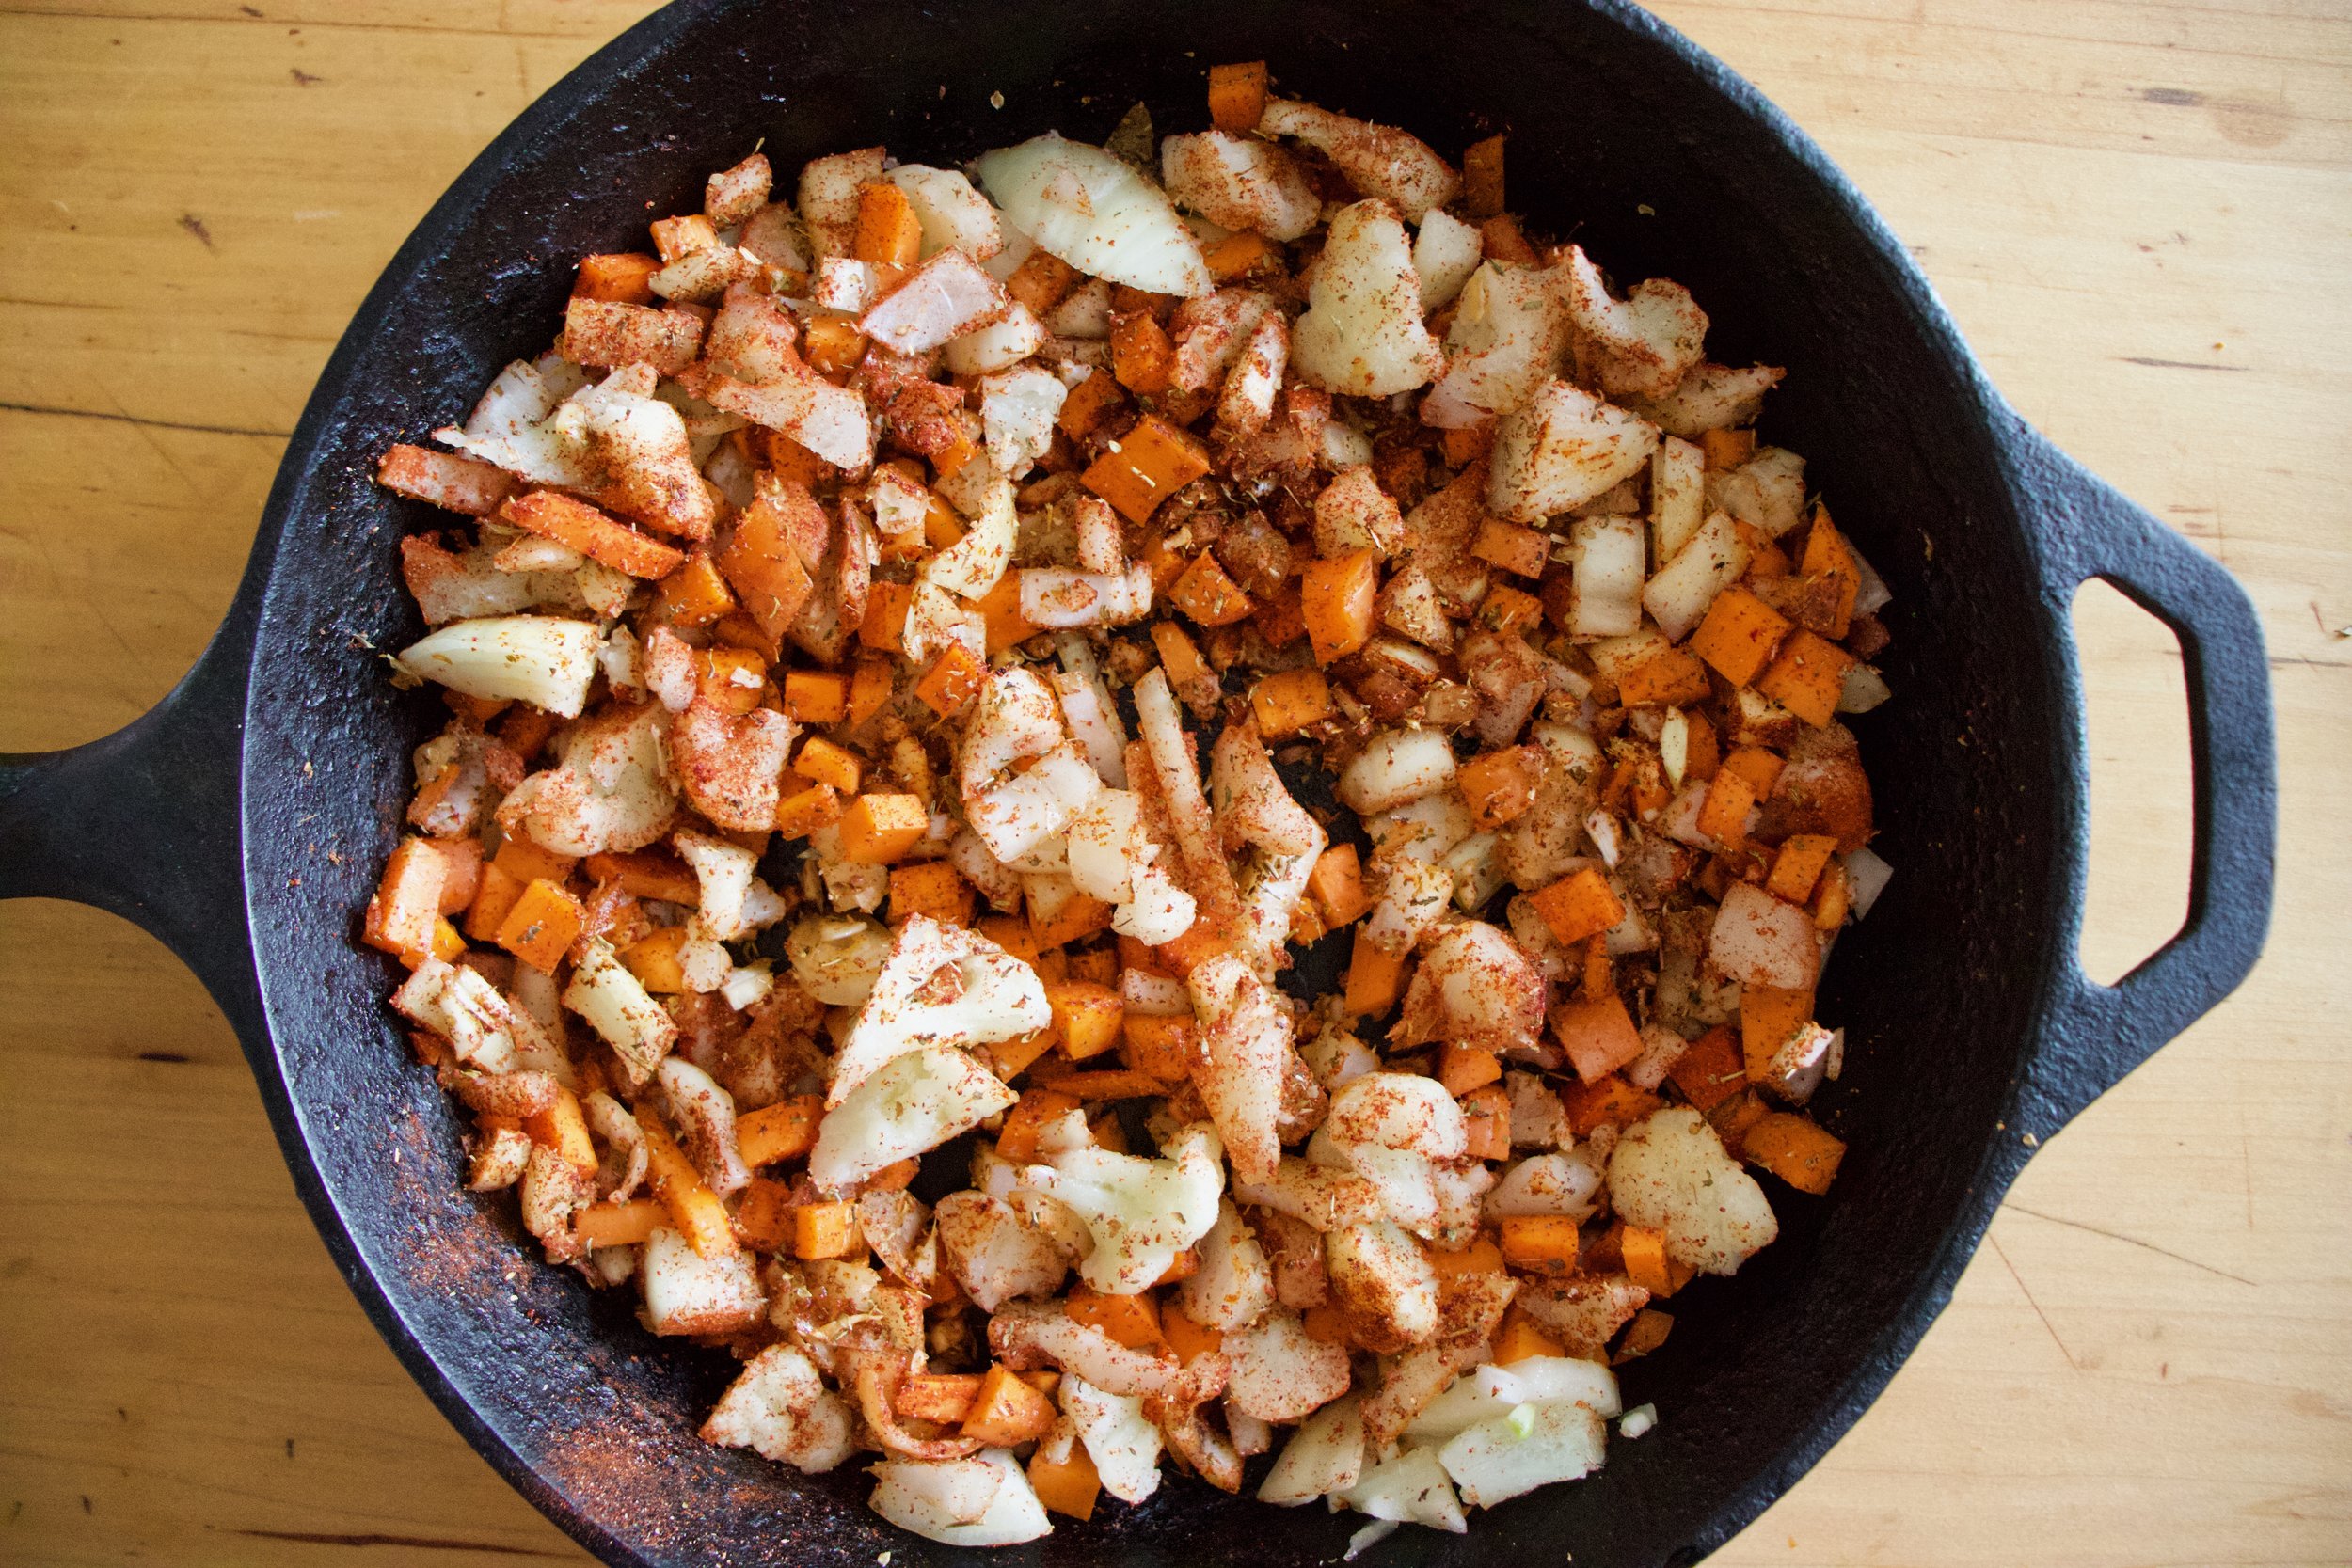
Toss it all into a good sized oven safe skillet with a splash of oil. Mix in the cajun seasoning too and stick o nth stove on medium heat for a few minutes.

IMG_7366 2.jpg

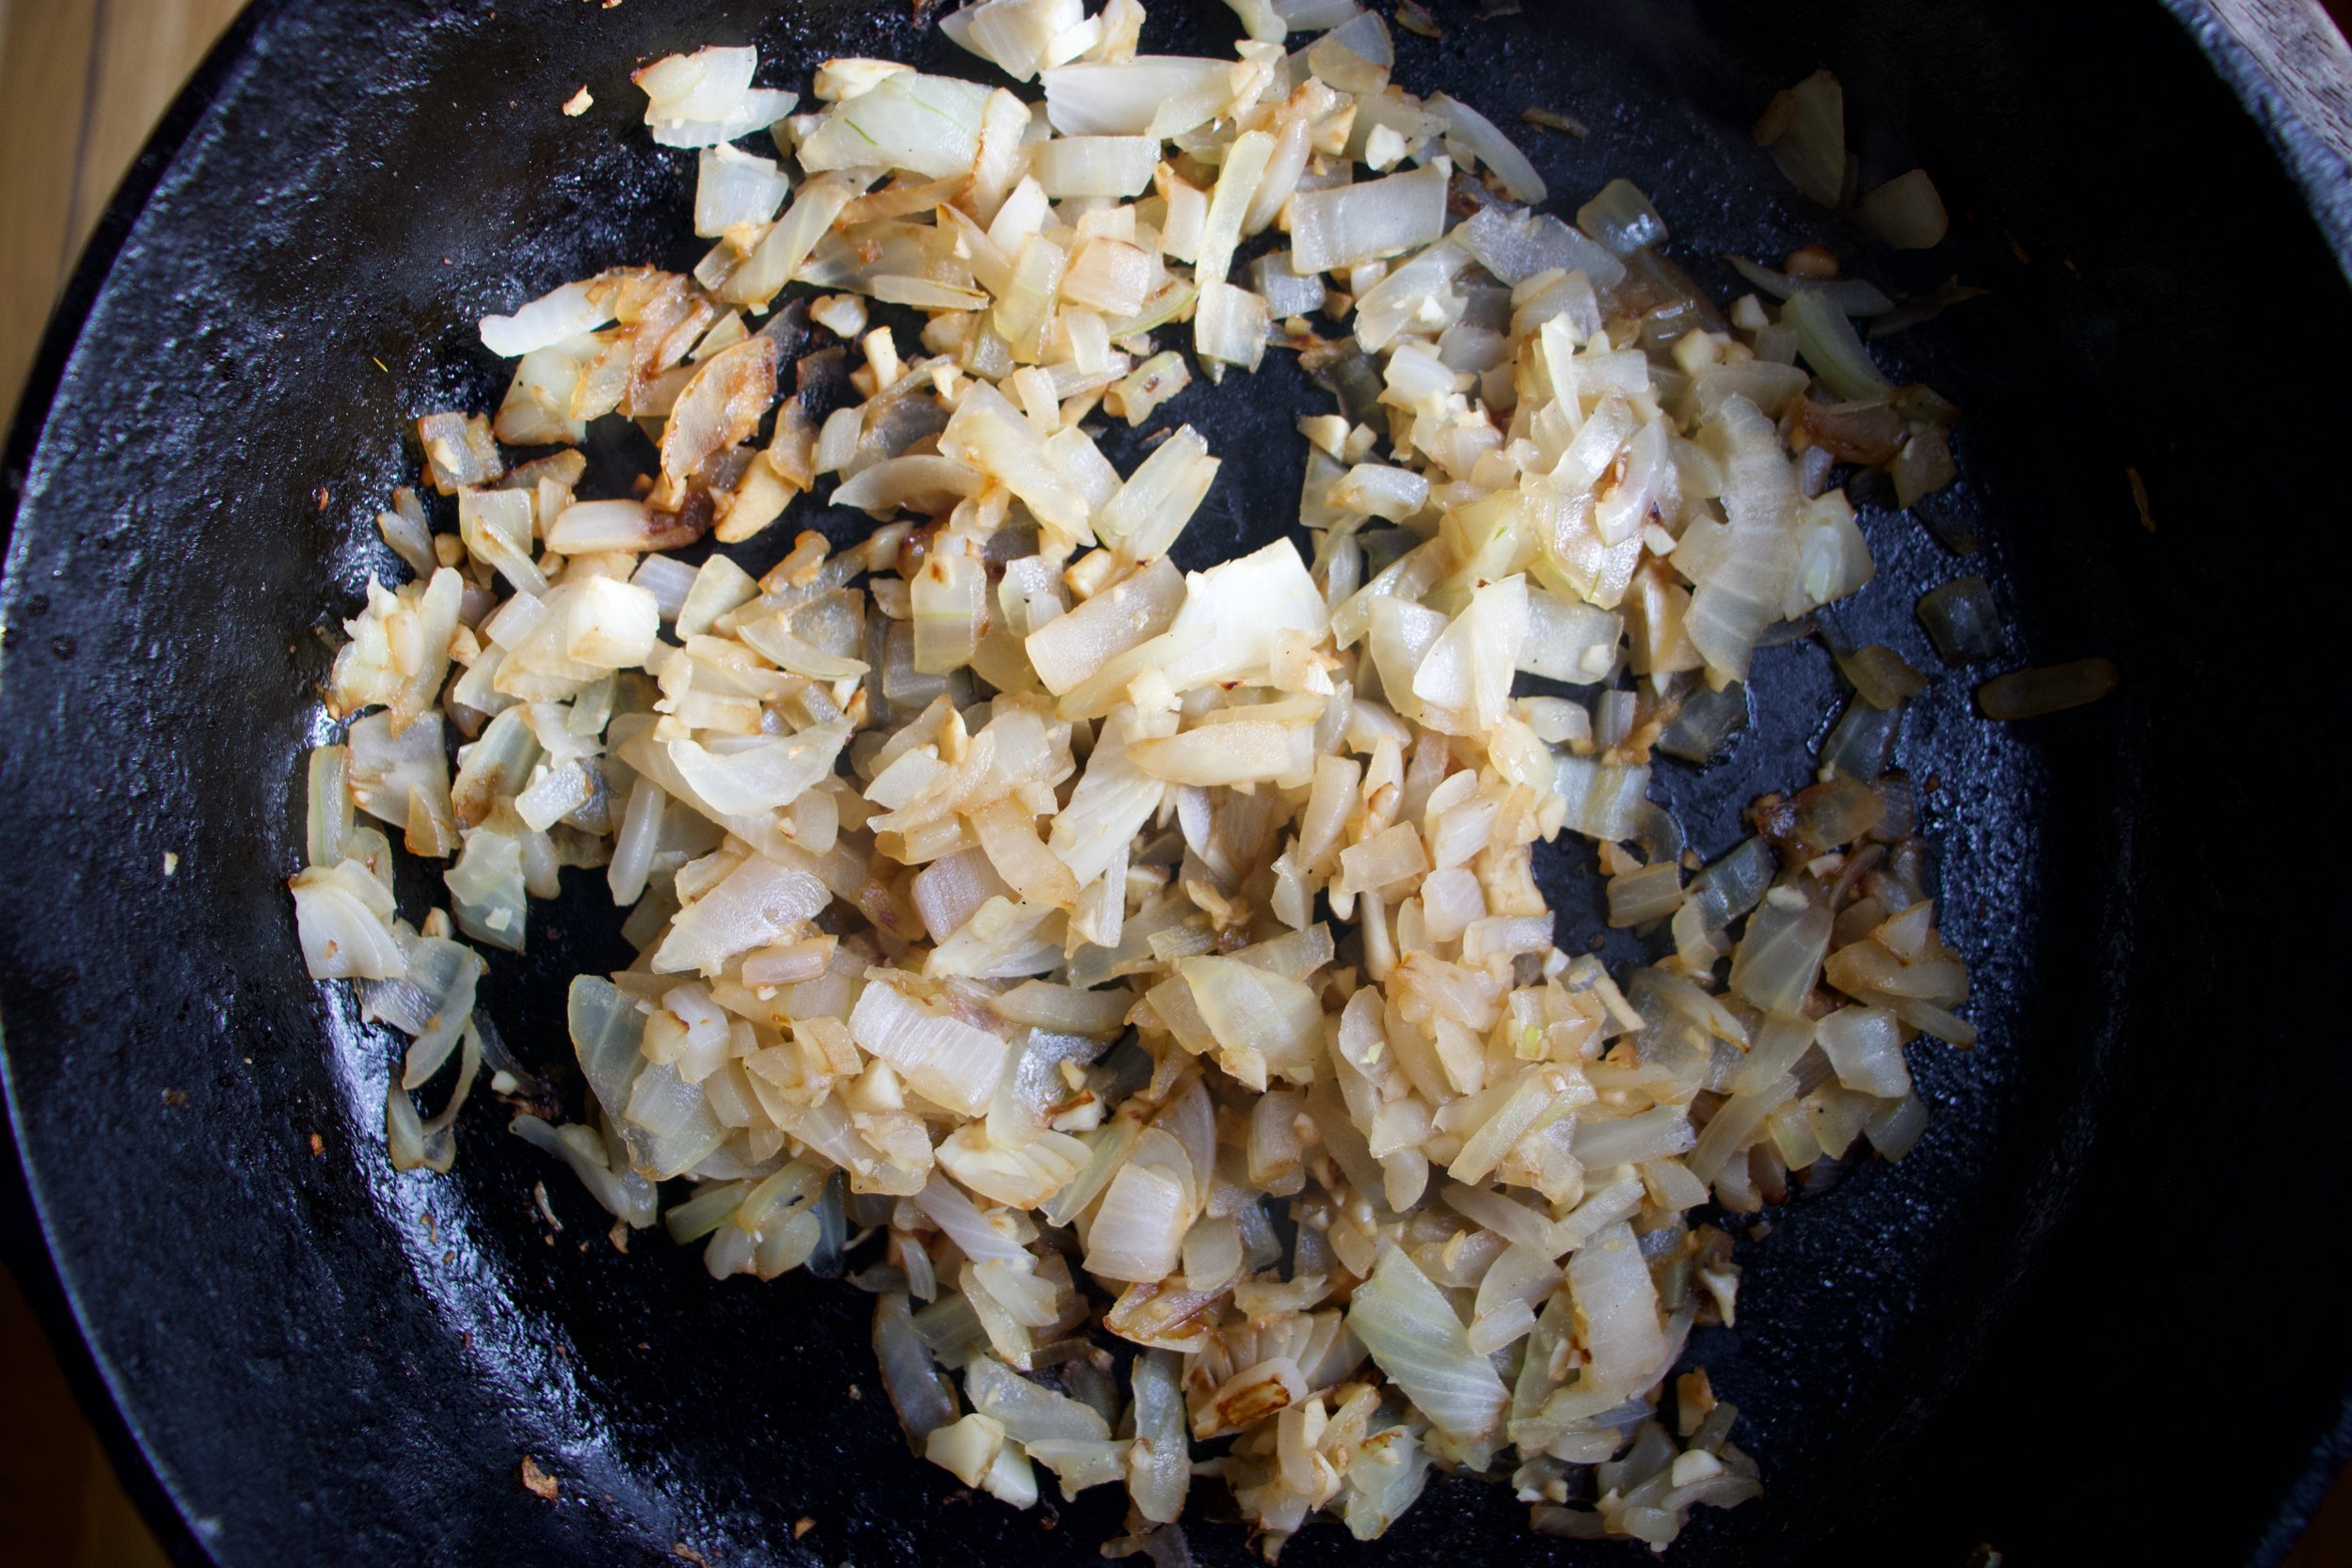
Cook until fragrant and slightly tender. Taste it, it is good.

IMG_7375.jpg
IMG_7382.jpg

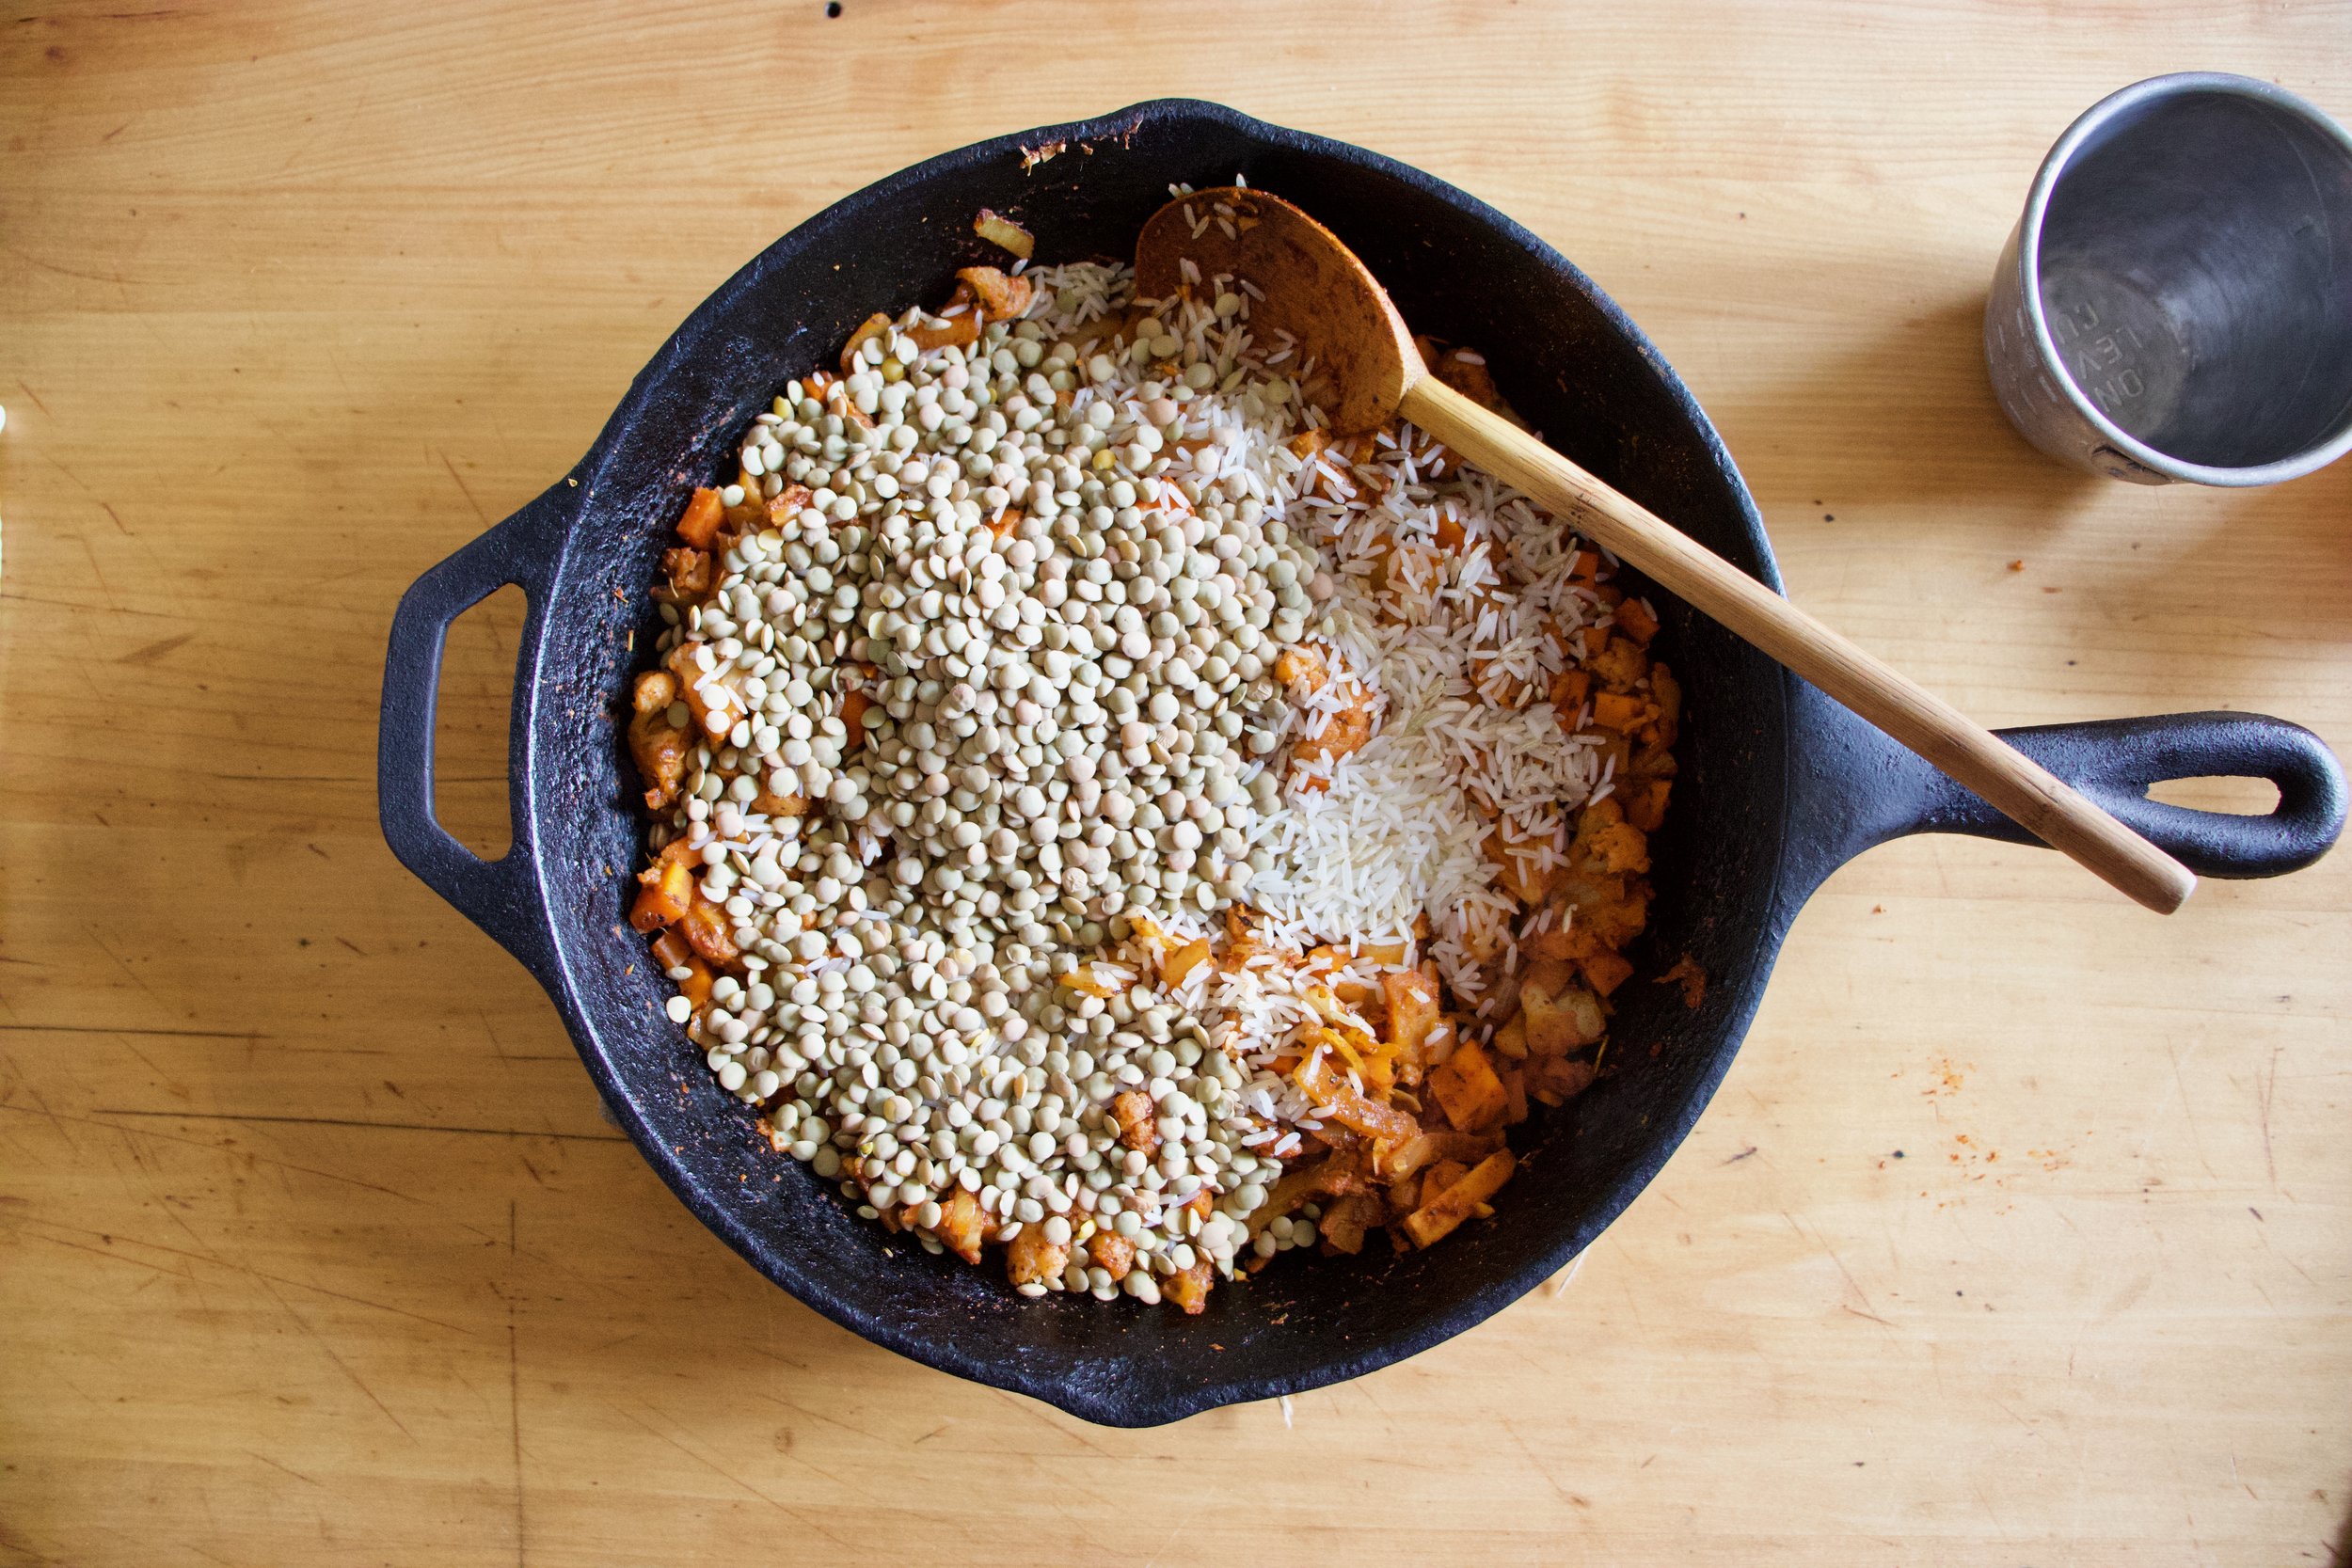
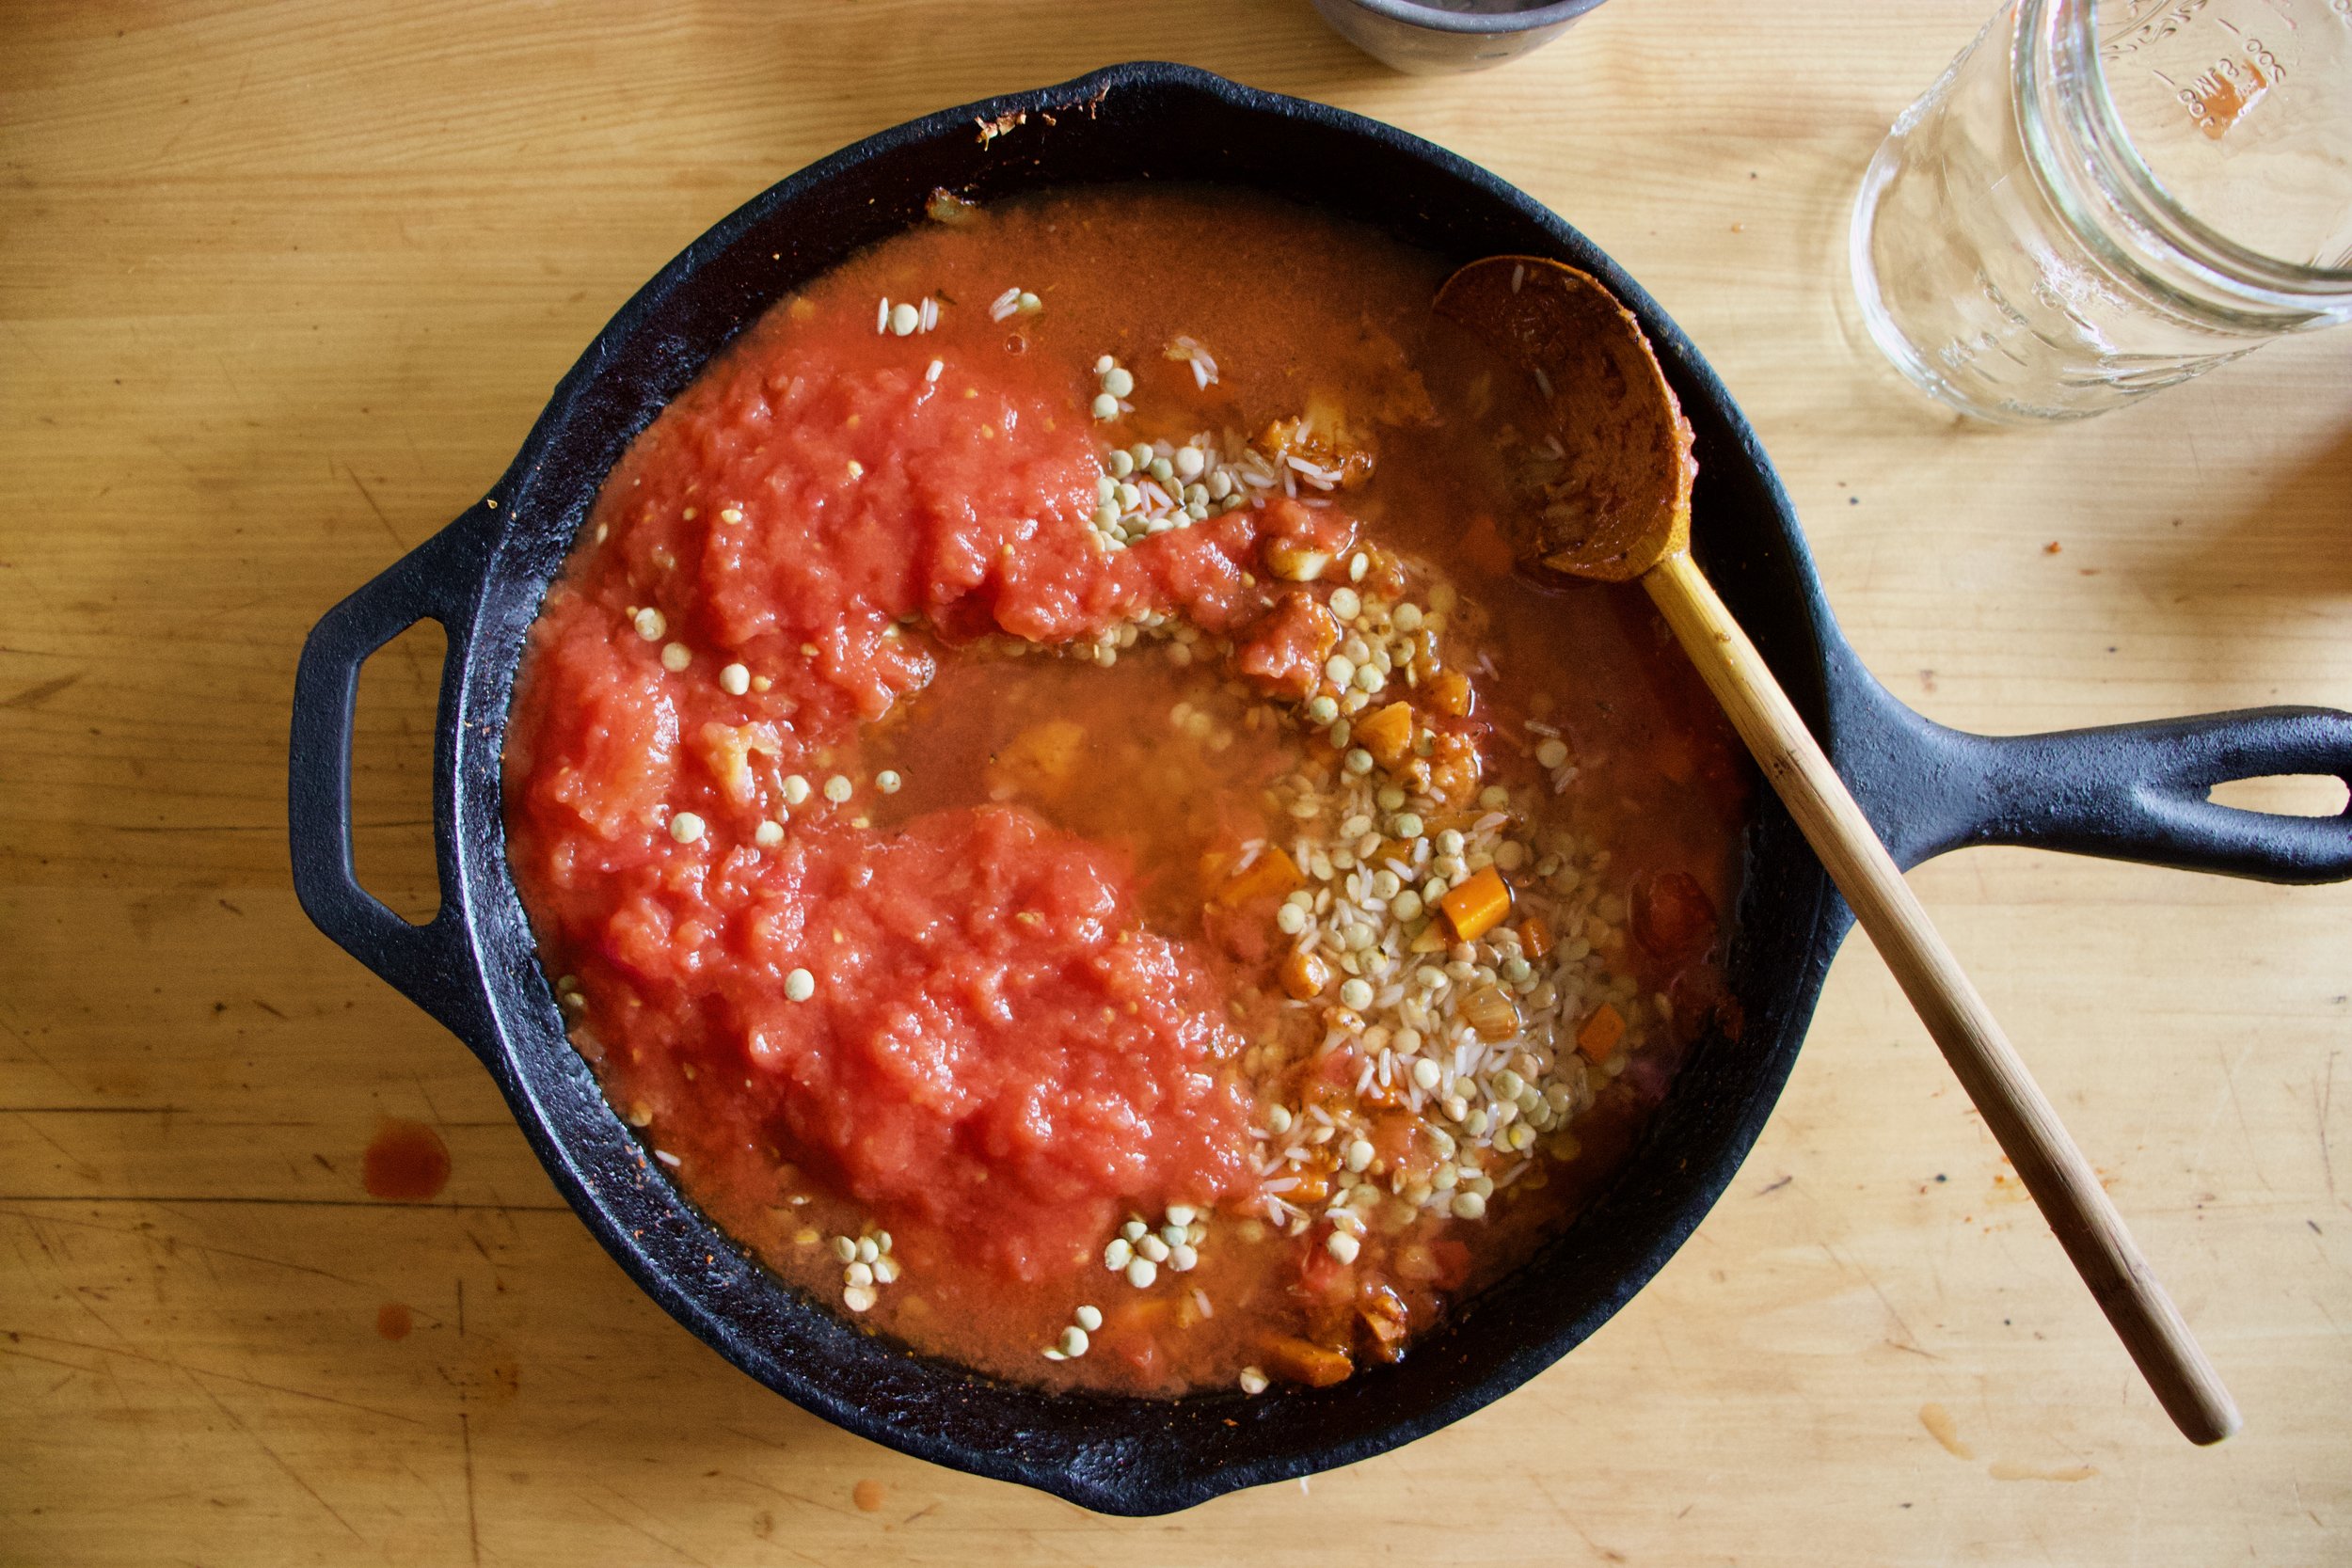
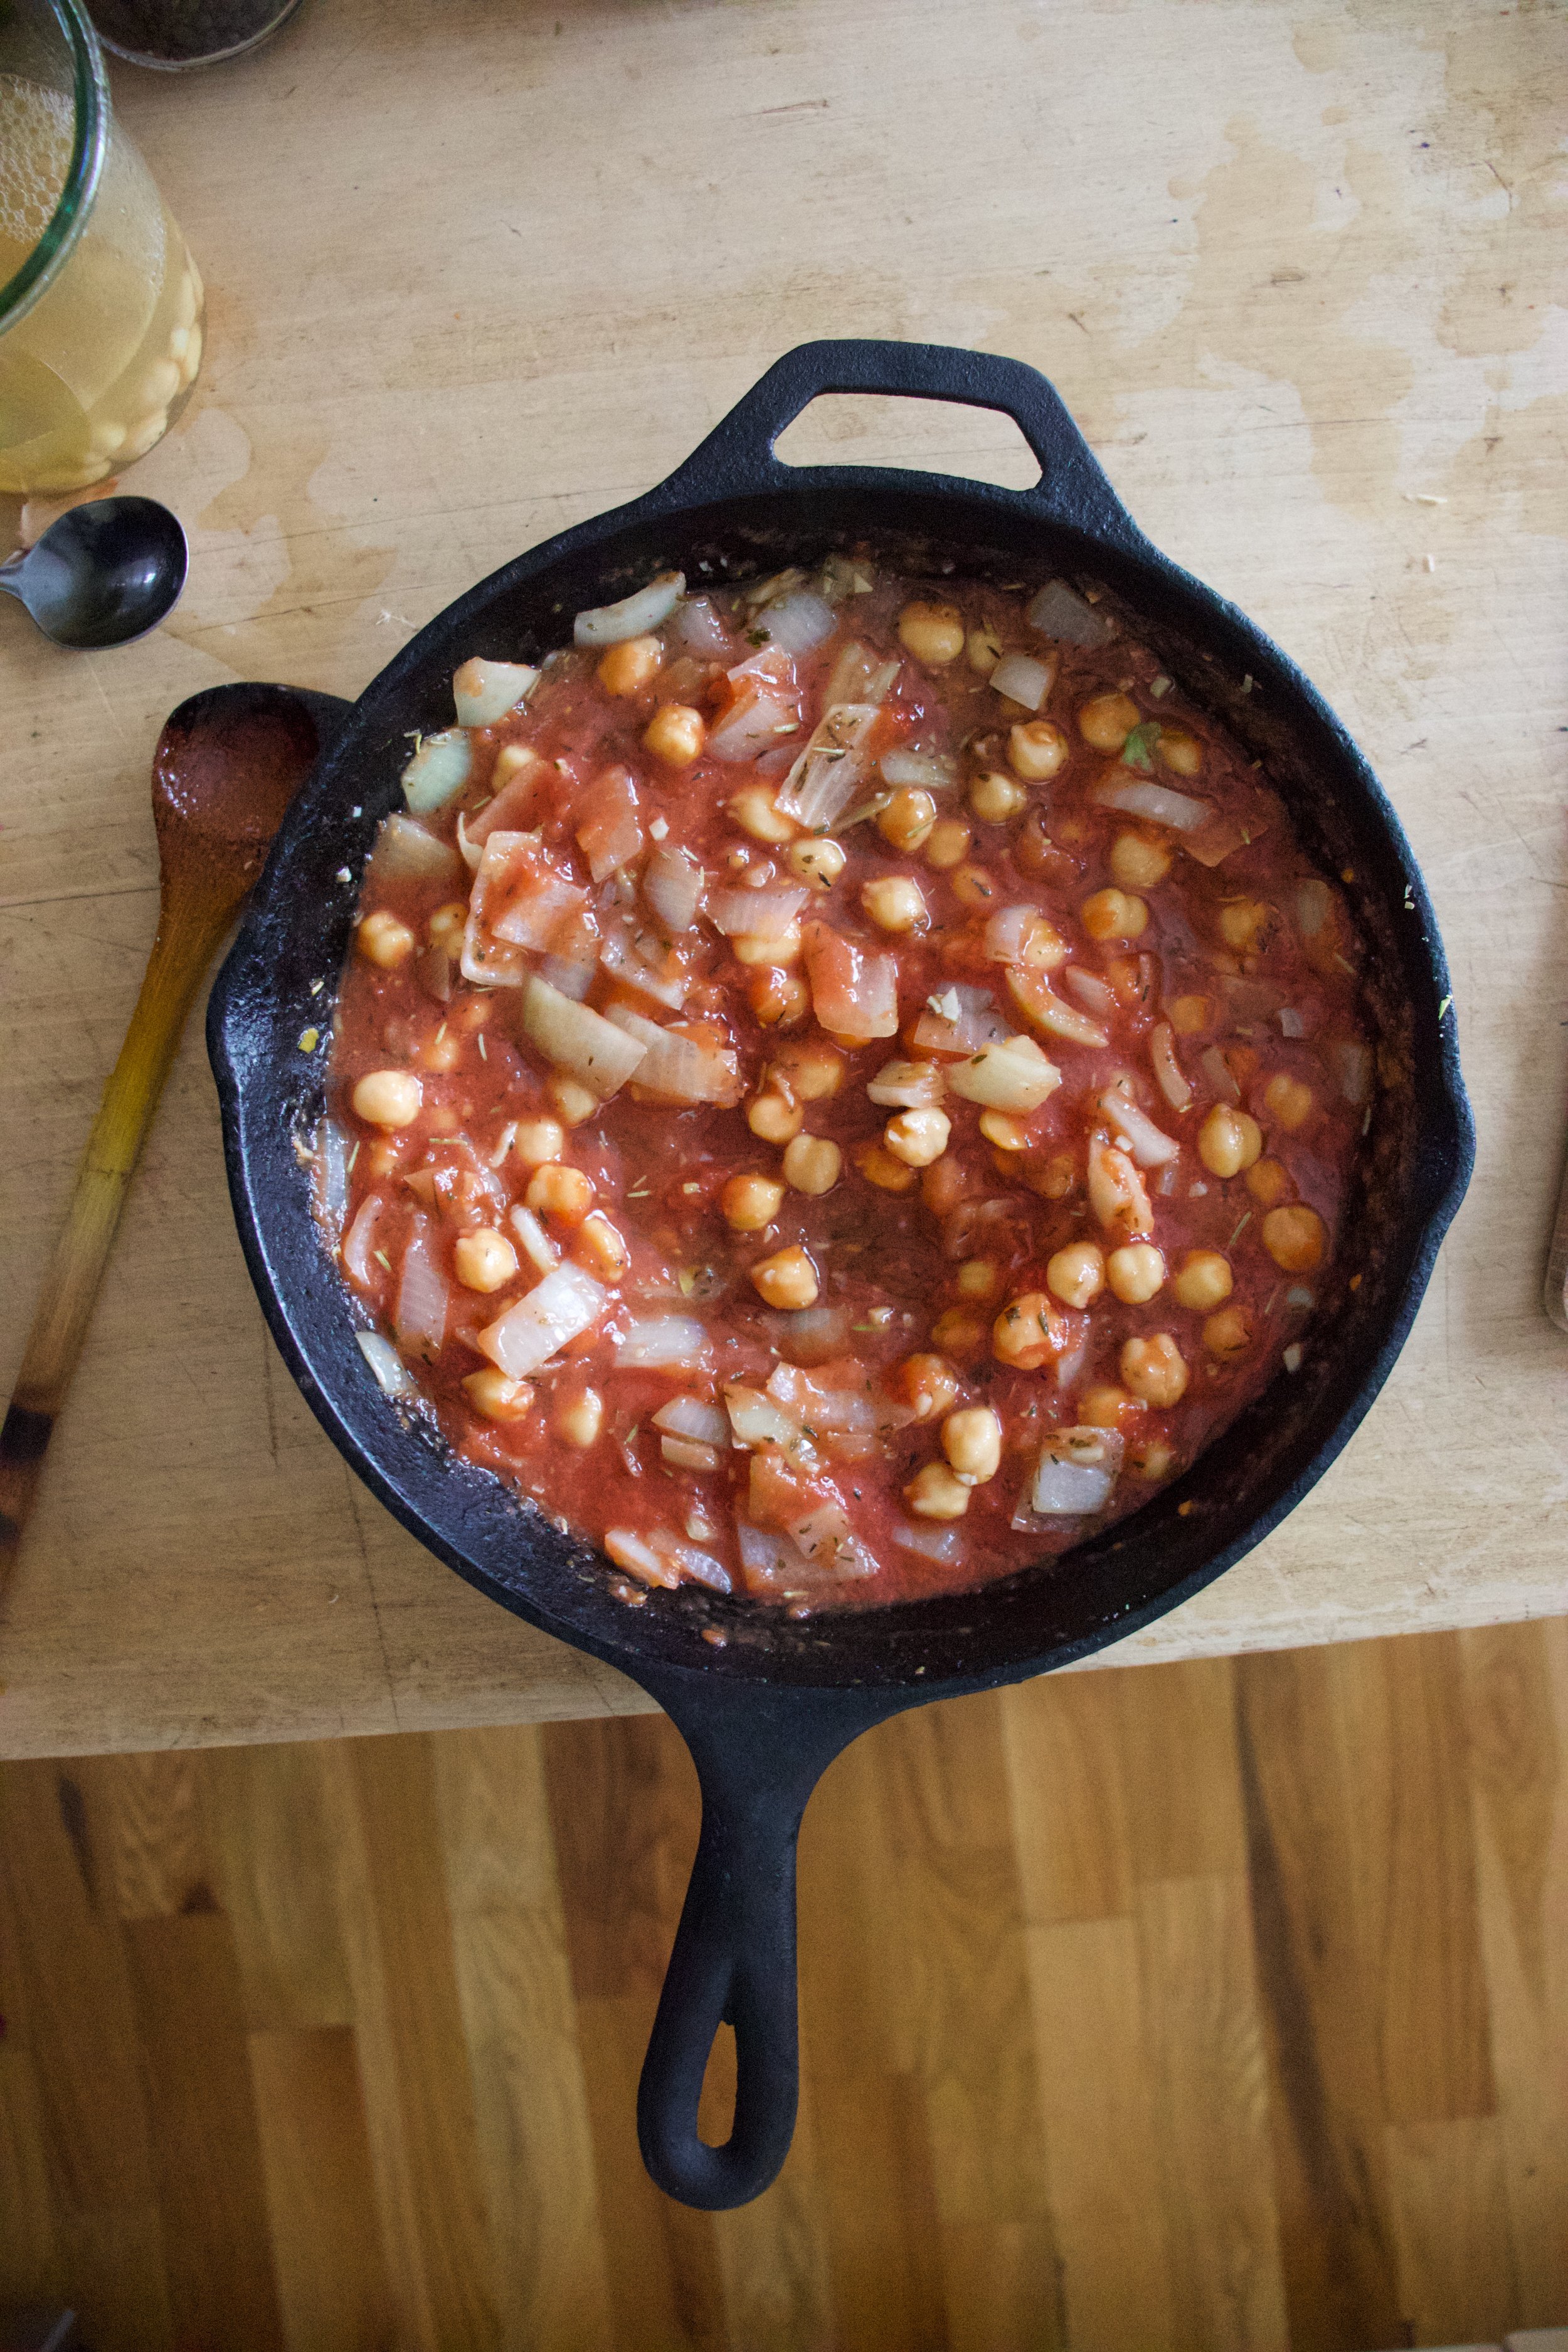
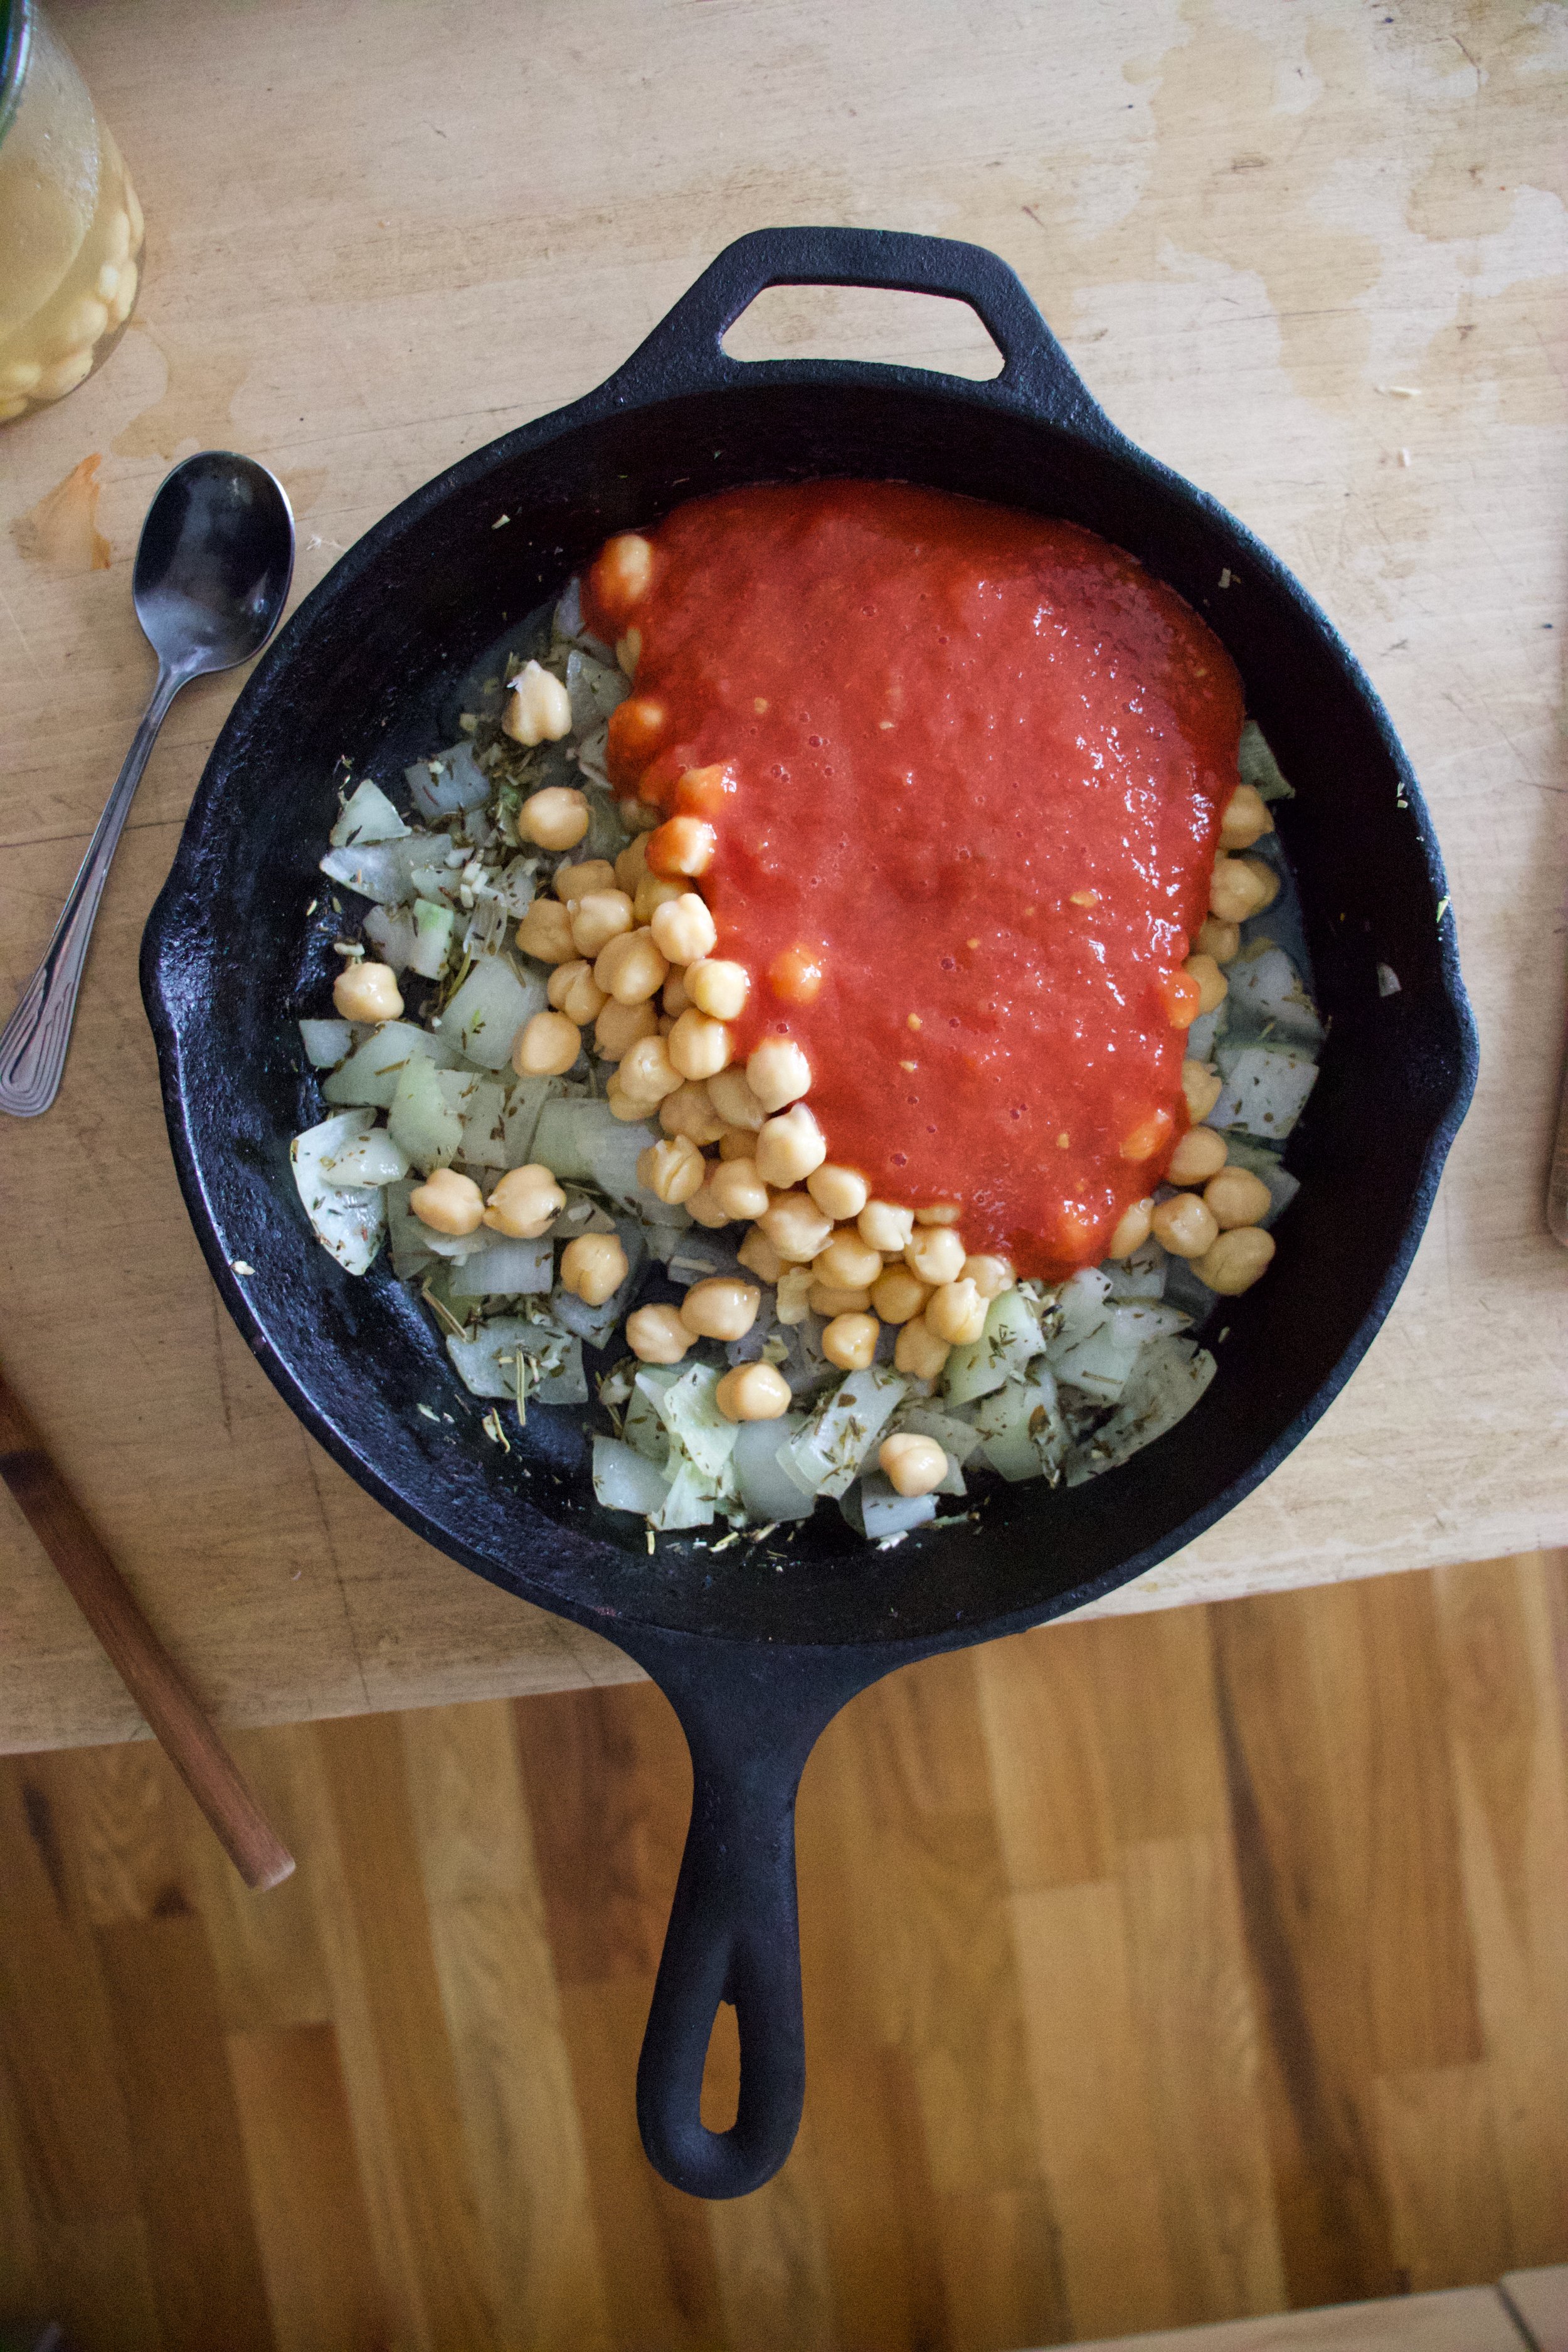
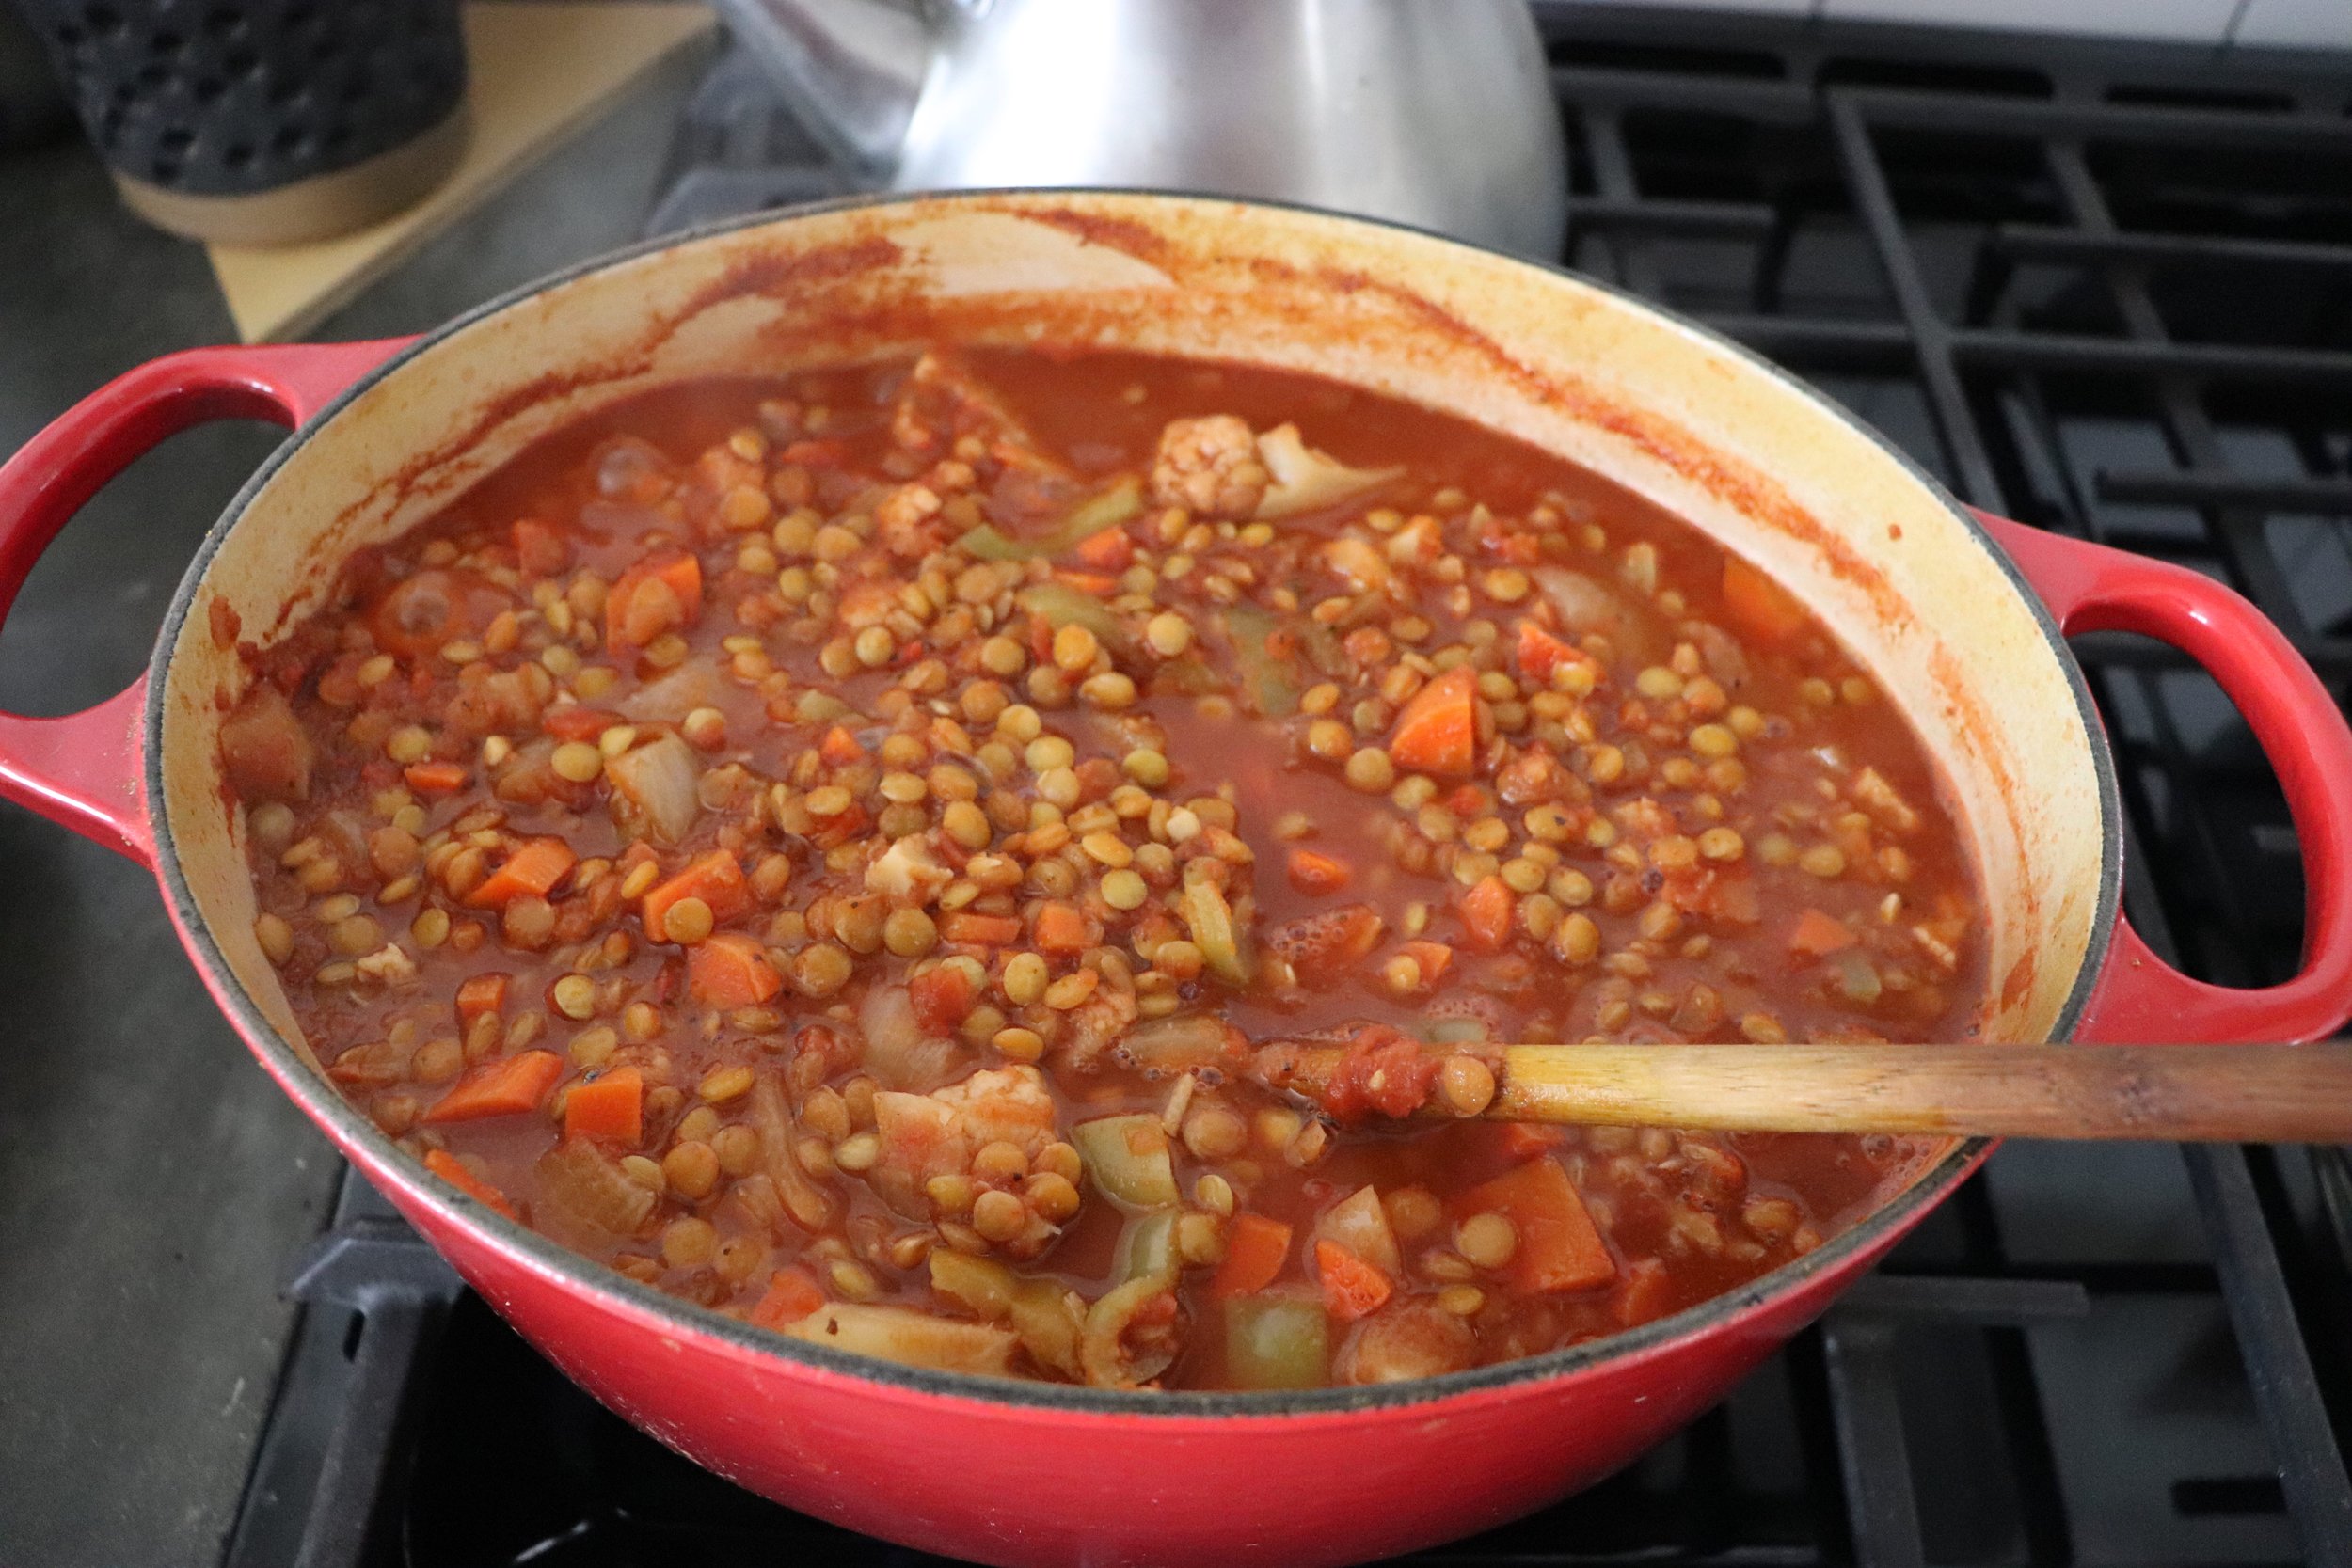
Dump in the lentils and rice. Then dump I the tomatoes and the water. Give it all a mix.
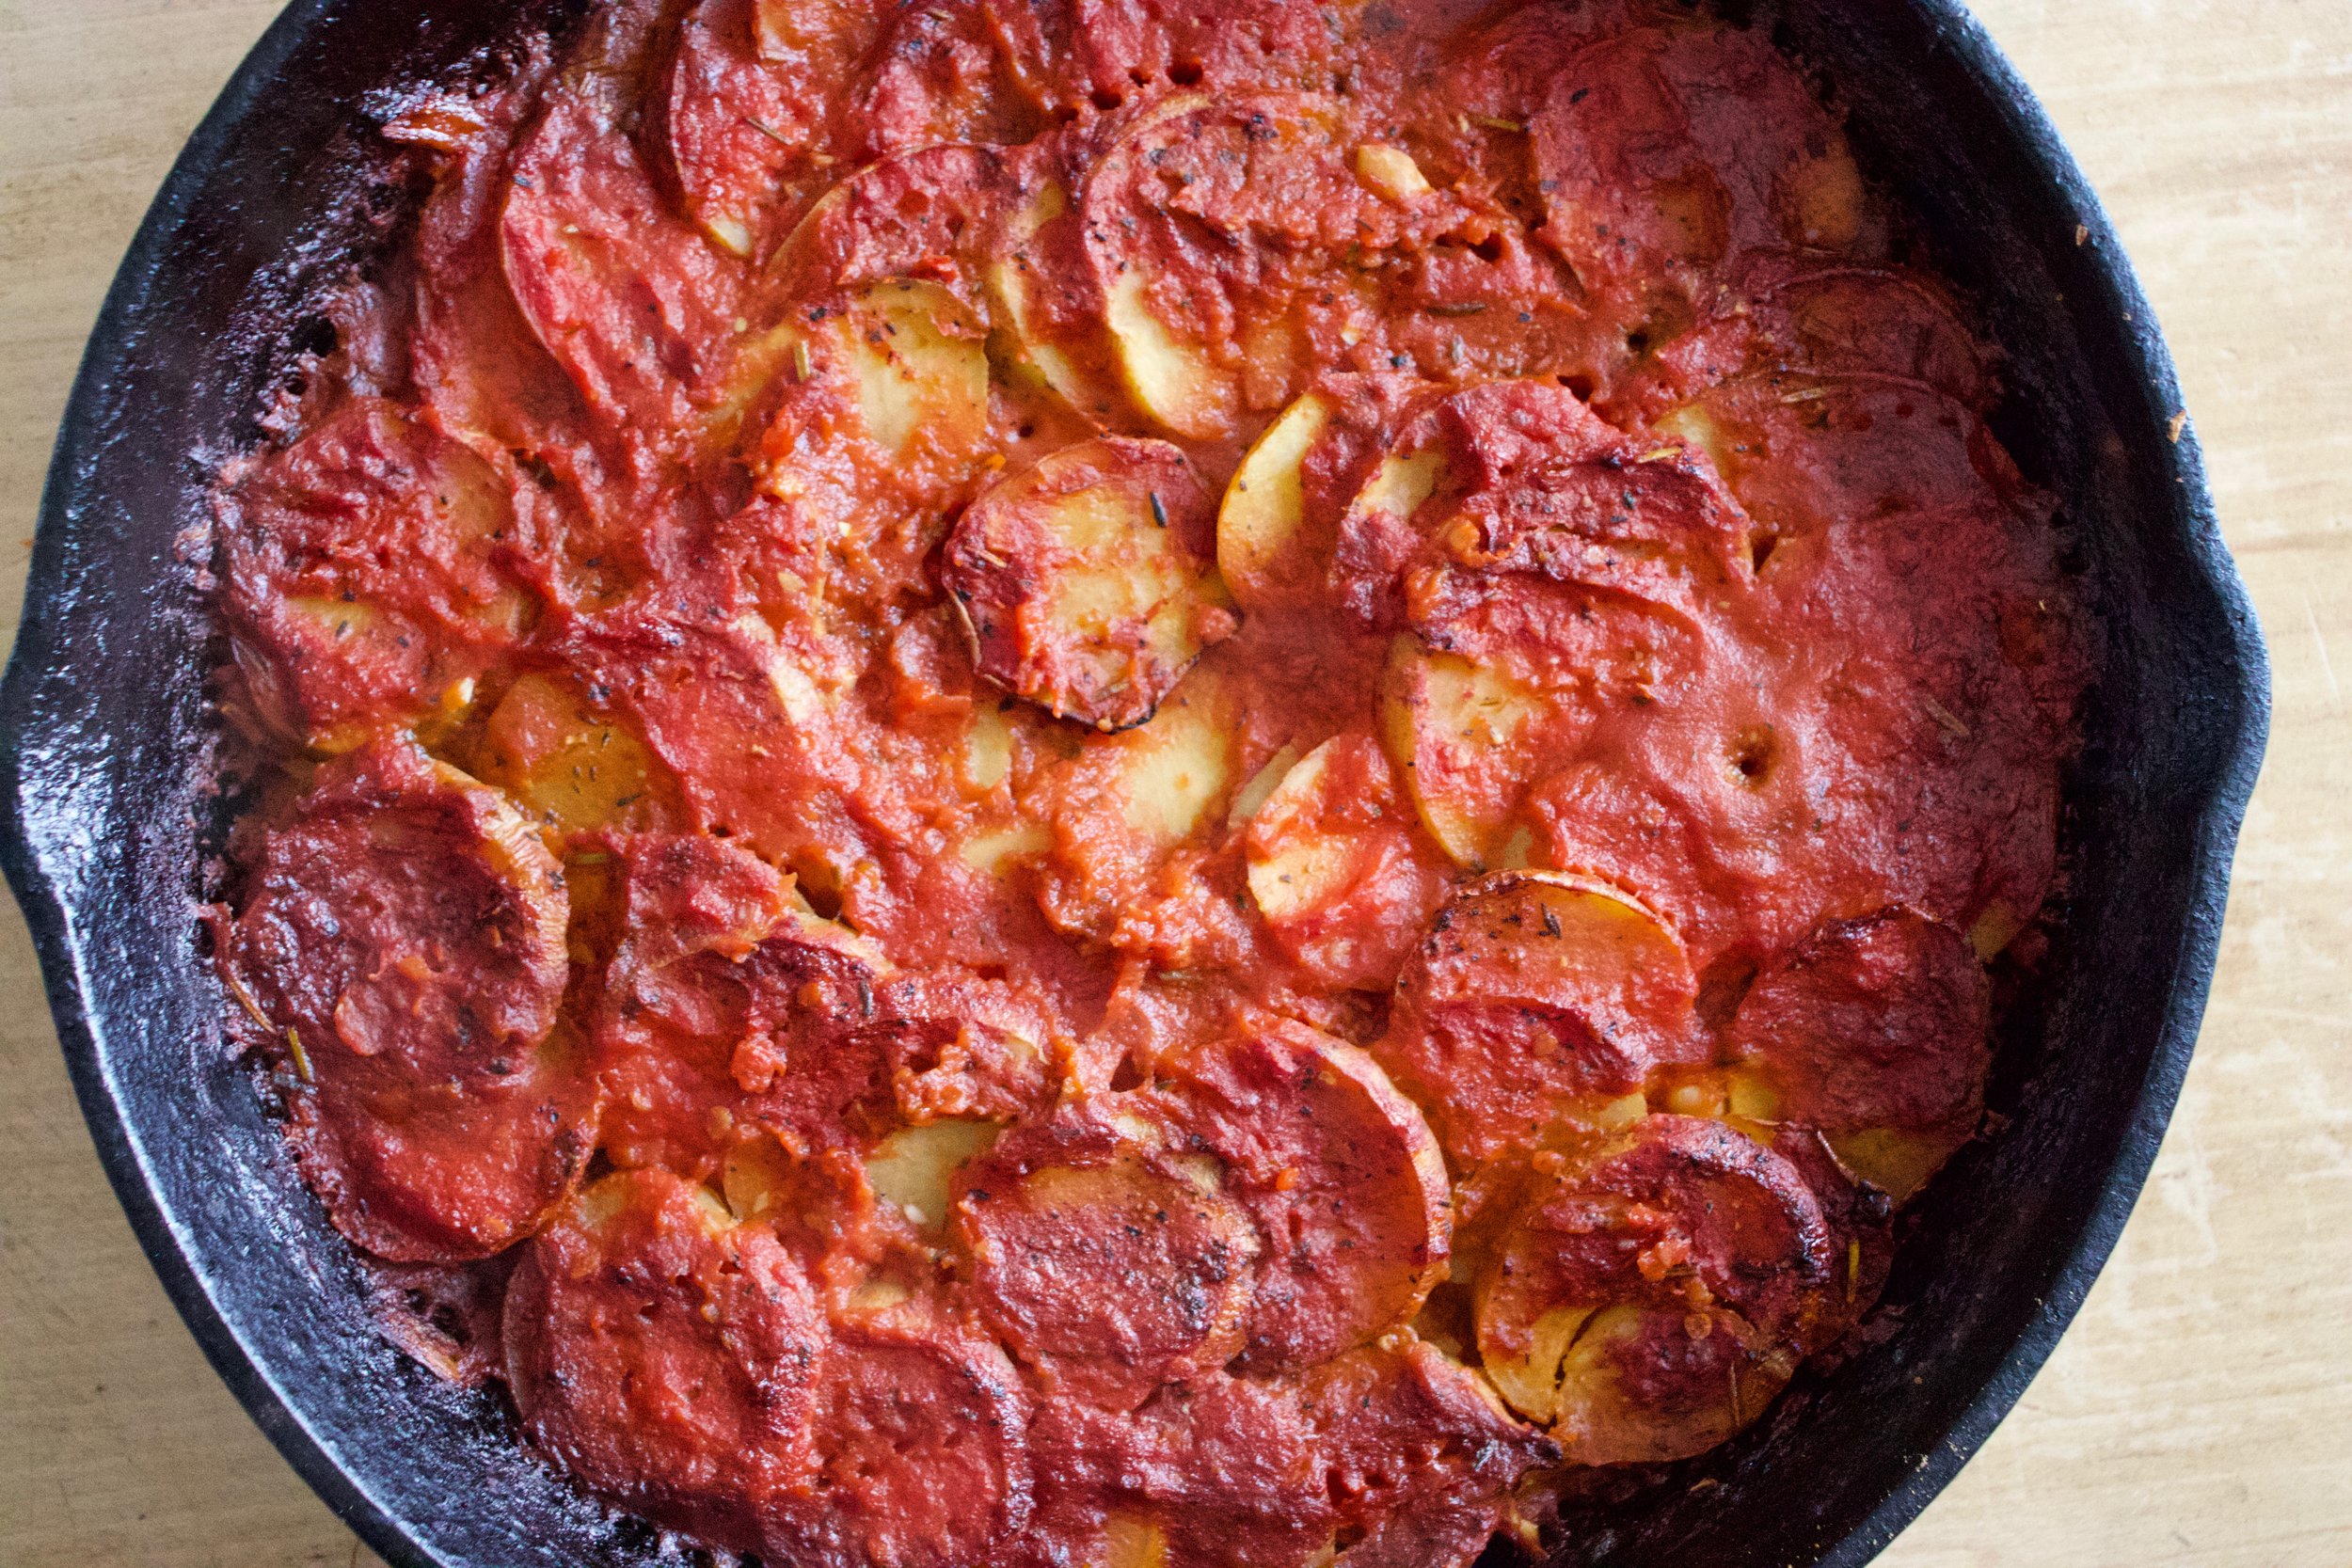
Before oven…

IMG_7392.jpg

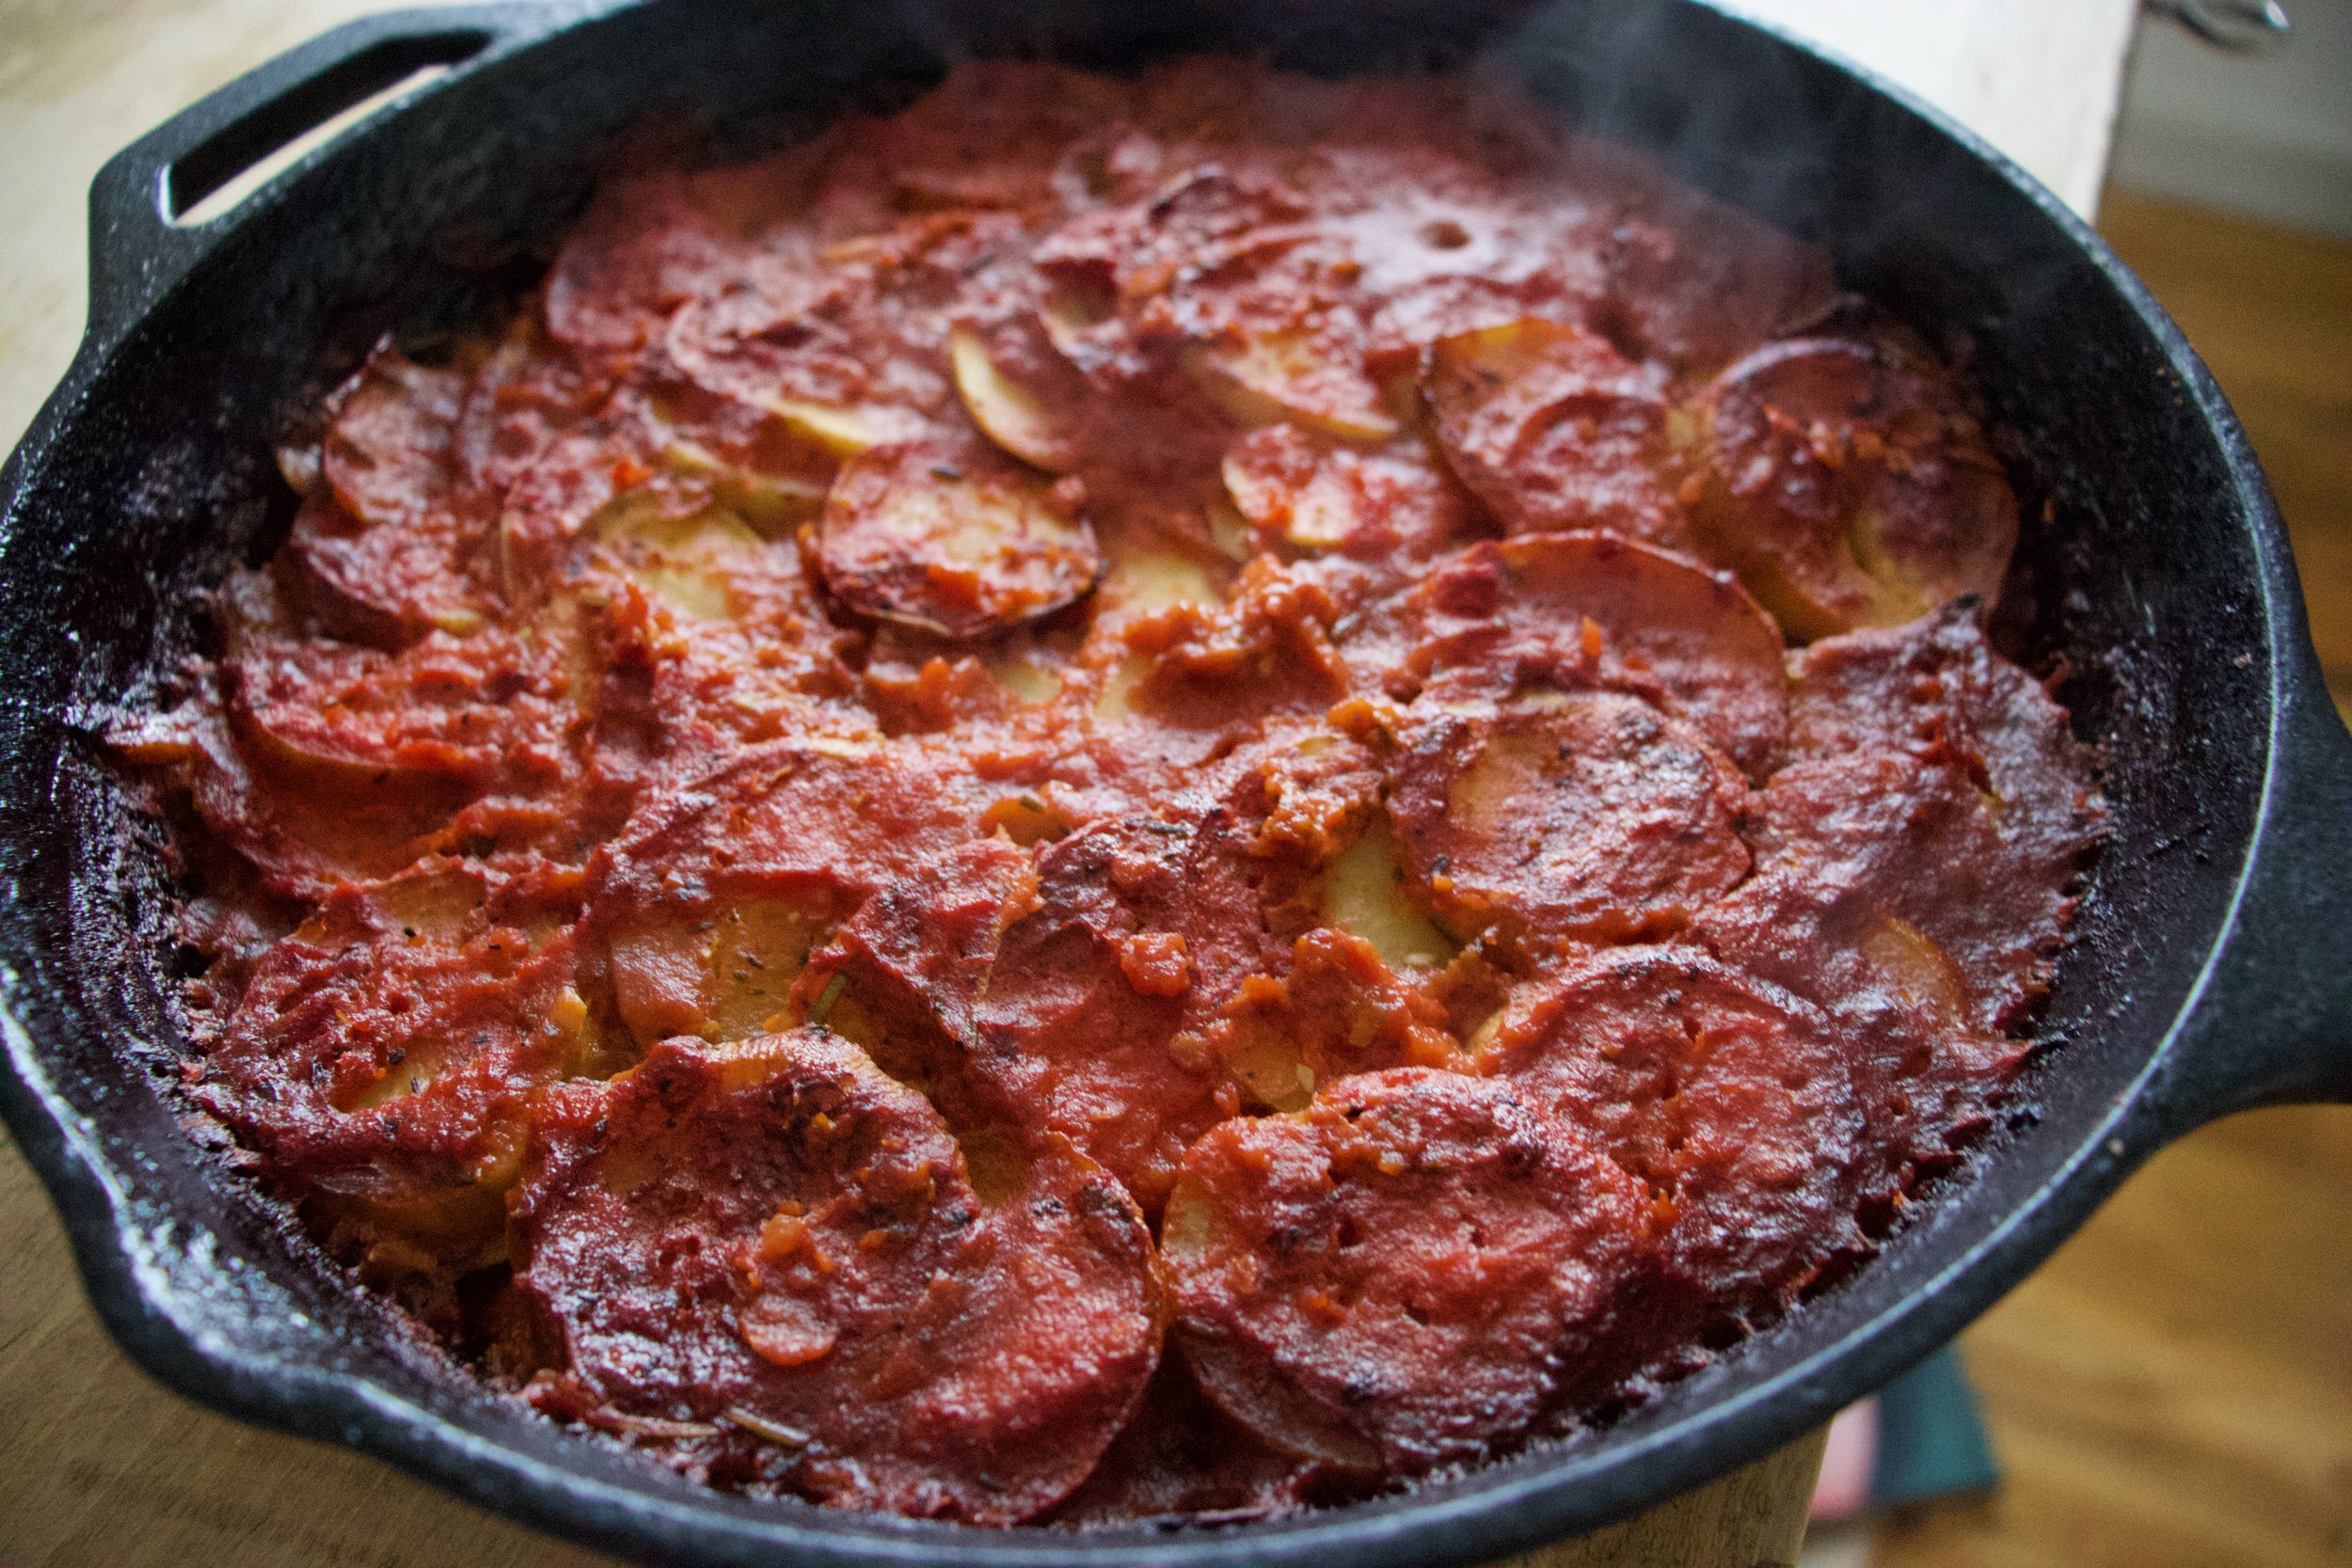
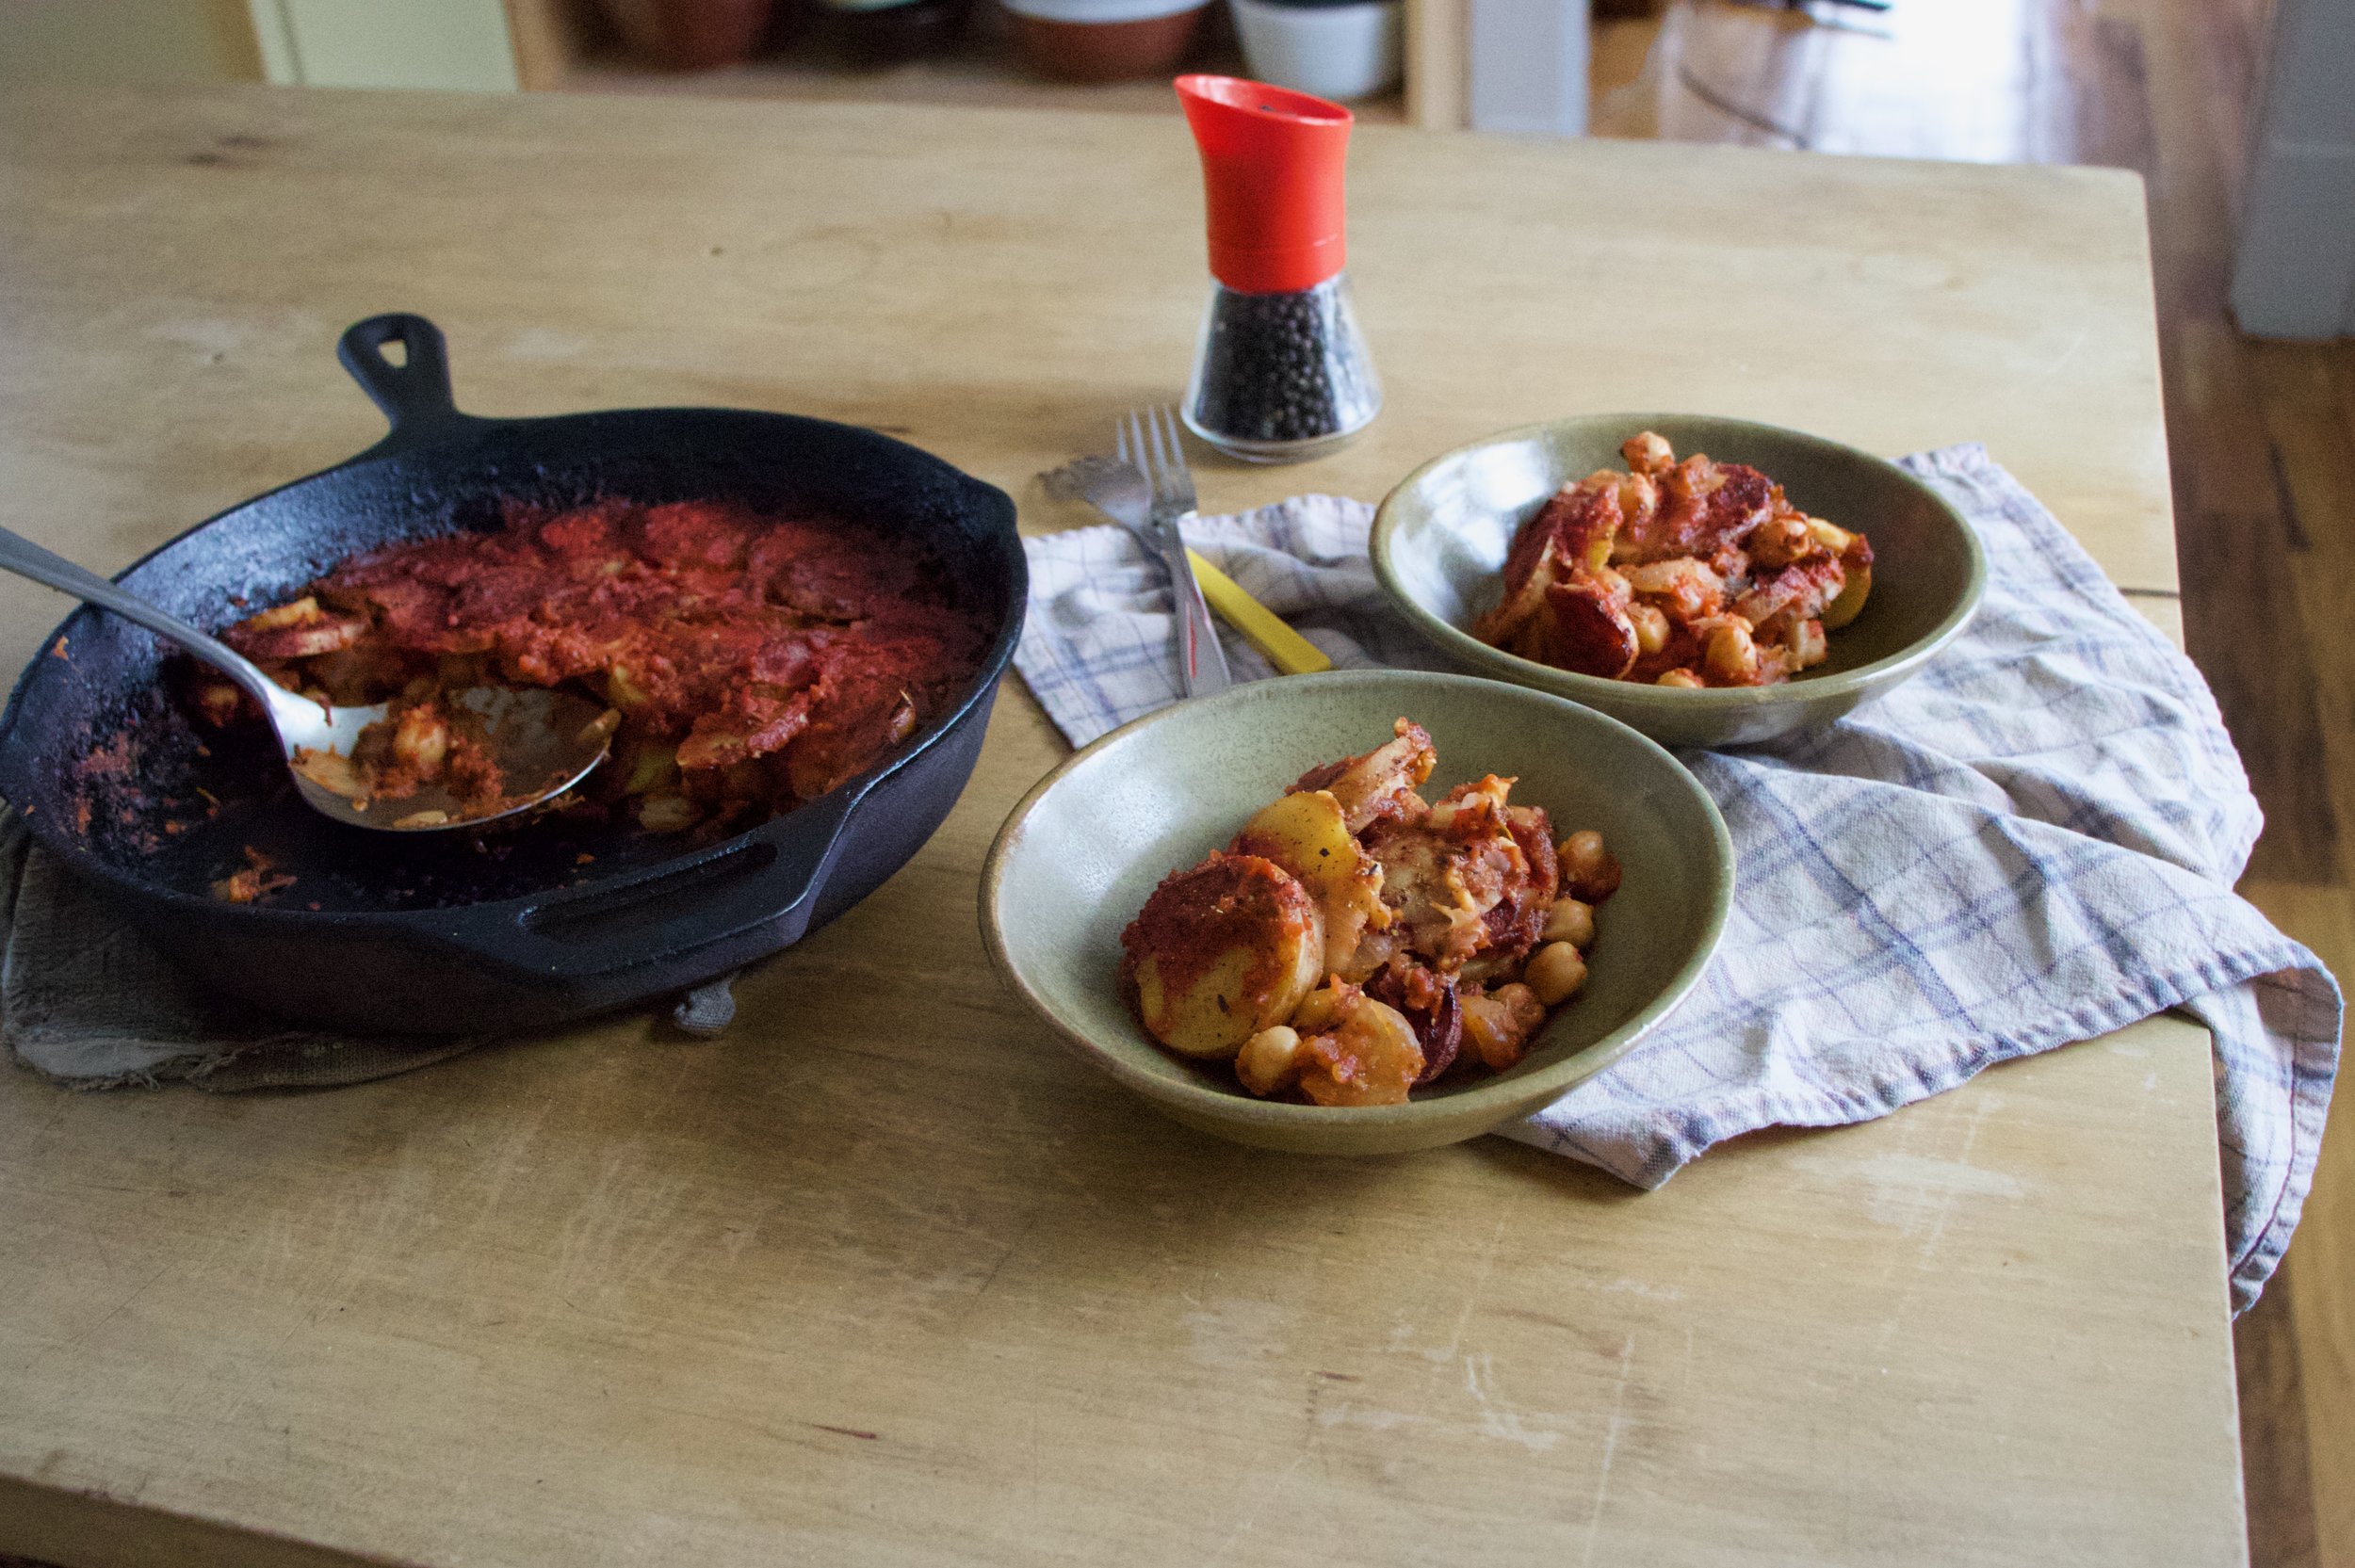
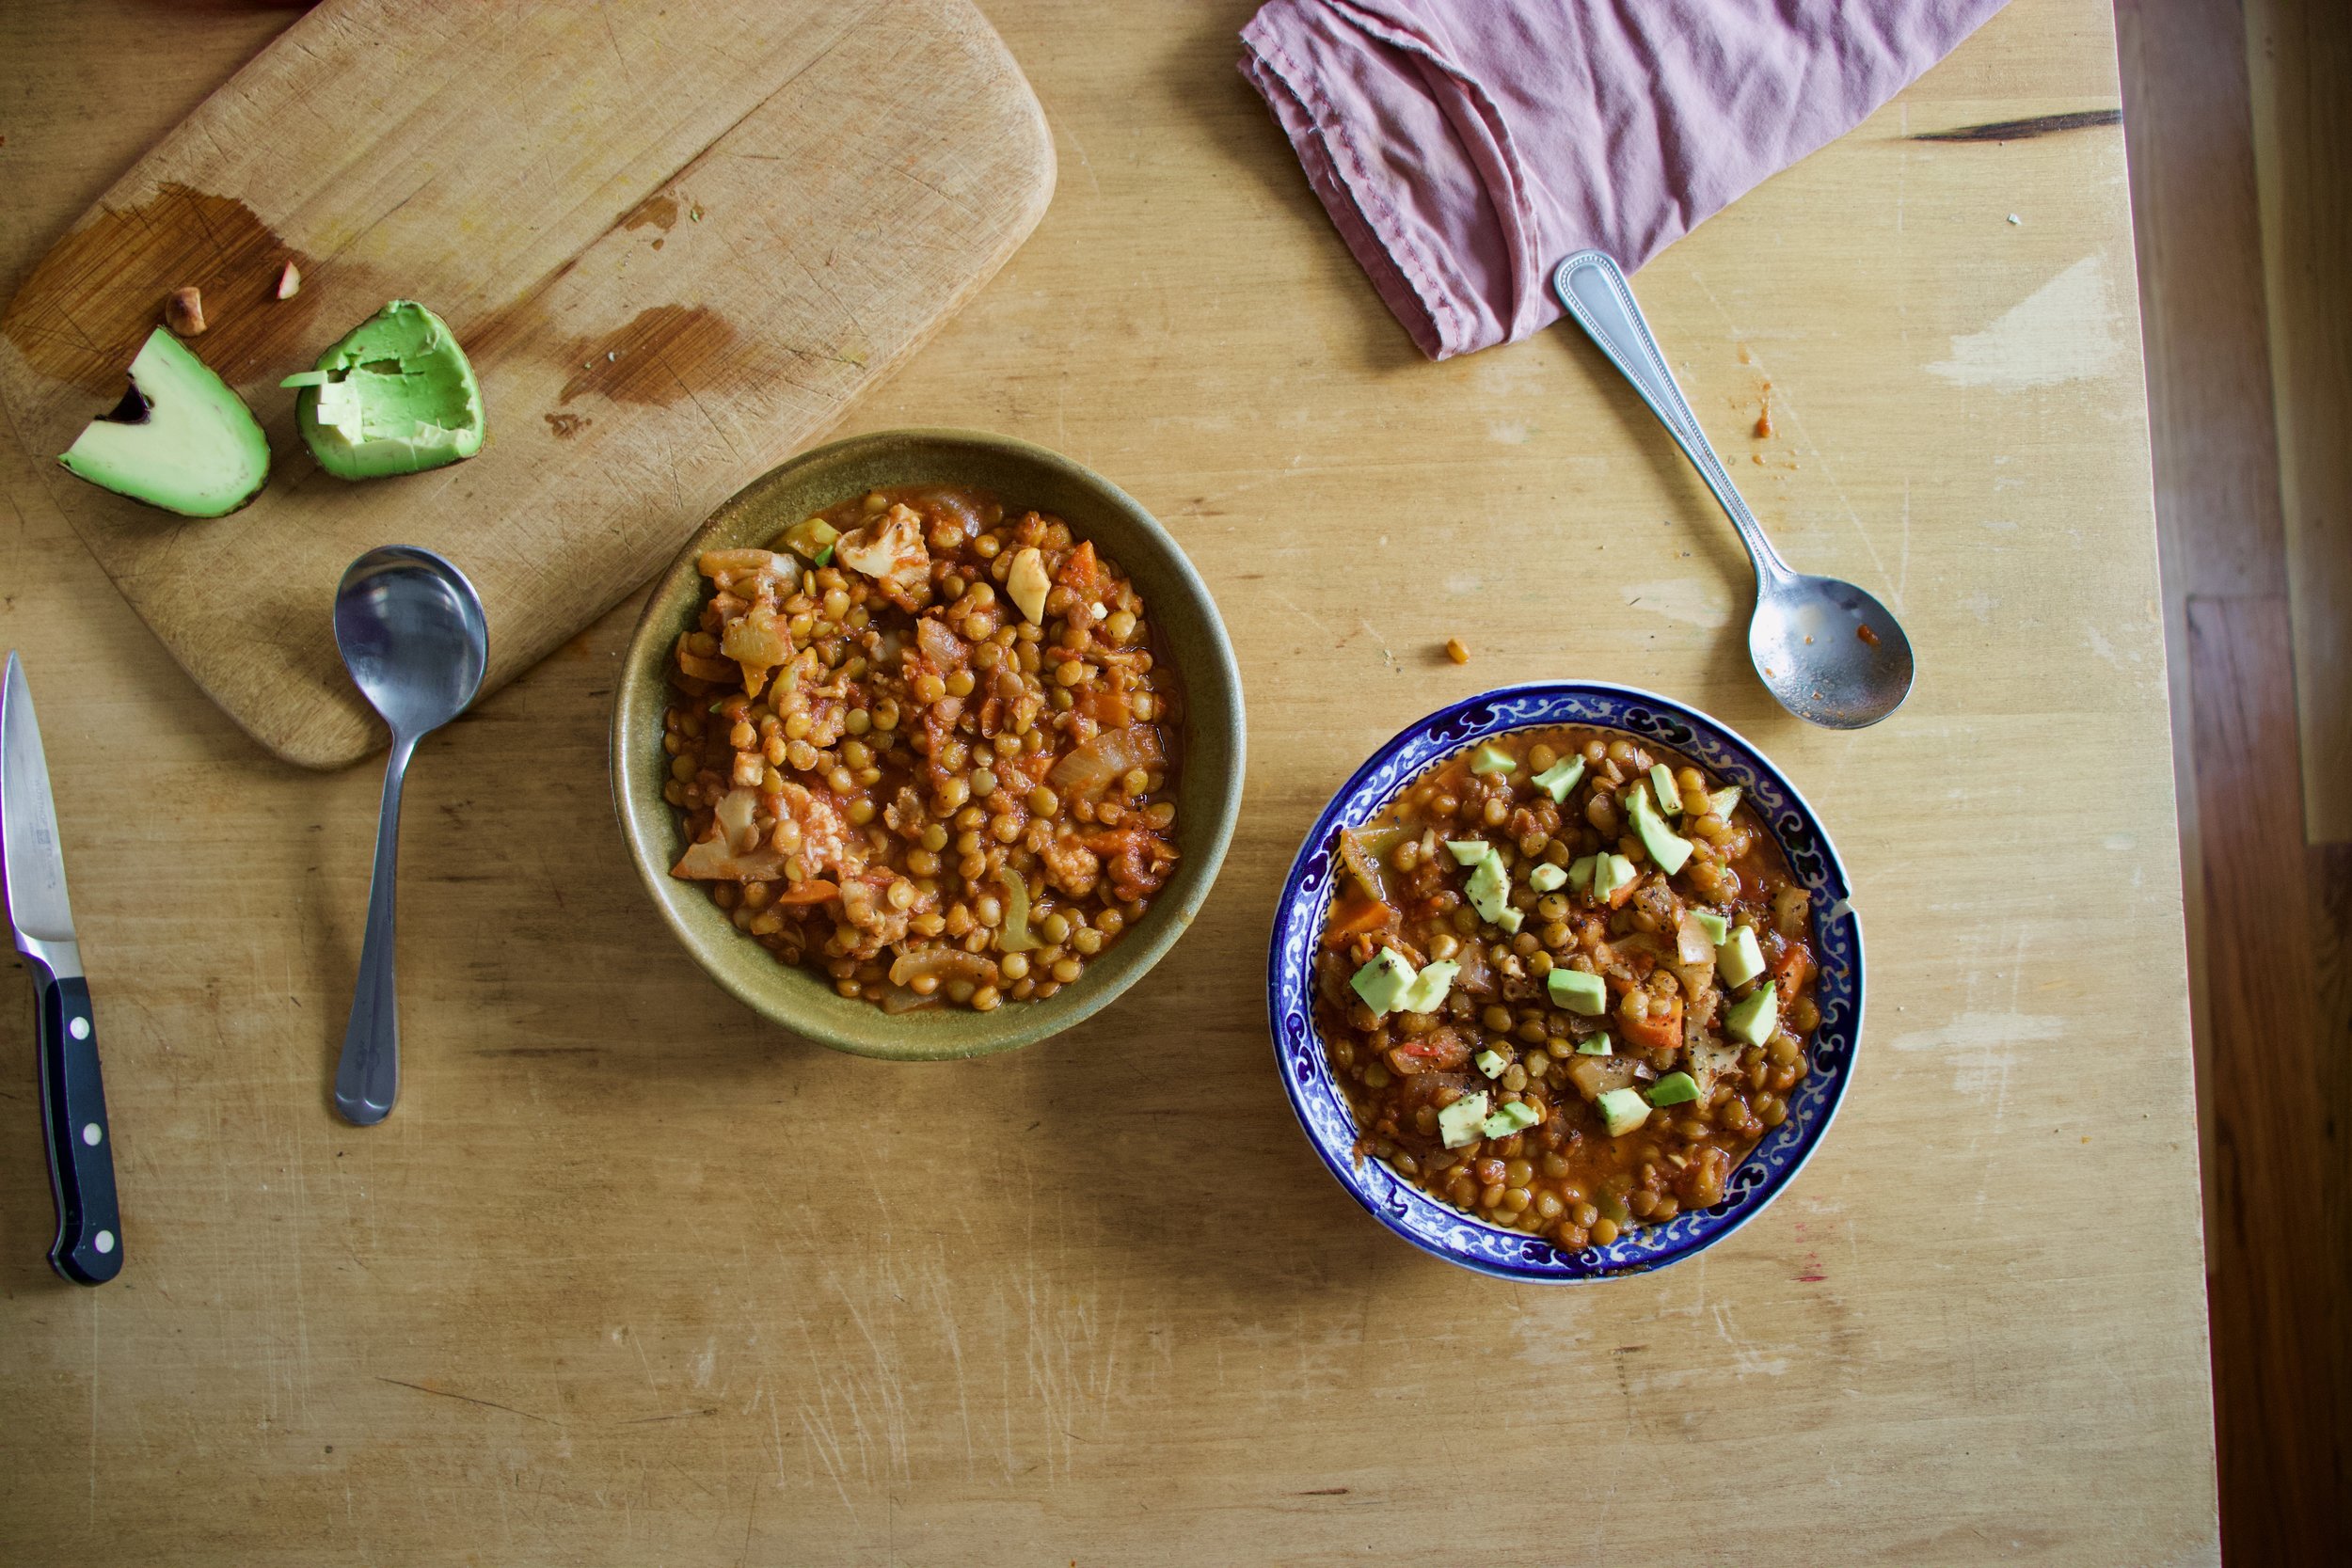
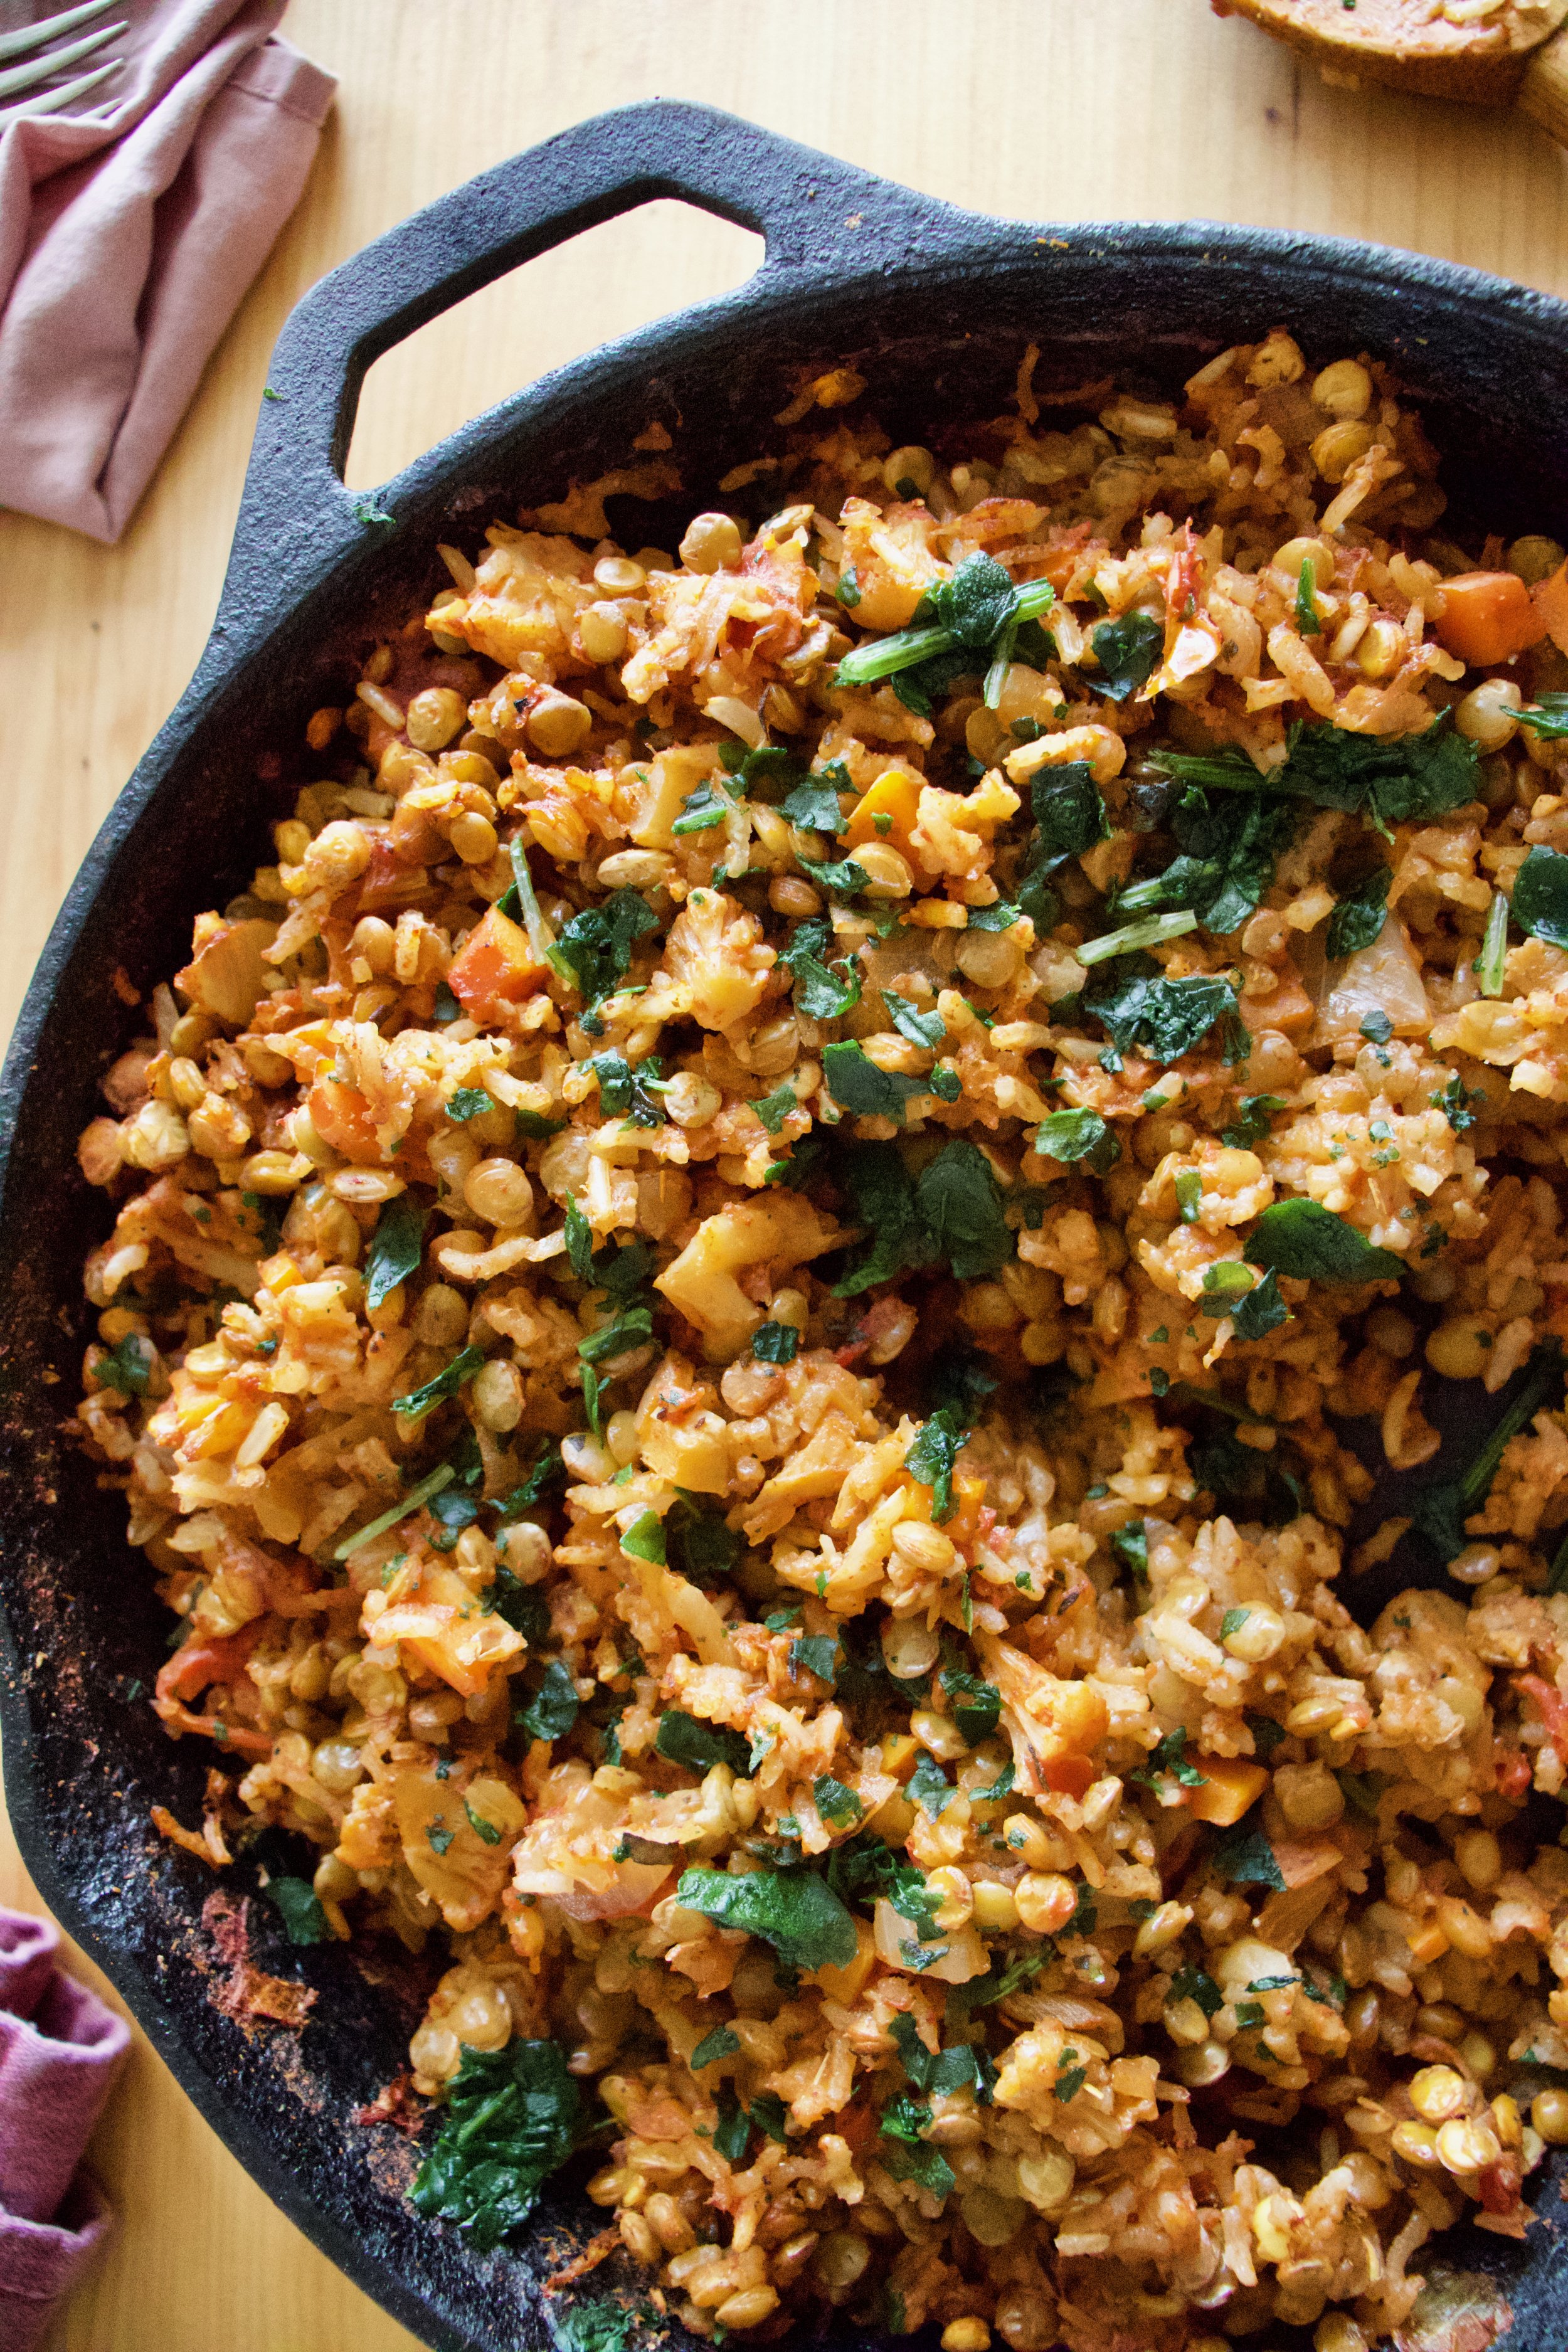
And after. All done. Now dinner.

IMG_7428.jpg

Grab some green thing to chop and toss on for some color.

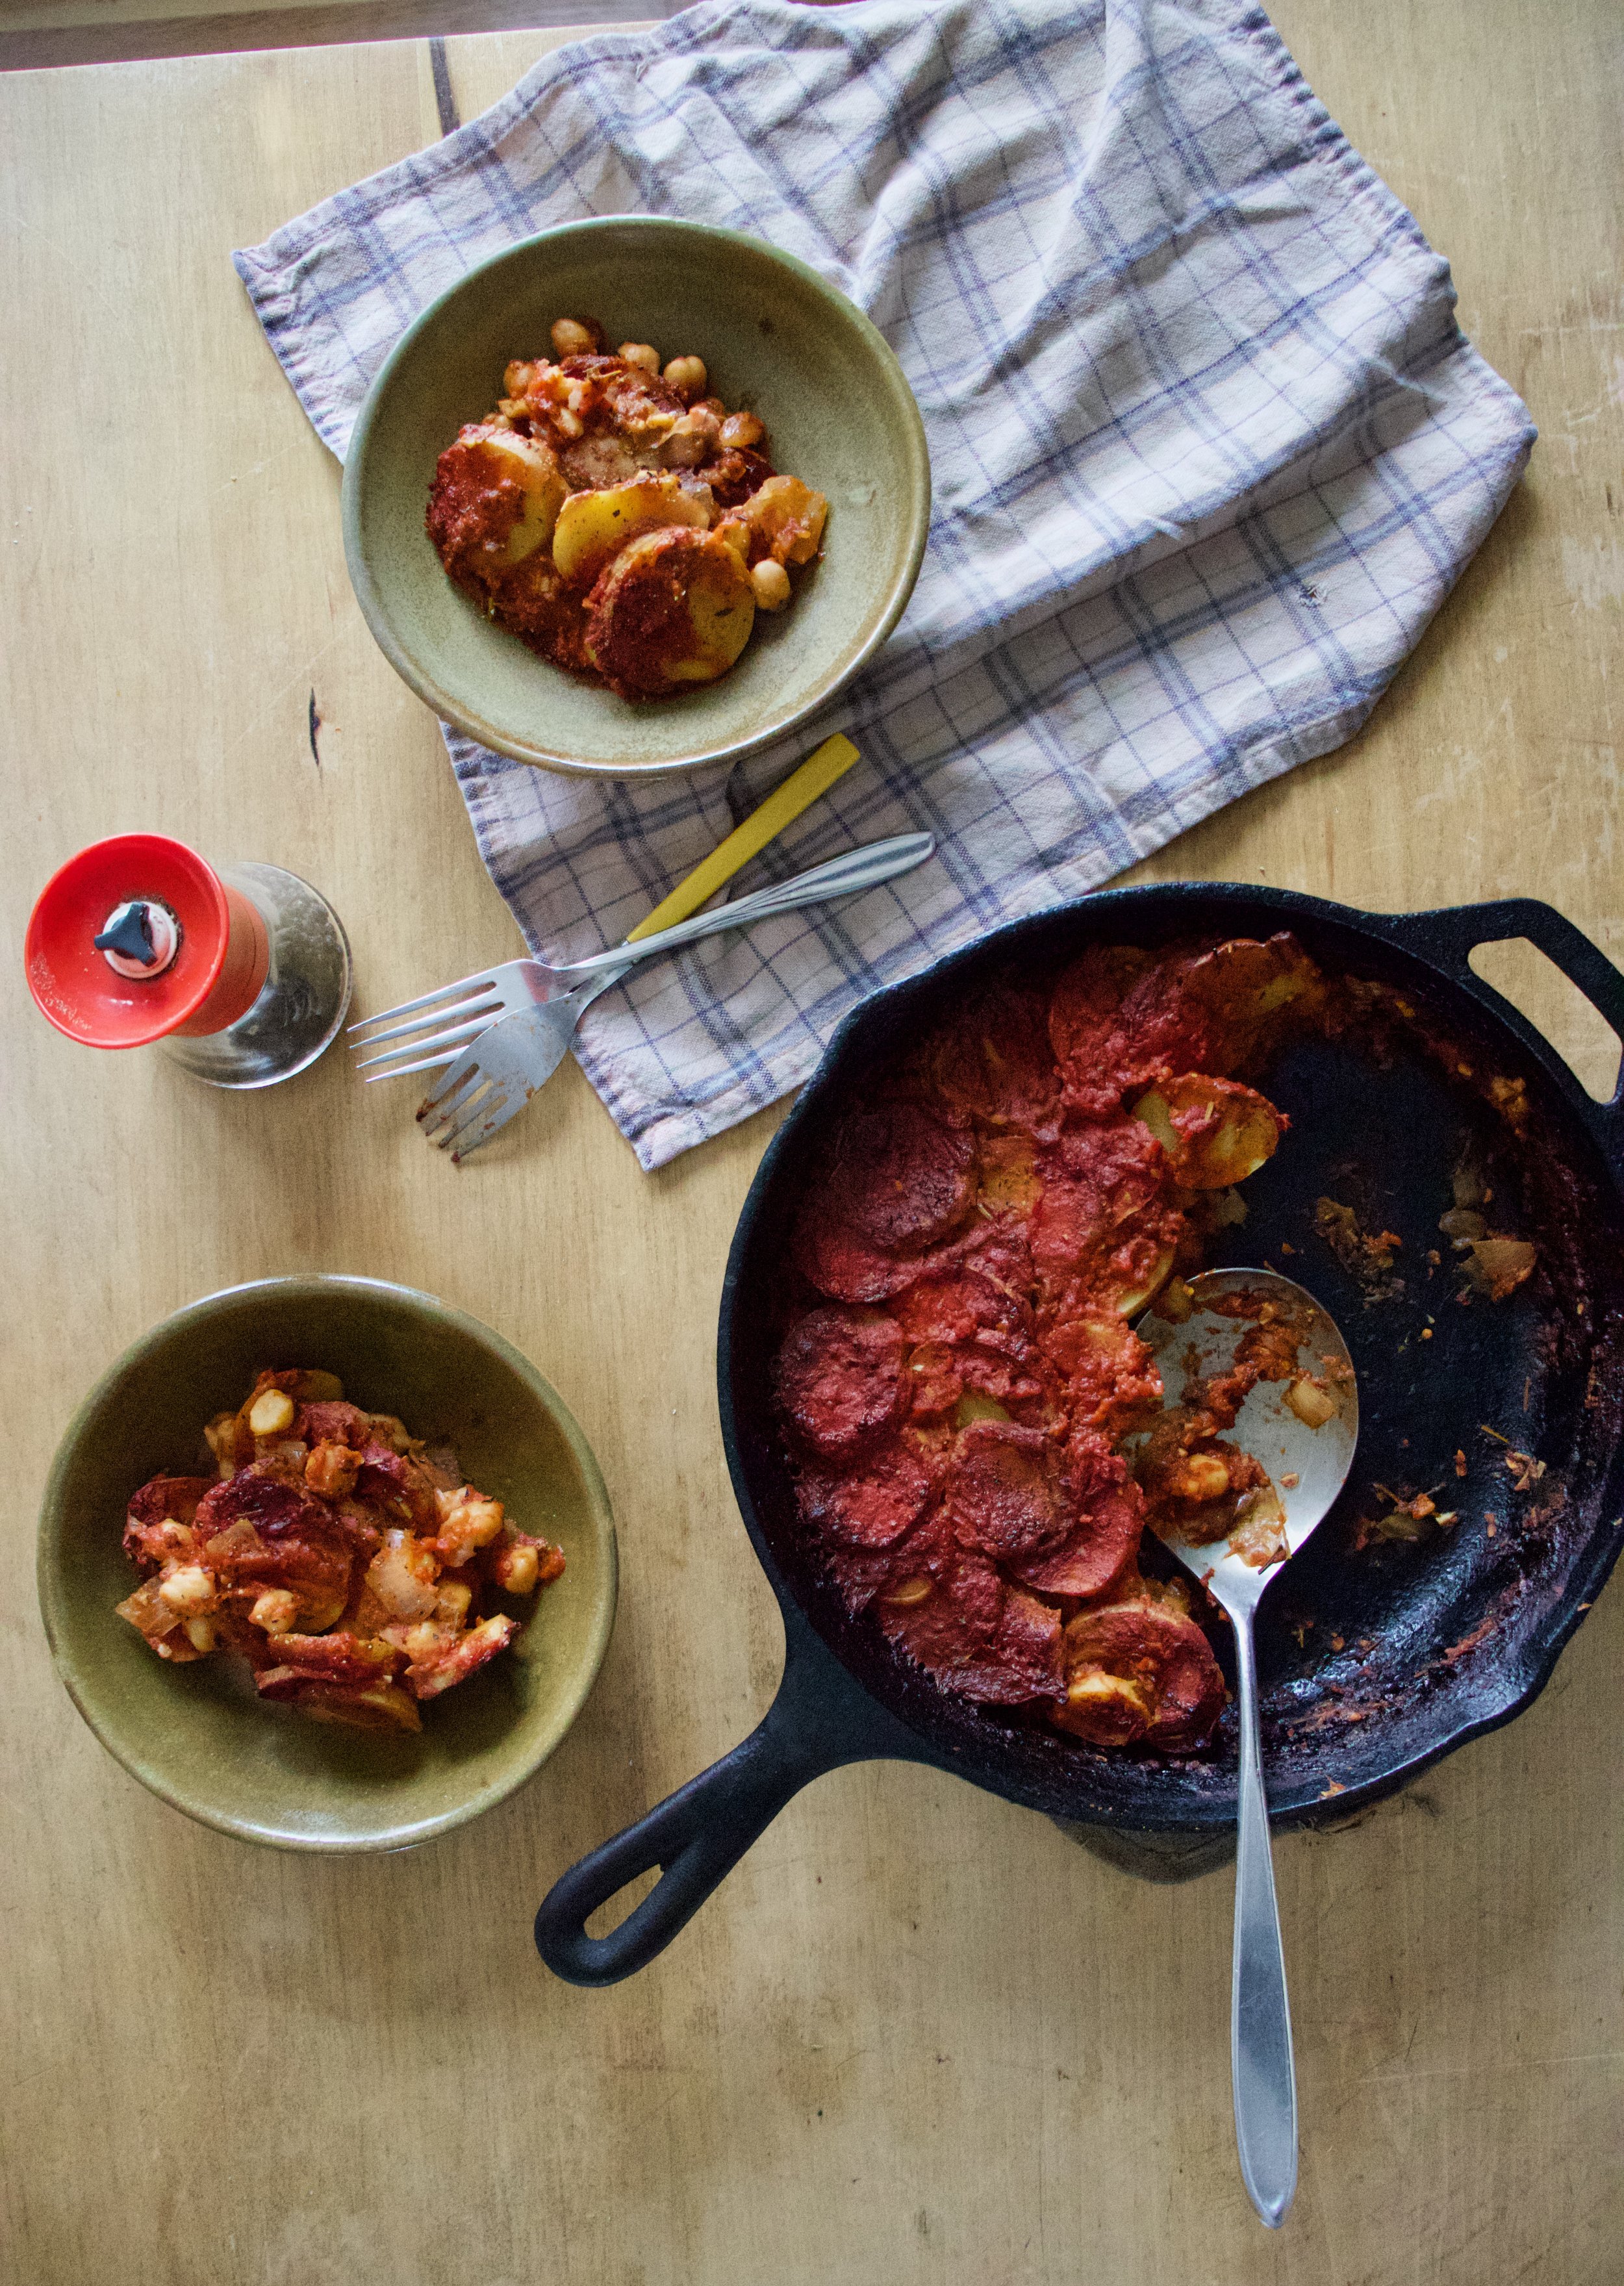
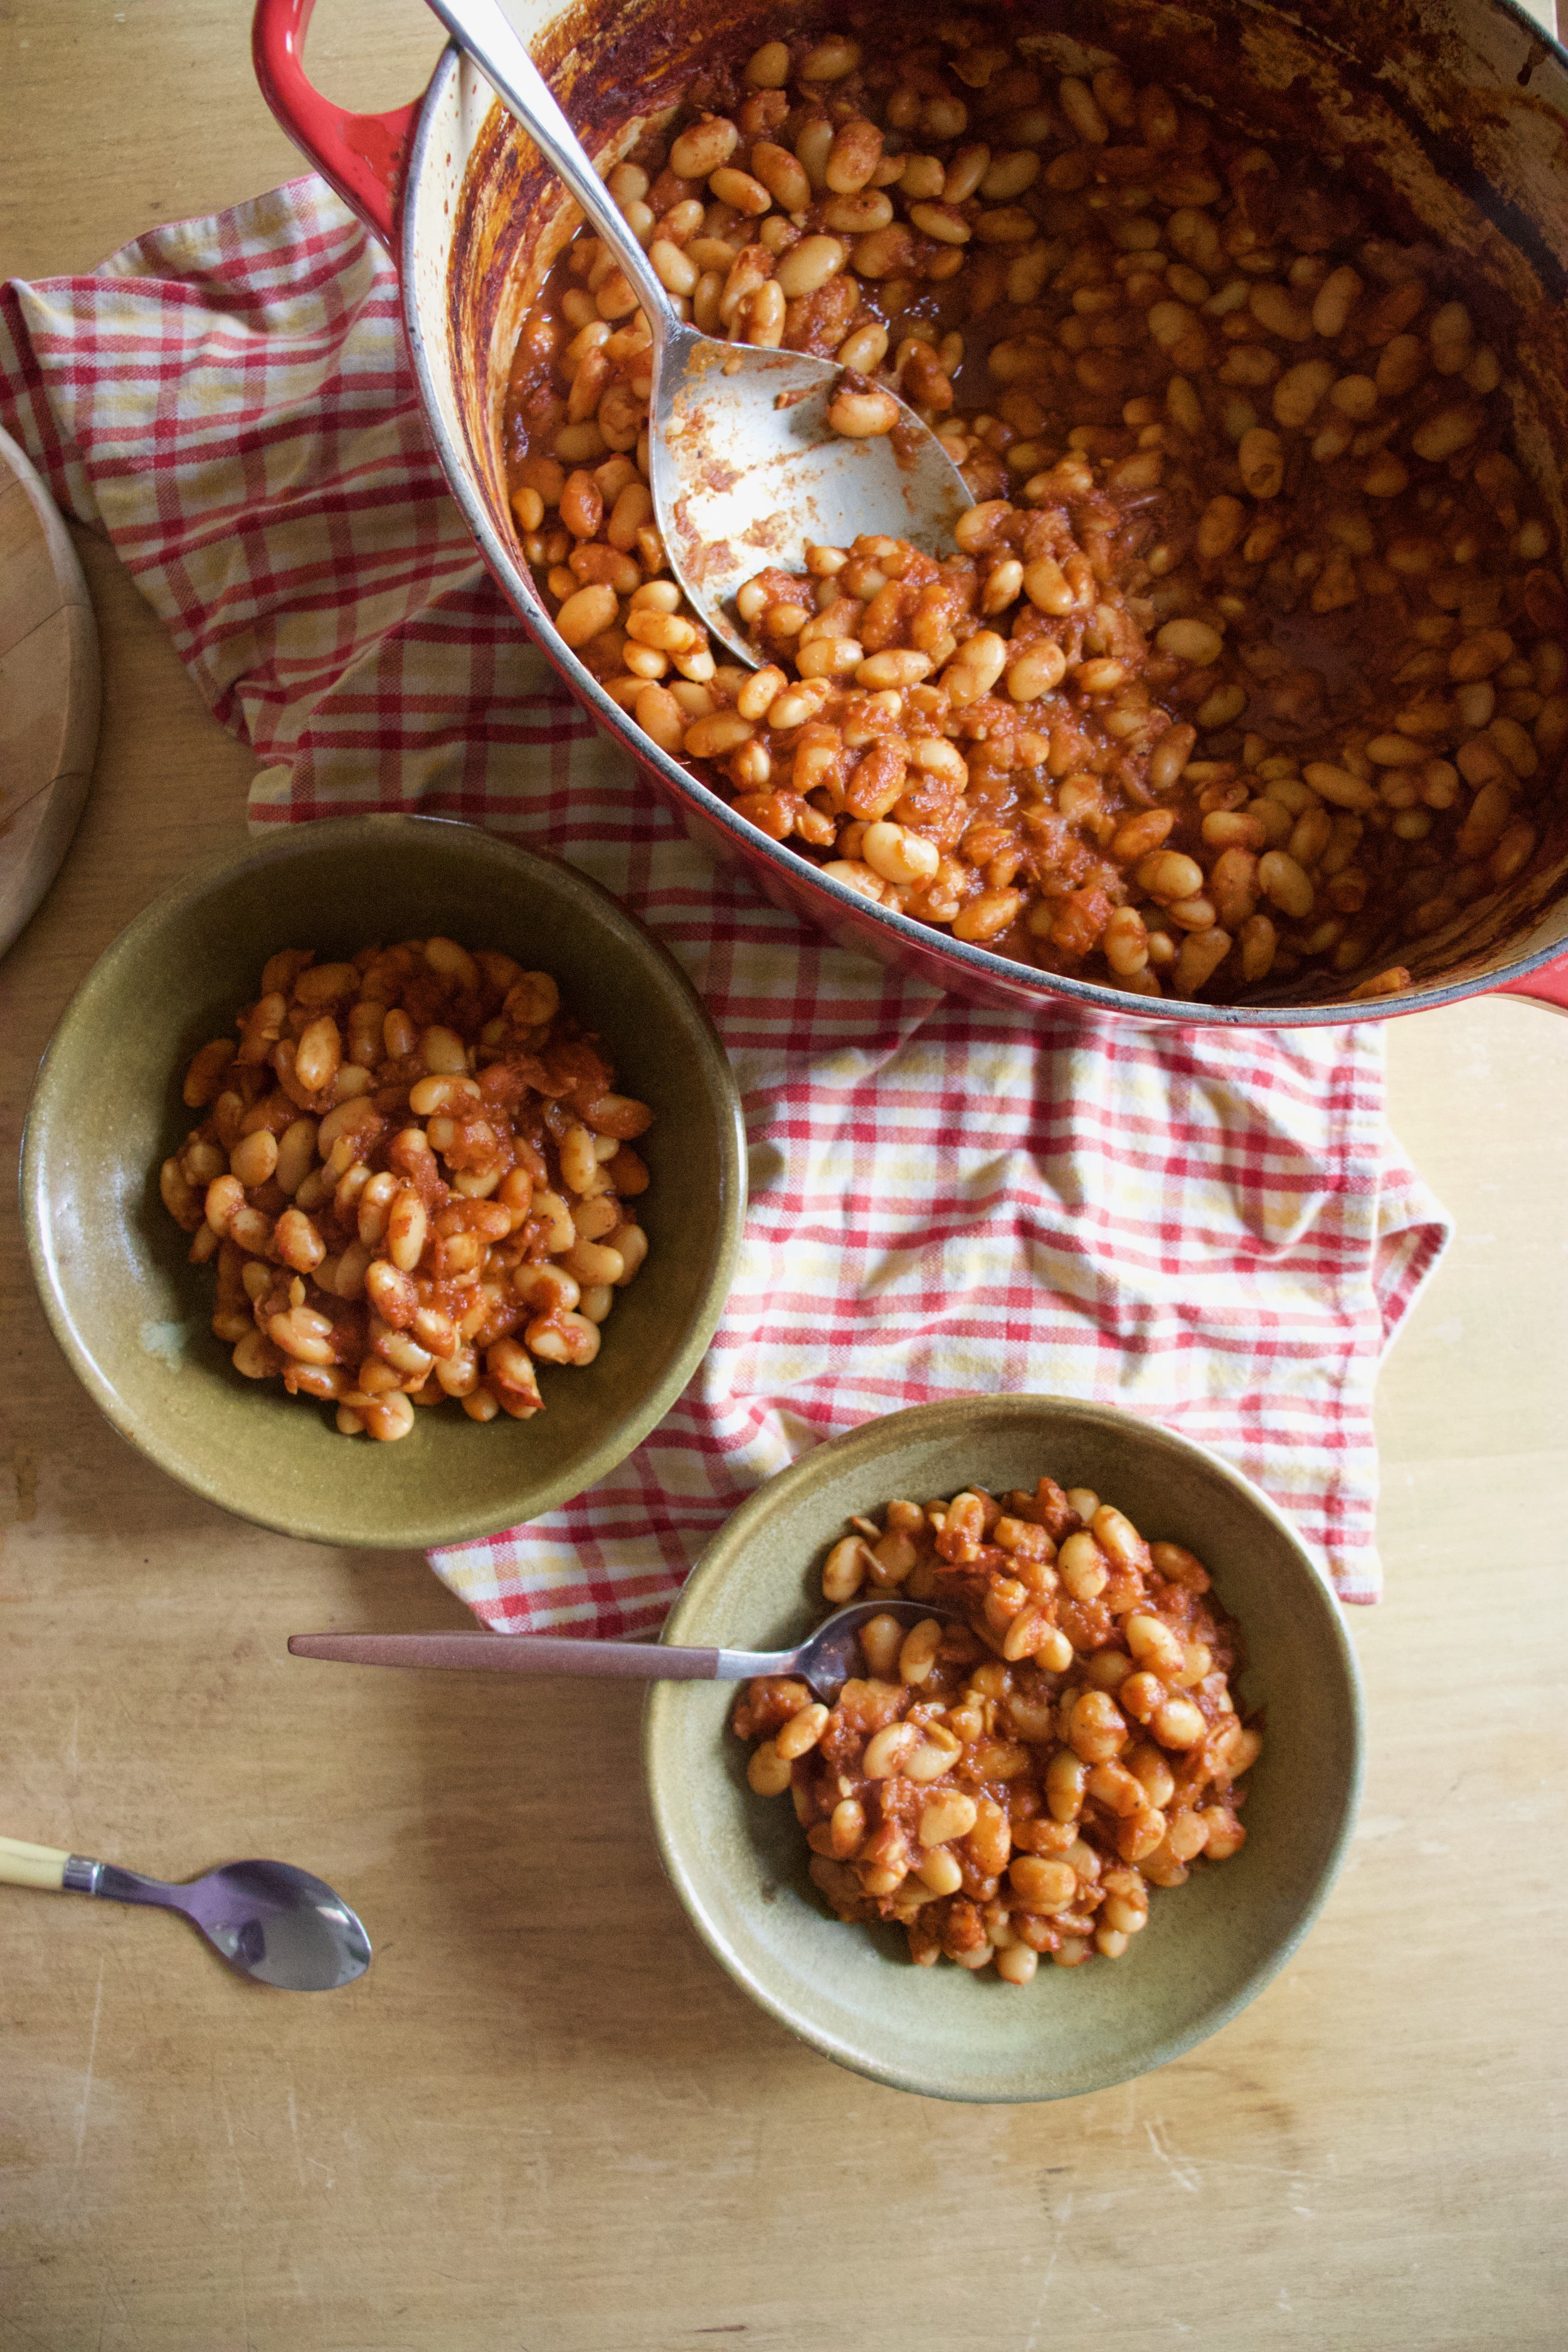
Now grab some bowls, a few forks, and get to eating.

-C


Cajun Lentil and Rice Bake

Serves 4-6

  • 3/4 cup uncooked brown or white rice

  • 3/4 cup dried green lentils

  • 2 cups crushed tomatoes (preferably not salted)

  • 2 1/4 cups water

  • 3 tablespoons cajun seasoning (see note)

  • 1 large carrot

  • 1/4 head of cauliflower (about 2 cups chopped)

  • 1 large yellow onion

  • 2-3 cloves garlic

  • 1 tablespoon olive oil

  • salt and pepper

Note. Store bought cajun seasoning usually contains salt and pepper so when seasoning, be aware of the amount of salt (if any) you choose to use.

Preheat oven to 350

Start by chopping the carrot, onion, and cauliflower into small pieces. Mince the garlic and toss it all into the skillet with the olive oil. Stir in the cajun seasoning and sprinkle in salt and pepper if it needs it. Place skillet on medium high heat and cook veggies until fragrant and slightly tender which should take about 5 minutes then remove from heat. Dump in the lentils, rice, water and tomatoes. Stir until mixed then either place a lid or foil over the top. Place into preheated oven for about an hour, removing the lid or foil after 40ish minutes and giving it a stir when you do. The bake is done when the rice and lentils are fully cooked, but if you are into a crispy top and crunchy sides, by all means, cook a little longer.

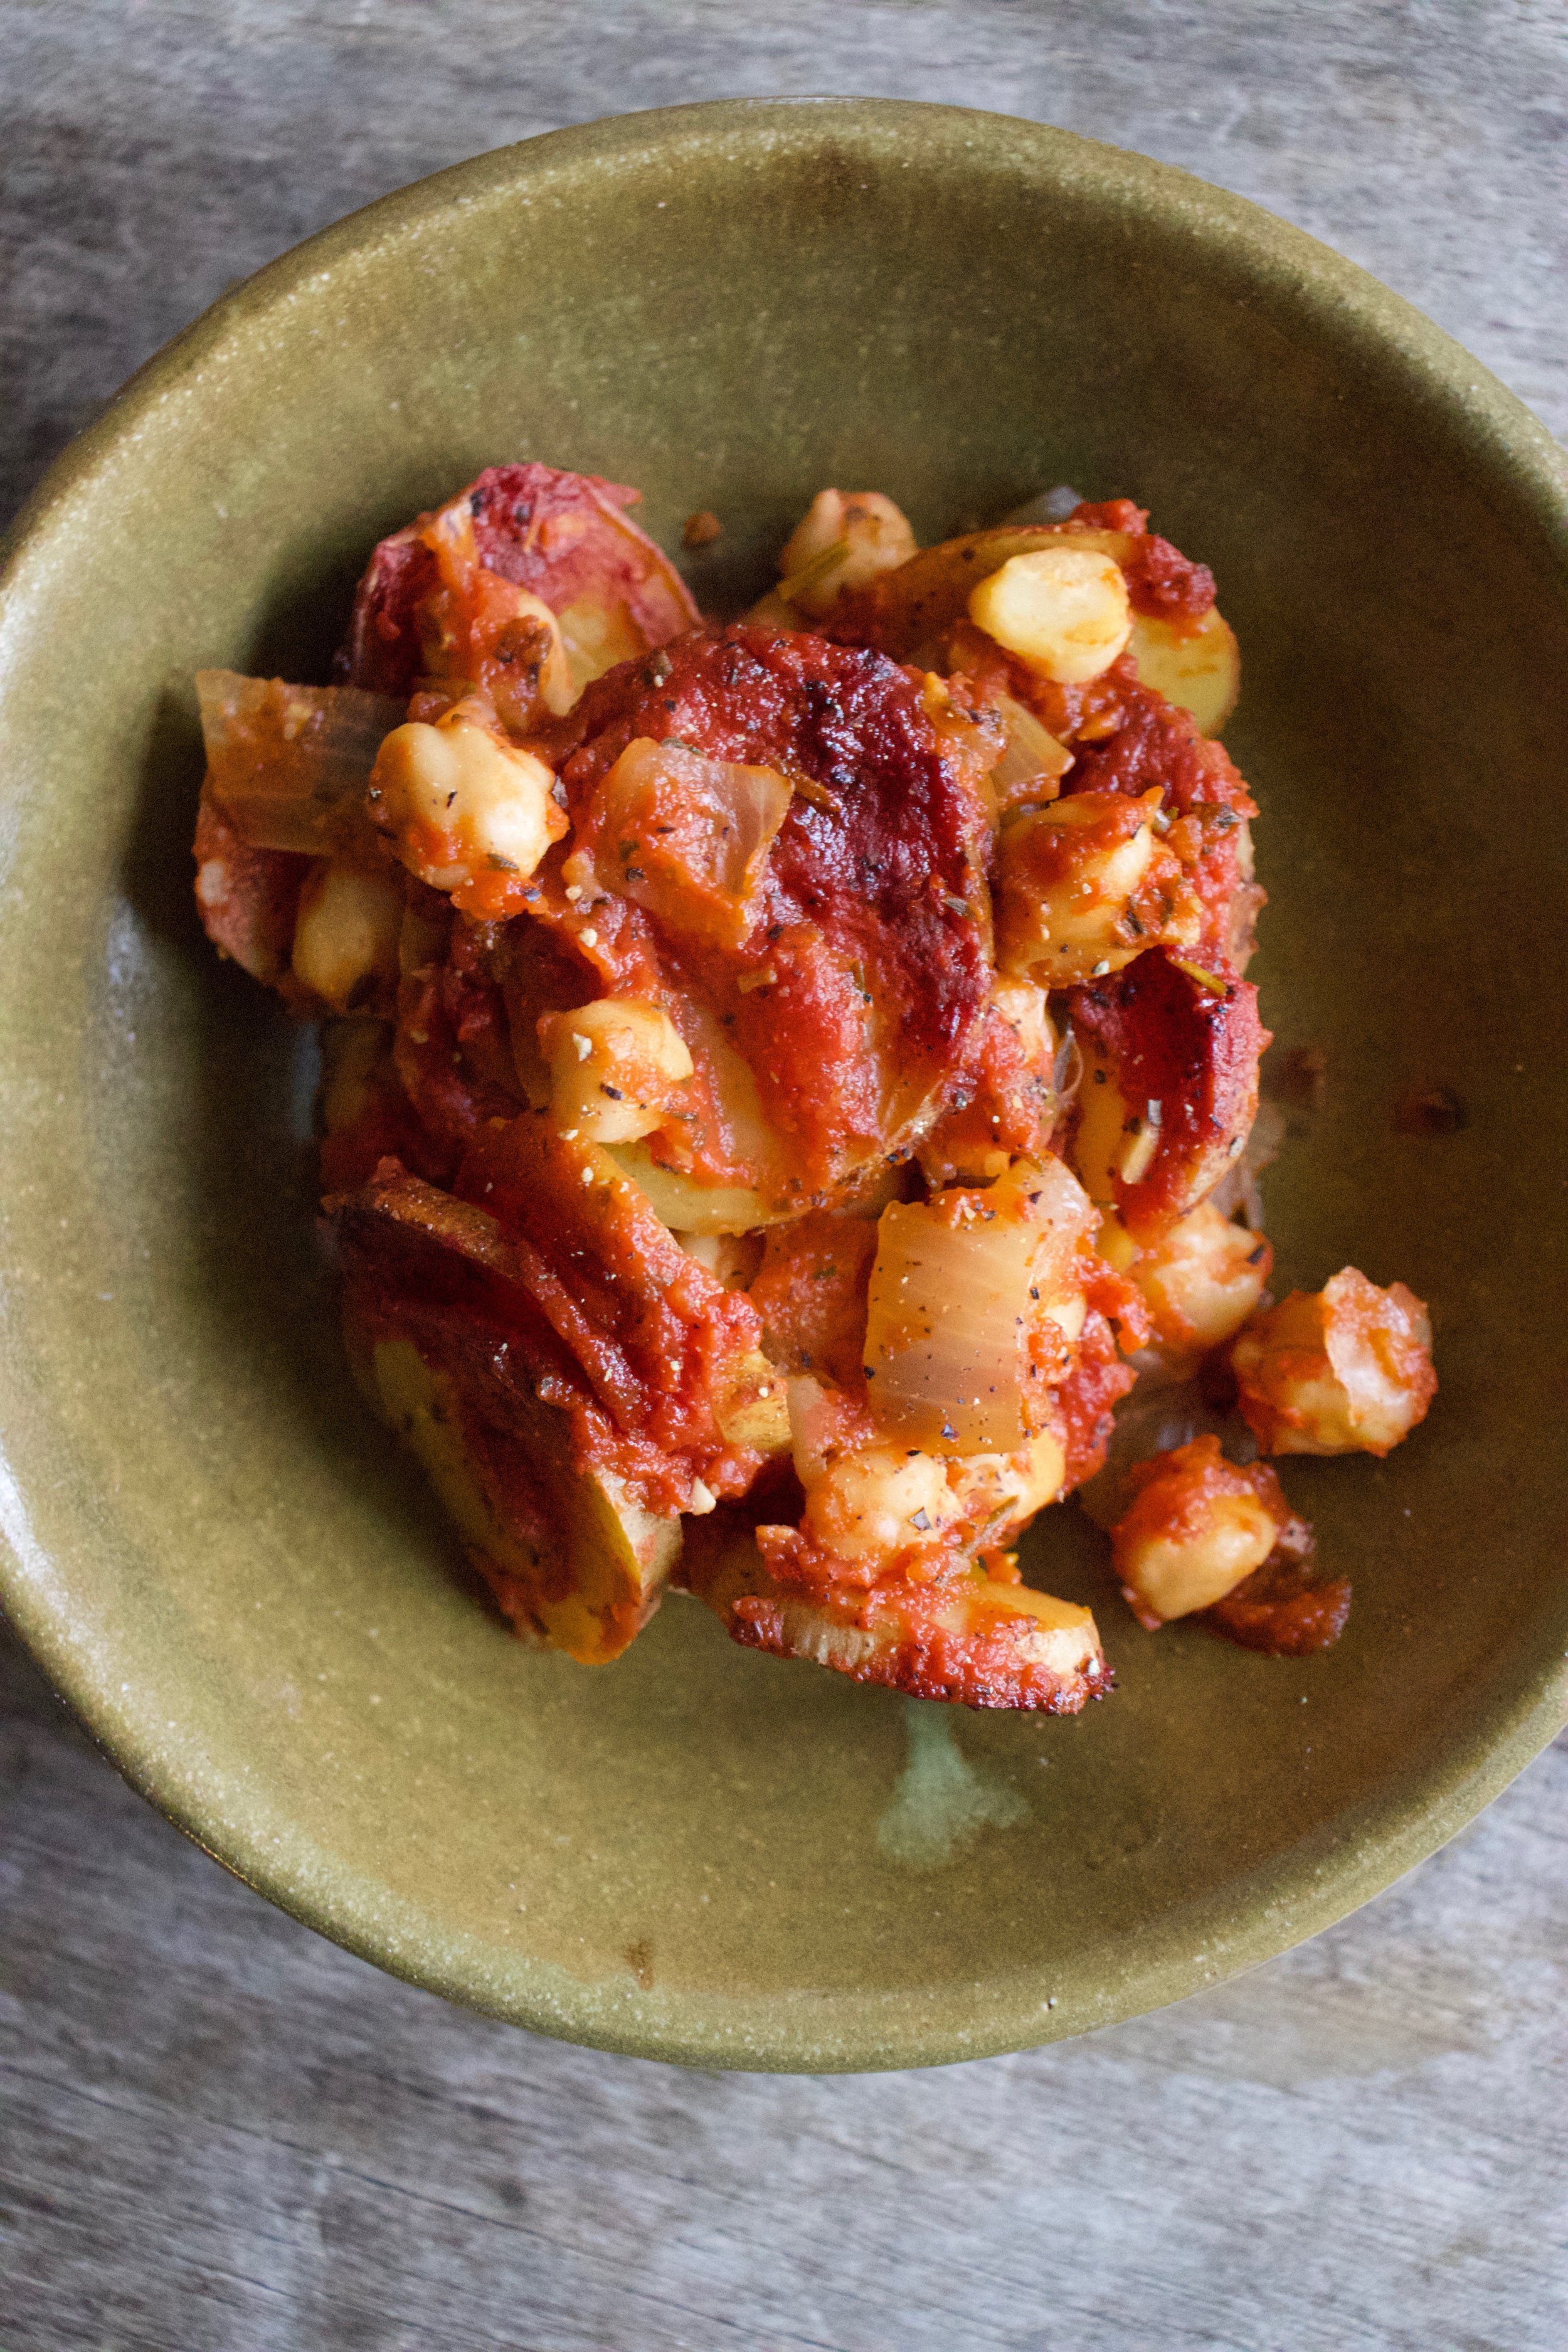
Remove from oven when fully cooked and you are happy with crispness. Let cool for a few minutes, toss on some chopped green something or another if you want, and serve it up.

Left overs store great in the fridge for a few day and freeze well too.

In casserole, Dairy Free, dinner, entree, Gluten Free, pulses, Vegan, Vegetables Tags Cajun Lentil And Rice Bake, Rice, brown rice, lentils, pulses, vegan, vegetarian, veggies, skillet dinner, casserole, 1 pan dinner, easy, plant based, gluten free, dairy free, healthy, hearty, dinner, spicy
9 Comments

Potato Chickpea and Onion Pierogi

March 9, 2019 Colleen Stem
IMG_6424 4.jpg
IMG_6316.jpg

Barb has been bugging me for a few months to make her pierogi and I keep telling her I will. But for some reason I just kept forgetting and ever time she came over for dinner I would just end up making her lentils . I make lentils for people when I care about them because lentils are perfect and I always figure she could use the nutrients. But finally, FINALLY, I remembered and figured it was about time. Time for Barb to get her pierogi. I got the ingredients, made up a plan, and went about making them thinking she was coming over for dinner. But guess what. She didn't come over. After all that, she decided it was better for her to go to her classes and then go to her shift at work, that it was not a good idea to skip out on all that just because I decided to finally make her pierogi. Well whatever I guess.

And full disclouse, I don’t think I made actual plans with her for the particular day that I made these pieorgi. I might have just assumed she was coming over…. So maybe my bad. Good thing these things can be made ahead and cooked whenever. So I saved her half for whenever she does come over (today I think). I did make them for her after all.

Anyway. Pierogi. Pretty much a stuffed ravioli I filled these with the potato, chickpea, and onion mixture, tossed a little dill in for the hell of it, and there they were. The mr got the first half, covered in cashew cream. But I bet these would be equally fantastic with marinara sauce. Or ketchup? I could see that if you are into that sort of thing. Ha.

Also have to note. I keep wanting to write pierogies but I think that is wrong. Pierogi is the plural for pierog.. I think.

To the pierogi.

IMG_6188.jpg

The stuff. Flour, oil, salt and pepper. Cooked chickpeas, a couple russet potatoes, a big onion, some dried dill (optional), warm water, soaked cashews, and a little red wine vinegar.

IMG_6200.jpg
IMG_6201.jpg
IMG_6204.jpg
IMG_6205 2.jpg

First make the dough. Flout, salt, water, and oil get mixed together until la shaggy dough is formed. Dump onto a floured surface ans give ut a good knead for a minute until lit comes together into a nice ball. Place dough back into the bowl (clean it out), cover it with a towel, and set aside to let the dough have little rest.

IMG_6216.jpg

Meanwhile get the potatoes boiling. You are more then welcome to peel your potatoes but I don’t. Chop the potatoes into small pieces, dump into a pot of cold water and cook them (boil until fork tender)

And cook the onions too. Chop the onion into small little bits and place in a skillet with a couple slashes of olive oil. Medium heat and a good stir until they are nice and golden brown.

Cooked onions and cooked ans drained potatoes.

IMG_6246.jpg

Now to make the filling. Add the potatoes, onions, chickpeas, and ill to a bowl. Sprinkle in salt ans pepper

IMG_6248.jpg

Mash it all together, small chunks are ok, but not big.

Taste and season with more salt and or pepper if needed. And stop eating all the filling, you need it.

IMG_6258.jpg

Wen the filling is made, grab the dough, rolling pin, and a large biscuit cutter or a cup.

Roll out dough, then cut out circles.

IMG_6272.jpg
IMG_6277.jpg

And to make a pierogi, grab a dough disk, add a mound of filling, then fold in half and pinch closed. Simple. IF the dough doesn’t want to seal, run a wet finger around the edge of the dough. That will do the trick.

Pierogi production.

All made, and not perfect by any means but perfect to me. Once you have made them, they need a little rest before cooking. Just a half hour or so. Enough time to clean up the mess that you just made and ge ta pot of water boiling on the stove. This is also a good time to prepare some to save for freezing. Any that you do not plan on eating in the next few days, place on a lightly floured baking sheet and stick in freezer. Once frozen, remove from sheet and place in an airtight container or freezer bag and stash away for another day. They can also go I the fridge for 3-4 days without being frozen, just make sure that you give each one a good dusting of flour so they don’t stick to each other.

IMG_6309.jpg
IMG_6311.jpg

Oh, and before you finish cooking the pierogi, make a the cashew cream. Place soaked cashews into blender with the vinegar and a splash of hot water. Blend into creamy and smooth. Season with salt and pepper and that is that.

Now to cook those pierogies. Bring a pot of water to a rolling boil. Once boiling, drop (gently) the pierogies one by one into water. A few at a time as to not over crowed, boil until they start to float to the top, which should take 4-5 minutes. Once cooked, scoop them out and place them on a plate or pan while you boil more (if you are indeed cooking more)

IMG_6333.jpg

After the pieogies had a boil, they then need a little crispness (you can skip this step if you don’t want them crispy). Use the frying pan you cooked the onions in and add a splash more oil. Heat on medium and when pan is hot, add in the boiled (not sopping wet) pierogies. Cook each side for 3-5 minutes or until nice and and browned then flip and cook the other side.

And then all is left is eating. layered on a bed of cabbage carrot slaw and dolloped with a good dollop of the cashew cream. Done and done and ready to for the face.

I don’t know. Maybe Barb should have skipped school and work for dinner.. Just saying

-C


Potato Chickpea and Onion Pierogies

makes about 25

  • For the dough

  • 2 3/4 cups all purpose flour plus more for dusting

  • 1 cup warm water

  • 1 teaspoon salt

  • 3 tablespoons olive oil

  • For the Filling

  • 1 large sweet or vidilla onion

  • 2 medium sized russet potatoes

  • 1 cup cooked chick peas

  • 2-3 teaspoons olive oil

  • 1 teaspoon dill (optional)

  • salt and pepper

  • For the Cashew Cream (Optional for serving)

  • 1/2 cup soaked cashews (soaked for at least 1/2 hour)

  • 2 tablespoons red wine vinegar

  • 3 tablespoons hot water

  • salt and pepper

First off, make the dough. Mix the flour with salt then add in oil and water. Mix together until a shaggy dough forms then dump out onto a lightly flour surface and knead a few times to form a uniform ball. Place dough back into (cleaned) bowl and cover. Set aside to rest.

Once dough is made, chop onion into small little pieces and place in a large skillet with 2-3 teaspoons of oil. Stick on medium heat and cook until tender and browned. Also cook the potatoes. Chop the potatoes into small pieces (peel if you want but you don’t need to) and place into a pot of cold water. Bring potatoes to a boil and cook until they are fork tender, almost falling apart.

Once potatoes are cooked, strain from water and place in a big bowl. Add in the cooked onion and the chickpeas. Sprinkle in dill if you are using and season with salt and pepper. Grab a potato masher or a fork and mash the mixture together. It can be a little chunky, but you don’t want really big chunks. Taste and season if it needs it.

Filling is done so now grab the rested dough. Place dough on a lightly floured surface, cut in half, place one half back in bowl and roll the other out about 1/8 inch thin. Take a large biscuit cutter or a large cup and cut out circles. Gather remaining dough and re roll out. Do this until you can’t. Repeat with second half of dough.

Once the circles are cut out, place about a tablespoon of filling into the center of each. Fold the dough in half and pinch closed. If the dough has dried out to much, brush a little water on the edge of circle to help it seal. Place the pierogi on a floured surface (so they don’t stick) And don’t worry if you have a little extra filling.. Just eat it.

When all the pierogi are made, let them rest for about 1/2 an hour. There are a good amount of pierogi here so if you want, stick some in a container and in the fridge to have in the next few days. Just make sure to flour them so they don’t stick together. Or if you prefer, place however many you to want to save on a lightly floured baking sheet and stick in the freezer until frozen. Once frozen, place into a freezer safe bag or container. They will keep for a few months.

Also, before you finish cooking, make the cashew cream (if you want it) Just add soaked cashews to a blender with vinegar and the water. Blend until smooth and creamy then season with salt and pepper to taste. If the mixture seems to thick, just add a splash more water until it is a desired thickness.

To cook the pierogi, bring a large pot of water to a boil. Place pierogi, one at a time, into pot. 5-7 at a time as to not crowd them, and cook until they start to float. Remove the cooked ones with a slotted spoon and stick on a plate. Boil as many as you are going to eat. Grab a skillet and add a few teaspoons of olive oil. Heat to a medium heat and place the pirogies into pan. Cook each side for 4-5 minutes or until browned and crispy. Flip and cook the other side.

Remove form pan, place on a plate, dollop with cashew cream (if desired) and eat.

In appetizers, beans, Dairy Free, dinner, entree, Pasta, pulses, Vegan Tags Potato Chickpea and Onion and Pierogi, Pierogi, dill, cashew cream, vegan, vegan pierogi, plant based, home made pierogi, from scratch, easy, make ahead, ravioli, dinner, pulses, beans, potatoes
Comment

Potatoes in Tomatoes with Chick Peas and Onions

January 26, 2019 Colleen Stem
IMG_4866.jpg
IMG_4898.jpg

Potatoes in tomatoes. It just has a nice ring to it. And to tell the truth, that is the only reason I made this dish, because it sounds good.

Ok, not really the only reason, but it was the start, that and I have been sitting on some potatoes for a little while and it was time for them to be eaten. Enter in the tomatoes. I figures cooking the potatoes in tomatoes is alike to a ketchup and french fry situation. Not completely the same, but you get the idea. Add in chickpeas for good measure and onion because I wanted to and that is that. Nothing fussy, one pot, easy, hearty, and good.

Also not hurting anyone that these potatoes take a little while to bake. I could have made this dish in a way that made them cook faster (like parboil the potatoes) but I wanted the heat from the oven. It has been pretty freaking dang cold out so I liked having the heat, it adds another dimension to the term comfort food (as in me being comfortable hanging out next a hot oven).

Anyway, nothing too fancy, just all around tasty dish. It is just what you need to bake and eat on any given cold winter day. And it sounds nice too. Just say it aloud. Potatoes in Tomatoes. Right? Now you see, it had to be done.

To the potatoes in tomatoes!

The stuff. Potatoes, crushed tomatoes, cooked chick peas, an onion, a few cloves garlic, Italian seasoning, salt and pepper and a bit of olive oil.

Start by chopping the onion and mincing the garlic.

Get it all into a cast iron pan or oven safe skillet with a little olive oil. Add the spices and give it some heat on the stove top while you cut potatoes.

Now cut those potatoes nice and thin. A mandolin works wonders but a knife will do just as well, just try to keep the thickness all the same.

IMG_4764.jpg
IMG_4766.jpg
IMG_4765 2.jpg

Potatoes are cut and onion mixture has sweated a bit so now you add in the chick peas (with liquid) and half the crushed tomatoes. Stir it all up.

Layer on potatoes, drizzle with a tiny bit of olive oil and give them some salt and pepper love.

IMG_4797.jpg

Dump the rest of the tomatoes on top then add in water, enough that all the potatoes are completely submerged.

Now into the oven they go.

Doesn’t that just look all fantastic? I mean really really , A+ good, no? If you are feeling extra crispy, you could even stick the skillet under the broiler for a few minutes right before you pull it out.

IMG_4860.jpg

And that is that. Potatoes in tomatoes with chick peas and onions. A simple but very satisfying dish to keep your cold belly full of warm goodness.

Be well.

-C


potatoes in tomatoes with chick peas and onions

  • About a pound or so of white or red potatoes

  • 3 cups (or a 28oz can) crushed tomatoes

  • 2 cups (or a 16 oz can) cooked chickpeas in liquid

  • 1 large onion

  • 2-3 close garlic

  • 2 tablespoons Italian seasoning

  • 2-3 cups water

  • olive oil

  • salt and pepper

Preheat oven to 400

Grab onion and dice into small pieces. Mince the garlic. Grab a medium sized oven safe skillet and toss the onion and garlic in with a tablespoon or so of olive oil and the seasoning. Place on medium heat and cook for a few minutes until the the onion is slightly cooked and fragrant. Remove from heat. Mix in the chick peas with liquid and half of the crushed tomatoes.

Rinse potatoes and slice into 1/4 inch thick rounds. Place tomatoes into the skillet, layering any way you want. Drizzle the top with like a teaspoon olive oil then sprinkle the tomatoes with salt and pepper. Spread the rest of the crushed tomatoes over the potatoes then pour the water in. If the potatoes are not completely submerged in water, add more until they are. Cover the skillet with a lid or tin foil.

Place skillet in oven and bake 40ish minutes then remove lid or foil and bake for another 25-30 minutes or until potatoes are fork tender and slightly crispy on the edges. Depending on the type of patotoes you use,(like a really firm and waxy yellow potato) you might need to add more water to the skillet and cook for longer. If that is the case, just pour more water over until the potatoes are submerged again and keep baking until cooked.

For extra crispy, when potatoes are done, place skillet under broiler for a few minutes until crisp to your liking.

Pull from oven, let cool a minutes or two then dig in.

In beans, Vegan, side dish, pulses, one pot meal, entree, dinner, casserole Tags Potatoes in Tomatoes with Chick Peas and Onions, Potatoes, Tomatoes, chick peas, pulses, beans, vegan, dinner, meal, side dish, plant based, gluten free, whole 90, comfort food, dairy free, One pan meal, vegetarian
Comment

Lentil Chili

January 5, 2019 Colleen Stem
IMG_3981.jpg
IMG_4033.jpg
IMG_4027.jpg

I can’t remember the last time I have gone a day without eating lentils. Seriously, even when we travel I buy or bring along a bag of lentils. Or when we are camping, its basically all we eat. So it is safe to say that I know my way around a lentil or two. They are probably my favorite food (I say that about all my favorites)

Other then lentils being amazing delicious, the are so versatile. I am sure I say it all the time, but there is nothing you cannot make with lentils, sweet or savory. And nutritional as all heck. So much iron and a super amount of protein. Lentils are basically the perfect food in tiny little coin shaped form. Take it from this vegan lady here. Lentils help keep me alive. HA.

But enough about how many lentils I eat, what we need to address is this chili. It doesn’t matter if you are a lentil feen or not, you will very much enjoy yourself a big bowl of this hearty, slightly spicy, warming goodness. Especially now, when it’s cold outside and the days are short and you just want to eat something filling and healthy and that is not left over holiday cookies. And big bonus, this is a chili that you could come home to start at 5 and basically have it ready to eat by 6. That is just one bit of the magic of lentils, they so cook so fast.

And it’s chili and chili is the best so you really should just get it made. It’s what you need, I can tell.

To all the lentil goodness!

IMG_3870.jpg

The stuff. Green lentils, crushed tomatoes, a cubanelle pepper, an onion, a couple carrots, and some cauliflower. Also a few cloves or garlic, cumin, chili powder, ground ginger, a red jalapeño, and salt and pepper.

Get started by small choping the carrot, onion, and pepper. Mince up the garlic too.

Grab that jalapeño and remove steam (and seeds if you want heat) and dice into very very small piece.

Into a big old pot it all goes, along with the cauliflower and all the spices. Add a splash of water and a sprinkle of salt and pepper and stick it on the stove for a few minutes to warm up the veggies and spices.

IMG_3913.jpg

Looking good.. So good I wanted to eat it all, but don’t, it’s for the chili.

IMG_3917.jpg

Now add all the tomatoes and water and place back on stove on high heat until it starts to boil, then reduce heat to a medium and cook until lentils are tender.

IMG_3948.jpg

Well look at that, chili.

And why not top with a little avocado while you are at it. It is a very good addition, to the spiciness.

Very little amount of works for such great rewards. Probably going to be your new favorite chili recipe just so you know.

Lentil chili. Grab a bowl, kick up your feet, and dig on it.

-C


Lentil Chili

makes a lot of chili, like 10-12 servings

  • 1 pound green lentils

  • 1 large onion

  • 5-6 cloves or garlic

  • 1 cubanelle pepper (or any green or sweet pepper)

  • 2 large carrots

  • 3 cups chopped cauliflower (fresh or frozen)

  • 6 cups (two 28 oz cans) crushed tomatoes

  • 2 hefty tablespoons cumin

  • 1 hefty tablespoon chili powder

  • 1 teaspoon ground ginger

  • 1 jalapeño pepper

  • 6-8 cups water

  • salt and pepper

  • diced avocado for serving (optional)

Remove steam and seeds from cubanelle pepper and small dice it along with the carrots and onion then place int all nto a large heavy bottom pot. Mince the garlic add into pot. Remove steam and seeds from jalapeño pepper and finely dice it and add to pot. Last but not least, add the spices to the mix. Add a splash of water and place on high heat and cook the veggies and spices until for 5 or so minutes, just to give them a little heads start and to activate the spices.

Once the veggies have had a few minutes of heat, dump in the dried lentils, the tomatoes, and 6 cups of water. Stir around and keep on high heat until it starts to boil then turn down to medium and continue to cook, stirring once in a while, until the lentils are tender and the chili has thickened, which should take about 35-40 minutes. If at any time you the lentils are not submerged in liquid but are not cooke through, add more water. And once the lentils are cooked you can thicken bu continuing to cooke does or thin it out by adding more water. Taste soup and season with salt and pepper as you see fit.

To serves, ladle into bowls and tope with diced avocado.

Left overs are fantastic hot or cold and will last in the fridge for about a week. Or if you want, you can freeze a few servings.

In Vegetables, Vegan, soup, pulses, one pot meal, Gluten Free, grain free, Dairy Free, Winooski, soups/stews/chilis Tags Lentil Chili, Chili, vegan chili, vegan, soup, stew, iron rich food, pulses, plant based, healthy, protein, warming, spicy, grain free, gluten free, dairy free
Comment

Baked Beans

November 17, 2018 Colleen Stem
IMG_2379.jpg
IMG_2436.jpg
IMG_2427.jpg

I made baked beans last week for a side to dinner with the mr and Barb. They ate them all. I didn’t get more then a spoonful. I was sad for me, but also was like “Shit, if I had known you guys were bean fiends, I would be making baked beans like all the time.”

And maybe not all the time, but I made them again this week. And again, they ate a lot, but I got me some this time, and I will probably make them again next week too because they will be perfect for Thanksgiving. See, homemade baked beans are a thing of beauty. Sure you can buy them in a can and be just fine, but these baked beans, well these are waaaayyyy way better. These baked beans are soft (not canned bean soft) and tomatoey and a little spicy with a tang. Not sickly sweet, (not sugar added) and not too salty.. They are just about perfect. You can eat them on their own, toss them into salads or wraps, stick on some toast, serve as as side, or just eat them cold straight from a jar from the fridge right before bed. (your loved one will thank you for that). Plus they are baked in the oven and I love me a good warm oven on a cold day. And the obvious, but all the protein and all around goodness. A great dish to serve if ever you need to feed people like me who don’t eat meat. It’s a win win win win.

Baked beans in all their glory. No cans in sight.

IMG_2322.jpg

The stuff. White beans that were soaked overnight, strained then added back to a pot with 6 cups of water. Also have crushed tomatoes. an onion, a few cloves of garlic, chili powder, mustard powder, apple cider vinegar, and some salt and pepper.

IMG_2337.jpg

First step is to start boiling you beans. But while that is happening, mince garlic and chop the onion into really small pieces.

IMG_2340.jpg
IMG_2350.jpg

Toss the onion and garlic in a pan and cook on medium low until soften and fragrant.

Cooked beans. All you need to do to cook them is place the pot with soaked beans and water on high, bring to a boil, then turn heat to a medium. Let beans cook until tender. It should take about an hour and a half.

IMG_2365.jpg

Beans are cooked and the garlic and onion are soften so now all you do is combine everything together. Don’t drain the beans, just toss in the tomatoes, the vinegar, the spices, and a few pinches of pepper and a pinch of salt. Stir in all together,

Looks like soup right? This is right before you stick it into the oven.

IMG_2387.jpg

Now look at that, oven baked beans. The best part… The crispy sides. ALL MINE!

Not much left to do but eat them. Straight up with a hunk of bread. That is a good way to start anyway.

Enjoy your beans!

-C


Baked Beans

Makes a big pot of beans

  • 1 pound (2 cups) white beans soaked in water for at least 8 hours (I used great northern but navy would be good too)

  • 6 cups water or veggie stock

  • 3 cups (or a 28 oz can) crushed tomatoes

  • 1 onion

  • 3 cloves garlic

  • 1 1/2 tablespoons chili pepper

  • 1 tablespoon mustard powder

  • 1/3 cup apple cider vinegar

  • salt and pepper

Strain soaked beans and place them into large oven safe dutch oven almond with the water and stick on the stove. Bring the beans to a boil then reduce heat to medium and cook util the beans are tender. Should take about 1 1/2 hours.

Sometime while the beans are cooking, mince garlic and chop the onion into very small pieces. Place in a skillet and cook on medium until the onion and garlic are soften and fragrant. Remove from heat and set aside until beans are cooked

Preheat oven to 425

One beans are tender, dump in the cooked garlic and onion, the tomatoes, the spices, the vinegar, and a good pinch of salt and pepper. Stir it all together and place into the oven. Bake for about 2 hours, staring about ever 30 minutes, until the bean sauce is nice and thick. If at any point you think they have gotten to dry, just add more water. Pull the beans out of oven once you are happy with the sauce consistency. Taste and season with more salt and pepper if needed.

And then eat them. As a meal, as a side, or as a snack. Beans are good anytime.

Any leftovers should be stored in the fridge. Beans can be reheated very easily on the stove top. Just place the pot back on stove, stir in a little water and cook til hot.

Beans are also fantastic eaten cold from the fridge.

In Vegan, side dish, pulses, one pot meal, grain free, Gluten Free, entree, dinner, Dairy Free, beans Tags Baked Beans, Vegan Baked beans, simple baked beans, sugar free baked beans, pulses, vegan, protein, plant based, gluten free, dairy free, thanksgiving, Dinner, side dish, one pot meal
Comment
← Newer Posts Older Posts →
 

https://thelovelycrazy.squarespace.com/config#/|/about/

Me. Food Maker.Food eater. Woo HOO!

STEM+NODE  SMALL BATCH AND ONE OF A KIND POTTERY

stem+node ceramics


____________________

Subscribe

GET NEW POSTS IN YO EMAIL

You are AWESOME!!!


@thelovelycrazy 2014-2021