Rhubarb Pie

IMG_2409IMG_2394I swear I didn't plan this, but today is officially Pi Day! Pi being the mathematical constant of the ratio of the circumference of a circle to its dimeter (did I say that right?) 3.1415…… And today's date is 3.14.15.   Whoa…I guess that means that this pie was meant to be. 

But the real reason I made this pie was for a surprise treat for the mister. He left for a couple of days and me being the super assume lady love of his, thought it would be nice for him to come home to his favorite dessert.. plain old rhubarb pie.( I know, I be the best) And it didn't hurt that when I went to the grocery store, there was a big old pile of fresh, gorgeous rhubarb staring me right in the face, and on sale to boot.

The funniest thing. Me and the mister have been together for a very long time (12+ years….we started dating in high school, so I am not that old!) and I have known that his favorite dessert is plain rhubarb pie for ever. Every time we have one of our food discussions about our favorite foods, (which happens more than it should and usually consists of me running my mouth and him grunting or nodding once in a while) rhubarb pie always comes up. He even talks about the old lady who used to make him rhubarb pie for mowing her lawn. And guess what...  I have never once made him a plain rhubarb pie. Why? Honestly, I have no idea. Maybe I secretly think I was going to screw up his one favorite dessert, or maybe I never quit had enough rhubarb for a pie, or maybe I am really just an awful lady. But for whatever reason, it doesn't matter anymore because I finally made him a plain rhubarb pie. 

IMG_2300The stuff for the makings of pie… One single pie crust, flour, sugar and rhubarb. I mean, come on, this might be one of the simplest pies ever.  

Note…The first thing the mister said to me when he saw the pie was. "Where is the top crust? My response what "Screw you ass face" but then chuckled. This pie would be great with a top crust, but I was thinking how pretty it would be without it. And honestly, I only made a single crust. What I am saying is.. make a double crust if you want a top.

IMG_2332    IMG_2338The chilled pie crust gets rolled out, placed into a pie plate, trimmed and made all pretty. The bottom is sprinkled with a 1/4 cup of sugar and stuck back into the fridge while the oven preheats  to 350.  Now is a good time to dice the rhubarb into inchish chunks. Once the oven is preheated, remove crust from fridge and add in the diced rhubarb.

IMG_2351   IMG_2362
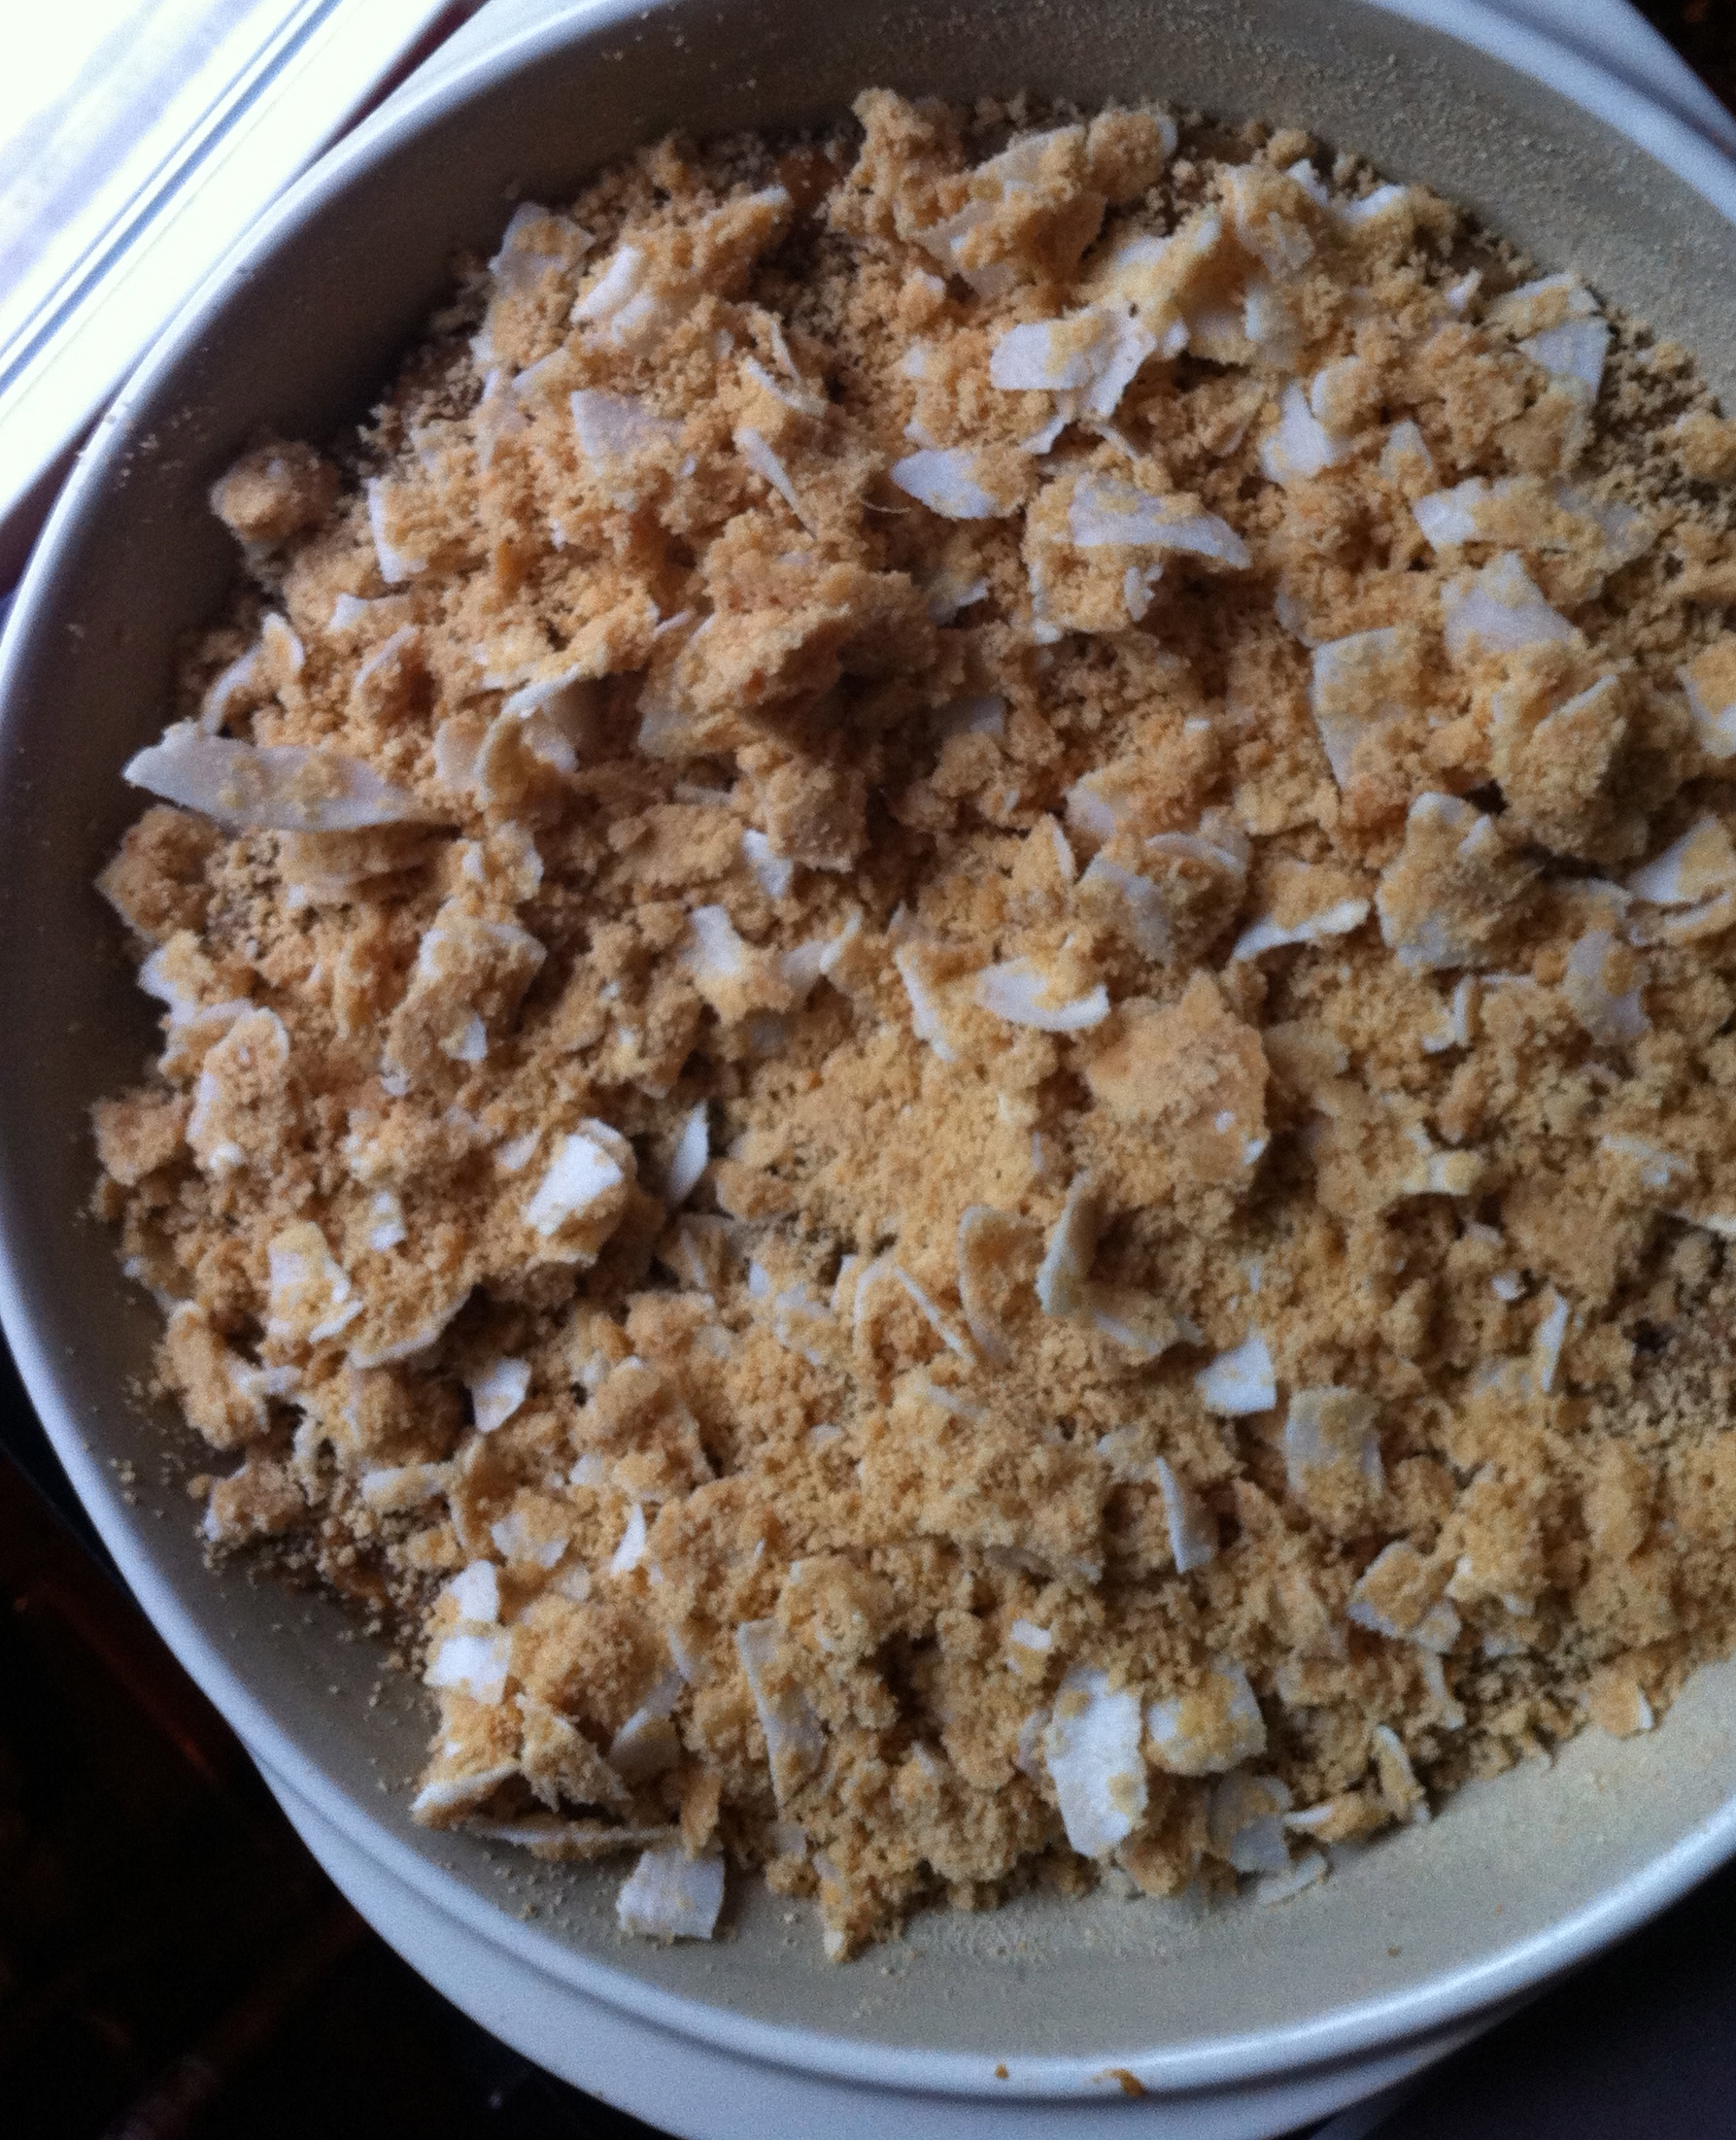
The remaining sugar and flour get mixed together in a bowl  and dump on top of the rhubarb. Give it a tiny toss with you fingers just to get some of the mixture to sink down a little. (Don't worry, the filling will be perfect when you do it like this) I also cut up the pie crust trimmings and placed on top… not necessary, but looks pretty and is a good use of the scraps.

Now cover the entire pie with tinfoil. Cut and x through the middle and fold foil back to expose the filling but keep the crust covered. (so much easier than trying to squish strips of foil together..you know what I am talking about) 

And then the pie is ready to be baked.

In the oven for 5o minutes with the foil, then 10 or so minutes without to finish.IMG_2430And then you take it from the oven and marvel at the beauty.

I am now truly the best super awesome lady love. I should get a freaking crown but would settle for a stand mixer or blender as a reward instead. 

Important…..Let the pie cool completely (or just about) before cutting.The filling needs a bit of time to set.

Happy Saturday, Happy Weekend, Happy PI Pie Day!!!

-C


Rhubarb Pie

  • Single Pie Crust.. Recipe here
  • 4-5 large Rhubarb Stocks (4 cups chopped)
  • 1 1/4 cups white sugar
  • a hefty 1/3 cup flour

Make you pie crust.. and make sure it's chilled!

Roll our pie crust and place in pie plate. Trim and make edge all nice and pretty. Add 1/4 cup of sugar to the bottom  and stick back in the fridge to relax while you get the other stuff together.

Preheat oven to 350

Wash and dice rhubarb into inchish chunks. In a bowl, mix together 1 cup of sugar and the flour. Once the oven is preheated, remove crust from fridge and fill crust with the chopped up rhubarb. Now dump the sugar, flour mixture on top, slightly tossing it around with your fingers. Cover entire pie with tin foil and with a knife, cut an x through the middle of the foil. Fold foil back to expose the center of the pie, but keep the crust covered. Stick into oven. Bake for about an hour, removing the tin foil after about 50 minutes. Pie is done when the crust is golden brown and a fork or knife stuck into the middle of pie comes out with a thick jam like sauciness.

Let pie cool and set for a bit.

Slice. Serve on a plate with an eating utensil and maybe a scoop of vanilla bean ice cream.  Lick plate clean.

Pie Crust

IMG_2283I am so happy its Friday, but like whoa, this week has flown by so fast. I think I need to make a pie to slow things down a bit.. What Kind of pie am I making? We will get to that, but first we must make a killer pie crust, one to hold of the goodness to come.  

IMG_2269Crusty Stuff. Flour, a stick of frozen butter (or a stick of frozen Earth  Balance, which I have used and it turns out much the same) a  bit of sugar, some salt, ice water, and apple cider vinegar*.  

Whats with the vinegar you ask? Well first  off, don't worry about tasting it, you won't. Secondly, I add it because it helps keep gluten from forming in the flour, which in turns makes the pie crust more flakey and less doughy. If the though of vinegar really bothers you, you can use lemon juice or even leave it out. IMG_2273

The flour, salt, ans sugar are mixed together into a bowl. Then with a box grater or hand grater with big hole, grate the frozen butter directly into the flour, stopping every few tablespoons to toss around in the flour. (DO this or you will end up with a big pile of shredded butter that is starting to melt back together) Also, hold the butter with the wrapper to keep from warming the butter with your hand.

Once the whole stick is shredded, take a fork and just toss the chunks around a bit more just to evenly distribute. Now add in vinegar and water. Toss with fork until the mixture starts to come together. If you think that dough seems way to dry, add in one more tablespoon of ice water.IMG_2277Dump the dough onto a lightly flour surface and kind of squish, smoosh dough into a pile. The dough is all clumpy and weird looking, Well thats what it is support to look like, so your good. IMG_2281Once the dough is gathered into a ball, place onto a piece of wax paper and wrap. Now is the most satisfying part..Smoosh the wrapped dough into a disk but applying pressure. Aaahh, kind of looked like pie crust. Now Stick it in the fridge for a least a hour (Don't skip this or your crust will be blah)

IMG_2296

Out of the fridge and awaiting a roll and a filling. 

Weekend plans for a pie are set!

Have lots of good times!

-C


Pie Crust

Notes... You can for sure make this  pie crust vegan by replacing the butter for  a stick of Earth Balance.  Also, this is the stuff for a single pie crust but I usually habra bit left over to make a few little cutouts for the top of the pie or pie scrap cookies.

To make this a double pie crust, just double everything up.  

  • 1 1/4  cups  all-purpose flour
  • 1 tablespoons granulated sugar
  • 1/2 teaspoon salt
  • 1/2 cup unsalted butter (or Earth Balace), cold or frozen
  • 1/4 cup ice water
  • 1 tablespoon apple cider vinegar  

In a large bow, whisk together the flour, salt, and sugar. Place grater in bowl and with the biggest grate hole, grate the frozen or cold butter directly into the flour mixture, stopping ever few tablespoons to toss around in the flour so you don't end up with a big pile of grated butter. With a fork, toss around a bit until  the butter is evenly disrupted in the flour being careful NOT to work the butter into the flour.  Add in the vinegar and water and mix as little as possible with a fork until the mixture starts to come together. The mixture will seem kind of dry and almost like it is falling apart, but thats what you want. If dough is really too dry, add in another tablespoon of ice water. Dump mixture onto a lightly floured surface and squish together to form a ball, handling as little as possible. Place on a piece of wax paper and wrap. Give it a good squish to flatten out a bit and place back into fridgerater for a least one hour, if not longer.

And then you have crust

Crust can be frozen.. just wrap in plastic wrap and place into a freezer bag. 

Coconut Filled Chocolate Heart Whoopie Pies!!!!

IMG_7529  All I want to do is make everything into hearts and turn everything pink…Is that a problem?

I'm going to admit it, I am one of those girls that love Valentines day! And no, I don't love it for the flowers (although I do love flowers..but never roses..yuk) No, I don't want a box of candy or the silly store-bought cards. I don't want to get all gused up and go out to dinner, and I definitely would be pissed if the mister bought me any jewelry. What I love is a day of spending time with my lover. We always take the day to do something special together, and for each other, and to be happy…...and there is always hearts involved. I love hearts. 

 I want to spread that loving love love feeling because no matter what your love situation is during this holiday..we should all be happy and spread love to each other and to ourselves… And what better way to spread happy and love then with a pretty heart shaped baked good?  Chocolate because almost everyone is into chocolate. Coconut because I can't stop eating whipped coconut cream and pink coconut sprinkle because that's what make me happy. (I am a little obsessed with sprinkling things) These little hand-held pies of love are  really easy to make and always a big hit, especially with the little ones.(I am thinking they are perfect for a Valentines Day school party)  And yes, they are vegan so you can share with all your vegan friends! 

So in the spirit of the coming Valentines Day holiday….Lets make WHOOPIE!!!! (pies)

IMG_7307

 Flour, baking soda and powder, salt  and cocoa powder. Soy milk with  vinegar. Vanilla, coconut oil, and chia seeds jelling. Brown and white sugar…. you know whoopie stuff.

IMG_7317

The dry in one bowl… sugar and all the wet in another. 

IMG_7337

All the whoopie stuff mixed together and scooped into a large zip top bag. So fancy with my bag…a real pro here!

IMG_7361

Snip the tip of the bag, do a little squeeze test, and have at it. squeeze hearts onto a lightly oiled baking sheet or use a piece of parchment paper.  

You might get a little  frustrated if you are trying for perfect. I was for the first two batches,  but once I stopped trying to hard, I really got into how cool some of the hearts came out. Embrace the funky lop -sided hearts, because any heart is a good heart.IMG_7406So lovely. Shadow hearts while the whoopie hearts cool.

IMG_7468Whoopies all paired up

IMG_7532Stuffed with a generous dollop of whipped coconut cream ( a cold can of coconut cream whipped with a splash of vanilla and a tad bit of sweetener)  and sprinkled with my home-made beet dyed coconut sprinkles…..

IMG_7523

Are you happy now? Because I know that I couldn't stop smiling when I was making these… they are just to cute!

A couple bits of advice… Try to assemble before serving.. I was trying to put them together  while a punch of kids were trying to eat them. Things got a little messy and sprinkles ended up everywhere. Also, The coconut cream should stay fairly cold, so my suggestion is to make the hearts and fill only when you are going to serve them. Or if you want to make far in advanced, cover and refrigerate to keep from coconut cream from melting….But other than that…

Have fun making Whoppies!

-C

Coconut filled Chocolate Heart Whoopie Pies

Ingredients

  • 1 1/3 cups all-purpose flour
  • 2/3 cups cocoa powder
  • 1 teaspoon baking soda
  • 1 teaspoon baking powder
  • 1 tsp salt
  • 3/4 cup  soy milk or milk of choice
  • 1 Tablespoon  apple cider vinegar
  • 2 Chia eggs ( 2 tablespoons seed mixed with 6 tablespoons warm water)
  • 1/3 cup coconut oil
  • 1/2 cup  brown sugar
  • 1/2 cup white sugar
  • 1 teaspoon vanilla extract

Preheat oven to 375

To start, make chia eggs( chia seeds in water) and add the vinegar to the milk. Let both sit for 5 minutes.

In a bowl, whisk together flour, cocoa powder, baking soda,baking powder, and salt. 

In a large bowl, mix together chia eggs, sugars, and coconut oil. Add in dry ingredients and mix while slowly adding in the milk and vinegar mixture until fully combined.

Scoop Mixture into a large ziplock bag or piping bag. Clip tip and gently squeeze out heart shapes onto a lightly oiled or parchment lined cookie sheet. Bake each batch for 8-11 minutes, or until a toothpick come out clean.

Let hearts cool completely on a wire rack. Pair up like sized hearts and fill with desired amount of *coconut cream. If your feeling festive, dust sides and or tops of cake with sprinkles

* To make coconut cream, refrigerate a can or coconut milk or coconut cream for at least 4 hours. Open can, drain liquid and place the  remaining coconut cream in a large cold bowl. Beat with a splash of vanilla and 2 tablespoons of the sweetener of your choice. …. (careful because this stuff is super addictive)

Now share.. and watch how happy everyone is when they receive a heart shaped whoopie pie!! That's love!

<a href="http://www.bloglovin.com/blog/13522757/?claim=jxuefcgfmd8">Follow my blog with Bloglovin</a>

Sweet Potato Coconut Crustless Pie

IMG_4307Yes Please. Thank you very much. Sweet Potato custard (I don't  know what else to call it) topped with coconut. My taste buds have found themselves in heaven. I have found myself sticking my butt out of the fridge with spoon in hand. Hey there, like what you see?

Now that thanksgiving is over you might be thinking.. oh we can't or, no we shouldn't or, that it's too much work. Well you can, you should, and it's not. This custardy crustless pie is nothing short of awesome and is super easy to make. All you really have to do is puree and mix a few ingredients together and bake it. The obstacle here is trying not eat it all in one sitting, But you know what. that would be ok..You eat this and it tastes so good and you feel like you have used your days worth of guilt on dessert but guess what, you didn't. This pie  is actually pretty darn healthy, even maybe good for you.  There is no sugar, no gluten, no dairy, no crap. Hardy sweet potatoes  and sweet little dates with so many vitamins, chai and coconut for protein and health fat and cinnamon, which is good for everything.  I mean, AMAZING  Now you can have dessert and  save your guilt for say,  buying a new sweater when you really don't need it or for canceling your dentist appointment because, let's be honest, you really just don't feel like going( Its ok, I rescheduled for next week). See, you must make this. Pie, sweater and no dentist…It's a winner.

IMG_4056Custard ingredients. A whole lot of not much. Sweet potatoes are the star here. A few dates, chia seeds, and a bit of cinnamon spice. That's  it. Oh yes, this desert is 100% way acceptable for breakfast and comes with absolutely 0% quilt. Its magic.

sweerIf you have left over sweet potato, this is your chance to use them up, but if not, 3 sweet potatoes, stuck in the oven at 400 degrees for about 45 minutes or until they are fork tender.

IMG_4077      While the potatoes are baking, chia seeds go into water to soak.. I remember the first time I used chia seeds and they turned into gel, I thought something was very wrong.  They are suppose to turn gloppy, so if your concerned, don't be. Now take your dates..MAKE SURE TO REMOVE PIT!!!..and stick in some warm water, just enough to cover. If you are familiar with dates and use them often, you might already have date paste on hand…just use that. otherwise. we are going to turn these dates into a paste by simply letting them sit in a bit of water to soften and then pureeing.. It's a really simple process that you can do every time you use date paste in a recipe, but my suggestion is to make a big batch and save the rest. It will turn into a new thing for you. You will want to eat it by the spoon full and then some. It's that good..

IMG_4108The potatoes are done and cooling… now is a good time to puree dates. The consistency doesn't have to be silky smooth, but it doesn't hurt to get close. Once the potatoes are cool enough to handle, remove skin( eat the skin) and stick into either a large bowl  if you're using a handle blender or emulsifier, or into the food processor.  Puree those sweet roots of deliciousness, adding a splash of water or two if they need help whipping up.  Add the chia seeds, the date paste, and spices….mix and POW!!. Go ahead, you must eat a bite….or two. Satisfied for now? Stick it into the fridge. Refrigerating for a bit to even over night makes the custard set up a smidge better, but you really don't need to refrigerate. To be honest,, you don't need to bake this either, just eat it like pudding(which is what I have been doing too) But you really want to bake it. Just stick the bowl in the fridge.

IMG_4285Now to make this custard even more awesome, we are going to add a little coconut topping. Here we have coconut flour, unsweetened coconut flakes, a little scoop of the custard filling  and a little coconut oil

IMG_4289

Mixed together for a bit of a crumble… and yea.

The custard is make.. The topping is ready. Take a pie plate and light oil with the coconut oil and dust with a bit of coconut flour. Transfer the sweet potato puree into plate and top with coconut topping.  Move to oven and bake at 375 degrees for about half hour to 40 minutes…checking every now and then to make sure that coconut isn't burning. Remove when top is golden brown

IMG_4326

And one more thing, add a scoop of whipped coconut cream which I forget to photograph. All  I did was whip a can of cold coconut cream with a tiny bit of vanilla.  SOOOOOO GOOOOOD!!

IMG_4329

There you have it, the best, easiest, healthy,  crustless custardy pie that ever was or will be.

  Sweet Potato Coconut Crustless Pie

Ingredients

Custard

  • 3 medium sweet potatoes
  • 3-4 dates pureed. Raserve a teapoon for topping
  • 2 tablespoons chia seeds
  • 6 tablespoons water
  • 3 teaspoons Vietnamese cinnamon or pumpkin pie spice
  • 1/2 teaspoon allspice
  • sprinkle of salt

Coconut topping

  • 1/4 cup of coconut flour
  • 2 tablespoons coconut oil
  •  1 tablespoon prepared custard filling
  • 1/4 cup of unsweetened coconut flakes
  • Whipped coconut cream… I bought a can of Trader Joes coconut cream, stuck in fridge for the day, and just opened the can, scooped the hardened cream into a bowl and whipped it up. I did add a tiny splash of vanilla, but that's it…And oh man it is sooooo sooooo good.

Place sweet potatoes in oven at 400 degrees and bake for 40 minutes or until fork tender.

While the potatoes are baking, place chia seeds in 6 tablespoons of water to soak. Place dates into just enough  warm water to cover. REMOVE THE PIT! Let chia seeds and date soak while potatoes are cooking. When the potatoes are out of the oven cooling, take dates and either place in food processor or emulsify until smooth.

After potatoes are cooked and cool enough to handle, remove  skin and place flesh in bowl or food processor and puree, adding a small amount of water if needed to keep it moving. Mix in date paste, chia seeds and spices. Refrigerate for 1 hour to overnight.

For coconut topping, place all ingredients into a bowl and crumble together.

Grease a 9 inch pie plate with coconut oil and dust with coconut flour. Scoop custard into plate and coat with coconut topping. Place in oven at 375 degrees for half hut to 40 minutes or until topping is golden brown.

Remove  and let cool. Top with coconut whipped cream and eat all to your face.. Maybe saving a little for breakfast or even sharing with someone you love.