• stem+node ceramics
  • HOME
  • Food Recipes
  • About
  • Contact
Menu

The Lovely Crazy

Street Address
City, State, Zip
Phone Number

Your Custom Text Here

The Lovely Crazy

  • stem+node ceramics
  • HOME
  • Food Recipes
  • About
  • Contact

Basic Socca

May 11, 2019 Colleen Stem
IMG_8315.jpg
IMG_8294.jpg

I am obsessed. For real. That might seem like a strong statement for a feeling about a food, but right now, it is truth. I spend more time then I want to admit thinking and drooling over Socca, which is, to those who do not know, the most basic chickpea flour pancake-y bread thing. Chickpea flour, water and salt. Cooked fast under the broiler in a screaming hot skillet. That is it. And it is amazing. Depending on how you make it, it can be creamy and soft or more cracker like with some crisp crunch to it. Either way, it is just so freaking good. Of course, what I am dreaming about regarding it is not just plan basic socca (which I have made 3 times in the past 3 days) but different flavored soccas (I have experimented with lot of seasoning, and they are all A+) with all sorts of different topping and using it in all sorts of different ways. But for now, I wanted to keep basic so we all know how good simplicity is. We will go from here.

There is no stopping me. There is no stopping the socca.

Now to my new favorite food, the socca.

IMG_8234.jpg
IMG_8238 2.jpg
IMG_8240 2.jpg

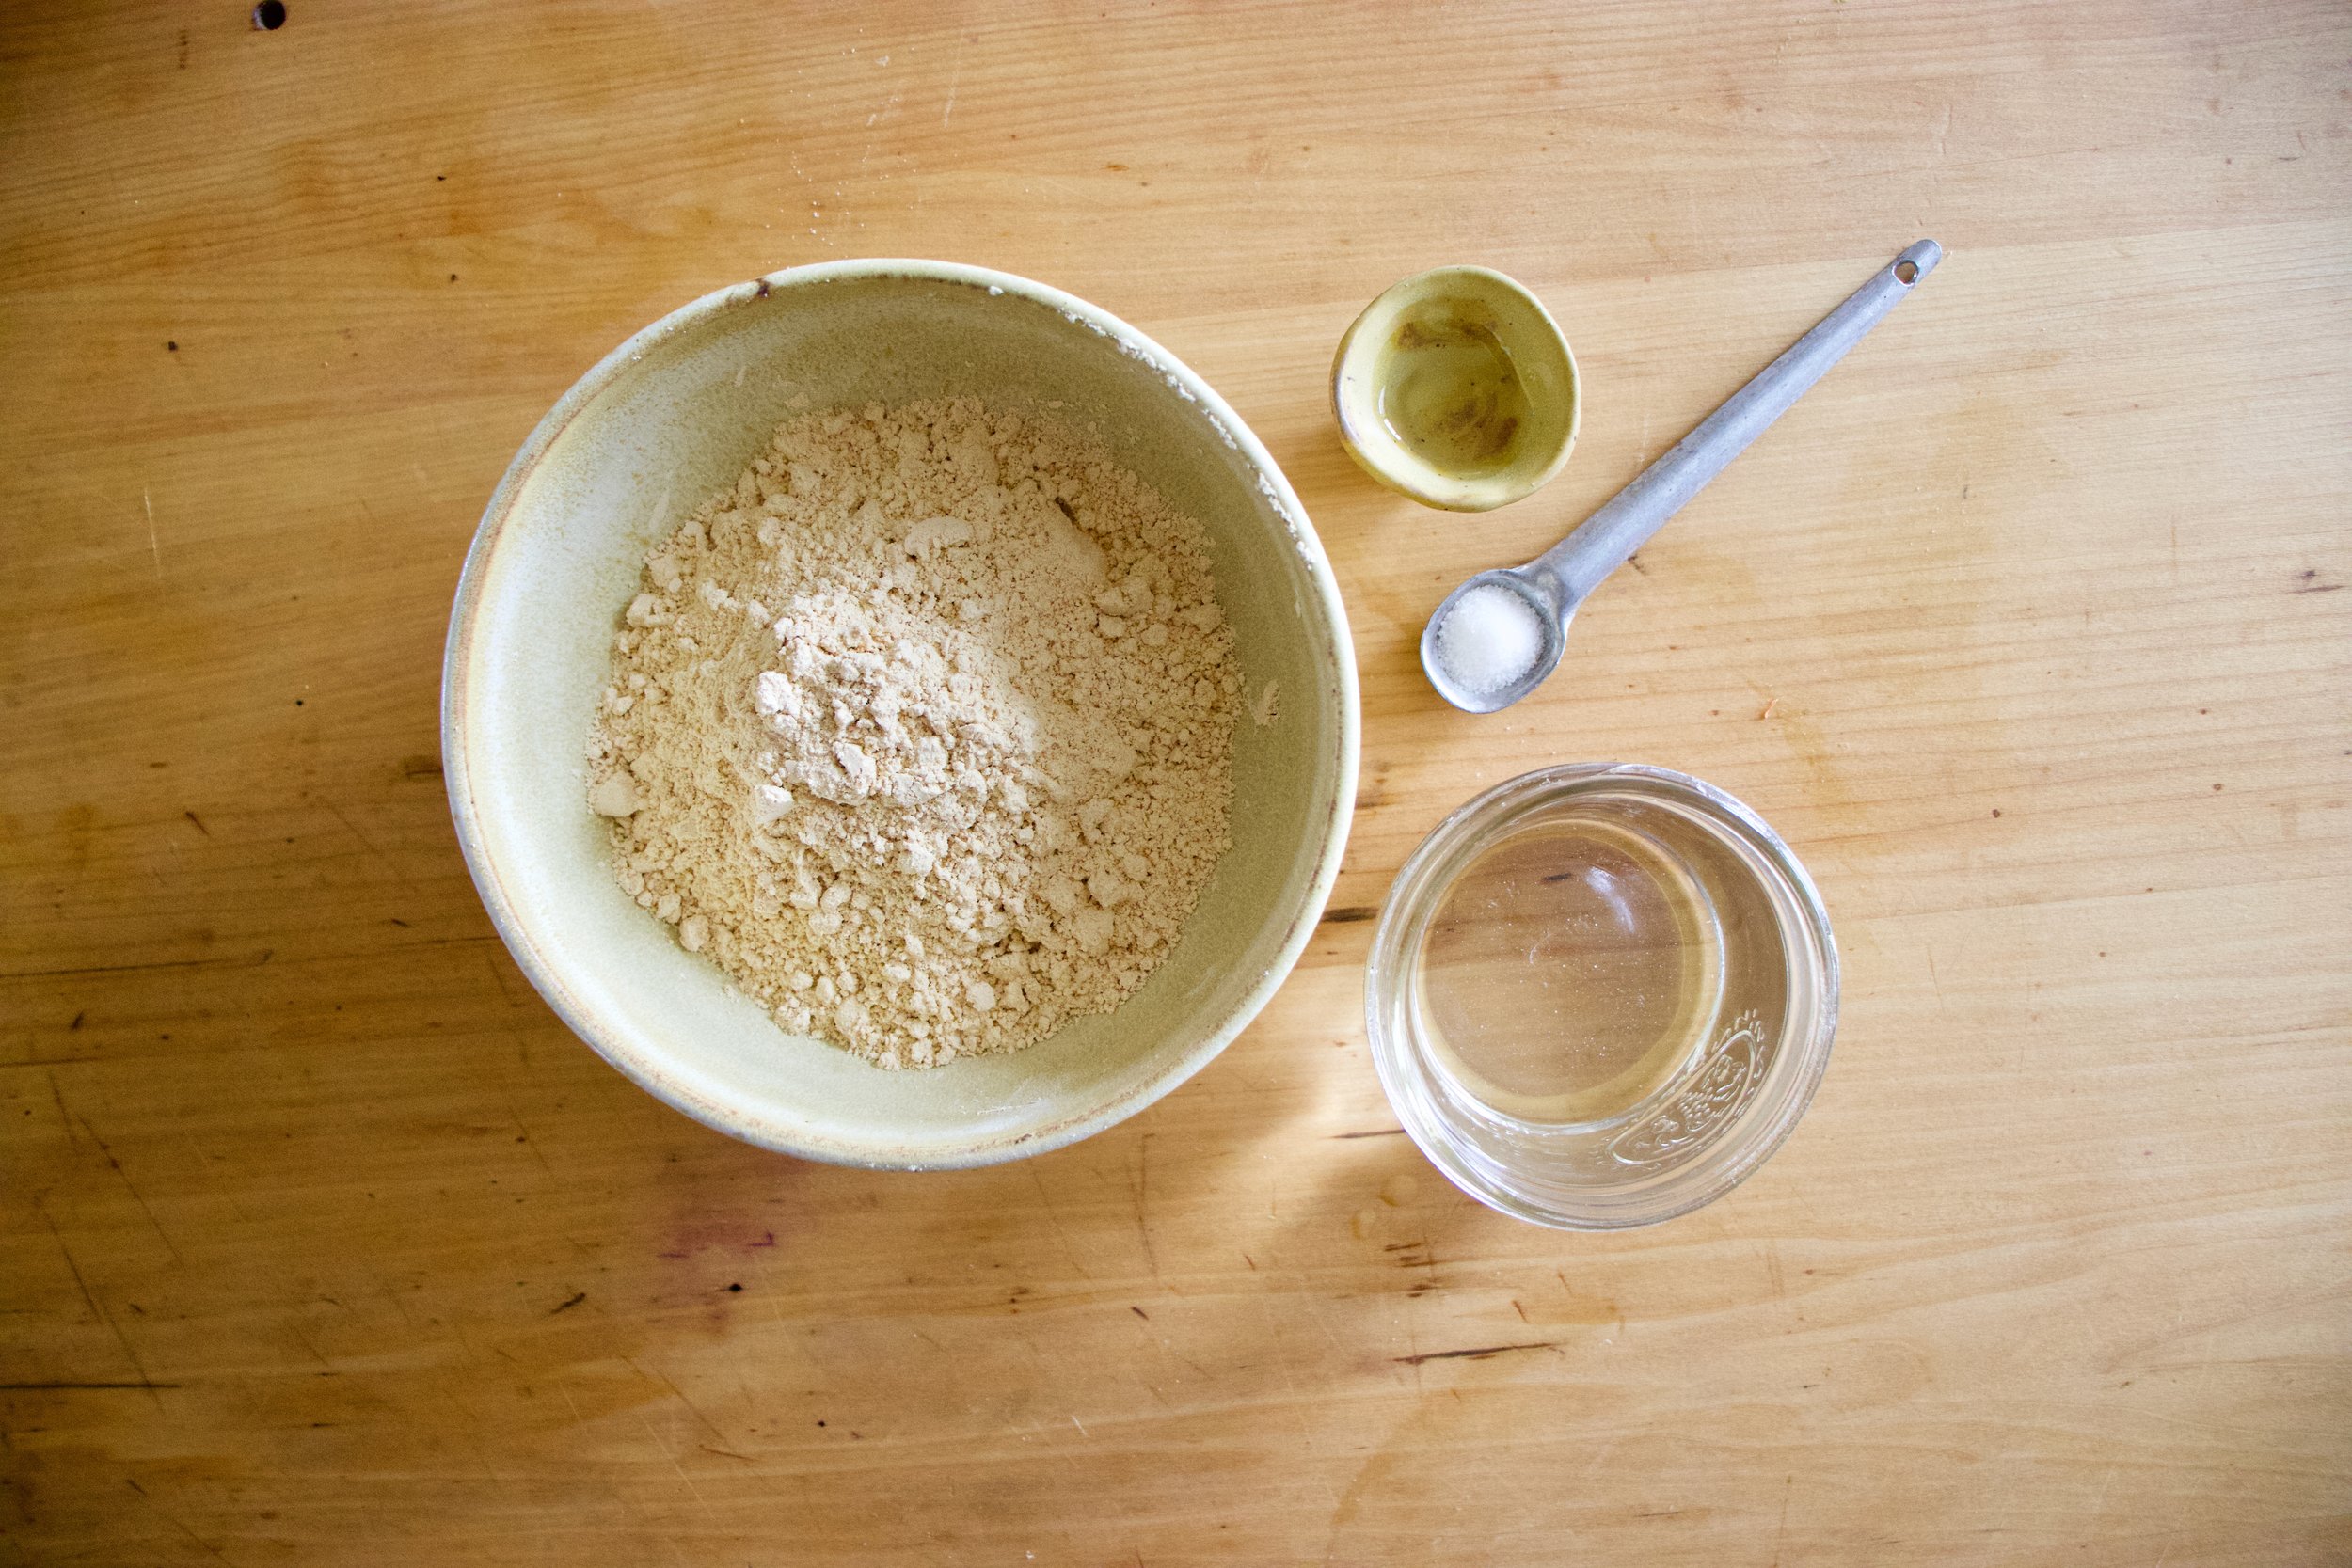
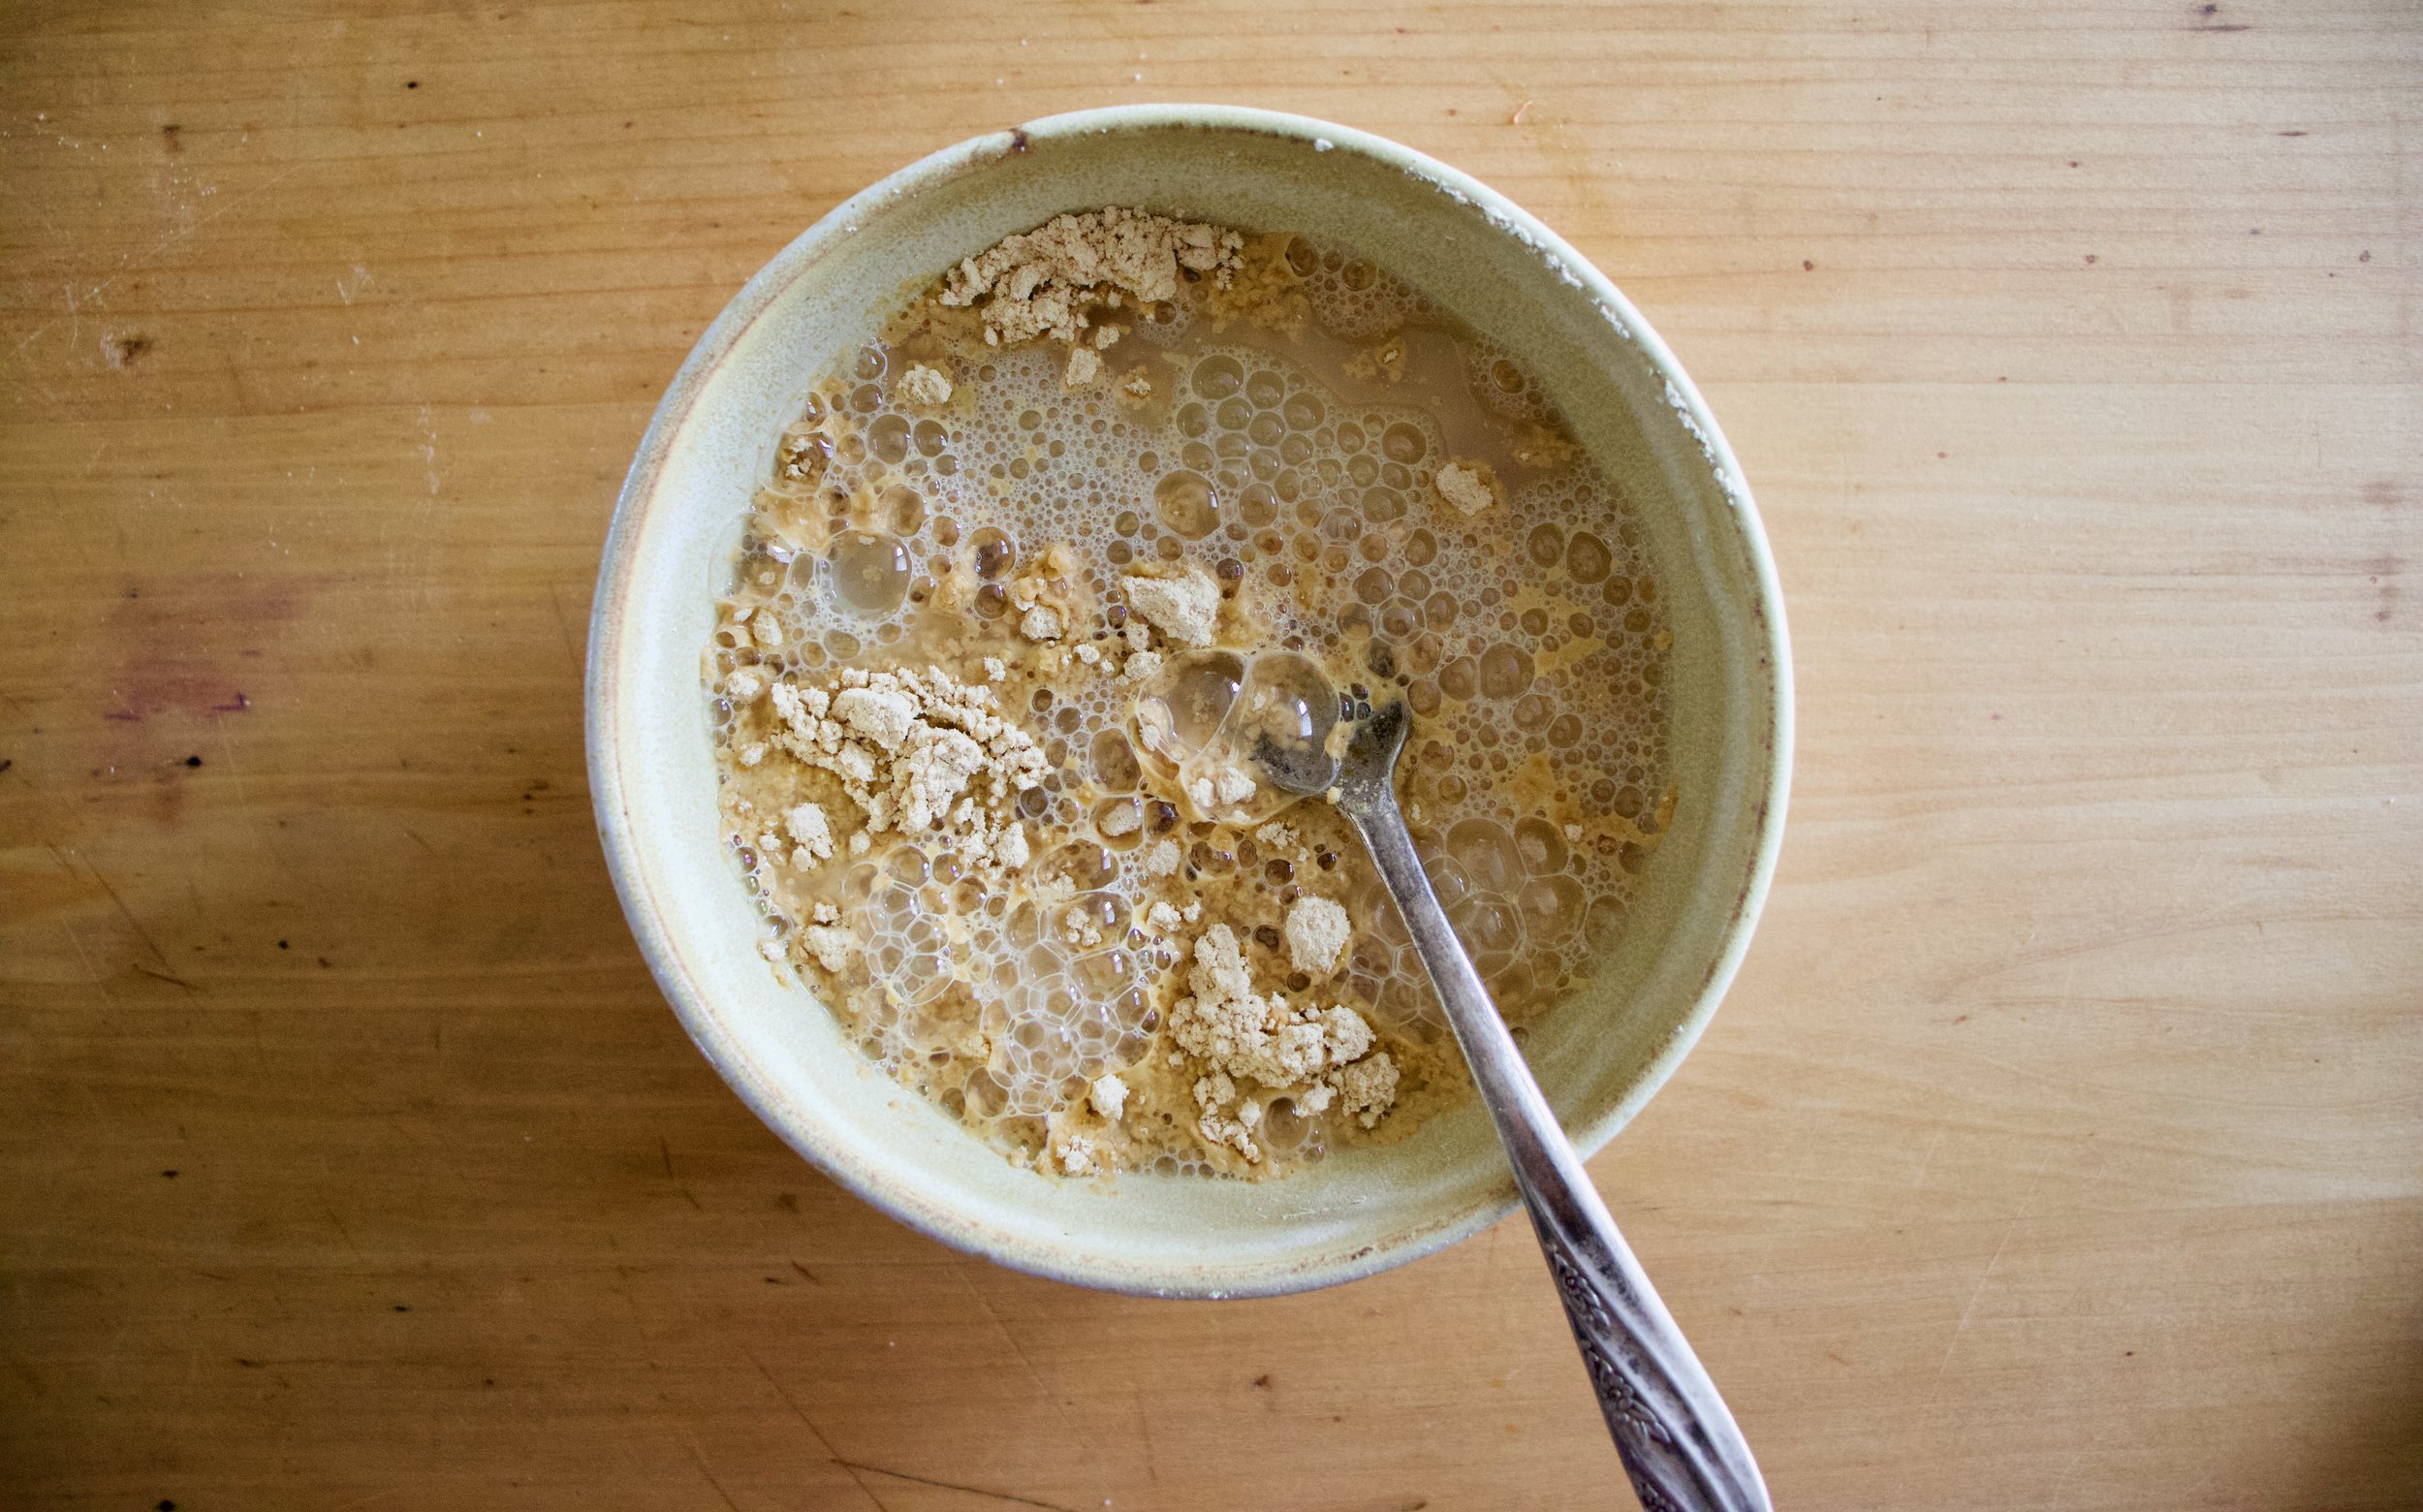
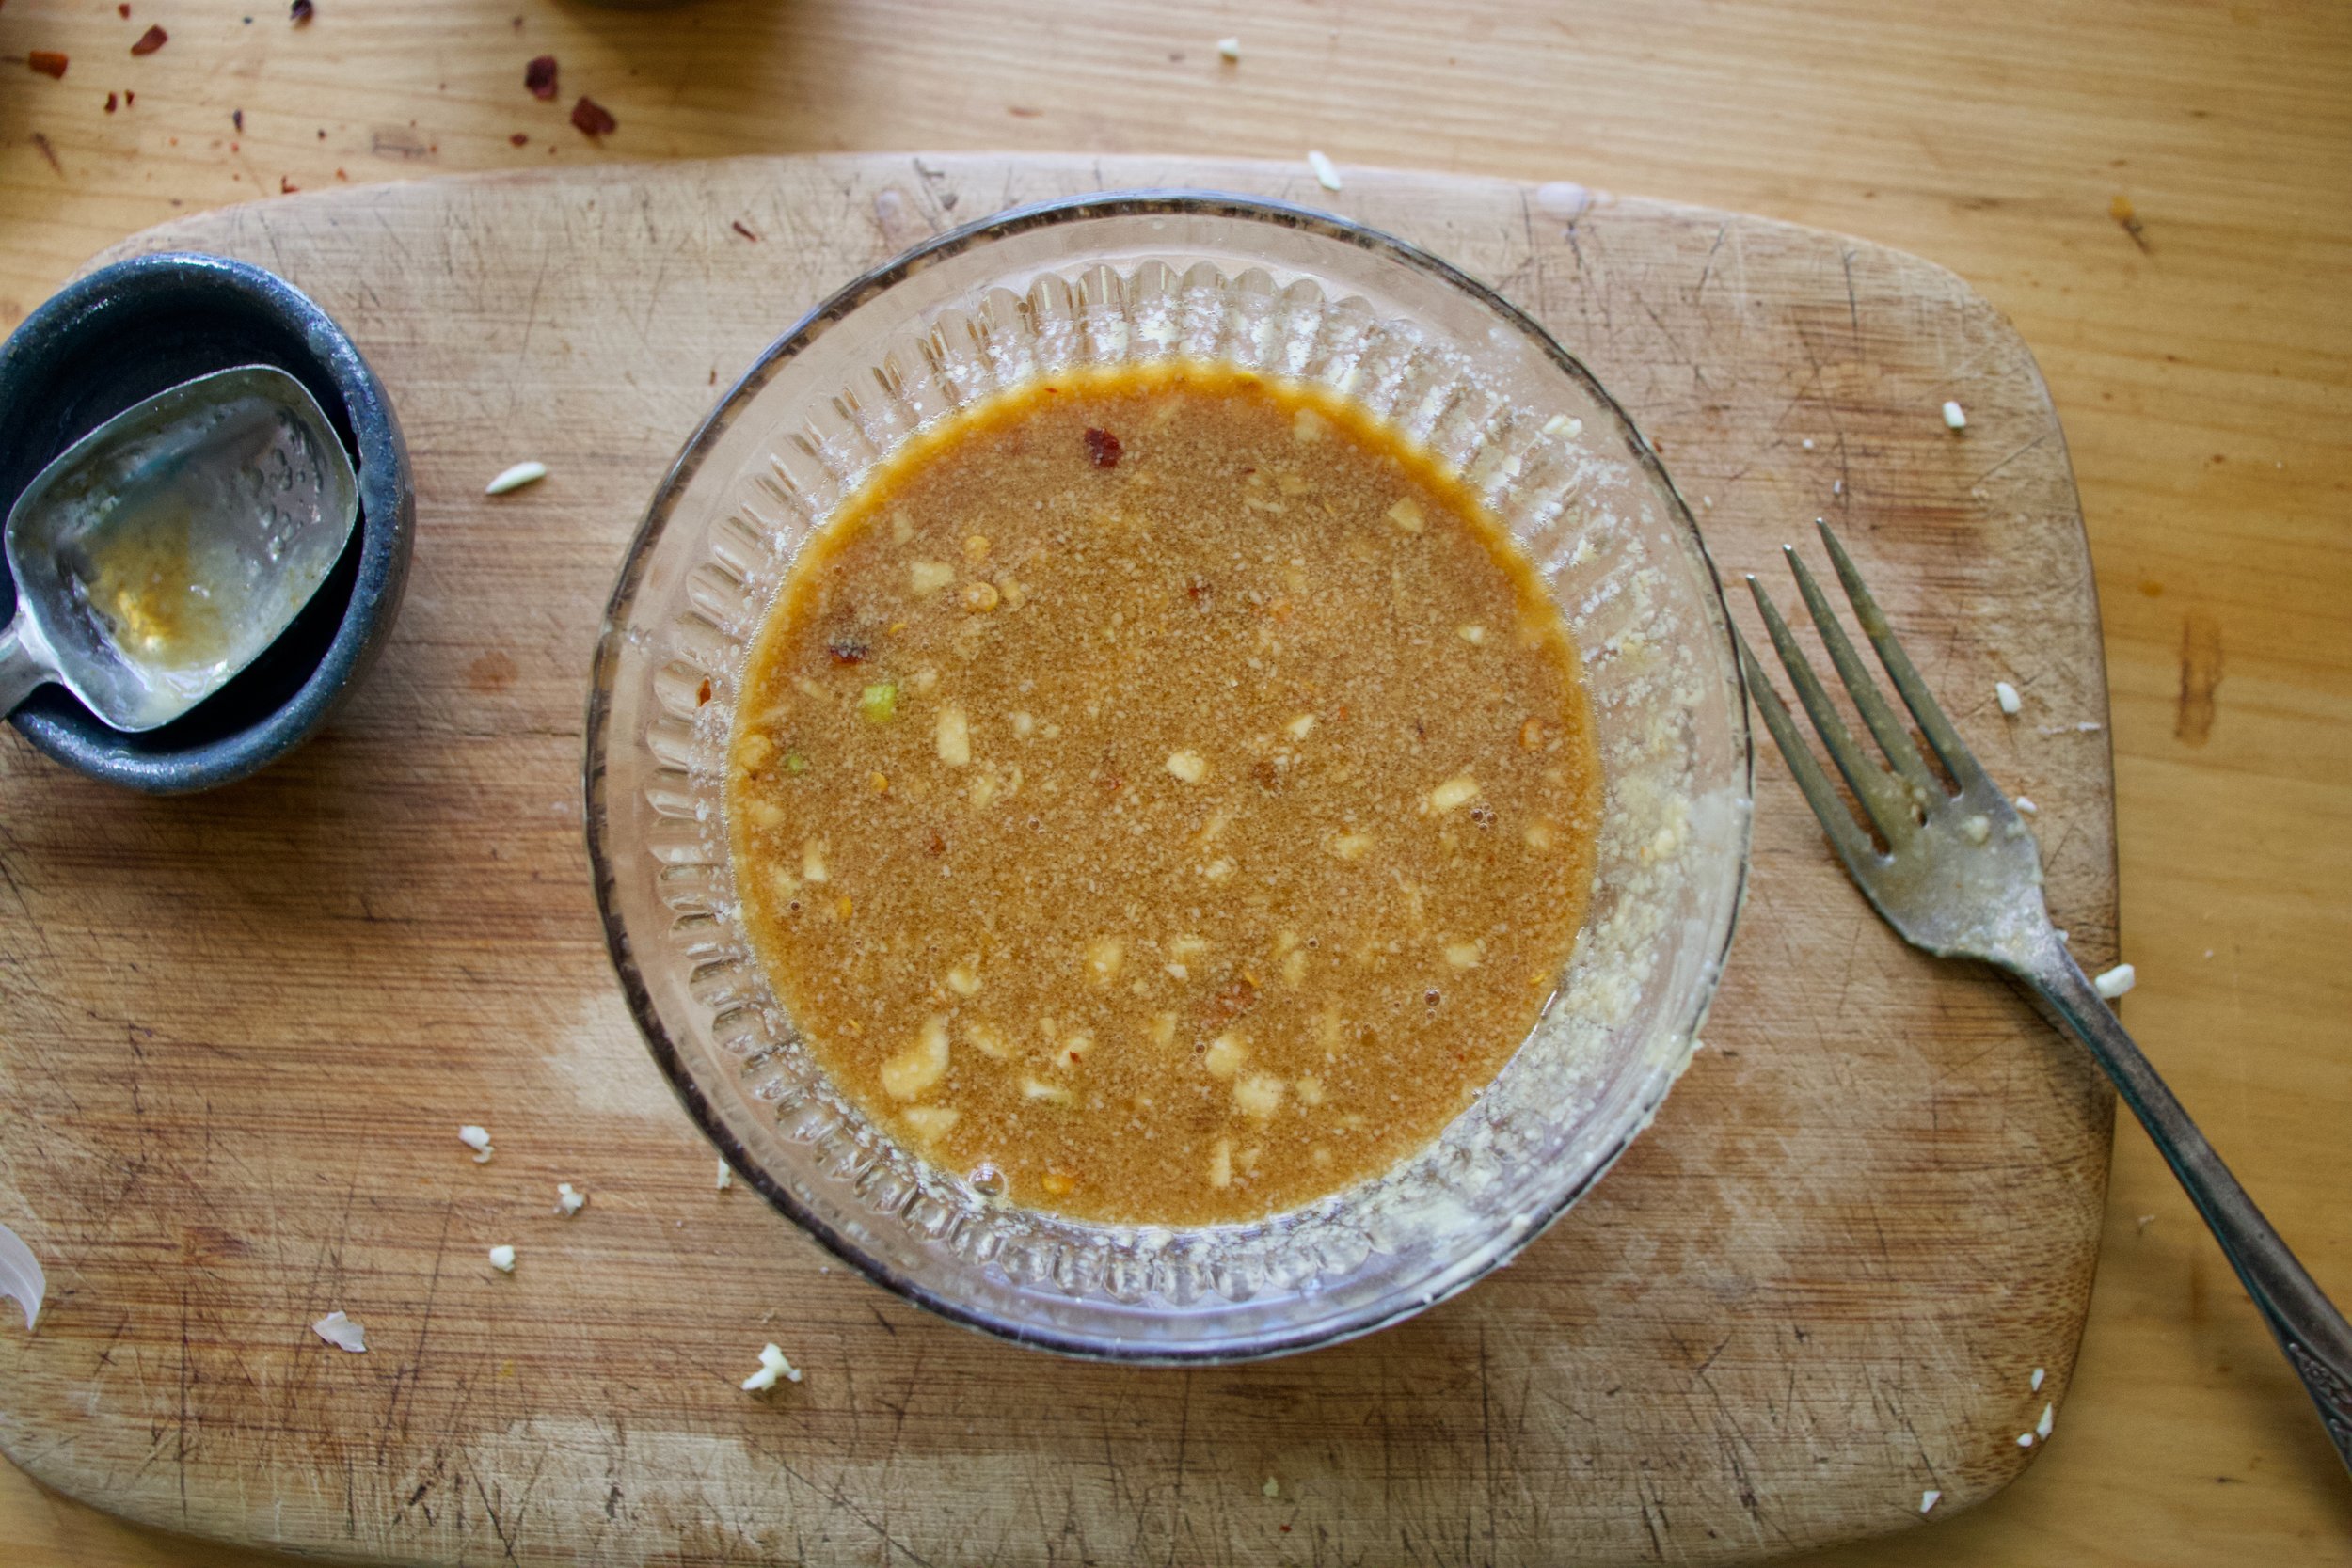
Chickpea flour, salt and water. That is it. Mix it all up.

IMG_8252.jpg

Batter all smooth and now in need of a rest. Half an hour or up to a day of rest is good.

IMG_8261.jpg

Now to cook the socca. You need to use something oven safe like cast iron. The trick here is to preheat the skillet while you are preheating the oven. Crank oven to 450 with the skillet in oven and once the oven reaches temp, turn oven over to a high broil. Let the skillet get really hot for another minute or two then remove skillet from oven (carefully!!!) and give it a splash of oil. Don’t preheat the skillet with oil in it or else it will start to smoke and get gross.

IMG_8266.jpg

Now that you got a nice hot and oiled skillet, grab the rested batter and pour half of it in. Tilt skillet around to coat bottom then stick skillet back into oven under broiler and cook for 4-8minutes. ( It depends on your broilers strength and your preference for blisters)

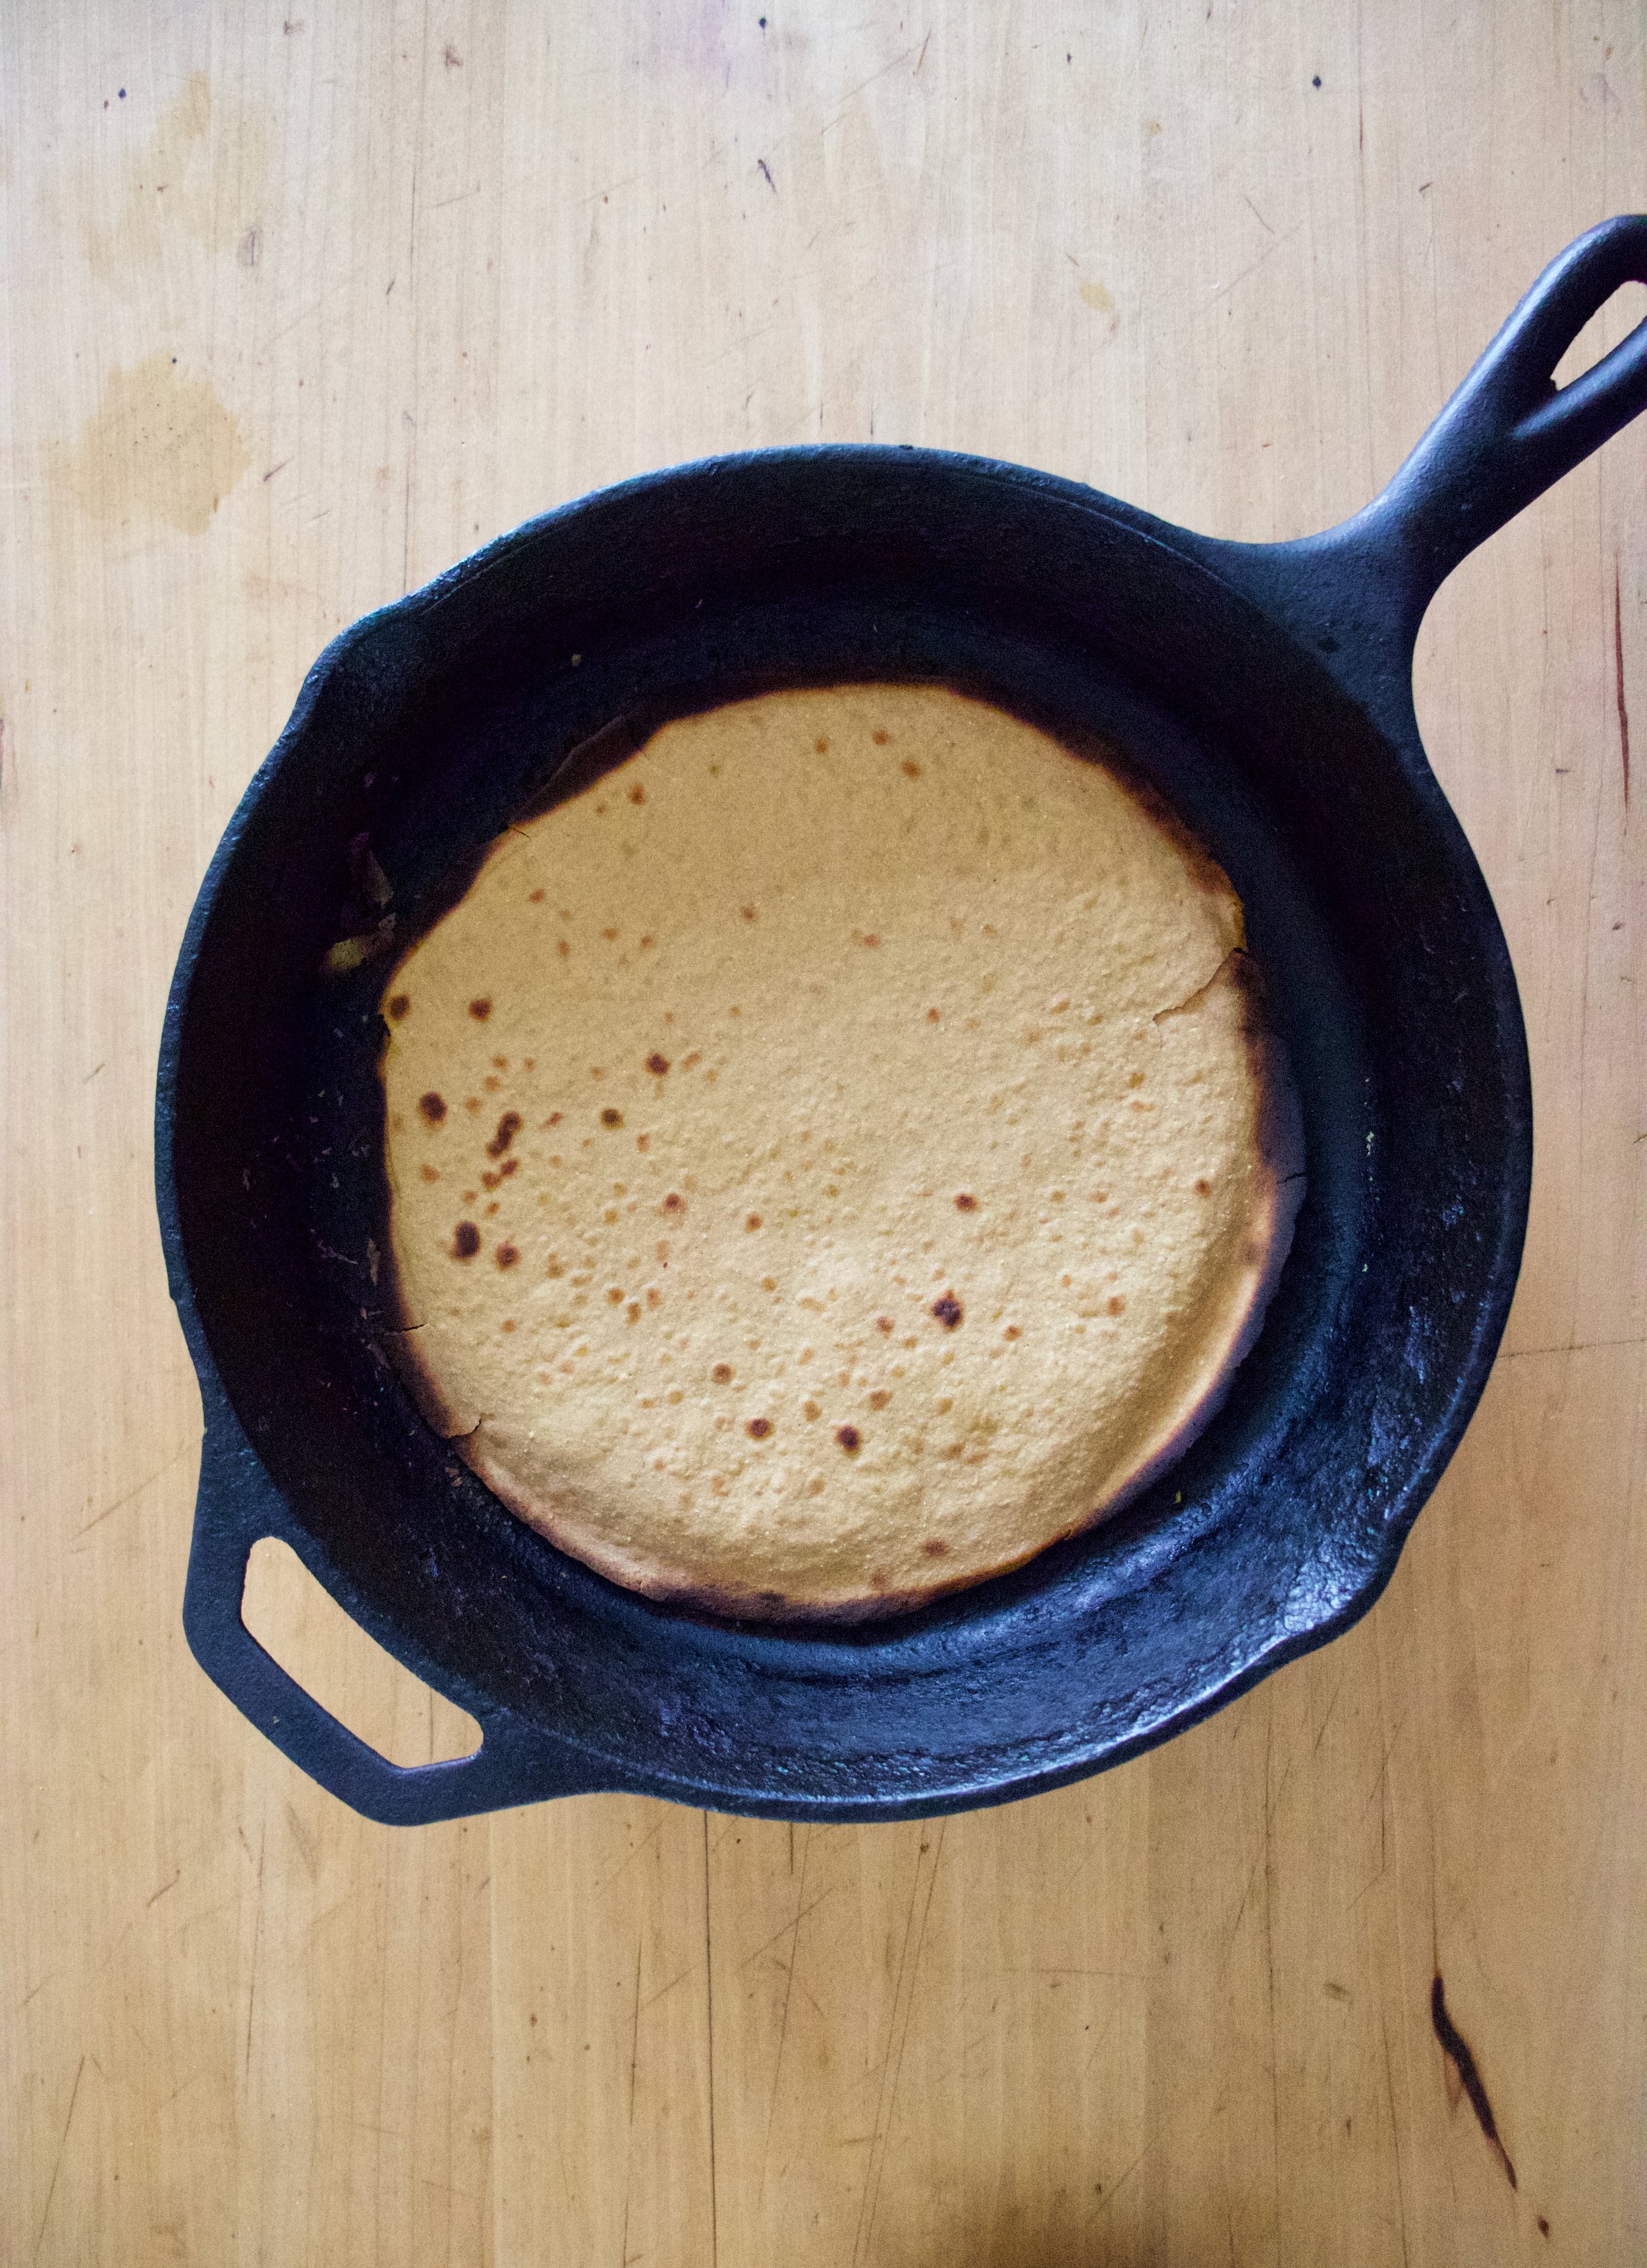
Out from the broiler. Cooked and slightly blistered. I went easy on this one. The next one got a few more blisters.

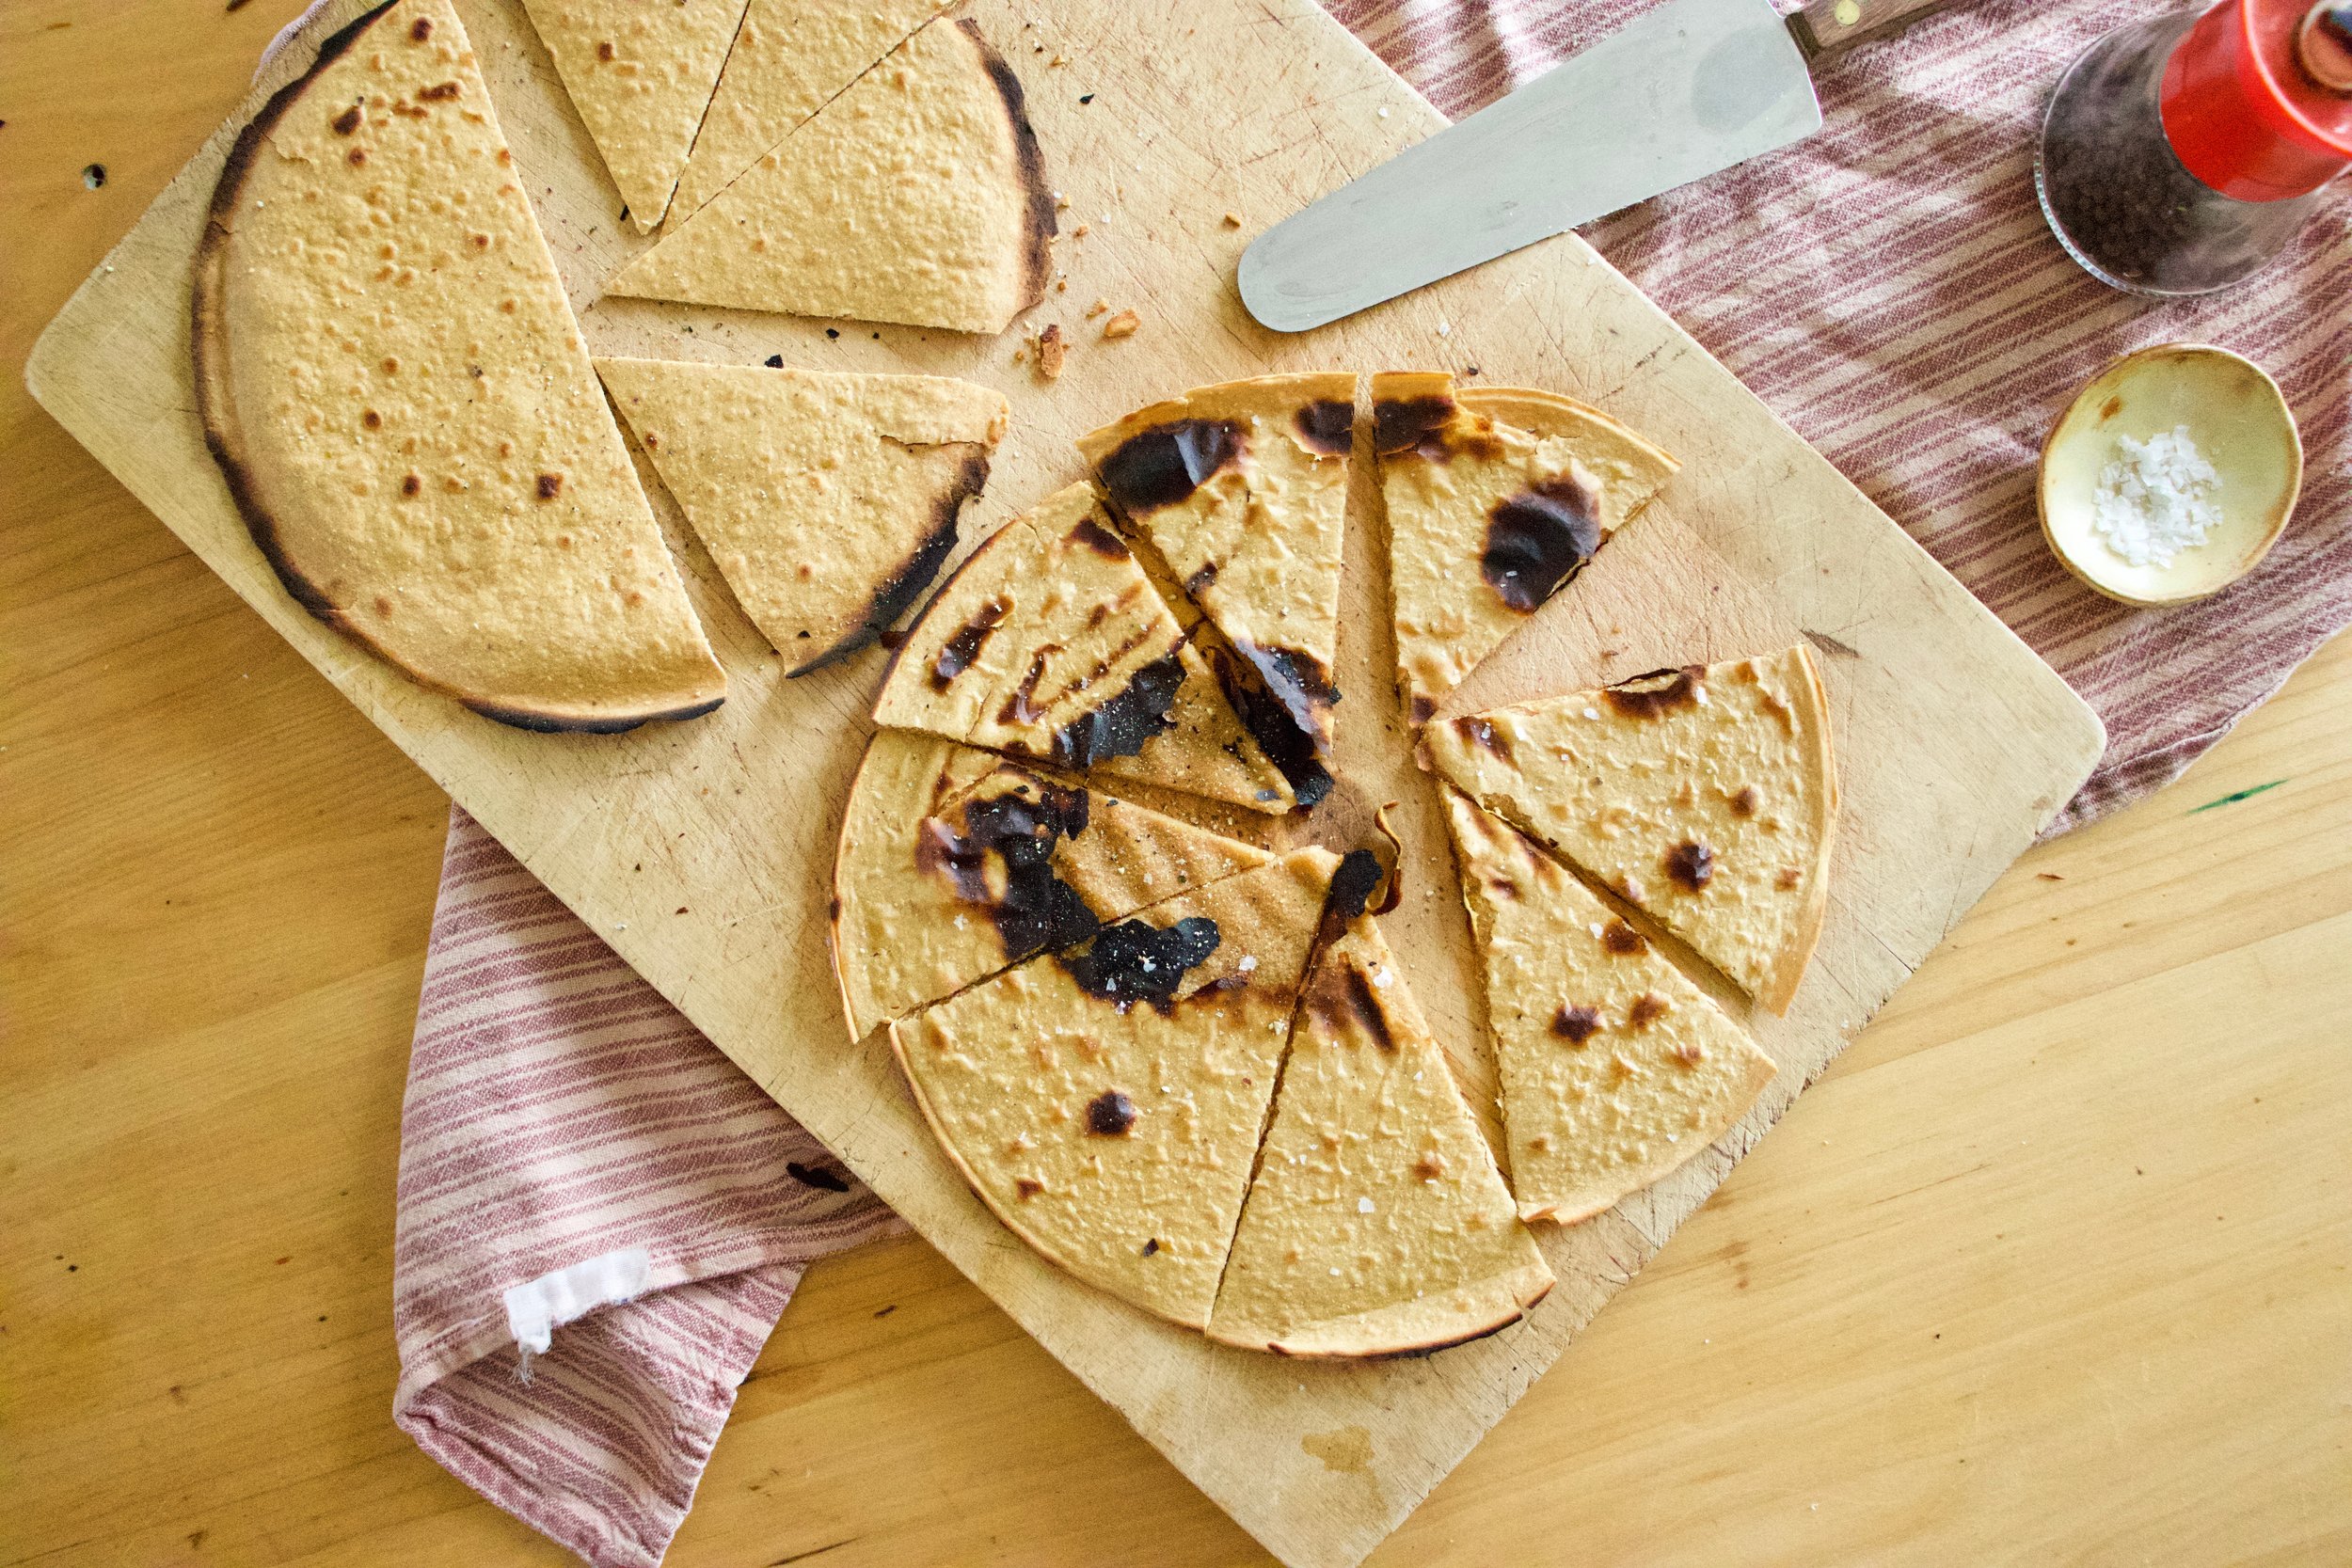
2 soccas, one a little thicker then the other. One a little more blistered then the other. Both in my belly.

So many Soccas to come.

So. many. Soccas.

-C


Basic Socca

makes two 10 inch soccas

  • 1 cup chickpea flour

  • 1 cup room temperature water

  • 1/2 teaspoon salt

  • olive oil for pan

Mix chickpea flour, salt and water together into a bowl until smooth. Let mixture rest for at least half an hour or up to a day.

When ready to make the socca, preheat oven to 450 with a 10 inch oven safe skillet (I used cast iron but any oven safe dish would work) in oven.

Once oven reaches temp, turn oven over to broil and place skillet under it for a minute to really heat the skillet. Carefully, with oven mitts, remove hot skillet from oven and brush or pour a smidge of oil into the hot skillet to coat bottom. Pour in half the batter and tilt around until bottom is coated then place skillet back into oven under broiler and cook for 4 -8 minutes or until the socca starts to blister. (it kind of depends on your broiler so keep a close eye on it) Remove from oven and slip socca onto cutting board. Sprinkle with salt and pepper. Drizzle with olive oil if you like. Then all you do is cut and eat.

Left over socca can be stored in fridge and reheated in oven or toaster.

Note. IF you want a slightly thicker socca, use a 8 inch skillet. For a thiner, more cracker like socca, pour in 1/3 of the batter at a time (you will end up with 3 instead of 2)

In 5 ingerdients or less, appetizers, biscuits and such, bread, Dairy Free, grain free, Gluten Free, pulses, beans, Vegan, snack, side dish Tags Socca, Chickpea flour, gram flour, besem flour, pulses, protein, vegan, gluten free, dairy free, crepe, wrap, bread, tortilla, crust, simple, easy, sweet or savory, beans, Italian
Comment

Cajun Lentil and Rice Bake

April 13, 2019 Colleen Stem
IMG_7419.jpg
IMG_7466.jpg
IMG_7428.jpg

It is spring yes? I know it is officially spring but around here it has been more or less still winter which is to be expected but is, at this point, no longer welcomed. I, as well as everyone else I talk to, are over it. Enough snow. enough of the hats and jackets. Just enough.

But the bright side of the chilly, cold weather is that we can and still want to turn the oven on and cook things. And because I turned the heat off a little prematurely, I am cold so I really want the oven on.

One skillet, a little chop action, a stir, some good time in the oven and there you go, food for your belly. Not a ton of dishes to do, steps to fallow, thoughts to think (other then eating thoughts). A good old, hearty, simple to toss together, spicy, delicious skillet of goodness. Prepare it fast, pop into warm oven, sit in kitchen drawing up plans for the spring veggie garden, and then eat yourself warm. What more can we ask for?

We can ask for spring weather because seriously. But other then that.

To the goodness of cajun lentils and rice!

IMG_7328.jpg

The stuff. Lentils, brown rice, cajun seasoning, some crushed tomatoes, an onion, a carrot, a few cloves garlic, some cauliflower, water, oil, and salt and pepper.

First off, mince garlic and chop up the cauliflower, carrot, and onion into small pieces.

IMG_7343.jpg
IMG_7347.jpg

Toss it all into a good sized oven safe skillet with a splash of oil. Mix in the cajun seasoning too and stick o nth stove on medium heat for a few minutes.

IMG_7366 2.jpg

Cook until fragrant and slightly tender. Taste it, it is good.

IMG_7375.jpg
IMG_7382.jpg

Dump in the lentils and rice. Then dump I the tomatoes and the water. Give it all a mix.

Before oven…

IMG_7392.jpg

And after. All done. Now dinner.

IMG_7428.jpg

Grab some green thing to chop and toss on for some color.

Now grab some bowls, a few forks, and get to eating.

-C


Cajun Lentil and Rice Bake

Serves 4-6

  • 3/4 cup uncooked brown or white rice

  • 3/4 cup dried green lentils

  • 2 cups crushed tomatoes (preferably not salted)

  • 2 1/4 cups water

  • 3 tablespoons cajun seasoning (see note)

  • 1 large carrot

  • 1/4 head of cauliflower (about 2 cups chopped)

  • 1 large yellow onion

  • 2-3 cloves garlic

  • 1 tablespoon olive oil

  • salt and pepper

Note. Store bought cajun seasoning usually contains salt and pepper so when seasoning, be aware of the amount of salt (if any) you choose to use.

Preheat oven to 350

Start by chopping the carrot, onion, and cauliflower into small pieces. Mince the garlic and toss it all into the skillet with the olive oil. Stir in the cajun seasoning and sprinkle in salt and pepper if it needs it. Place skillet on medium high heat and cook veggies until fragrant and slightly tender which should take about 5 minutes then remove from heat. Dump in the lentils, rice, water and tomatoes. Stir until mixed then either place a lid or foil over the top. Place into preheated oven for about an hour, removing the lid or foil after 40ish minutes and giving it a stir when you do. The bake is done when the rice and lentils are fully cooked, but if you are into a crispy top and crunchy sides, by all means, cook a little longer.

Remove from oven when fully cooked and you are happy with crispness. Let cool for a few minutes, toss on some chopped green something or another if you want, and serve it up.

Left overs store great in the fridge for a few day and freeze well too.

In casserole, Dairy Free, dinner, entree, Gluten Free, pulses, Vegan, Vegetables Tags Cajun Lentil And Rice Bake, Rice, brown rice, lentils, pulses, vegan, vegetarian, veggies, skillet dinner, casserole, 1 pan dinner, easy, plant based, gluten free, dairy free, healthy, hearty, dinner, spicy
9 Comments

Banana Oat Smoothie

April 6, 2019 Colleen Stem
IMG_7190 2.jpg
IMG_7170 3.jpg
IMG_7159.jpg

It’s a smoothie. And no, we have never really been smoothie people in this house, but what can I say, sometimes smoothies happen, especially when you have about 20 ripe bananas in the fruit bowl with no room in the freezer and no need for 7 loafs of banana bread.

So I smoothied. And I like it (a lot).

This is a smoothie of simplicity. Nothing fancy. Simplest of simple. Straight to the point. And all sorts of good.

You might think, does this simple smoothie you speak of taste very good? Yes, yes indeed it does. It is all sorts of fantastic. Basically if you like creamy, nutty, oaty, bananery things, you will like this. And it’s a perfect breakfast, snack, dessert, or just wanting a little treat like thing that is not garbage food. A smoothie of all smoothies with the most basic ingredients. And takes about 15 seconds to whip up. Can’t complain about that.

To the smoothie goodness!

IMG_7097.jpg

The stuff. A ripe banana, some old fashion rolled oats, a pinch of salt, water, and a smidge of maple syrup if you want it.

IMG_7114.jpg

Everything goes into blender.

And blended until smooth. Hence the word smoothie.

Pour it into a cup (or if you are feeling primal, drink it straight from the blender… it’s totally cool)

And done.

A banana oat smoothie.

Let the good time roll!

-C


Banana Oatmeal Smoothie

makes 1 smoothie

  • 1 very ripe banana

  • 1/3 cup raw old fashion oats

  • 1 1/2 cups water

  • pinch of salt

  • a tablespoon or two of any sweetener you like (optional)

  • a pinch of cinnamon (optional)

Place everything into a blender and blend until smooth. Pour into a cup, sprinkle with cinnamon if you wish, and drink right away.

In 5 ingerdients or less, breakfast, Dairy Free, drinks, fruit, Gluten Free, quick and easy, Raw, snack, Vegan Tags Oats, old fashion oats, oat milk, banana, banana oat smoothie, Oatmeal, smoothie, simple, done in seconds, fresh, vegan, gluten free, dairy free, plant based, snack, breakfast, drink, dessert, healthy, protein, fruit, raw
Comment

Sesame Noodles

March 30, 2019 Colleen Stem
IMG_7054.jpg
IMG_6911.jpg

It is getting oh so much nicer out yeah? Springing and such, well kind of. Still a wee bit chillier then it should be around here but still, it is spring and I am taking it.

And with the spring, I feel the itch, the itch to spend all of my free time outside. Out doing things that are not inside because I spent the last 7 long months inside way too much. I needed to be outside as much as possible and as it gets even nicer and warmer and garden temperature-able, I am basically going to be living outside.

Bring in sesame noodles. Super fast, super easy, super duper in every way. Make a big old batch and eat now, eat later, eat hot or eat cold. Everyone loves them, they love you, etc. etc… A perfect meal to have in rotation when you know that you are not going to have or want to spend much time cooking in the kitchen because you will be outside playing in the dirt and soaking up the sun. And think about all the picnics and BBQ’s to come. These suckers are fantastic to have at any outdoor eating event. They are even peanut free so you can safely bring them to potlucks and such and don’t have to worry about accidentally kill a peanut allergy person. And you can make them gluten free as well if you sub in your favorite gluten free pasta. These noodles, I am telling you. They are a winner in every way.

So with out further ado, the noodles!

IMG_6790.jpg

The stuff. Spaghetti noodles, tahini, a few cloves of garlic, some toasted sesame oil, soy sauce, red wine vinegar, honey (used whatever sweetener you like), red pepper flakes, tasted sesame seeds some cabbage, half a red onion and a carrot.

IMG_6854.jpg

Get pasta cooking. Boil water, drop noodles in, you know the drill. Cook as long as the the noodles need cooking, just make sure to not over cook them cause soggy noodles are nasty.

Chop, shred and julienne the cabage, onion and carrot. Nice and thin.

Mince the heck out of the garlic. Or use a garlic press if you want.

IMG_6843.jpg
IMG_6848.jpg

Now make the sauce. Add the minced garlic, along with the soy, sesame oil, vinegar, sweetener, and chili flakes to the bowl with the tahini. Mix, mix, mix until it is all incorporated and not lumpy. And that is that.

Noodles should be done by now so strain them out.

IMG_6864.jpg

Add the prepared veggies to a big bowl.

IMG_6876.jpg

Add in the cooked noodles

IMG_6899.jpg

Cover with sauce and toss all around until all the noodles are coated and delicious. Sprinkle with sesame seeds and a pinch or so more of pepper flakes.

And then it is time. Eating time.

Happy spring!

-C


Sesame Noodles

serves 3-6

  • 3/4 lb (3/4 of a package) of your favorite spaghetti noodles (or linguine or similar noodle)

  • 2 tablespoons toasted sesame oil

  • 1/4 cup soy (low sodium if you have it and gluten free tamari if needed)

  • 3 tablespoons red wine vinegar

  • 3 tablespoons tahini

  • 2-4 teaspoons red chili flakes

  • 1-2 teaspoons sweetener of choice (maple, honey, or brown sugar)

  • 4-5 cloves garlic

  • 1-2 tablespoons toasted sesame seeds

  • about a 1/4 head of cabbage

  • a carrot

  • small red onion

Bring a pot of water to a boiling cook the noodles as directed on package. You want them al dente, cooked all the way, but barely. No soggy noodles. (unless you like them soggy)

In the mean time, shred the cabbage, julienne the carrot (or shred it) and slice the onion so very thinly. Place into a large bowl. Now mince garlic and place into a bowl along with the soy, sweetener, vinegar, tahini, sesame oil and a teaspoon or two (more for spicier) of chili flakes and whisk until completely incorporated. Taste and adjust if needed. Add more tahini for more body, more sweetener if needed or more hot pepper flakes for more spice.

Once noodles are cooked, drain and place into large bowl along with the shredded and julienned veggies. Pour in the sauce and toss it all around until all the noodles are covered. Sprinkle in the toasted sesame seeds and a small pinch more of the red pepper flakes.

Eat. Eat warm, room temp, or cold. They are delicious any way.

Any left overs just stick in fridge. Can be reheated or not. Also, you can make the sauce and the noodles a few day ahead of time of when you want to have the dish Just mix the sauce with the noodles when you are about to serve them… So simple!

In BBQ, dinner, Gluten Free, Pasta, quick and easy, sauce, side dish, Spring, Vegan, Vegetables Tags sesame noodles, gluten free, vegan, plant based, easy, cold noodles, dinner, lunch, picnic, potluck, nut free, spring, simple, side dish, dairy free
Comment

Maple Rhubarb Baked Oatmeal

March 23, 2019 Colleen Stem
IMG_6768.jpg
IMG_6708.jpg

I am sadly at my last few bags of frozen garden foods from last season. As of now I have a bag of tomatoes, a couple bags of shredded zucchini, and a bag of rhubarb. Well, had a bag of rhubarb. I think I have eaten almost all of it already. My rhubarb patch better get up and producing stalks soon. And as for the rest of the veggies that I will require. Guess I am going to be surviving mostly on roots from farm share (we are getting a lot more greens though!!!!) and probably doing a bit more grocery shopping then I care too. A few more months. I can do it.

Anyway, enough about my freezer and lack of fresh produce problems.

Here in Vermont maple season is well on it’s way making it a perfect time for anything maple. And rhubarb. Yeah I am using my frozen rhubarb from last year, but any time now (after the snow melts) there will be plenty of stalks for the taking. There will be so much maple and so much fresh rhubarb which are the perfect taste combination. Exciting times! And when added to oatmeal, things just get more gooder. (I know gooder is not a word but I think it should be) Oatmeal, especially baked, is the stuff where all gooder things start.

Have you had baked oatmeal yet? It truly is fantastic. Not at all gummy and gloopy like stove topped cooked oatmeal (but I like it like that too). It still has a good bite to it while still being soft and creamy and boy oh boy is it just the bees knees. With the addition of some crunchy almond friends, well even better. Trust me. If you are a oatmeal eater, you must try it baked. Best part is that it can be eaten as breakfast but also I have been serving it to the mr for dessert with a healthy drizzle of more maple. It’s that good friends. From breakfast to dessert. Everyone is happy.

To the baked oatmeal.

IMG_6643.jpg

The stuff. Old fashion oats, cinnamon, salt, baking powder, rhubarb (fresh or frozen), REAL maple syrup, some plant milk, a few flax eggs, a bit of tahini, and some almonds.

To start. Oats, cinnamon. salt, baking powder and almonds get a quick toss together in a big bowl.

IMG_6648.jpg
IMG_6661.jpg

If you rhubarb is not already chopped up into inch long pieces, do that. I already did before freezing it so yea me. Once its chopped, layer almost all of it (reserve a few small needful to toss on top) into a lightly greased 9x9 inch baking dish then cover evenly with the oat mixture.

In now empty bowl mix together the milk, the flax eggs, the tahini, and the maple until evenly incorporated.

Pour the wet mixture all over the oats and let it absorb.

Once the liquid is all absorbed , top with any left over almonds and the left over rhubarb. For good looks.

Pop into a hot oven to bake.

Golden brown with crispy edges. Rhubarb and maple baked oatmeal for all your maple, oaty and rhubarbie needs.

Fresh from the oven scooped warm into bowls. Top with extra maple if thats what you should want do.

Enjoy and happy maple season!

-C


Maple Rhubarb Baked Oatmeal

Make a 9x9 pan of oatmeal

  • 2 1/2 cups old fashion oats (make sure gluten free if need be)

  • 1 teaspoon baking powder

  • 1/2 teaspoon salt

  • 2 teaspoon cinnamon

  • 1/3 cup maple syrup plus more for serving

  • 1 tablespoon tahini or any other nut butter

  • 2 flax eggs (2 tablespoons ground flax seed with 6 tablespoons warm water)

  • 2 1/2 cups fresh or frozen rhubarb chopped into inch long pieces

  • 1 1/2 cup plant milk (water works but it won’t be as creamy)

  • 1/2 cup chopped almonds (optional)

Preheat oven to 375

Lightly grease a 9x9 inch baking pan (I used metal because it makes for crisper edges but glass works too) and dump 2 cups of the rhubarb in and evenly distribute on the bottom. In a large bowl mis the oats, the baking powder, salt, and cinnamon together. Mix in chopped nuts if you are using. Evenly cover rhubarb with oat mixture. In now empty bowl mix together the milk, flax eggs, maple syrup, and tahini until evenly incorporated. Pour mixture over oats. Let the mixture sit for a few minutes until the oats have abosbed all the liquid. Toss the rest of the diced rhubarb and a few more chop nuts to the top and pop into the oven to bake.

Bake for 30-40 minutes (shorter time for a wetter oatmeal, longer for a denser crispier oatmeal)

Once baked to your likeness, remove from oven and let cool for a few minutes just so it is not super hot. Scoop into bowls and serve warm with extra maple and milk or whatever you might want to serve with it.

Left overs last great in fridge for 3-4 days or individual portions can be frozen for a month or two. Just pop into microwave for a couple minutes to warm up.

In Vegetables, Vegan, Spring, Nuts, Gluten Free, fruit, grains, desserts, Dairy Free, brunch, breakfast Tags Maple, Real Maple syrup, vegan, baked oatmeal, gluten free, plant based, oats, almonds, rhubarb, eating in season, breakfast, dessert, healthy, energy
Comment
← Newer Posts Older Posts →
 

https://thelovelycrazy.squarespace.com/config#/|/about/

Me. Food Maker.Food eater. Woo HOO!

STEM+NODE  SMALL BATCH AND ONE OF A KIND POTTERY

stem+node ceramics


____________________

Subscribe

GET NEW POSTS IN YO EMAIL

You are AWESOME!!!


@thelovelycrazy 2014-2021