• stem+node ceramics
  • HOME
  • Food Recipes
  • About
  • Contact
Menu

The Lovely Crazy

Street Address
City, State, Zip
Phone Number

Your Custom Text Here

The Lovely Crazy

  • stem+node ceramics
  • HOME
  • Food Recipes
  • About
  • Contact

Socca Beet and Onion Casserole

November 12, 2022 Colleen Stem
IMG_6207.jpg
IMG_6213.jpg

Whoa has It been a while since I have posted a recipe. Not that I haven’t wanted to or that I haven’t been making food, I just have been busy A.F. And truthfully I am as busy as ever but I happen to have my phone next to me when I was making this little casserole dish thing that I have made a few times now and I think it well worth a share.

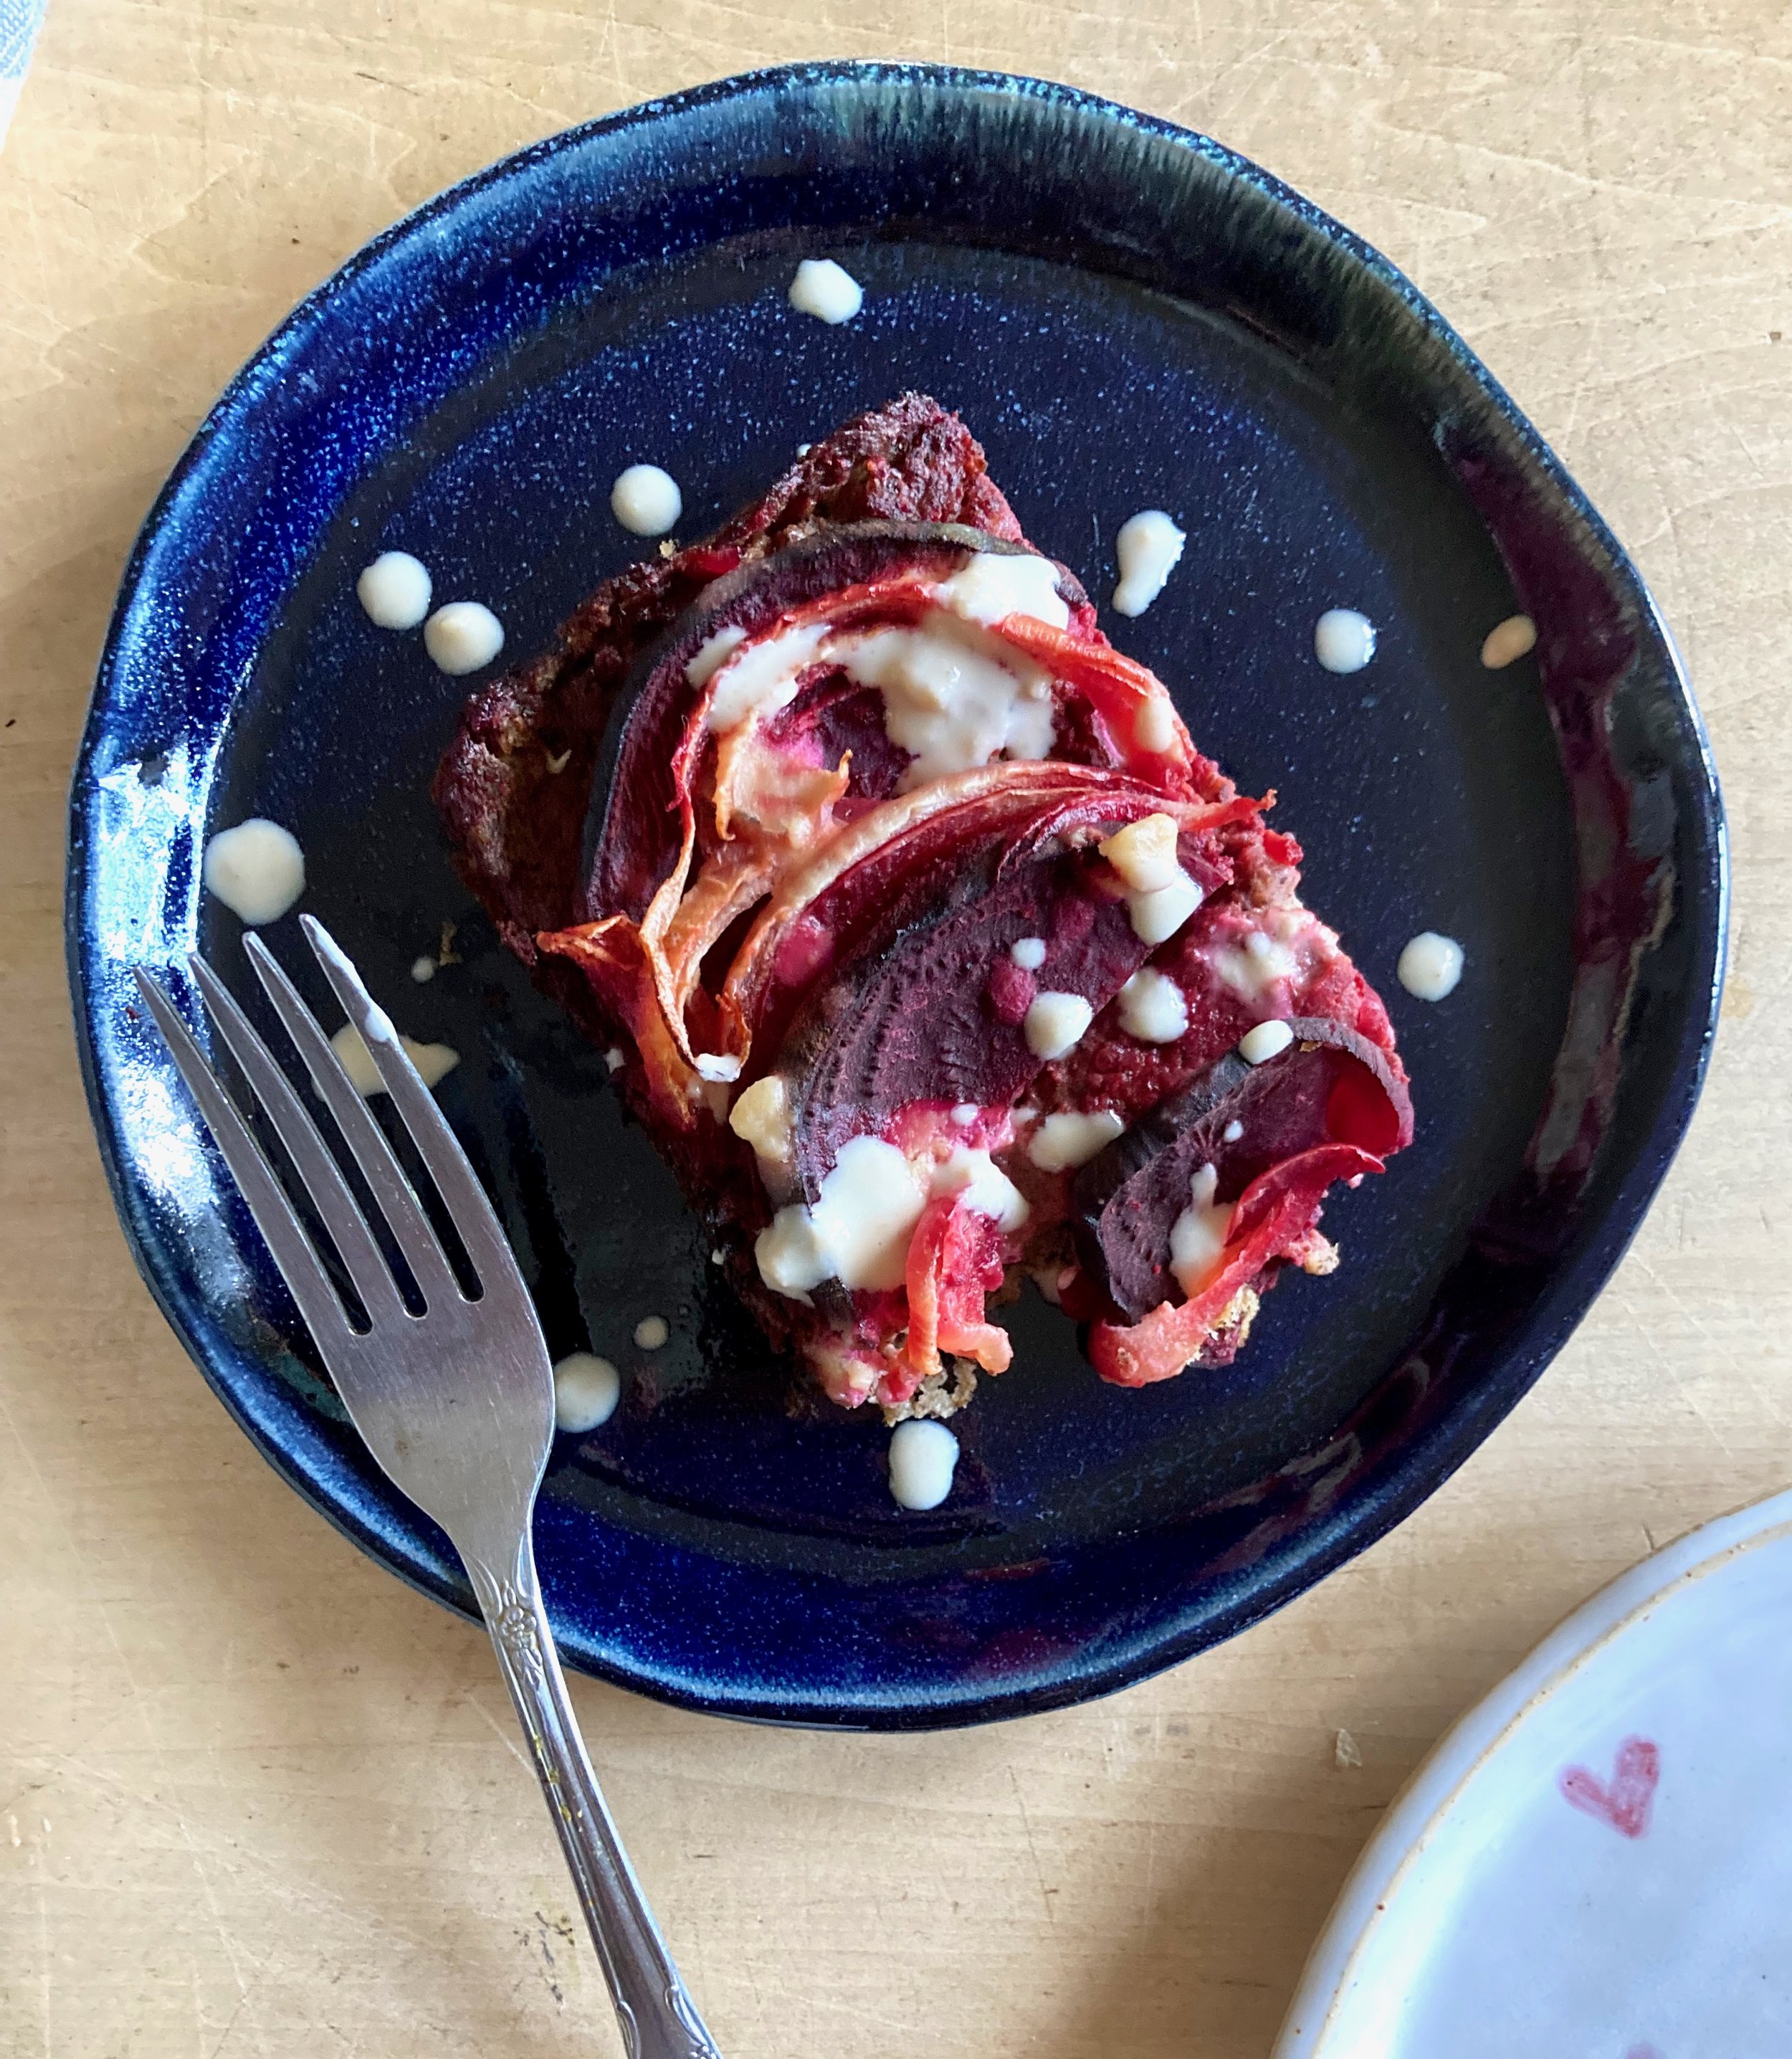
What is it you ask? It is a creamy but dense chickpea base covered in tender roasted beets and onions with a lemon tahini drizzle. It is simple to make, super delicious, and can be tweaked in a million different ways to your liking.

Is it a fantastic dish to serve at say a Thanksgiving? Well yes, yes it is. You can serve it as a side or even make it bigger and have it as a sort of main dish. It’s a good protein that is naturally gluten and grain free, vegan, and blah blah blah. What really matters here though is that it is damn tasty and also bonus, it is so siimple to make and can even be prepared a day in advance so no stress. We will take all the wins here.

-C


Socca Beet and Onion Casserole

makes a 8x8 casserole

  • 1 cup chickpea flour

  • 2 cups boiling water

  • 1 teaspoon salt plus more to taste

  • ground black pepper

  • 2 teaspoons cumin (feel free to omit or use a different spice.Thyme or rosemary are equally delicious )
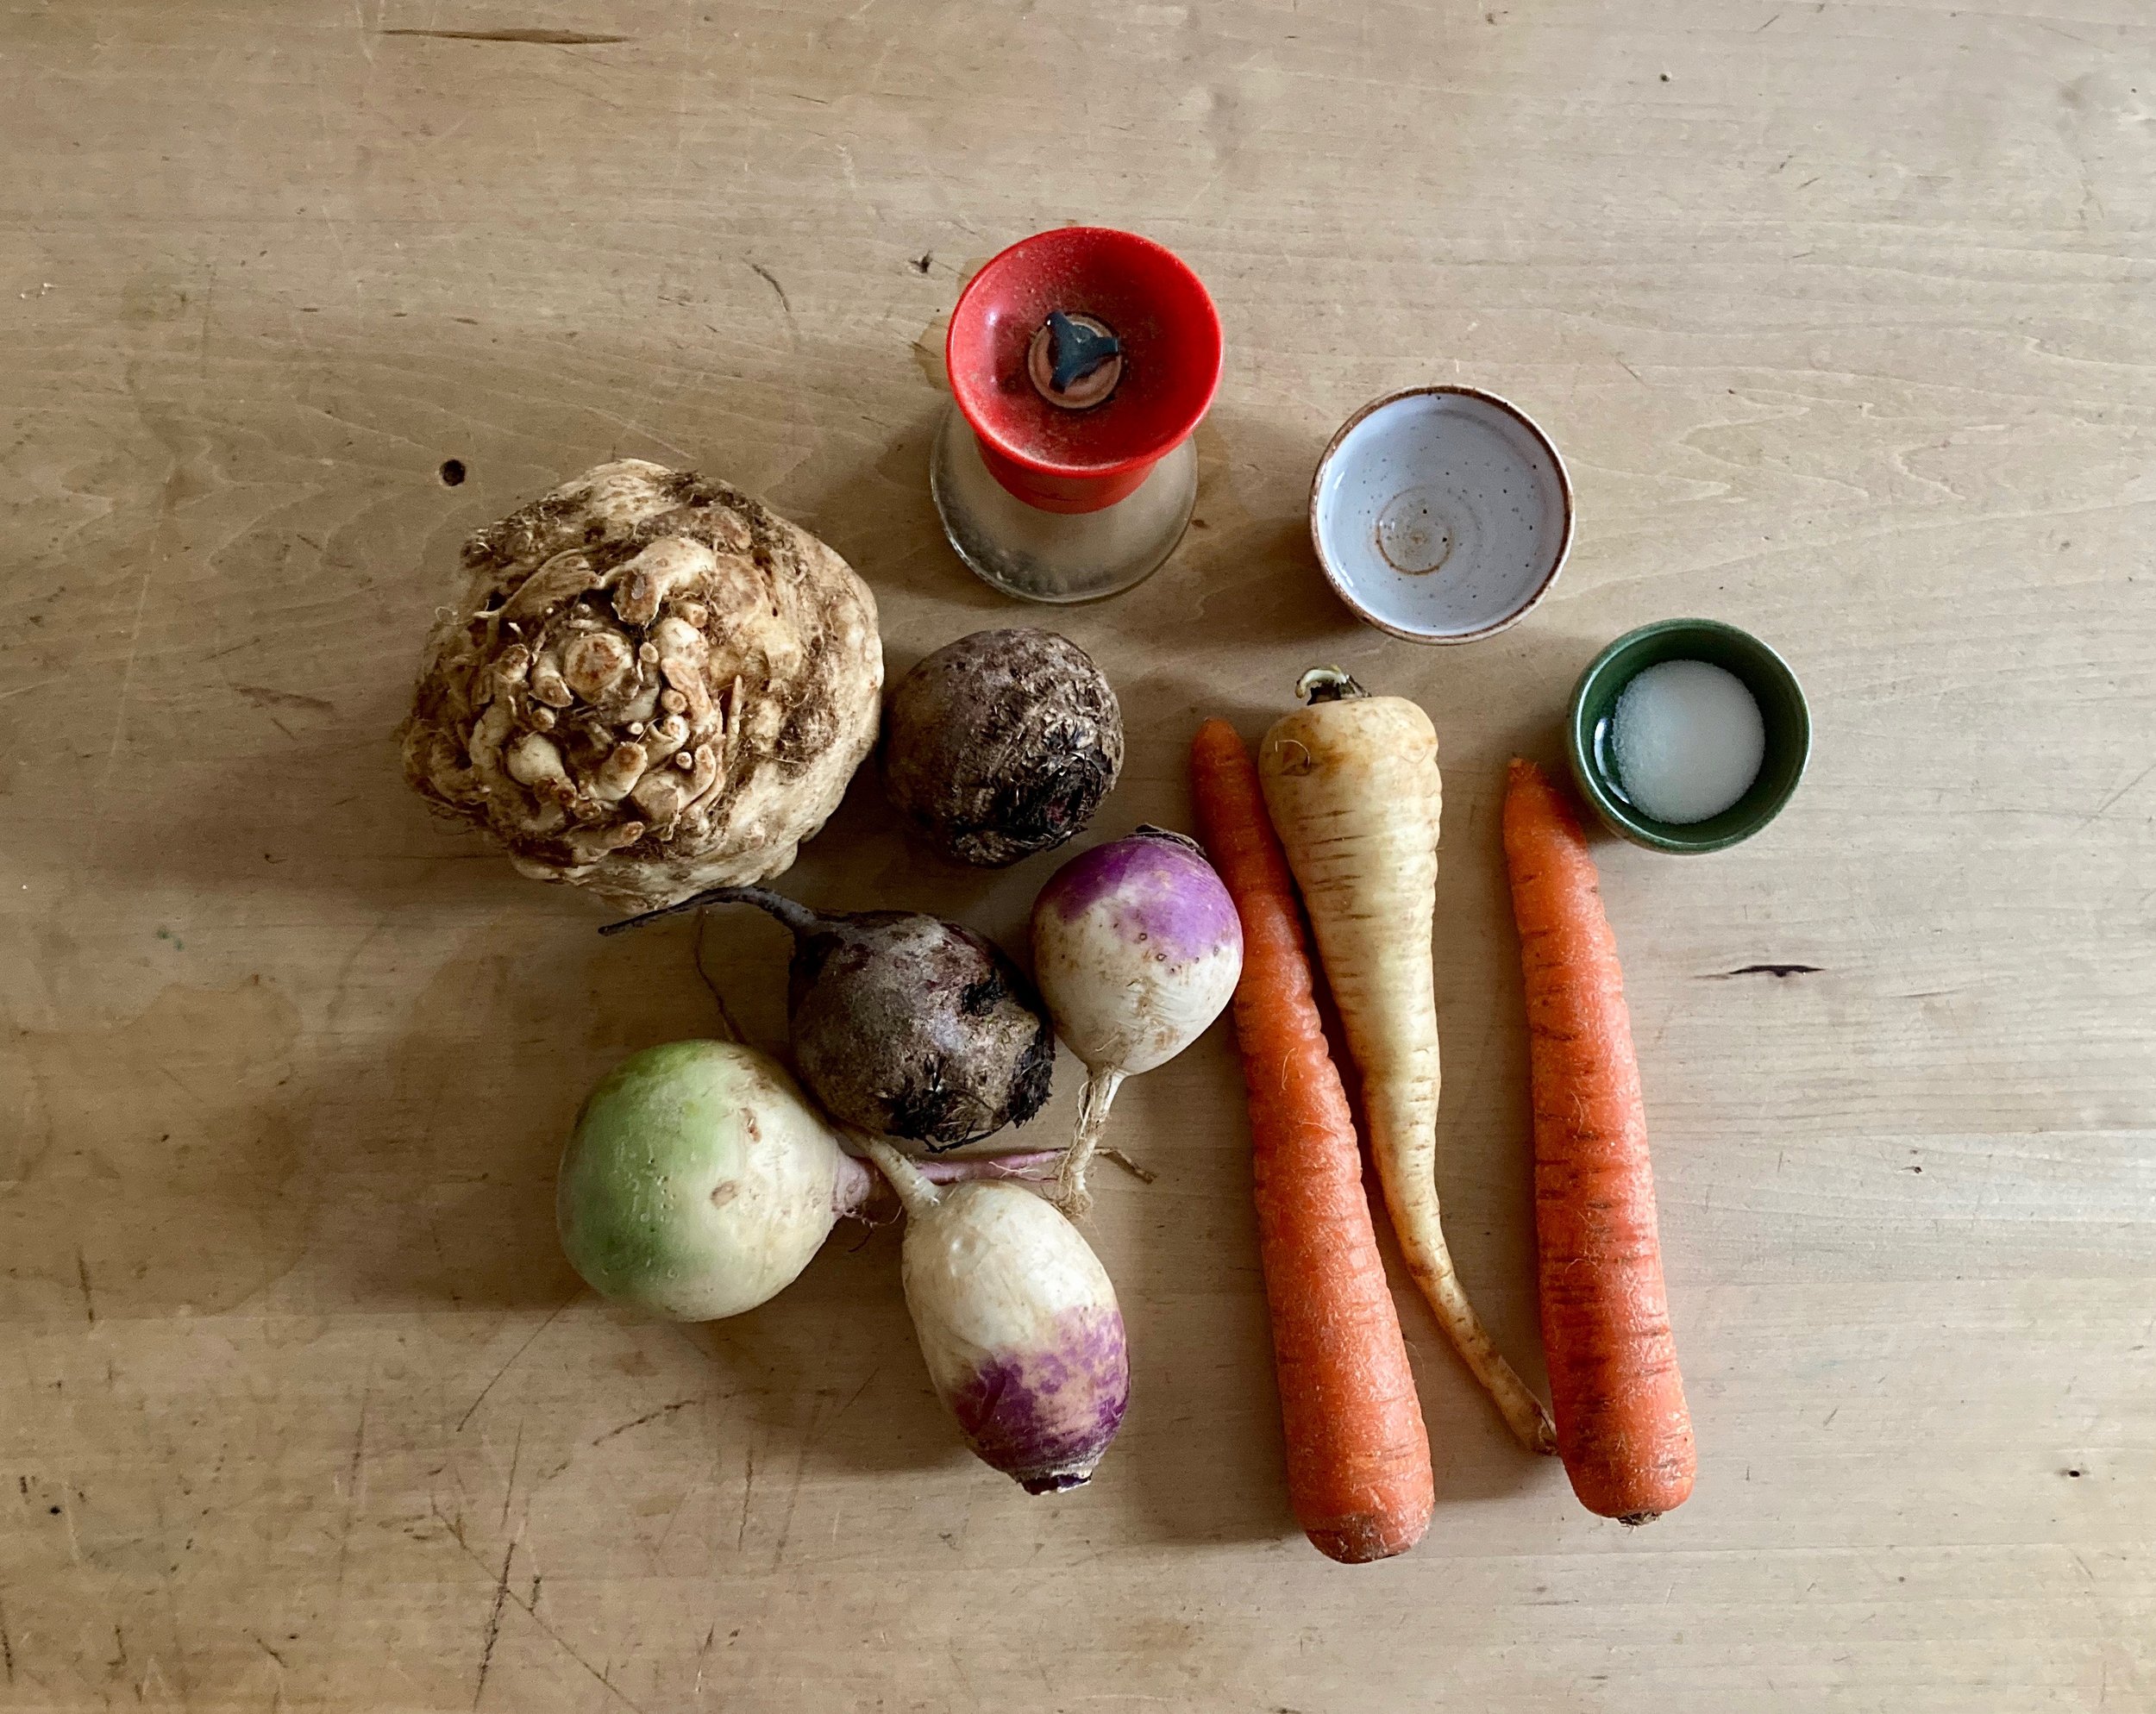
  • 2 medium beets

  • 1 large onion

  • a lemon

  • 1-2 tablespoons tahini

  • teaspoon or so olive oil.

Note. This dish is excellent made and eaten right away but also gets even better (in my opinion) cooled and reheated. Also you can change up the veggie situation and use whatever ones you like.

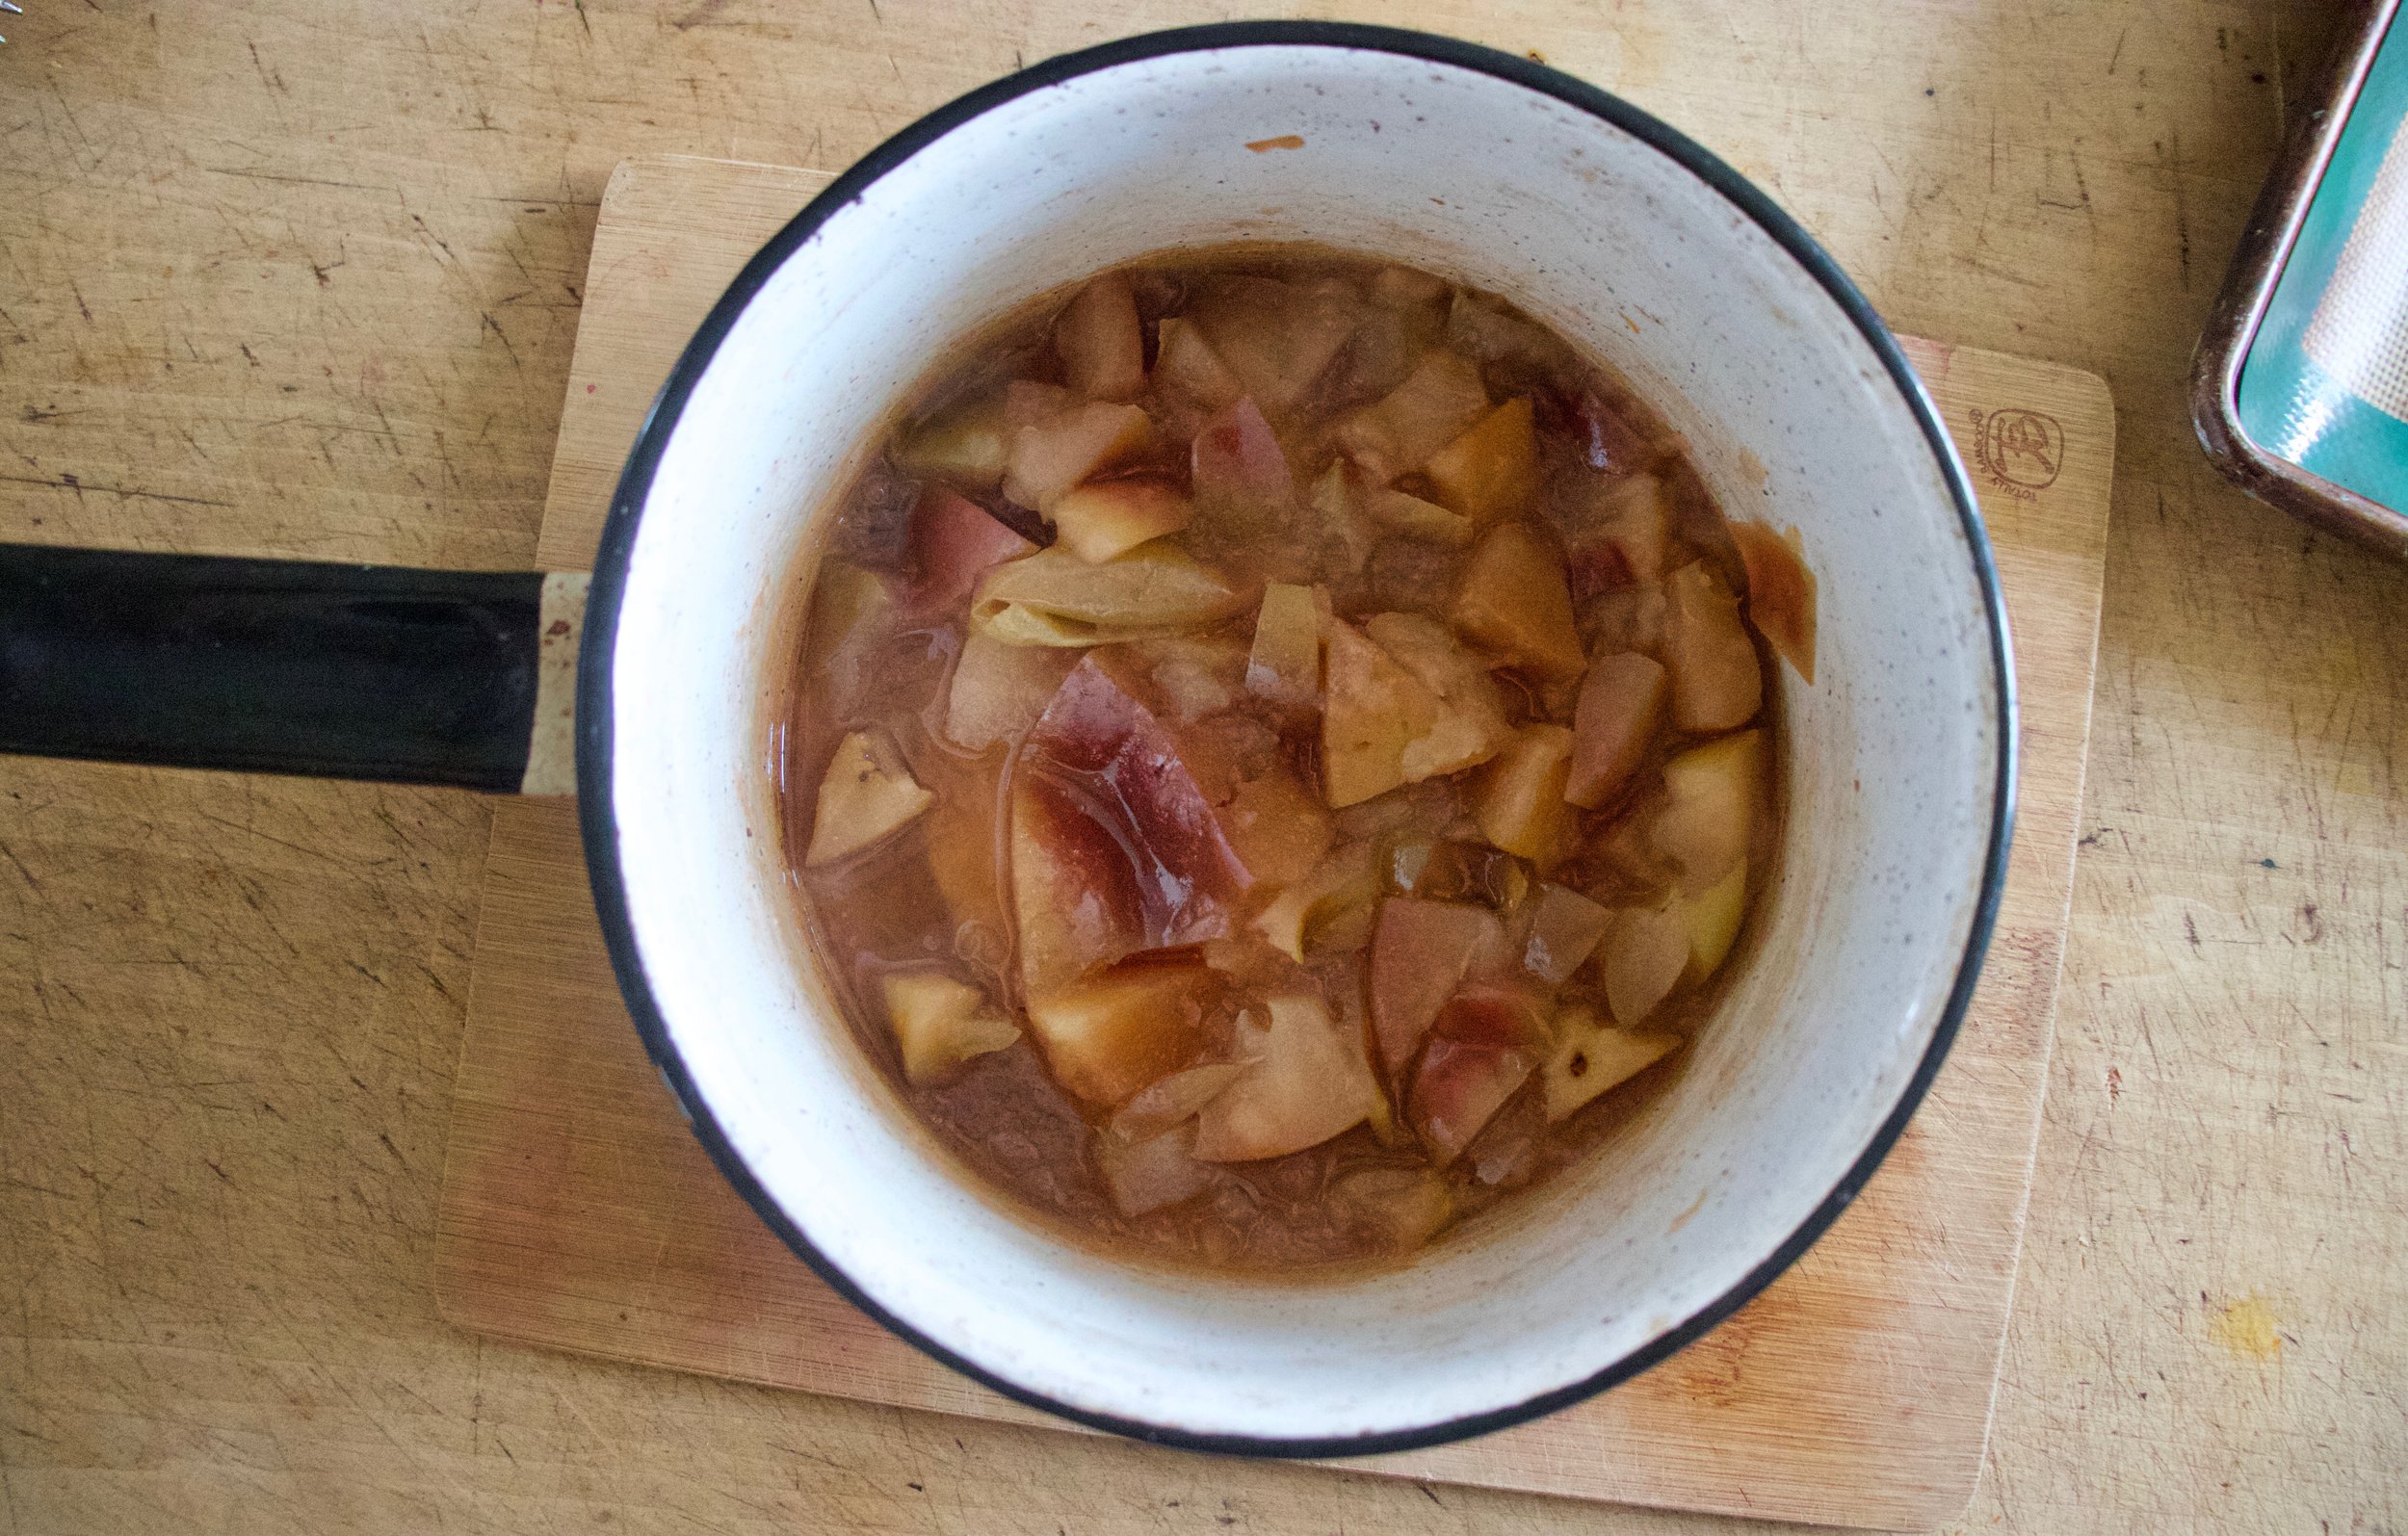
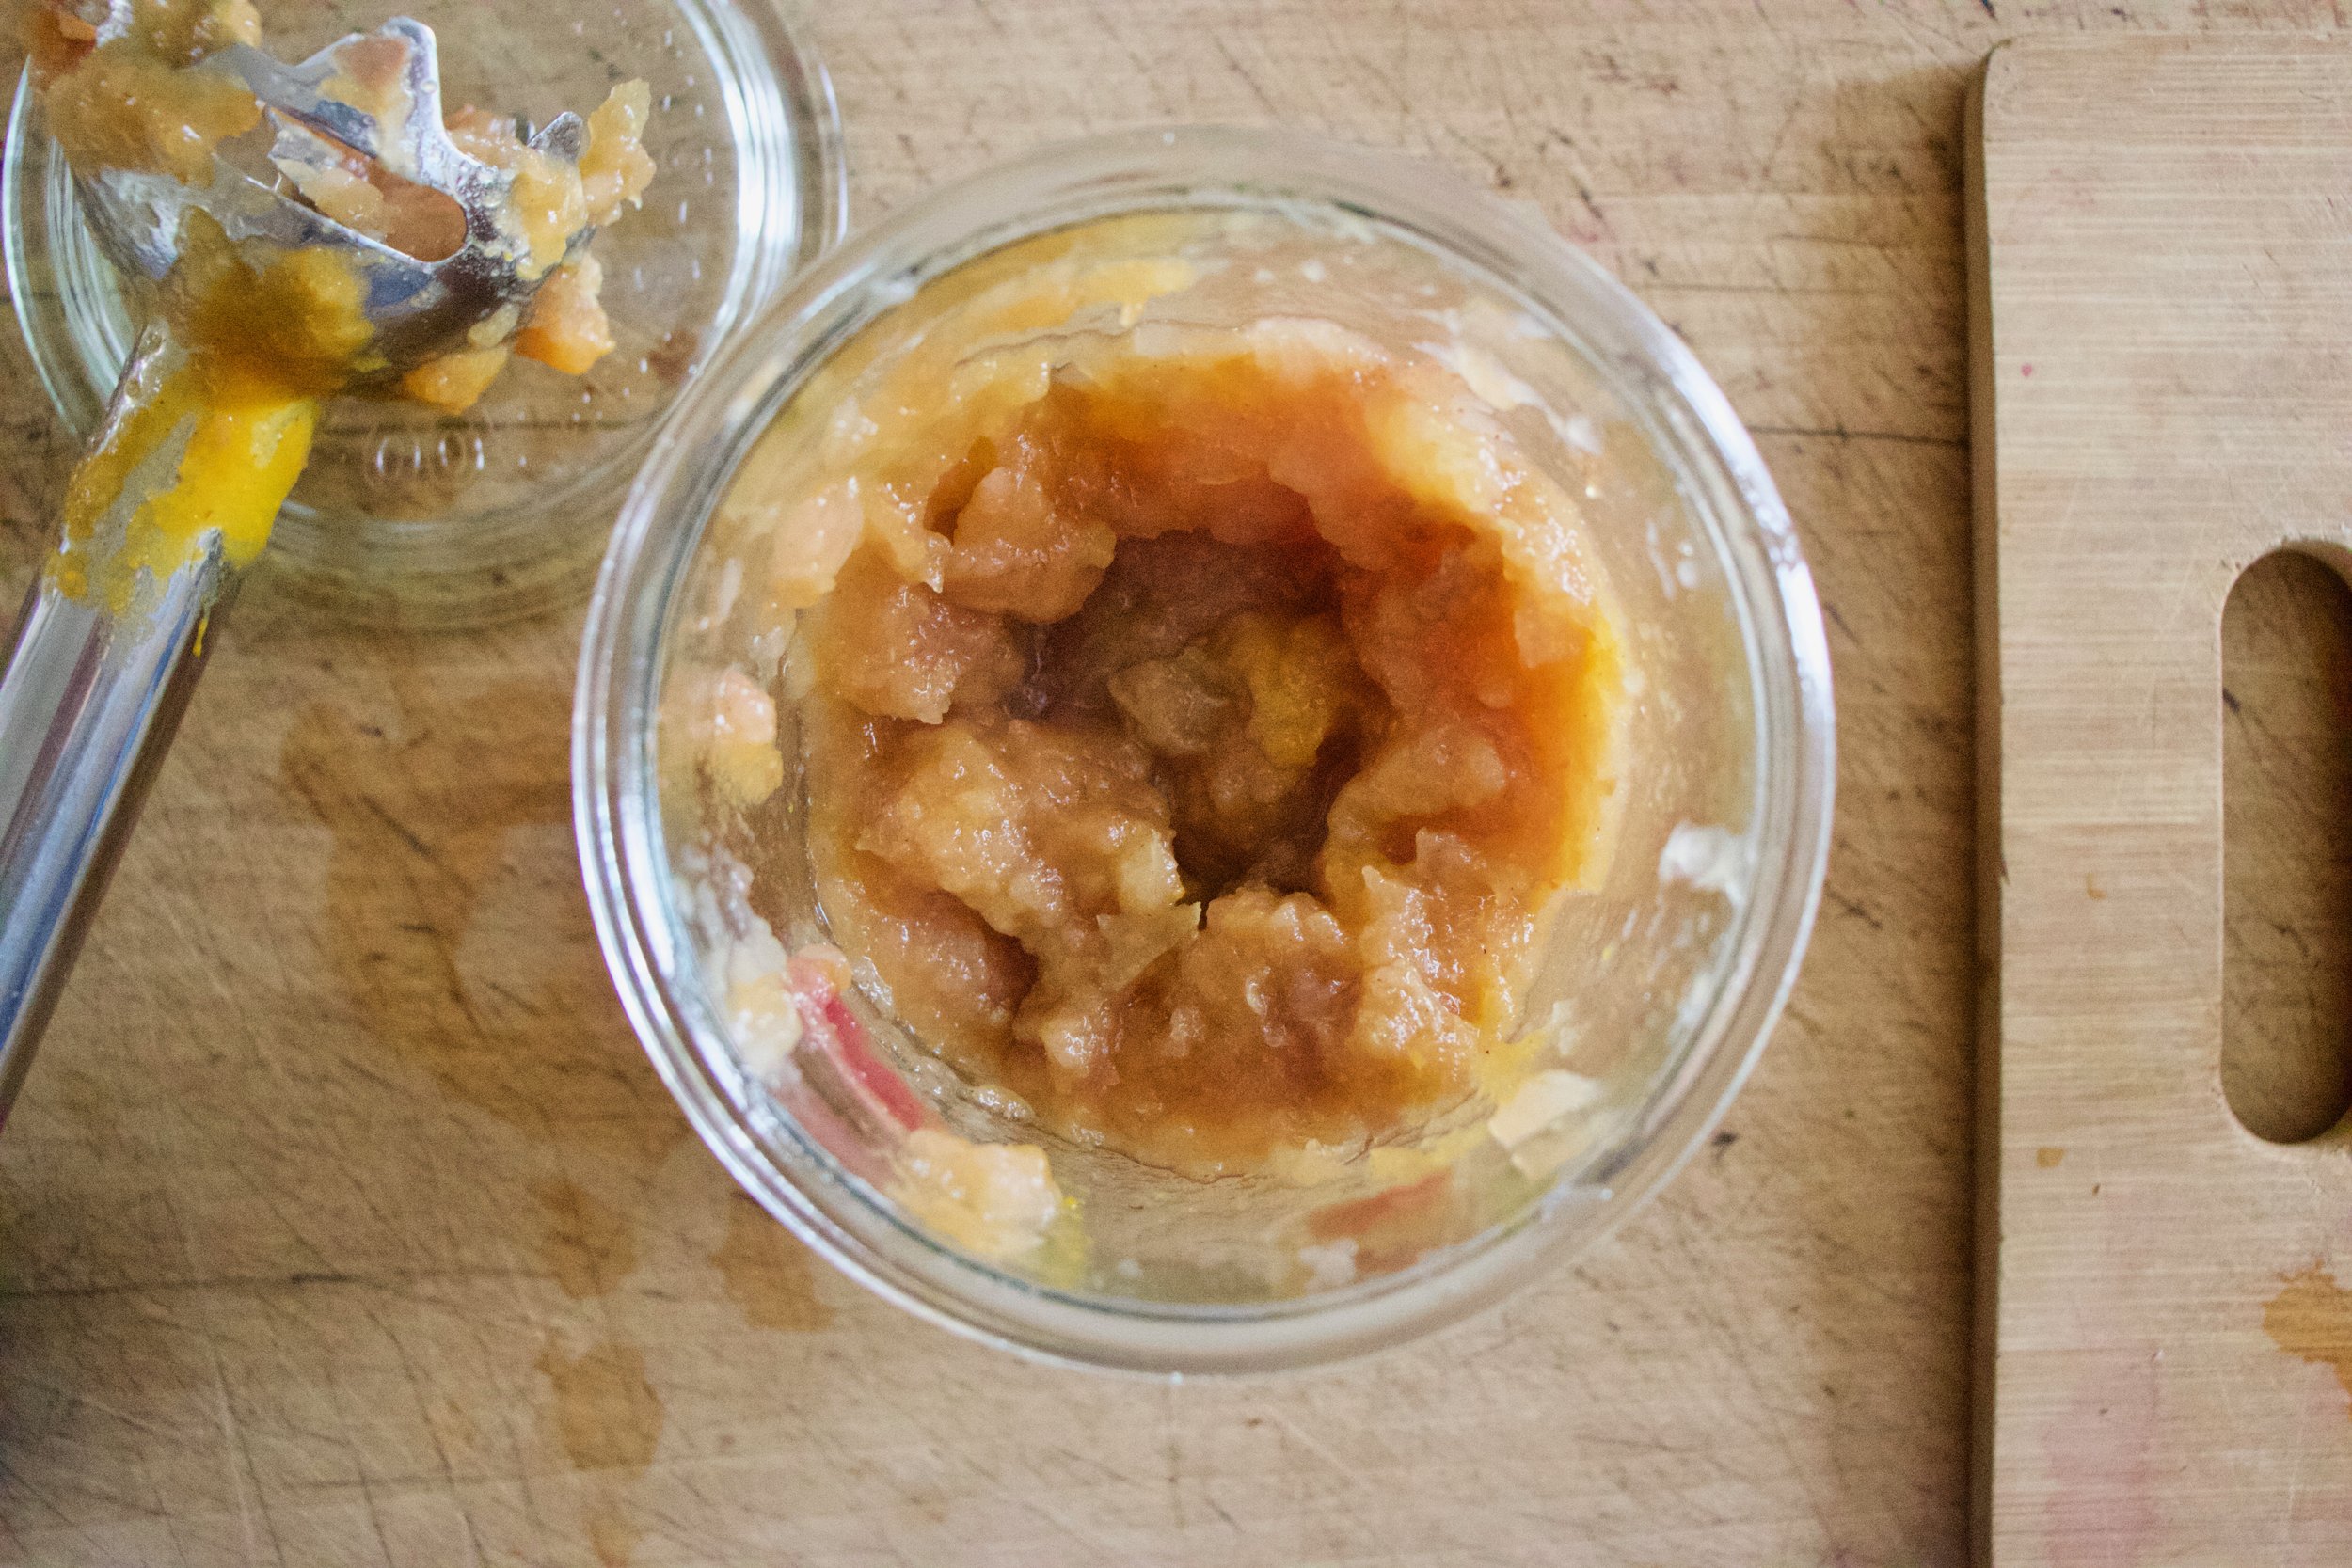
Place chickpea flour in a bowl and slowly whisk in boil water with a fork so that there are no lumps. Mix in cumin and a teaspoon of salt and a pepper. Scoop batter into a lightly oiled 8X8 casserole dish (you can use a round cake tin or a cast iron skillet as well) and set aside to rest for a few.

Preheat oven to 400.

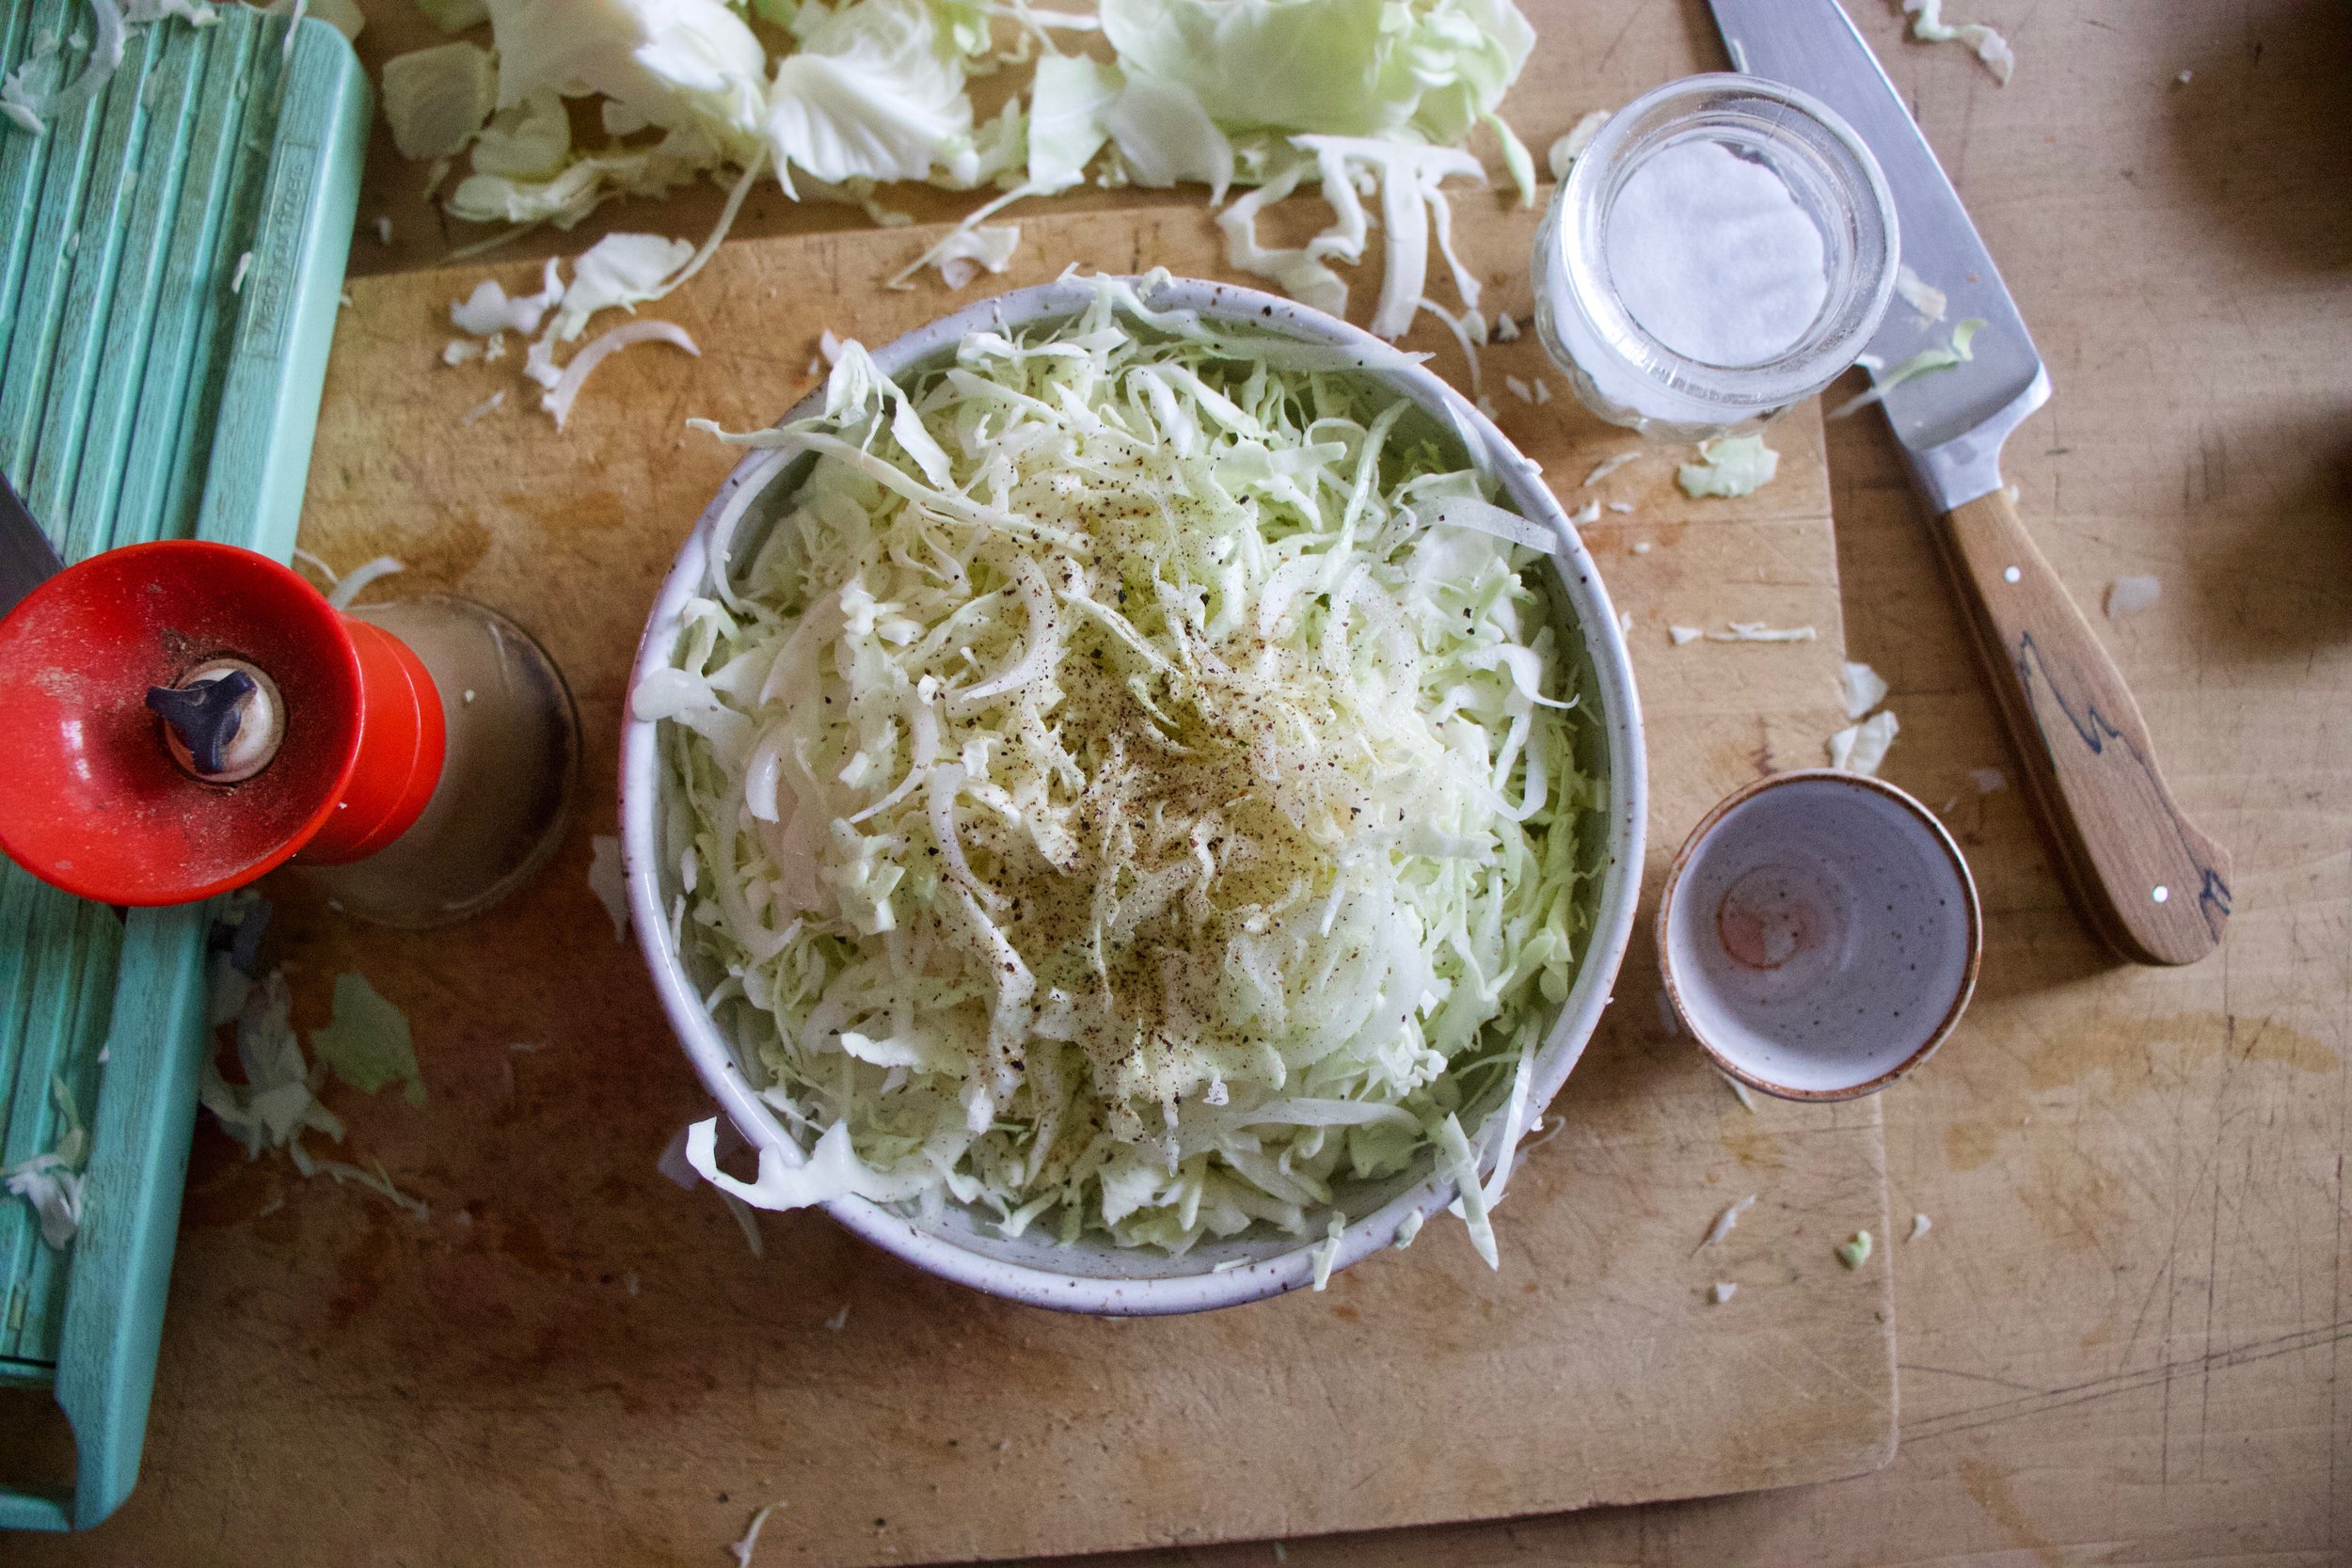
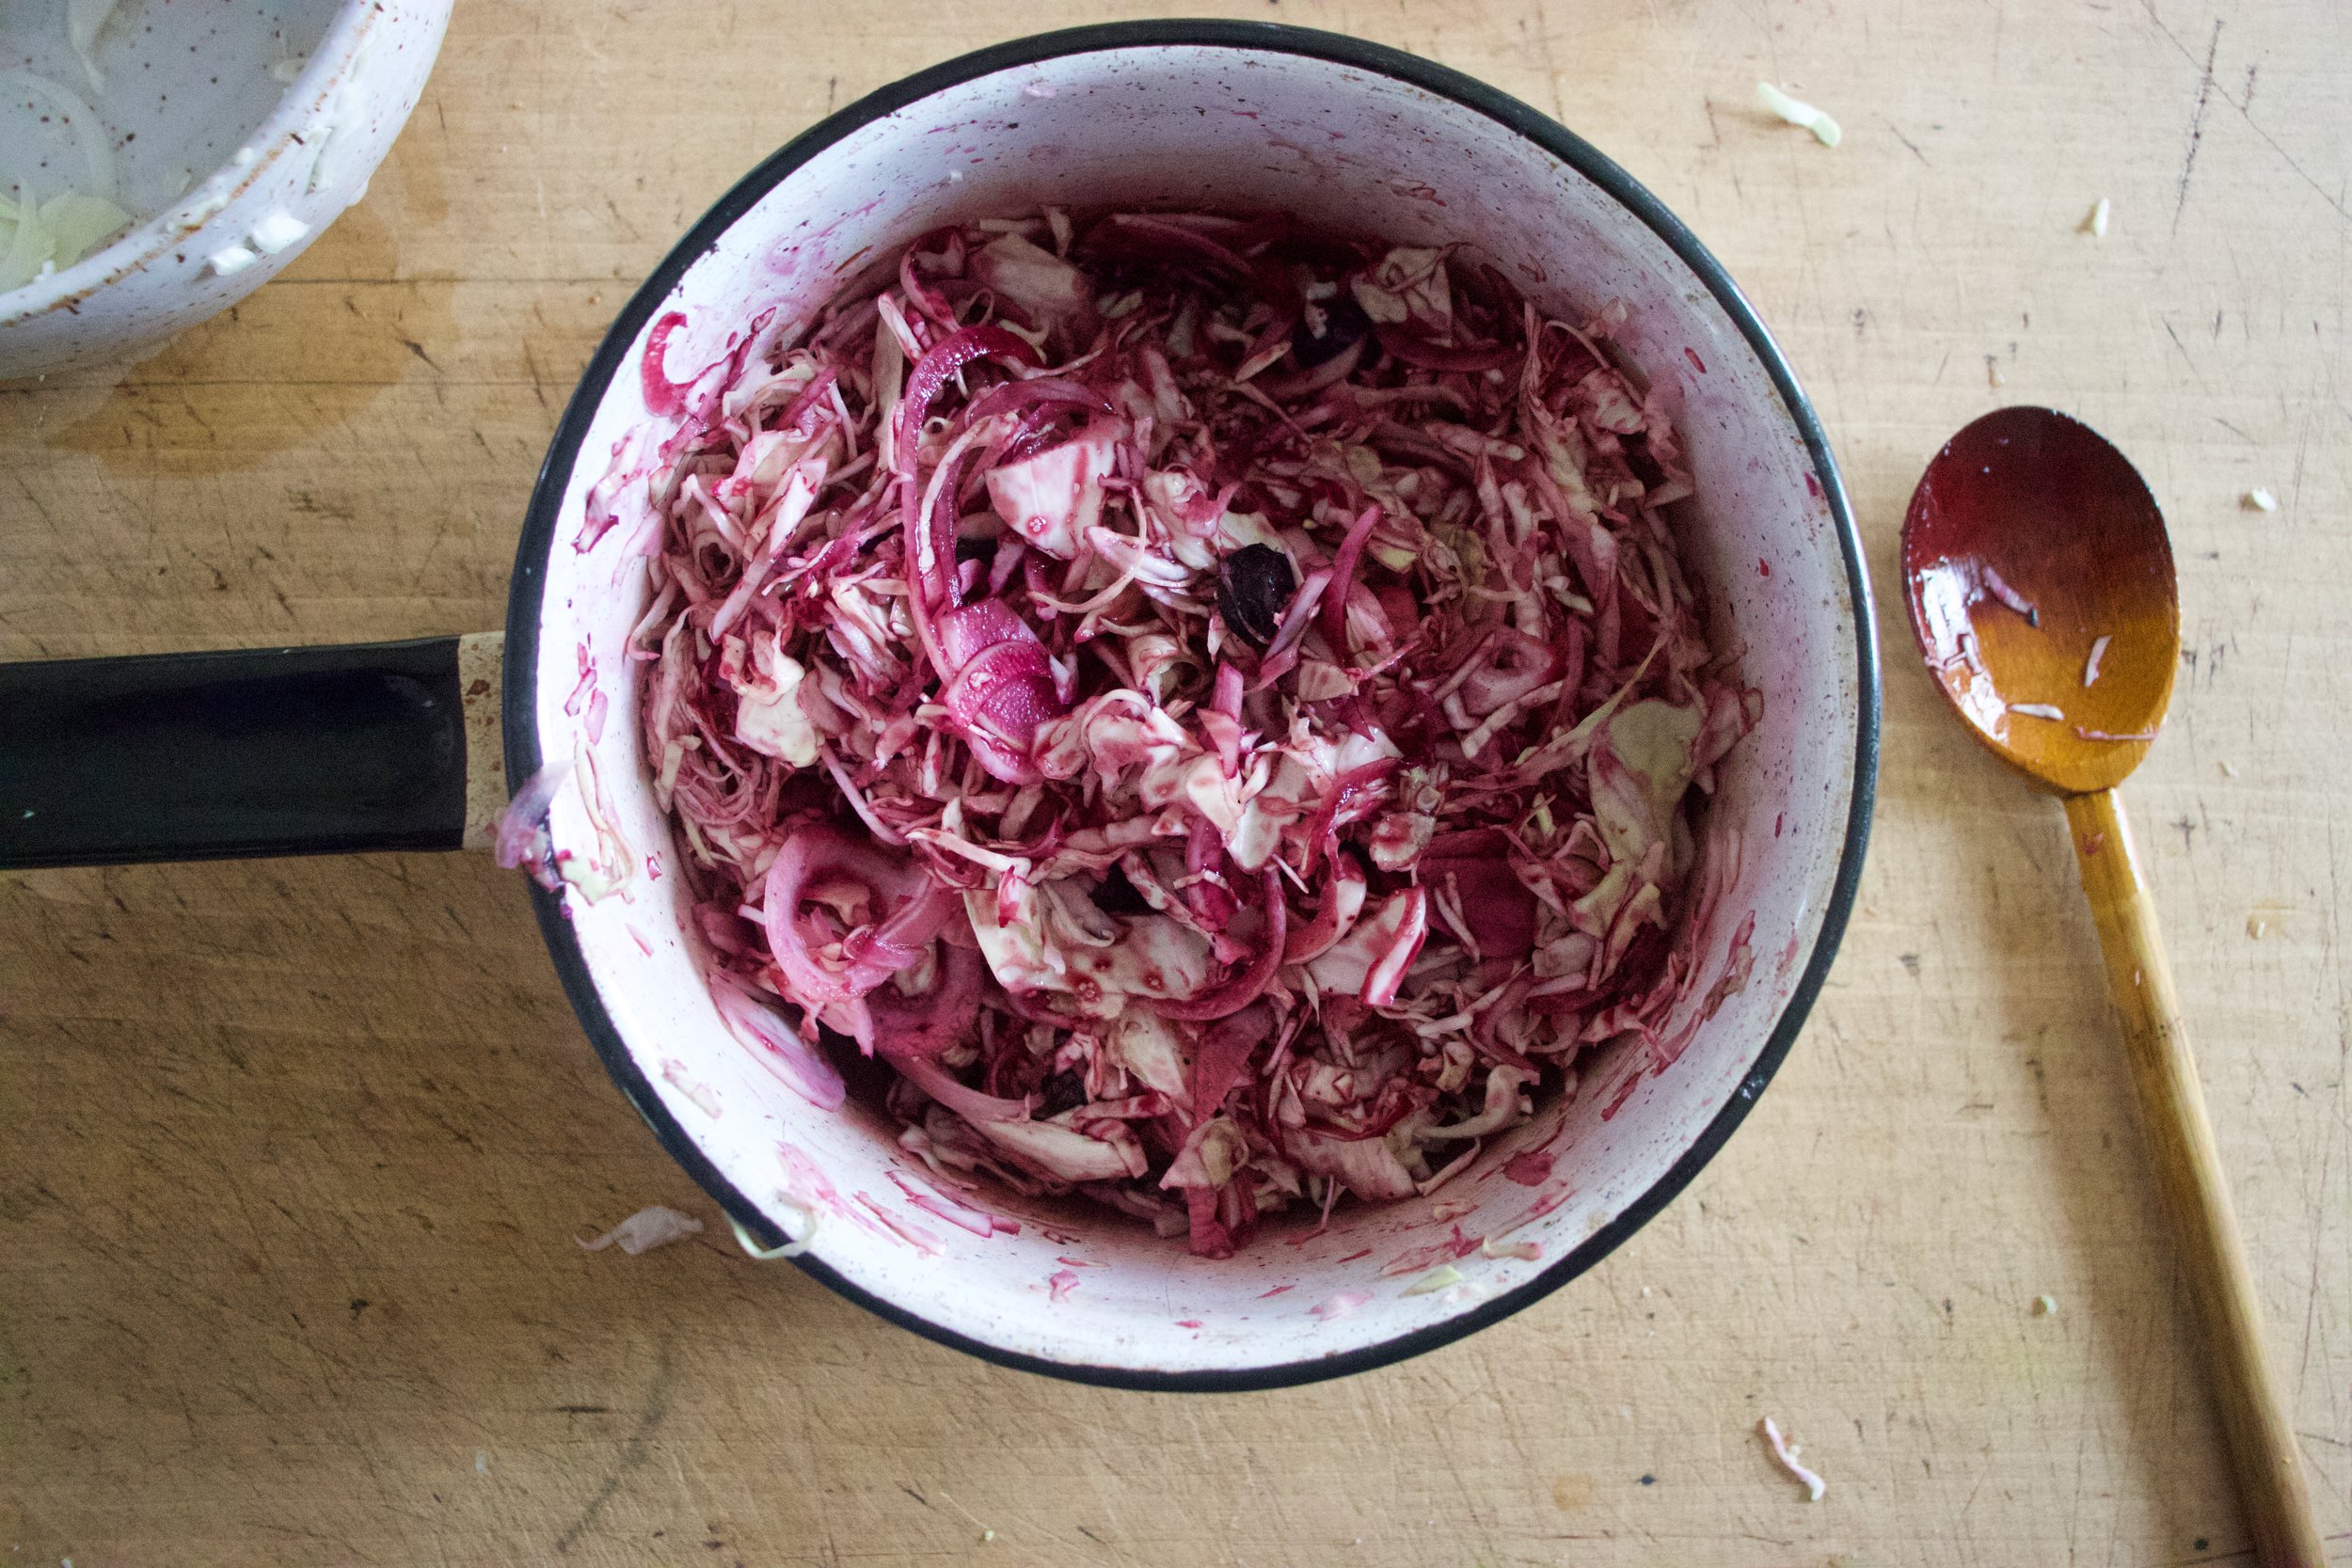
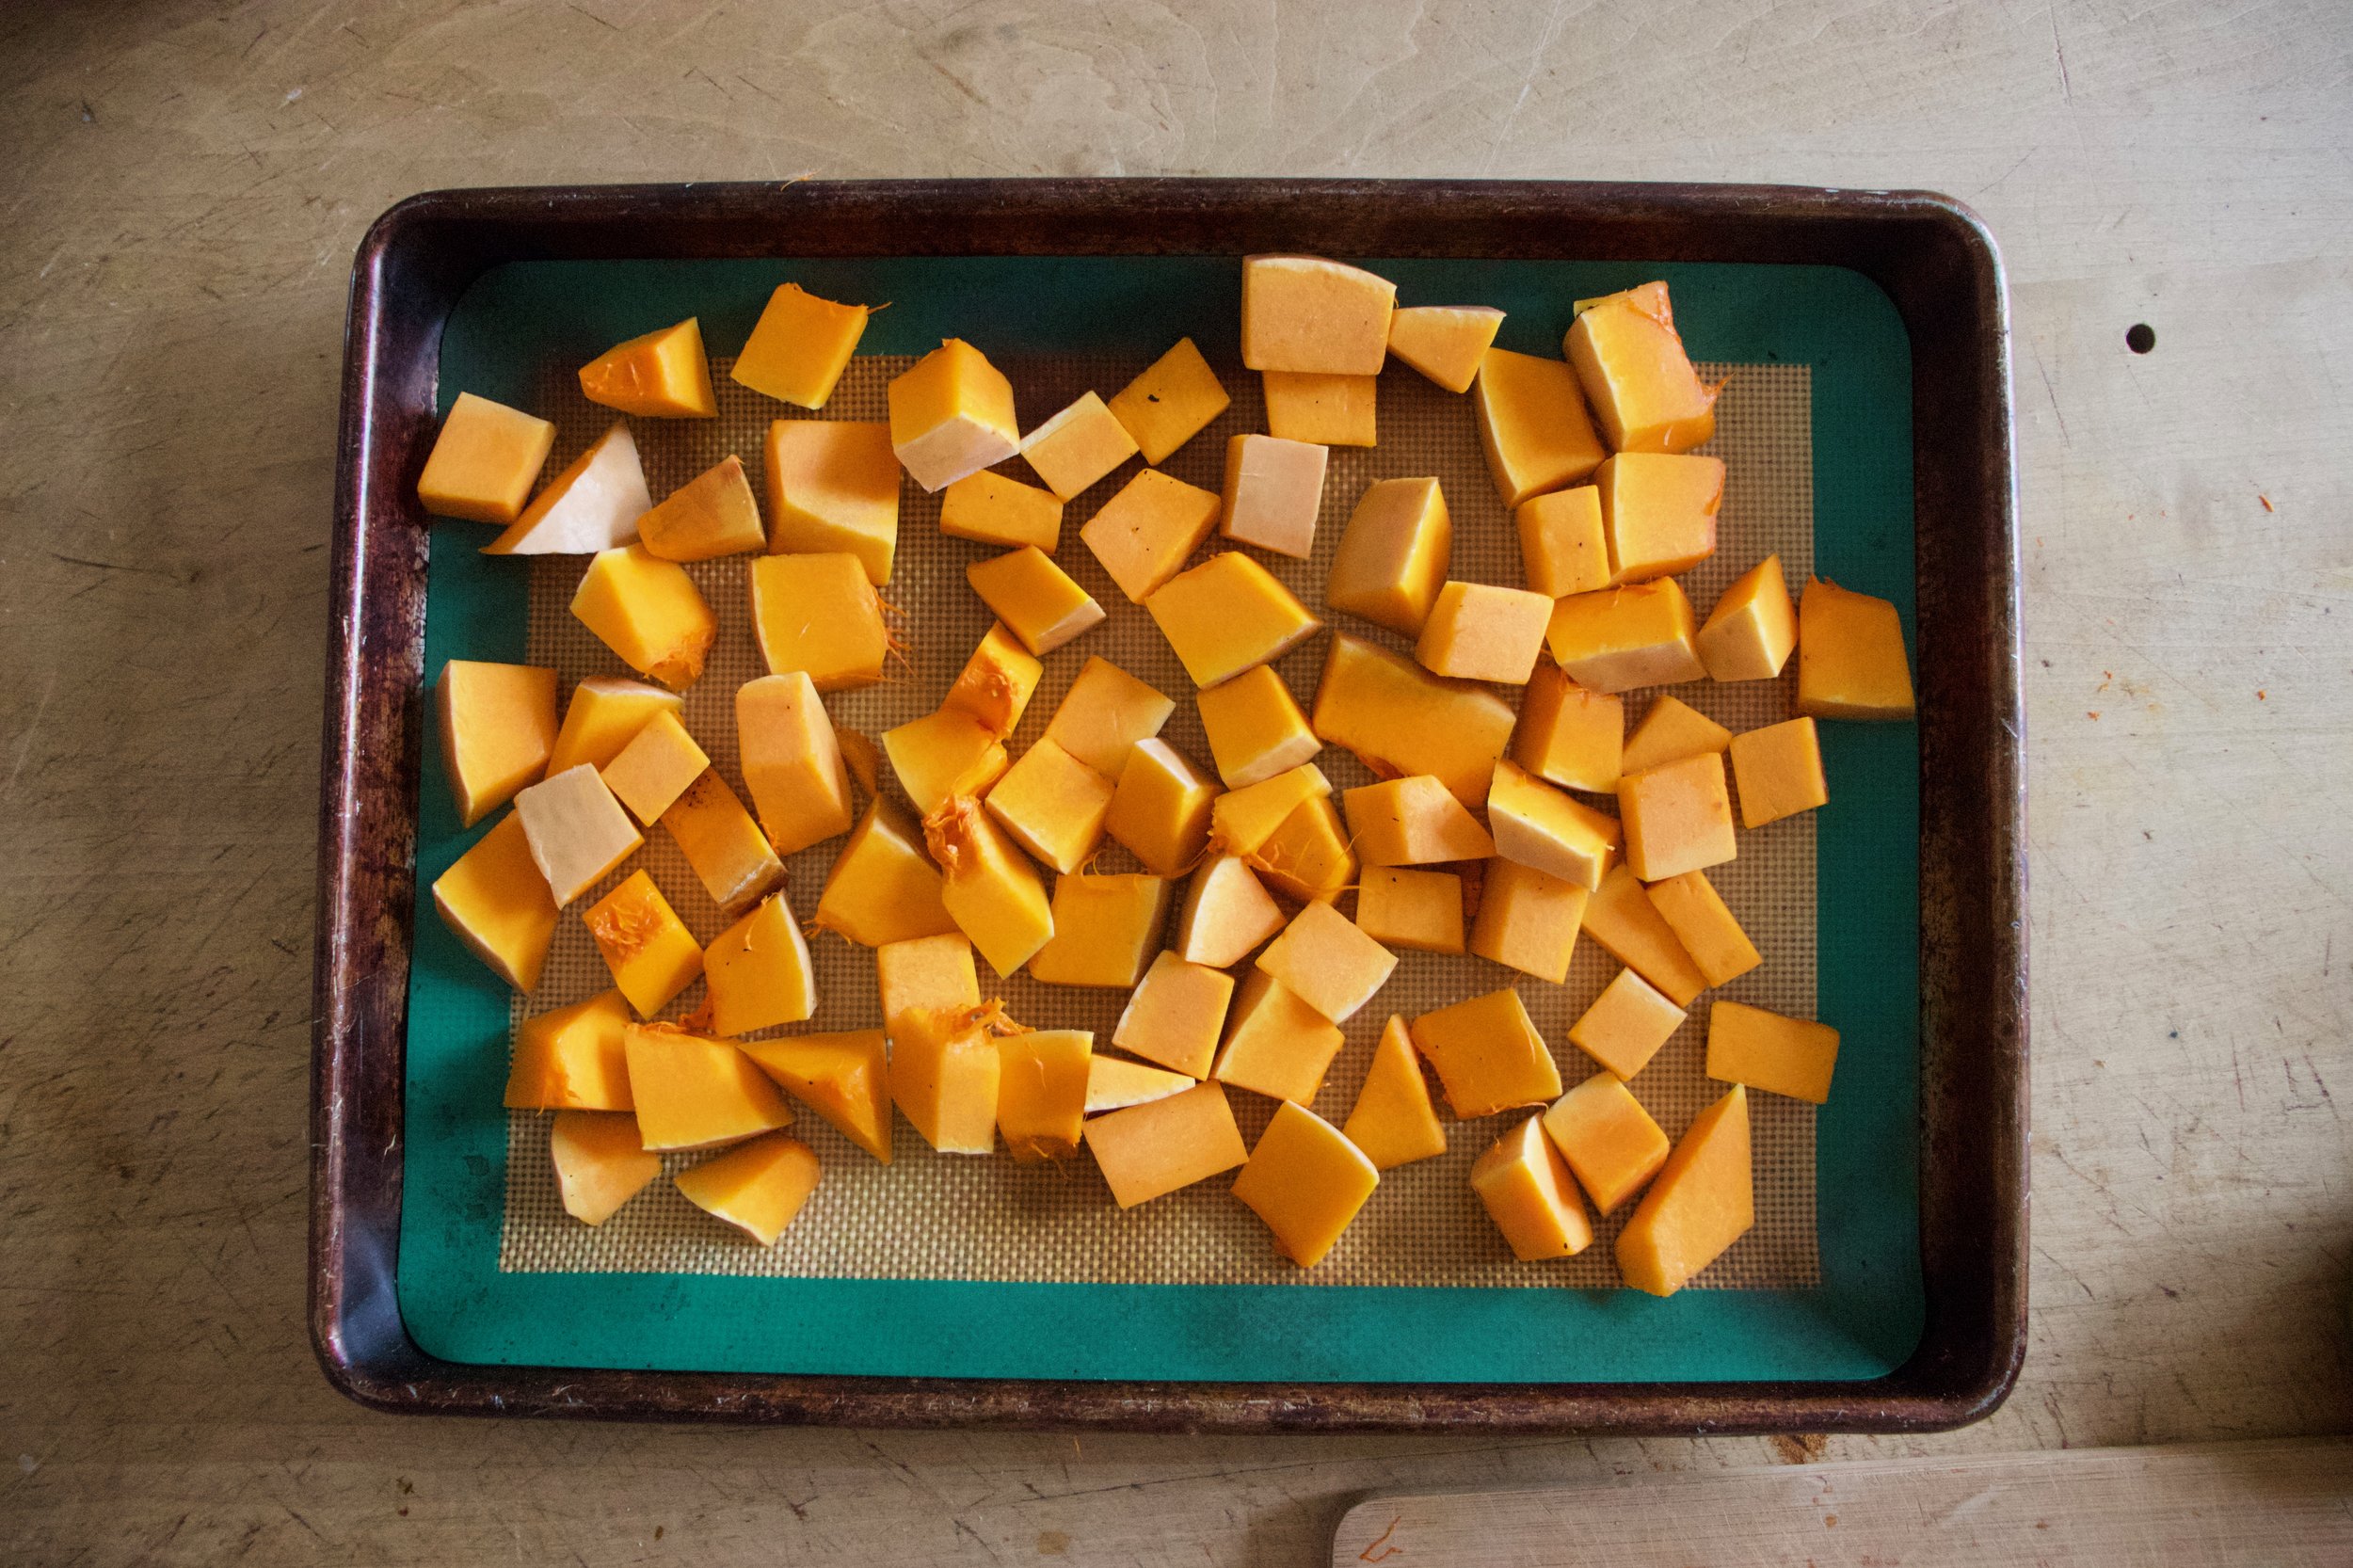
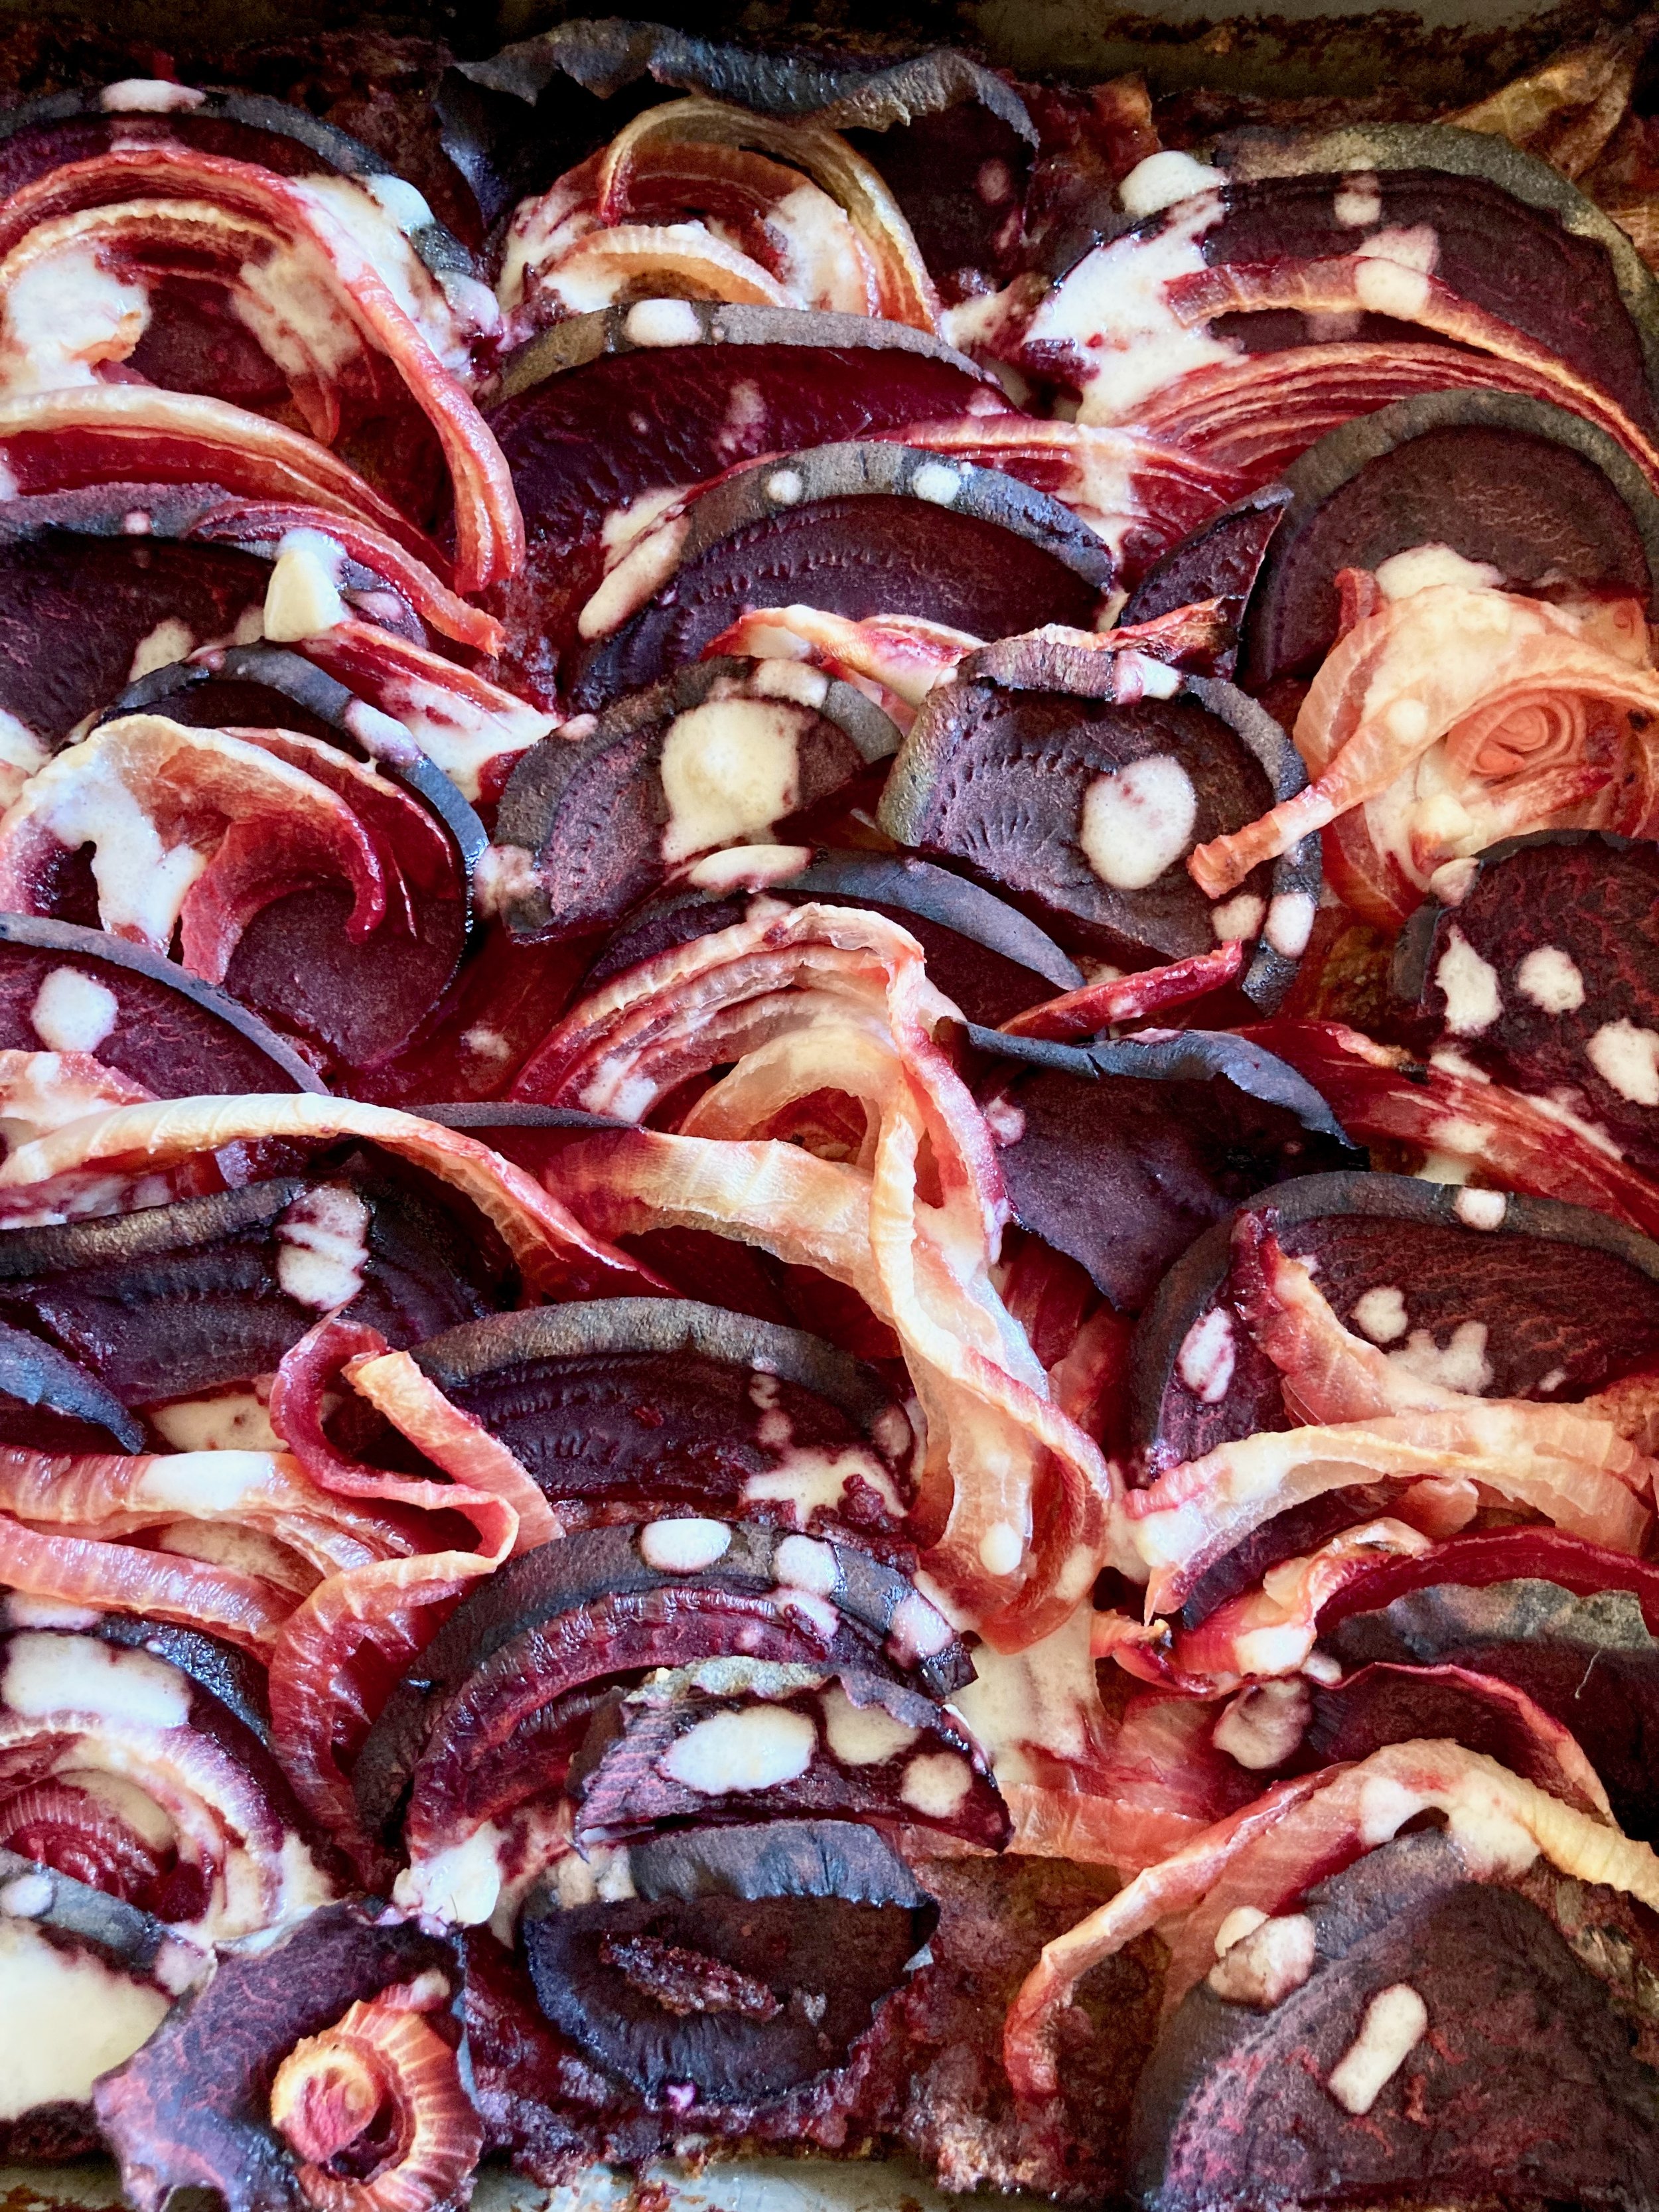
Grab beets and onion and slice in about 1/8 thick slices. Layer slices on top of chickpea mixture, making it look pretty if you feel like it. Once the veggies are layered, lightly drizzle the top with a teaspoon olive oil and sprinkle with a good pinch of salt and pepper.

When the oven is preheated, covered the baking dish and place in oven,. Bake covered for 1/2 hour then remove covering and bake for another 20-30 minutes or until the beets are nice and tender and a tester poked into the center of the dish comes out clean. Remove from oven,

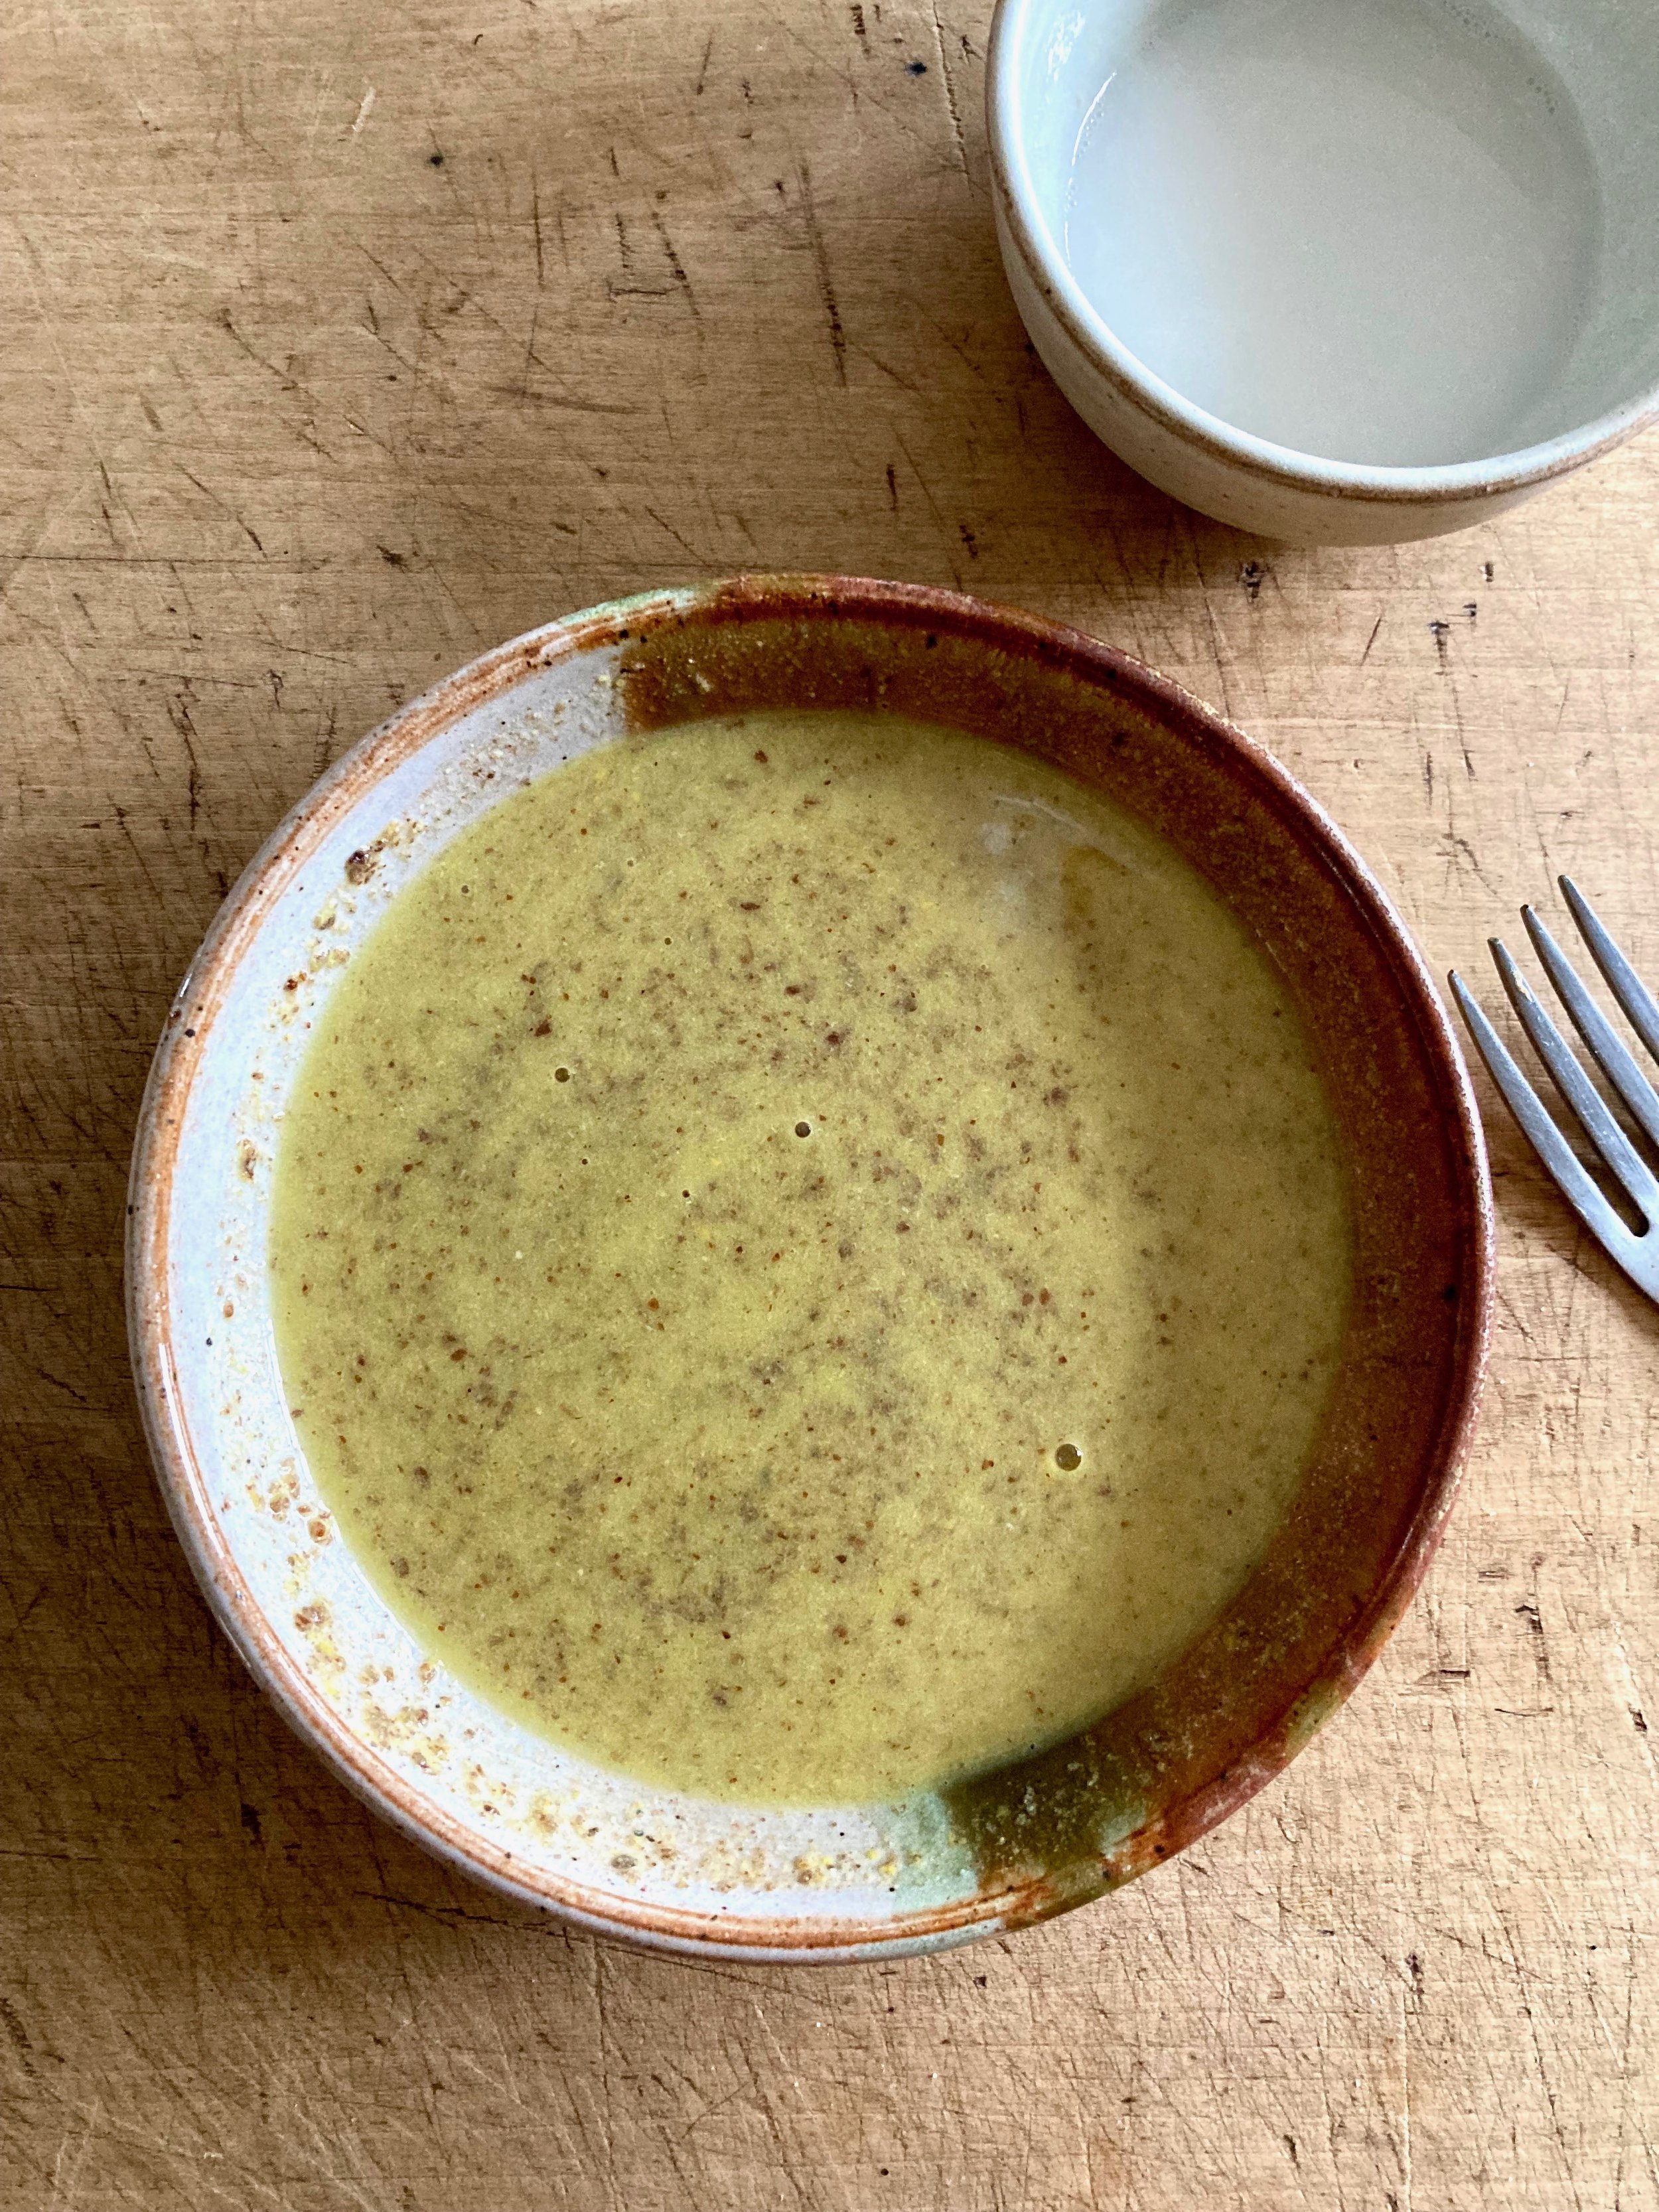
Once it’s out of the oven grab a little bowl and add the juice of the lemon to the tahini and mix. Season with salt to you liking.

Now serve. Drizzle the top with the tahini mixture and cut yourself a big old piece. Yes drizzle extra tahini on top. Sure squeeze on more lemon. You do you.

Store leftovers in fridge. Reheat in hot oven for 10 minutes..It gets crispy!

In Vegetables, Vegan, side dish, Savory, quick and easy, pulses, holiday, grain free, Gluten Free, entree, dinner, Dairy Free, casserole Tags vegan, gluten free, grain free, casserole, dinner, protein, pulses, beans, thanksgiving, holiday, main dish, food, easy, beets, onion, tahini
1 Comment

Roasted Roots Snack Plate

February 5, 2022 Colleen Stem

Did I make a roasted roots charcuterie of sorts? Yeah maybe I did, but I don’t know about calling it a charcuterie. I like to think of it more as a snack plate. And I say snack plate only because I placed everything on a plater which is, in fact, a very large plate. I could have showed you how I usually eat this, directly off a baking sheet, but that wouldn’t be as fun. And a snack plate looks a heck of a lot nicer when/if you want to share. Think of it. All your people around, snacking away in some dank ass roasted veggie. (No I did not share or even intend to share any. This was my lunch thank you very much.) Well not exactly something to day dream about but your people, if choosing to share, will really enjoy themselves while eating. Plus it works for any occasion where there are like people withl food allergies and easy to make all the people with all the different diets happy. Everyone can eat it. And it is really pretty. That counts as another plus.

This snack plate. Well it is basic. Just a bunch of the most delicious roots roasted up and served with dips. It is so simple and can be made with pretty much any veggies you like and then served with whatever dips you want. It is a choose your own adventure snack plate. You can even get fancy with it and serve it with nuts and olives and maybe some fruit or whatever but it is not necessary. And also I a want to make it clear, just because I called it a snack plate does not mean it needs to be a snack or that you have to share (see previous paragraph.) Eat is all to your face. I applaud you.

Now to the roasted roots!

The stuff. A bulb of celeriac, a big watermelon radish, a couple carrots and ac couple of beets. A big parsnip, some beets, vinegar and water, and salt and pepper.

Wash all the roots then cut them up. IF you want to peel go for it, but I don’t because I prefer not to.

Anyway, cut them all into wedges, shtik and or rounds. A variety of shapes is nice, just make sure that they are all roughly the same thickness.

Arrange all the cut roots on a baking sheet, trying not to overlap much. Sprinkle with water and vinegar then toss on a good pinch of salt and pepper.

Place in hot oven and roast.

40 fish minutes later, all tender and ready.

Place all your roasted roots on a large plate or plater, grab some dips of your choice (Mustard, hummus, and guacamole are excellent choices) and eat away. Or wait and serve whenever cause these snack situation is delicious eaten at any temperature.

-c


Roasted Roots Snack Plate

Note. The following is more of a suggestion then a recipe. Use as many roots as you like or stick with a just one or two.

  • a bulb of celeriac

  • 2 carrots

  • a large watermelon radish

  • 2 parsnips

  • 2 medium turnips

  • 2 medium beets

  • a couple teaspoons white vinegar and water

  • salt and pepper

  • Hummus, mustard, guacamole.. anything you like to dip veggies in. (optional)

Preheat oven to 425.

Prepare roots. Wash and cut them all into sticks, rounds, and or wedges, just make sure they are roughly the same thickness. Once all cut, place them on a baking sheet, trying not to overlap much, and sprinkle with a little water and a few teaspoons of vinegar (you can use a spray bottle or just flick the the water and vinegar with your fingers) Sprinkle with a good pinch of salt and black pepper.

Place in oven and bake for about 40 minutes or until all veggies are tender.

Remove from oven and let cool enough to handle them arrange on a large plate or plater along with at least one, if not many dips that you like.

Serve hot. Or warm. Room temperature is good or you can pre roasted refrigerate, then serve cold. Whatever temperature it’s fantastic!

In Vegan, Vegetables, snack Tags charcuterie, vegan, roasted roots, fresh, winter roots, dips, plant based, oil free, easy, snack plate, snack, lunch, dinner, gluten free, party, food, simpe
Comment

Almond Crusted Tofu

January 29, 2022 Colleen Stem
IMG_0184.jpg
IMG_0193.jpg

Are you a tofu person? I am very much a tofu person. I know that some people still think tofu is not so great or that it doesn’t taste like much or my favorite, that it doesn't taste like meat. And with that I say, well tofu isn’t meat so duh and yeah, it doesn't have a super powerful taste but it does taste good (especially really good fresh tofu) and tastes even better when you make it with tasty ingredients. But If you are a tofu person you already know that.

This tofu is good. I mean really really good. It is dredge and breaded in almonds and then baked until crispy., like a tofu nugget of sorts. I mixed mustard and vinegar into the dredge for some tang and added garlic and red pepper flakes to the almond coating to give it a bit more flavor but if you were feeling something different, say curry or Italian flavoring, well by all means, give it a go. I think the next time I make these (probably tonight) I am going to add a shit ton of cumin and chili powder and way more red pepper flakes. My stomach is rumbling already. And hopefully they will be to spicy for the mr so I don’t have to share. Its my craving. He can eat something else. Ha!

Now to the almond crusted tofu!

The stuff. A brick of firm tofu (which I have smooshed out a lot of liquid), whole almonds, and oats. Then there is flax meal, mustard, vinegar, almond milk, garlic powder, red pepper flakes, and salt and pepper.

Cutting up the tofu. Fist cut brick in half. Then turn each half on its side and cut into three equal pieces. flip back down each piece then can be cut into 4 triangles. And if you want to cut it up differently well then who am I to tell you otherwise.

IMG_0117.jpg
IMG_0123.jpg

Make the almond crust mixture. Almond and oats along with garlic powder, red pepper flakes, and sat and pepper go into the food processor and pulses utlil a crumbly. You don’t want it to fine but also not to chunky. Think bread crumb consistency.

IMG_0127.jpg
IMG_0130.jpg

Now make the dredge. Combine mustard, flax, vinegar, and plant milk in a wide shallow bowl until completely combined. Let it sit for a few minutes to really thicken.

Now you are all ready to go.

IMG_0153.jpg
IMG_0158.jpg

To coat the tofu just drag each piece through the wet mixture making sure it is evenly coated then drag with through the almond mixture.

Once all the pieces are crusted and on the baking sheet pop it into the hot oven and bake. 20ish minutes at first then flip eat piece and another 10ish minutes after that.

Baked and crispy.

Now you eat. Grab some dipping situations (I grabbed some guac and tomato sauce) and get at it.

So good.

-C


Almond Crusted Tofu

makes 24 pieces

  • 1 brick firm or extra firm tofu

  • 1/2 cup almonds

  • 1/4 cup old fashion oats

  • 1/2 teaspoon red pepper flakes

  • 1 teaspoon garlic powder

  • 1/2 cup warm plant milk

  • 1 tablespoon apple cider vinegar

  • 1 tablespoon mustard

  • 1 tasblepoon ground flaxseed

  • salt and pepper

Preheat oven to 450

Remove tofu from package and gently press out as much liquid as you can. Cut the tofu brick in half then flip each piece onto it’s side and cut each half into 3 equal pieces. Flip back down and then cut each third into 4 triangles. Or just cut the tofu into 24 each sizes pieces of your choice. Set aside on a dry towel.

Make the dredge. Combine flax seed, mustard, vinegar, warm plant milk and a inch of salt and pepper in a shallow bowl until completely combined.

To make the almond crust place the almonds, oats, garlic powder, red pepper flakes and a good pinch of salt and pepper into a food processor and pulse for about a minute or so until the texture is a small crumb the consistency of semi fine bread crumbs. Pour into a shallow bowl.

When all parts are ready to go, line up the dredge, the almond mixture, and get a baking sheet ready with either a baking mate or a little oil to keep the tofu from sticking. Take each piece of tofu and dip it though the dredge making sure to evenly coat it and then lift it out and let the excess drip off. The drop the tofu into the almond mixture and gently toss flip ti coat each side. Place coated onto baking sheet.

Once all the tofu is coated place it into the hot oven.Bake for 20 minutes then flip each piece and bake for another 8-12 minutes or unit crispy.

Once baked, remove from oven, place on a plate and eat. Want something to dip it in? I recommend guacamole. and or tomato sauce. Mustard and hummus are also fantastic!

In tofu, Nuts, dinner, snack, Vegan Tags Almond Crusted Tofu, tofu, vegan, dinner, protein, plant based, healthy, almonds, nuts, oats, gluten free, dairy free, nuggets, breaded, flax, easy, delicious, soy
Comment

Blueberry Orange and Pistachio Cabbage Salad

January 15, 2022 Colleen Stem

Ever since the mr got a gigantic bag of pistachios from my Dad for Christmas he has been eating them almost every night and not once has he asked if I wanted some. And I know he has been trying to hide them in the pantry on me, (obviously he has failed since it is MY pantry) so I took some when he was not home. Does that make me an asshole? Maybe a little but I share ALL of my food with him so he can give up a couple small handfuls of nuts.

Anyway I made salad with my stolen pistachios. A big cabbage salad with orange and blueberries because they pair amazingly with pistachios and plus I want to eat all the citrus right now. The blueberries, well they go so well in a savory situation and I wanted them in there too. (Plus the the color from the berries makes the salad so pretty!) So I made the salad and it was delicious. I ate some but you know what? I ended up sharing my stolen pistachio salad with the mr. And he liked it too, especially the pistachios. And he didn’t ask if I took then from him so I took that as a invitation to take more… Thats what it means right?

Now to the blueberry orange and pistachio cabbage salad!

The stuff. Cabbage, frozen blueberries, a big navel orange, pistachios, an onion, salt and pepper, red wine vinegar, maple syrup, and red pepper flakes.

IMG_8641.jpg
IMG_8663.jpg

Start by adding the blueberries to a pot with the maple and a little water. Place on medium heat and cook until blueberries pop to the touch and the liquid has reduced to ta thin syrup like consistency.

IMG_8646.jpg
IMG_8651.jpg

While blueberries are doing that, grab cabbage and shred as thin as you like. Also grab onion and slice a thin as you can. Place both into a big bowl and sprinkle with salt and pepper and red wine vinegar.

Take orange and cut in half. Remove peel and pith from one half and cut into small segments.

IMG_8666.jpg
IMG_8670.jpg

Once the blueberries are cooked, dump the cabbage and onion mixture into warm pot. Squeeze the juice of remaining half orange and toss around until everything is evenly coated.

Dump it all back into the bowl and add the orange pieces and pistachios.

Toss around, add in a pinch of red pepper flakes and eat away.

-C


Blueberry Orange and Pistachio Cabbage Salad

  • 4 cups shredded cabbage (about 1/2 a head)

  • 1 small onion

  • 1 1/2 cups frozen blueberries

  • 1/2 - 1 cup water

  • 2 teaspoons maple syrup

  • 1 orange

  • 2 tablespoon red wine vinegar

  • 1/2 cup pistachios

  • salt and pepper

  • red pepper flakes (optional)

Start by placing blueberries into a medium pot with 1/2 cup of water and maple. Place on medium heat and cook for about 8-10 minutes or until the blueberries pop to the touch and the liquid has reduced to a thin syrup. Remove from heat.

Grab cabbage and shred or cut into thin pieces. Also grab onion and cut into thin rings. Place into a bowl, add in a good pinch of salt and pepper and the vinegar and toss around. You can do this while the blueberries are cooking,

Now take the tossed cabbage and onion and dump into the pot of warm blueberries. Toss around unit everything is nice and purple and dump it all right back into the big bowl.

Cut orange in half and add the juice of one half. Take the other half and remove the peel and pith and cut remaining orange into small pieces.

Add orange and pistachios to the salad and toss. Season with more salt and pepper if needed and add a pinch or so of red pepper flakes.

Eat.

Can be serves warm or cool and left overs only taste better. Store in fridge in fridge for up to 5 days.

In salad, fruit Tags Blueberry Orange And Pistachio Cabbage Salad, vegan, plant based, salad, slaw, berries, pistachio, orange, fruit, vegetable, grain free, gluten free, dairy free, healthy
Comment

Butternut Squash and Apple Parfait

January 8, 2022 Colleen Stem
IMG_8611.jpg
IMG_8613.jpg

I have a thing for squash and apples. I roast them together all the time. It is a combination that I never get sick of. I go savory mostly but once in a while I’ll go the slightly sweeter route. This is one of those times. And I also opted to make it seem fancier then my average eating situation (eating with fingers of baking sheet) and added a few steps, and made parfaits out of them. (Parfaits are fancy right?) The result is amazing and maybe even more delicious then ever before. That’s saying something.

Basically what these parfaits consists of is layers of creamy pureed roasted butternut squash and slightly chunky cinnamon applesauce topped with oats and walnuts. That might not sound fancy or even that spectacular but you know when you underestimate something but once you experience it you are very much surprised by how fantastic it really is? Well if you are doubting me then that is what will happen here because this parfait situation even surprised me at how much I loved it.

So if you are in need of a breakfast, lunch, snack, or dessert that will satisfy all of your hunger needs then you should most definitely try this out. It is simple and easy to make, super healthy, can be made ahead or time, and looks cute. (Did I just call a parfait cute? Yes, yes I did.) And again, super freaking delicious of course.

Now to the parfaits!

The stuff. Butternut squash, a couple of big apples, old fashion oats, walnuts, maple syrup, cinnamon, and almond milk.

IMG_8540.jpg
IMG_8554.jpg
IMG_8567.jpg
IMG_8571.jpg

For the squash you need to roast it so do that. Place on a baking sheet and roast until tender. Once cooked transfer to a blender or jar (if using stick blender) , add in milk or water and blend until smooth. Add in maple to taste.

IMG_8544.jpg
IMG_8548.jpg
IMG_8556.jpg
IMG_8584.jpg

For apples. Core and chop apples into small pieces and place into a pot with water. Cook on medium heat until apples completely break down. Then either transfer to a blender or use as stick blender and blend until slightly smooth but still a bit chunky. Stir in some cinnamon.

And toast up the oats and walnuts, in the oven, just for 5-8 minutes.

Now assemble. You can do this while the stuff is still warm or wait until it is cold. Delicious either way.

So basically all you do is layer a bit of the squash and then apple a few times in a bowl or jar then top with toasted oats and walnuts. Simple as that.

Ans then you eat it. Or wait and eat it later. Or do what I did and assemble a few jars for the week but then eat all of them in one day. I couldn't stop myself. It was just too freaking good.

-C


Butternut Squash and Apple parfait

makes 2-3 parfaits

  • 3 cups cubed butternut squash

  • 2 large apples (I used Macs)

  • 1/2-3/4 cups plant milk (or water)

  • 1-2 teaspoons maple syrup (optional)

  • 1-2 teaspoon cinnamon

  • 1/2 cup old fashion oats

  • 1/4 cup walnut pieces

  • 1/2 cup water

Preheat oven to 425.

Place cubed squash on a lined baking sheet and stick into hot oven and roast until fork tender.

While squash is roasting grab apples, cut and remove core and seeds, chop into smaller pieces and place into a pot with enough water to submerge the apple. Place on medium heat, stirring every few minutes, and cook until the apple starts to break down. If the water evaporates, add in more. When apples are soft and falling apart remove from heat and let cool a few minutes then either transfer to a blender or using a stick blender, blend until less chunky, but not completely smooth. You could also just smash it use with a fork. Add in a teaspoon or so of cinnamon and mix.

Once squash is roasted , remove from a pan and place either in a blender, or a jar or bowl if using a hand blender, add in 1/2 cup milk or water, and blend until smooth. If it seems really thick still, add in more liquid. Also add in maple to taste.

While oven is still hot, place oats and walnuts on baking sheet and place in oven for 5-8 minutes or unit walnuts and oats are toasted.

To assemble parfaits grab a bowl or jar and layer in a bit of squash then apple a few times. Top with some toasted oats and walnuts and sprinkle with more cinnamon and drizzle more maple if you want.

Eat warm or cold. Store left overs in fridge for up to a week.

Tags Butternut Squash and Apple Parfait, fruit, squash, walnuts, oats, apples, plant based, dairy free, vega, sugat free, sugar free, healthy, snack, easy, simple, dessert, make ahead, breakfast, gluten free, food
Comment
← Newer Posts Older Posts →
 

https://thelovelycrazy.squarespace.com/config#/|/about/

Me. Food Maker.Food eater. Woo HOO!

STEM+NODE  SMALL BATCH AND ONE OF A KIND POTTERY

stem+node ceramics


____________________

Subscribe

GET NEW POSTS IN YO EMAIL

You are AWESOME!!!


@thelovelycrazy 2014-2021