It's melon season! The past few farm shares have included at least 2,, if not 4, watermelons and cantaloupes... Can you imagine. eating 4 watermelons a week? That's a tall order, even for someone like me who could probably eat a whole watermelon in one sitting, it's just doing it 4 times a week might be a problem. It's a whole lot of melon and not enough stomach, you know what I mean?
So what do I do with so much melon? Well first off, whenever anyone comes over I try to get them to eat as much of it as they can, which helps a great deal. Secondly, I cut it up and freeze some. But here is the thing, I love eating chunks of frozen cantaloupe, but frozen watermelon, never been my favorite so I usually just pass on sticking in the freezer, until now.
There is something magical that happens when you stick the frozen watermelon and cantaloupe together into a blender and making it into a slushy. It's like eating a ray of sunshine or maybe even a rainbow, just really satisfying and juicy, and sweet but not overly sweet, and just really freaking good. Especially with all the stupid hot and humid weather we have had lately, these slushies have really been hitting the spot. Even the mr who says he dislikes watermelon was all into these melon slushies. (he likes things that he says he doesn't like all the time. I am pretty sure he is taste confused) Like he was really into them. Usually I have to prompt him to tell me how something tastes, but not the slushy, he told me right away how good it was. I was like, I know dude, I just drank 2 of them myself. And I could have drank 2 more but I was trying to not get tot far ahead of myself. Moderation is key, plus I didn't;t have any more of the melons frozen. Time to restock the freezer.
Go make yourself a slushy, it's juicy deliciousness will make you happy.

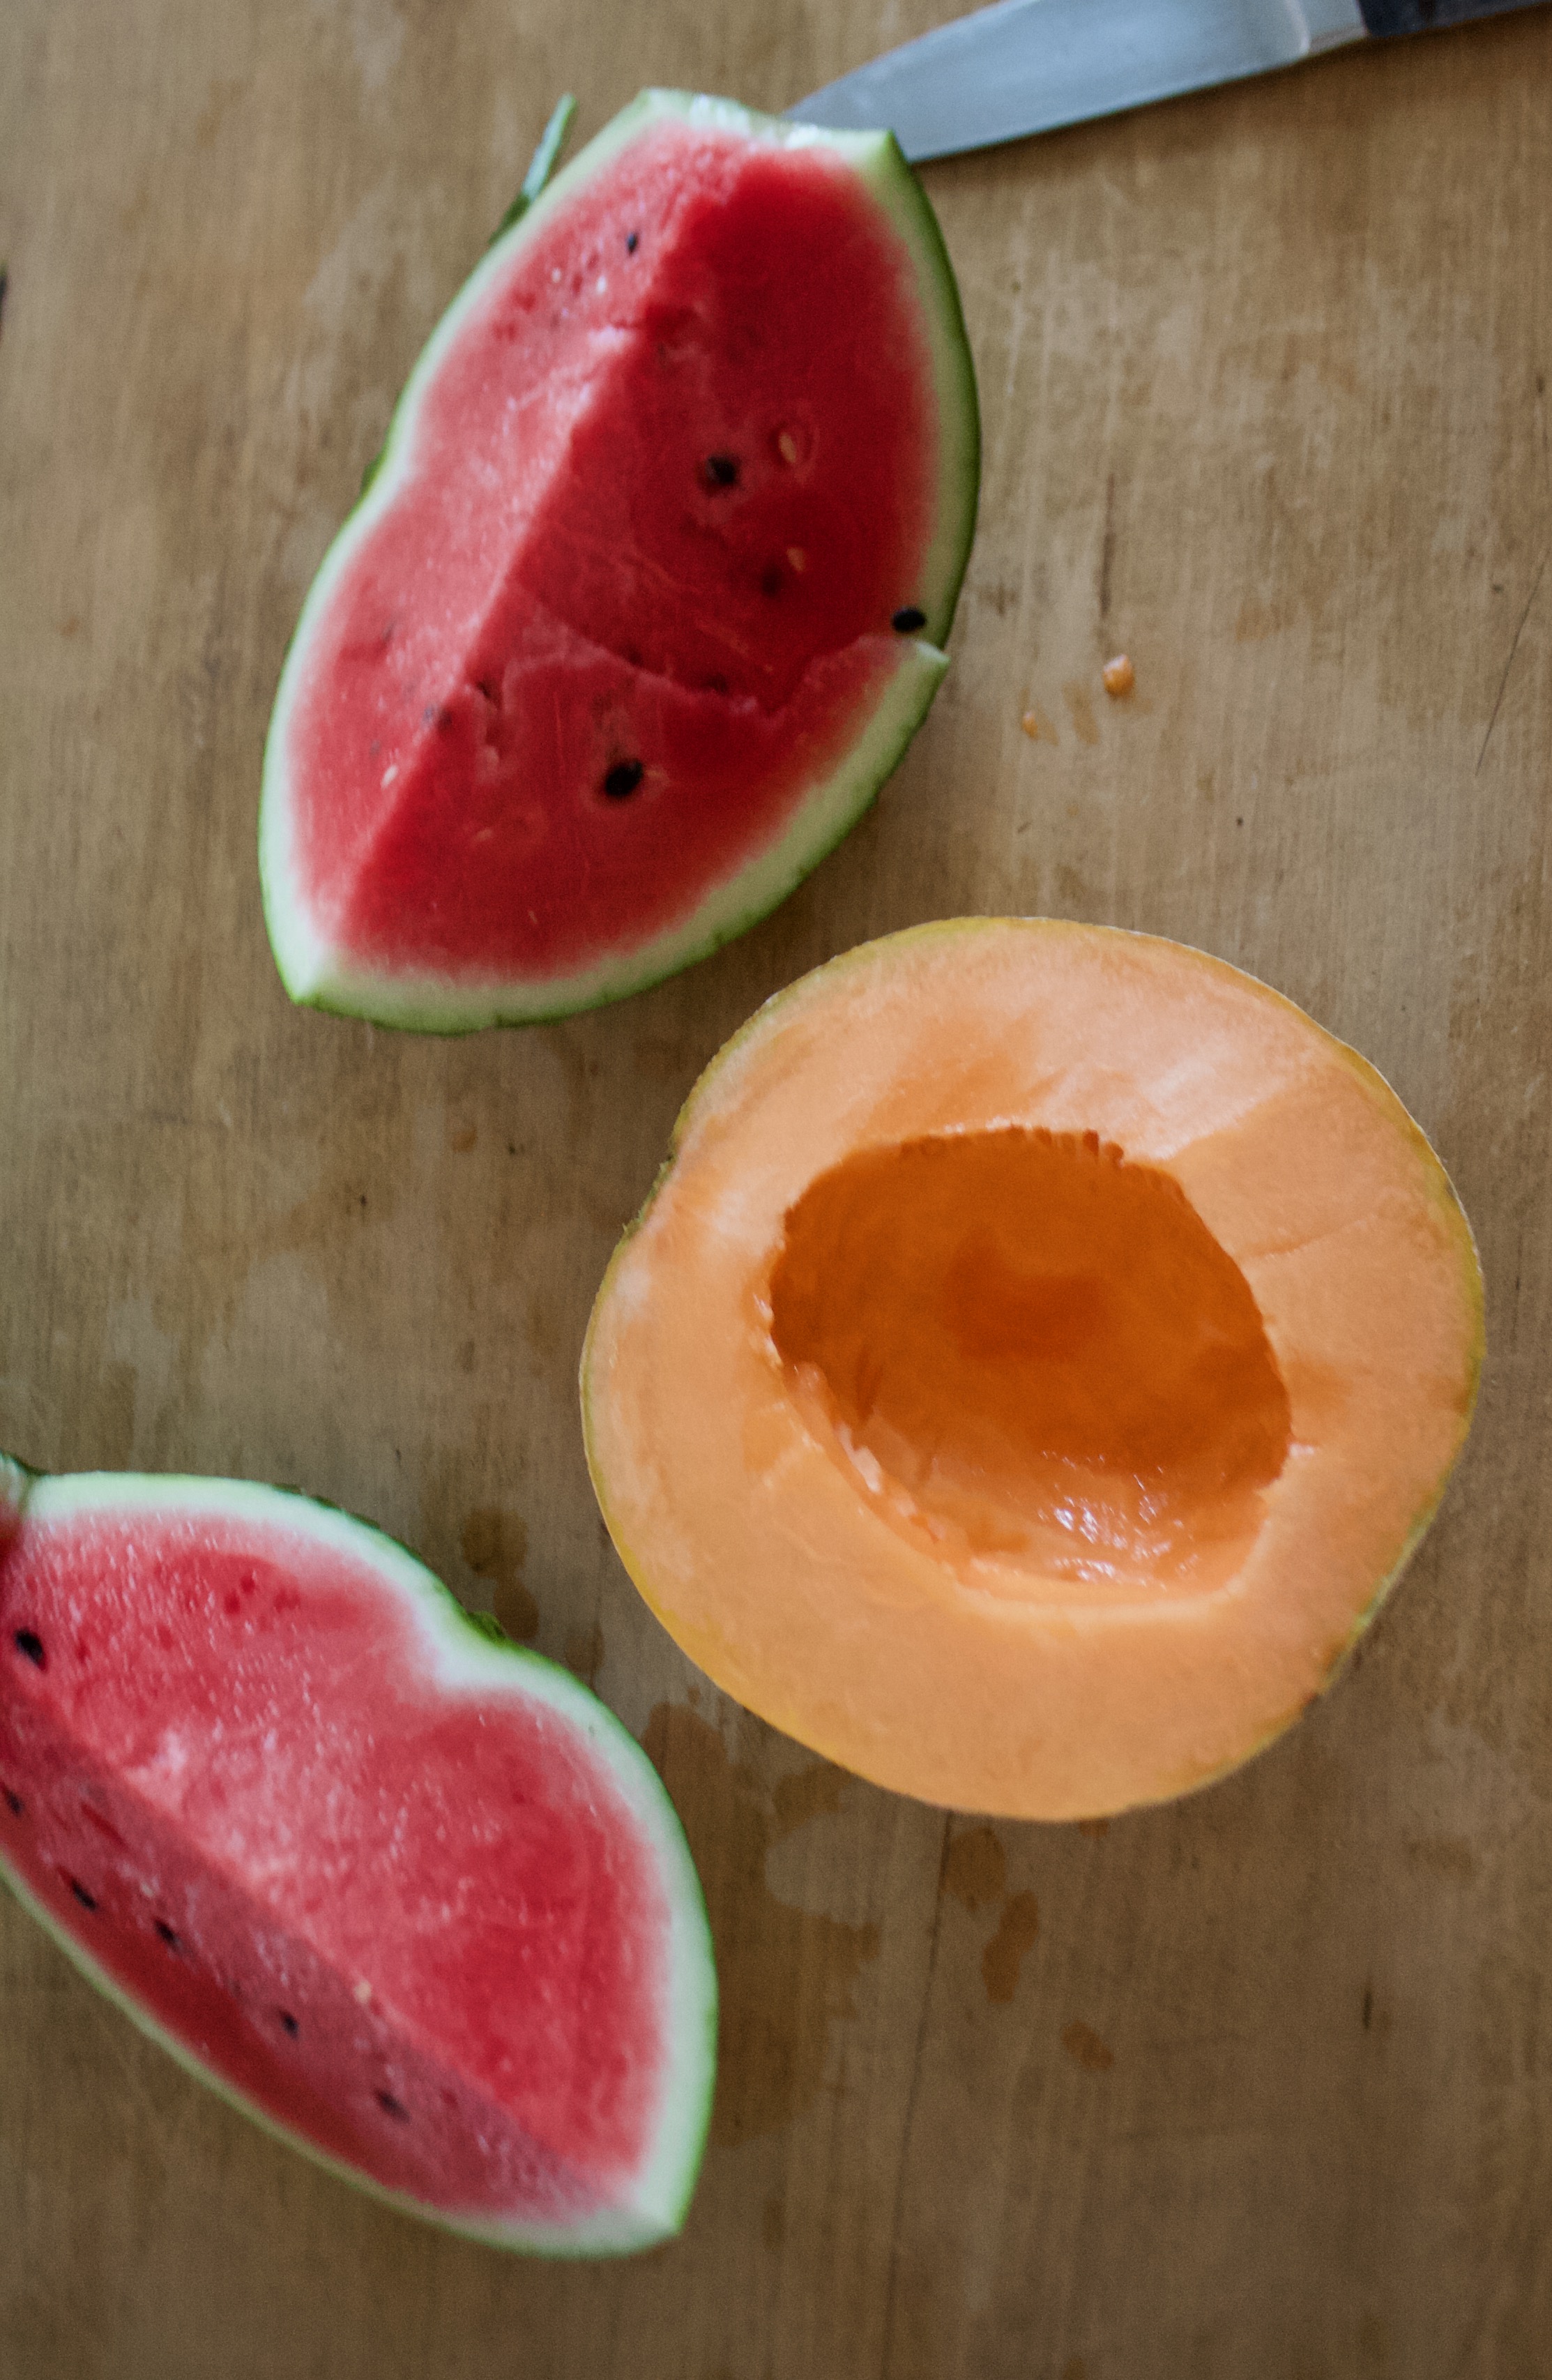
The stuff. Watermelon and cantaloupe. There should be a lime in there too but it must have rolled away....
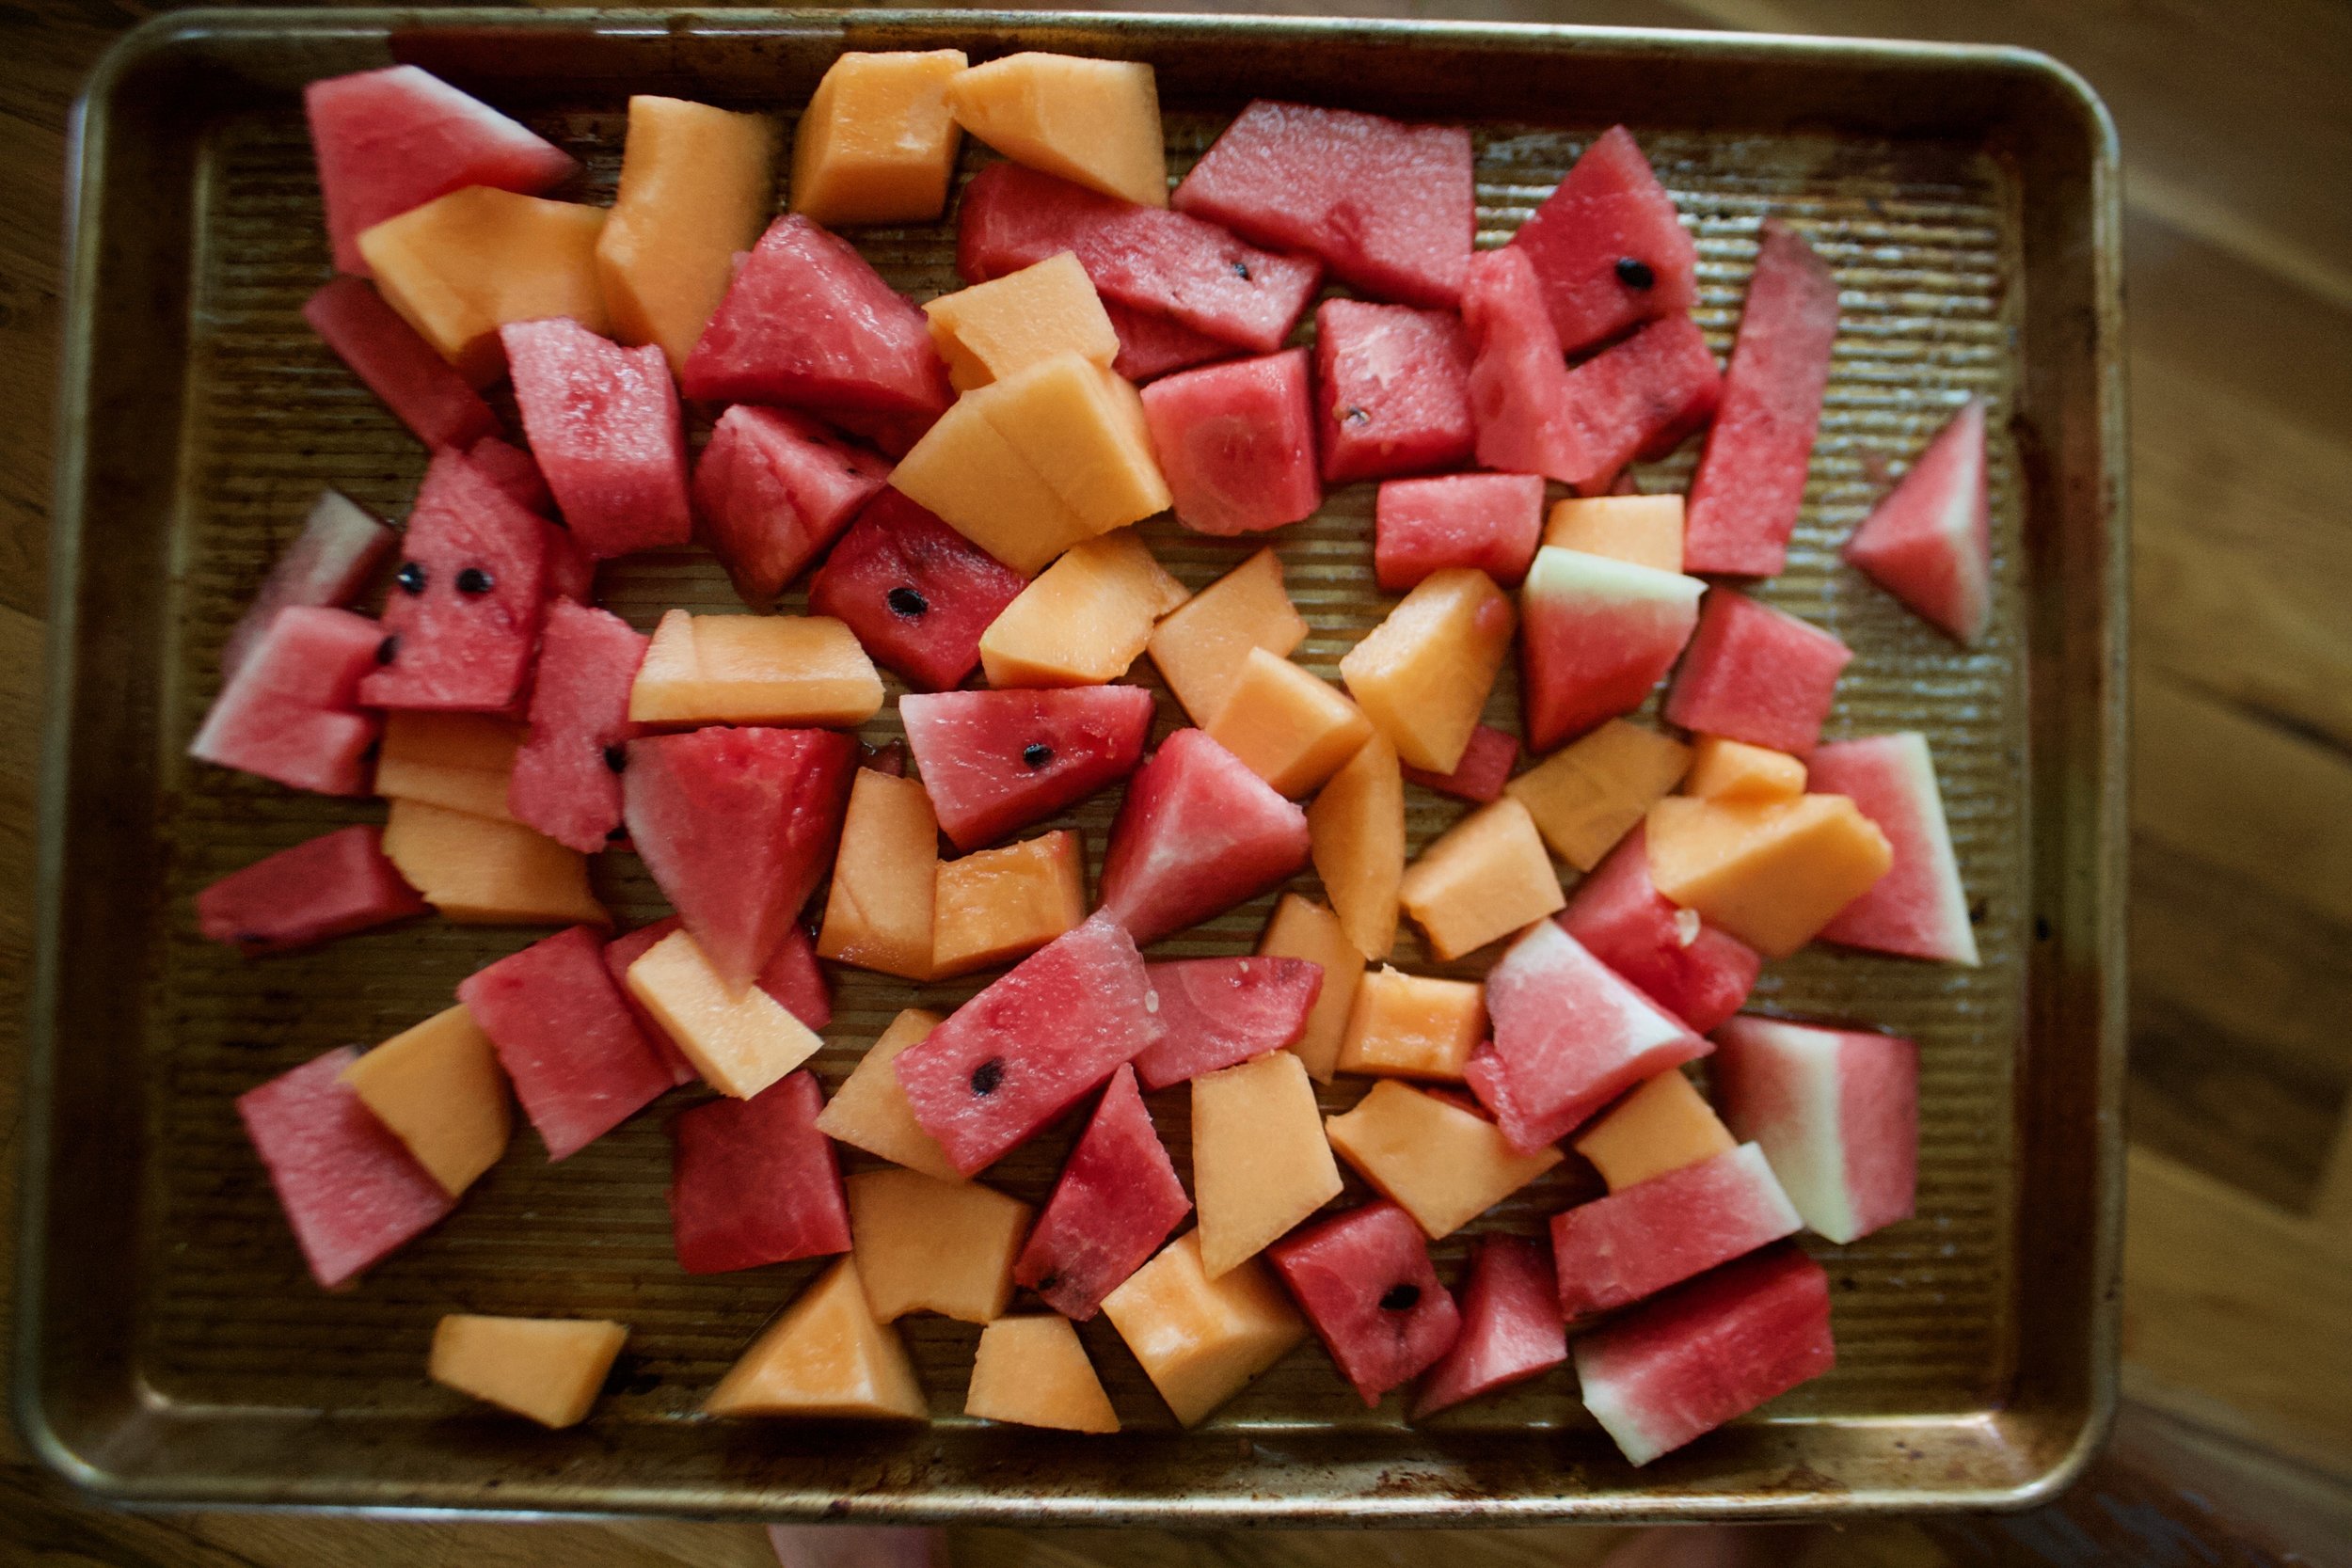
Chop some of each of the melon up, remove the rinds, and place on a big baking sheet and stick into the freezer until frozen. You can do as little as 2 cups of each or as much as a whole melon, it's up to you. (I suggest freezing extra)

Frozen melon. And now you can slushy.
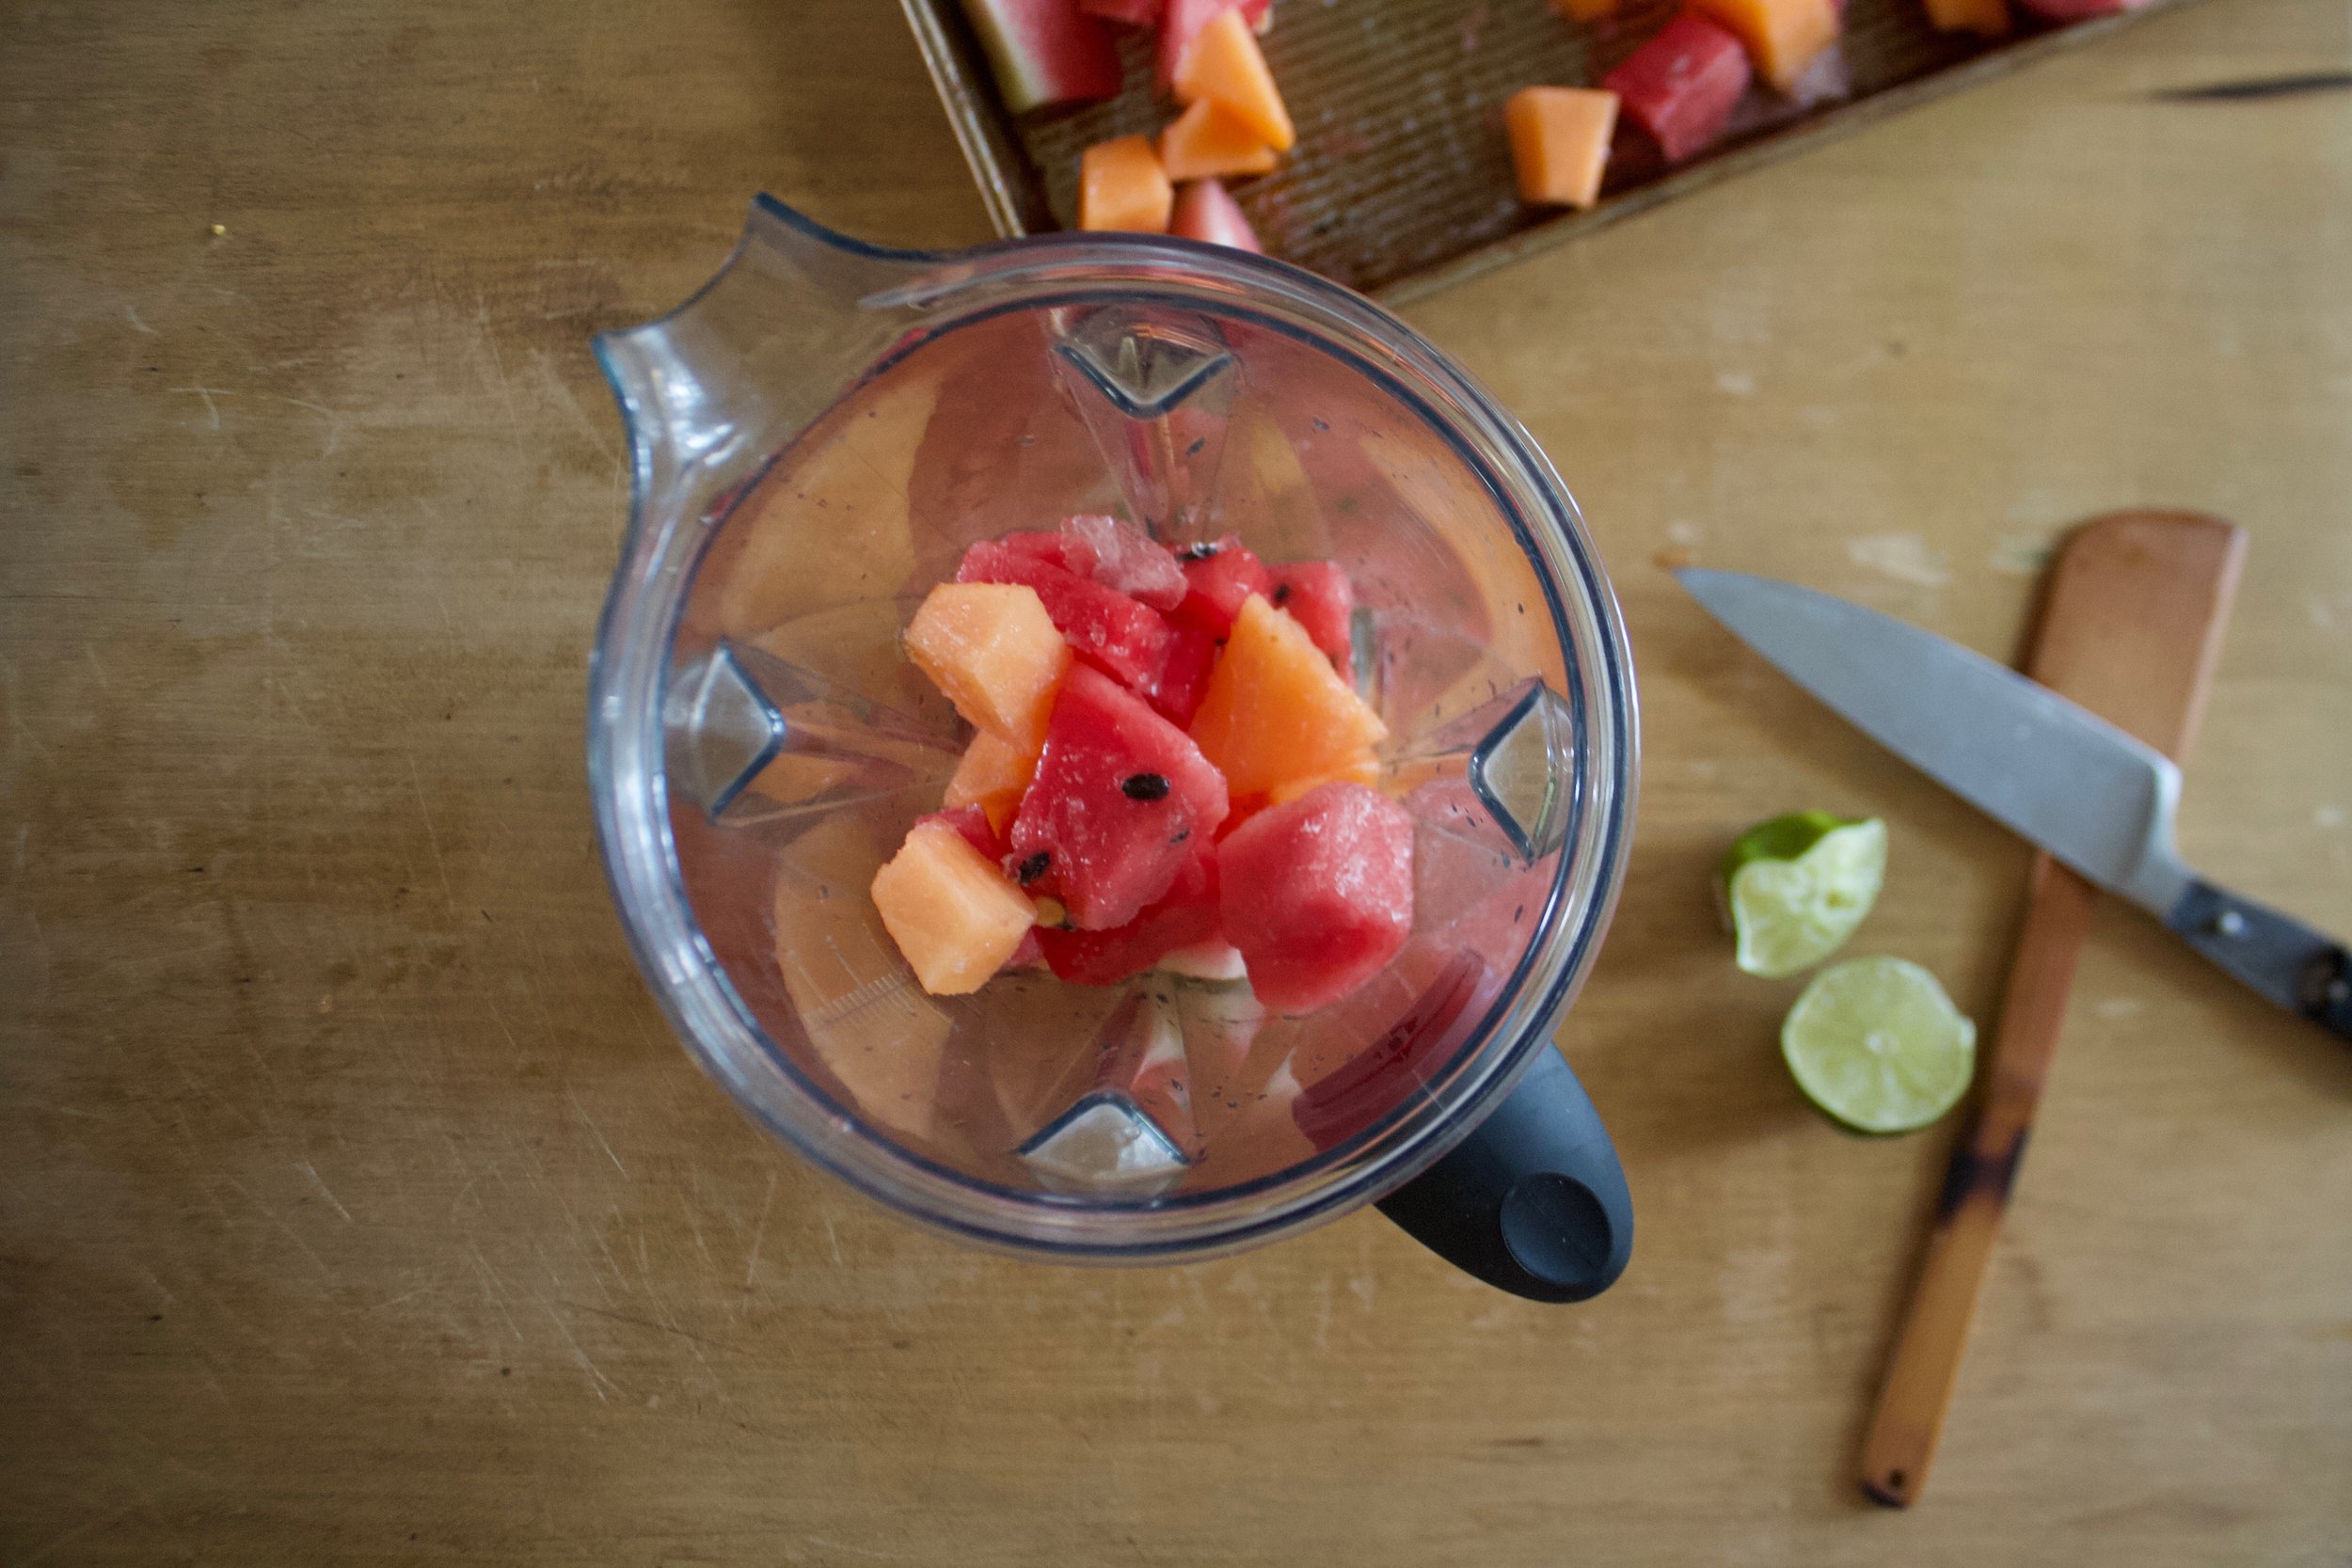
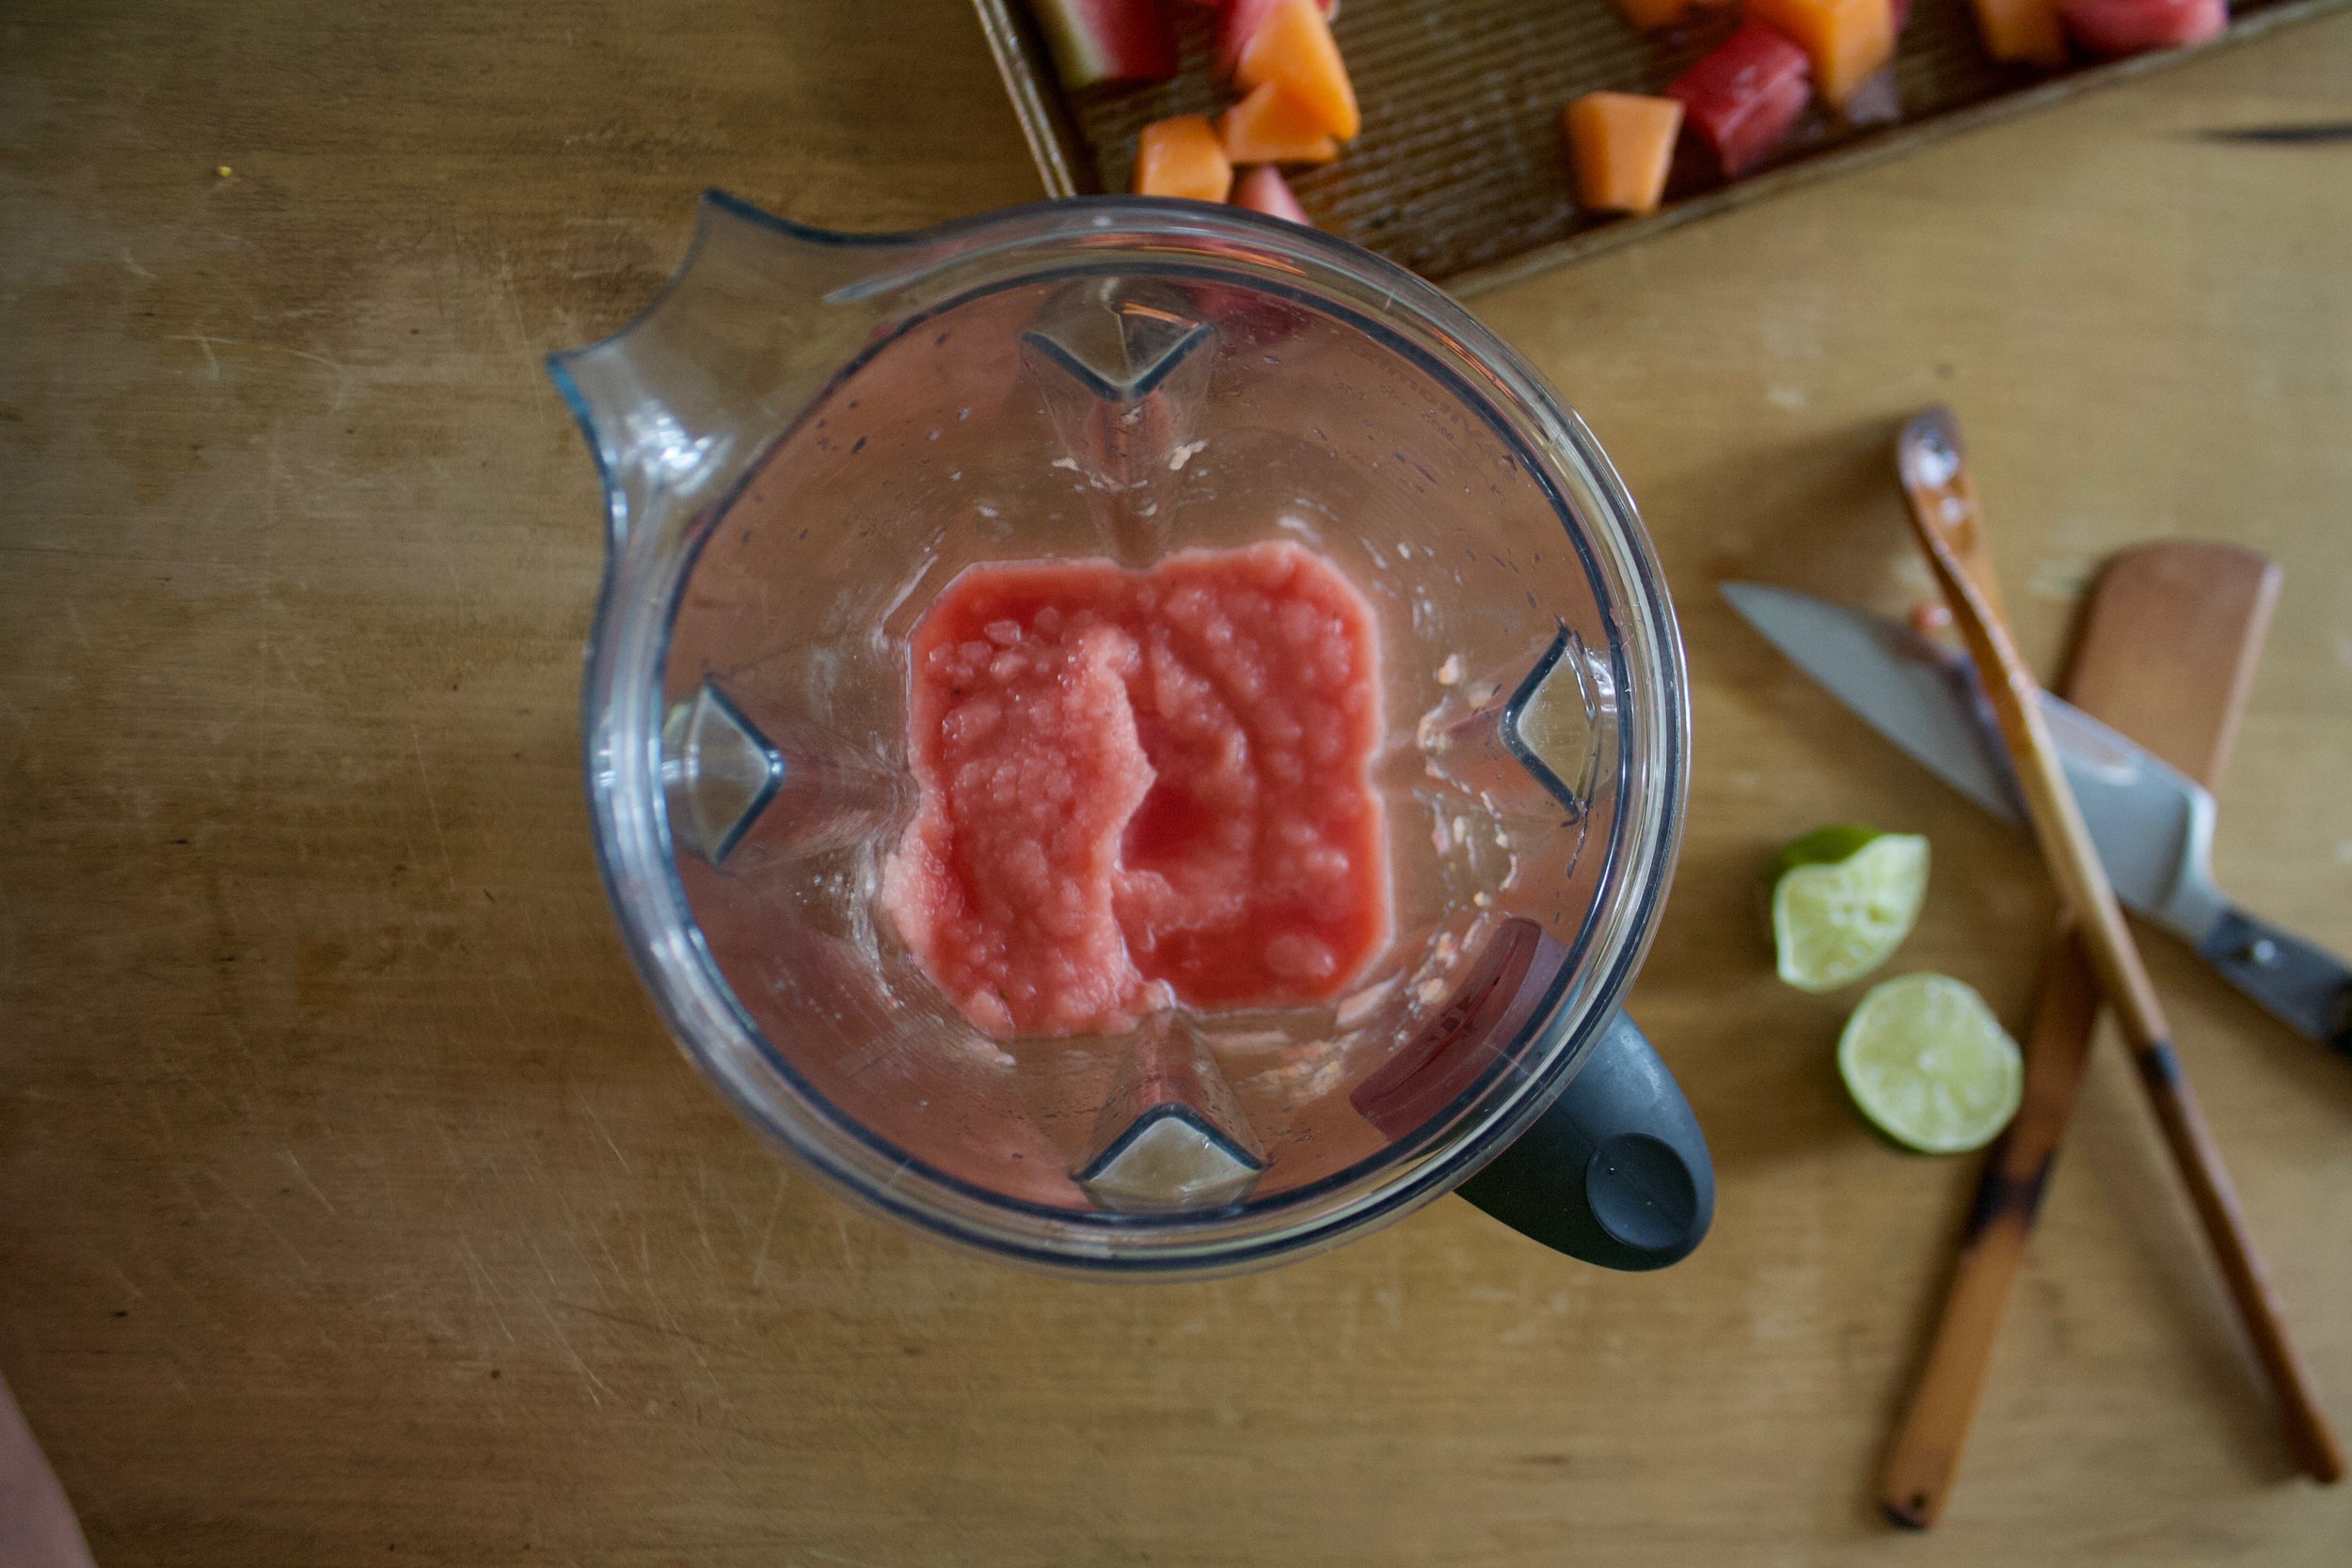
Equal parts watermelon and cantaloupe go into blender, along with the juice of half (or more to taste) a lime and you are probably going to need to add about 1/2 a cup of water, to help the blender blend it all together. And that's it. You blend until it's all slushy.

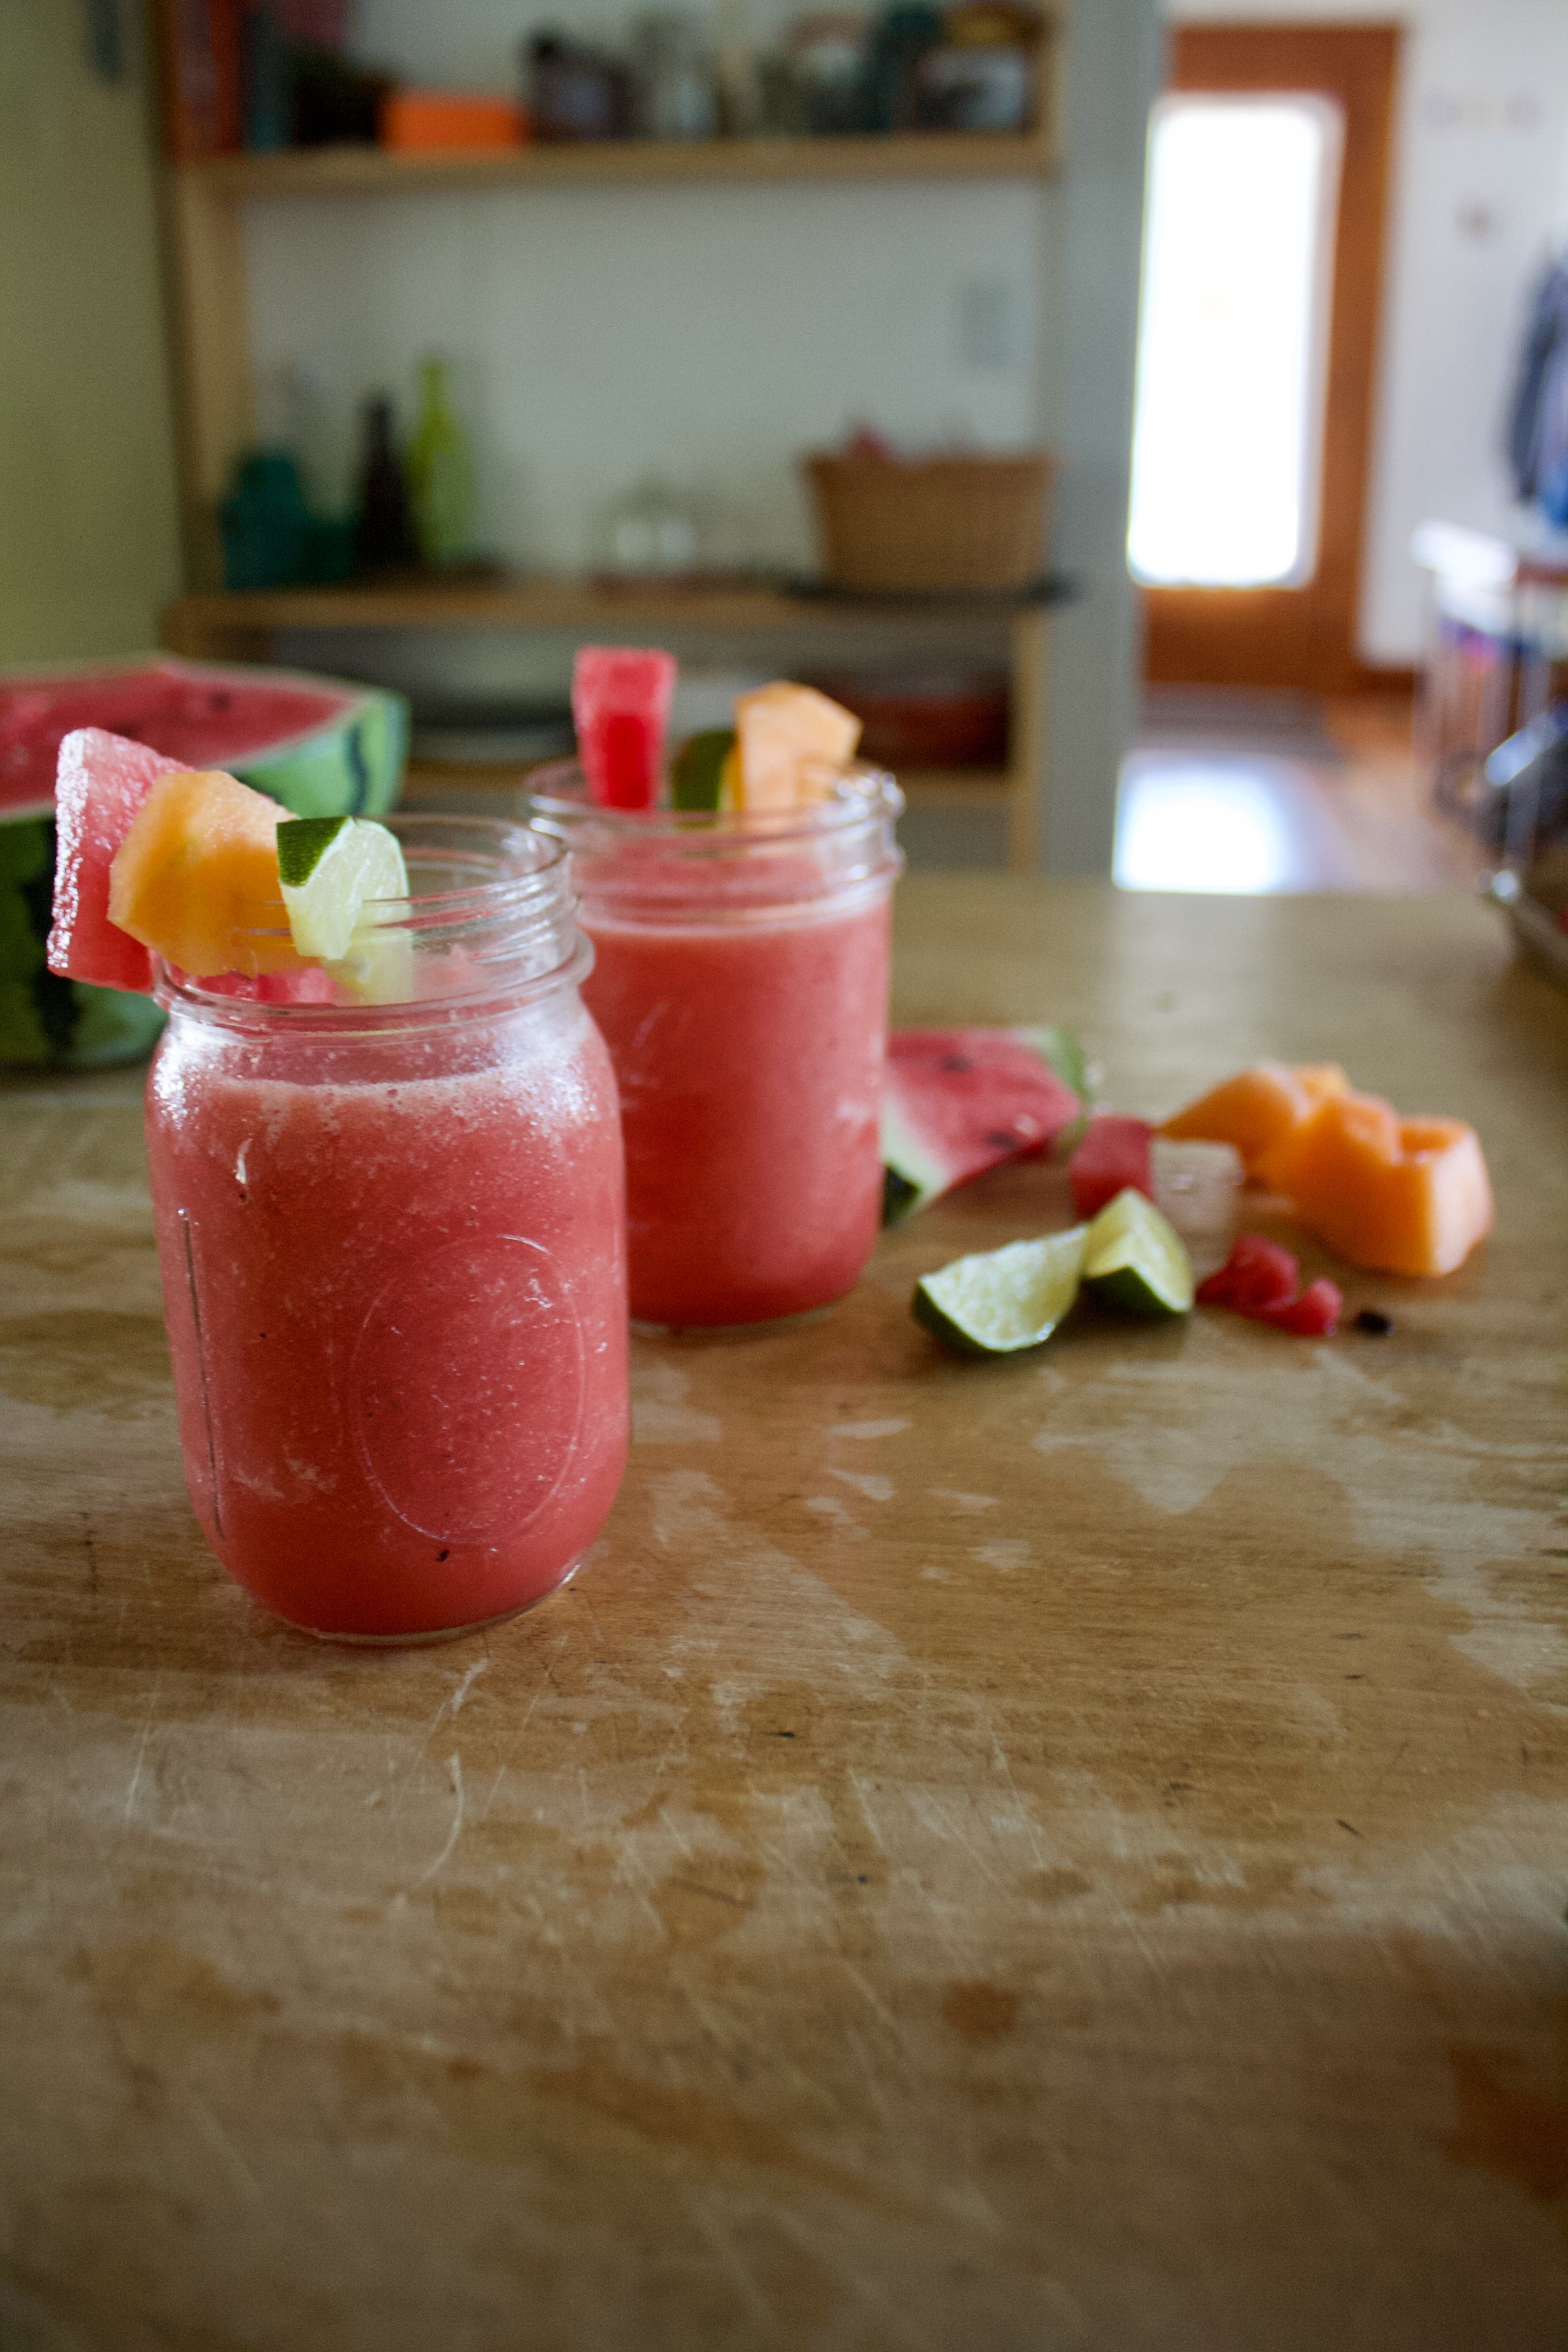
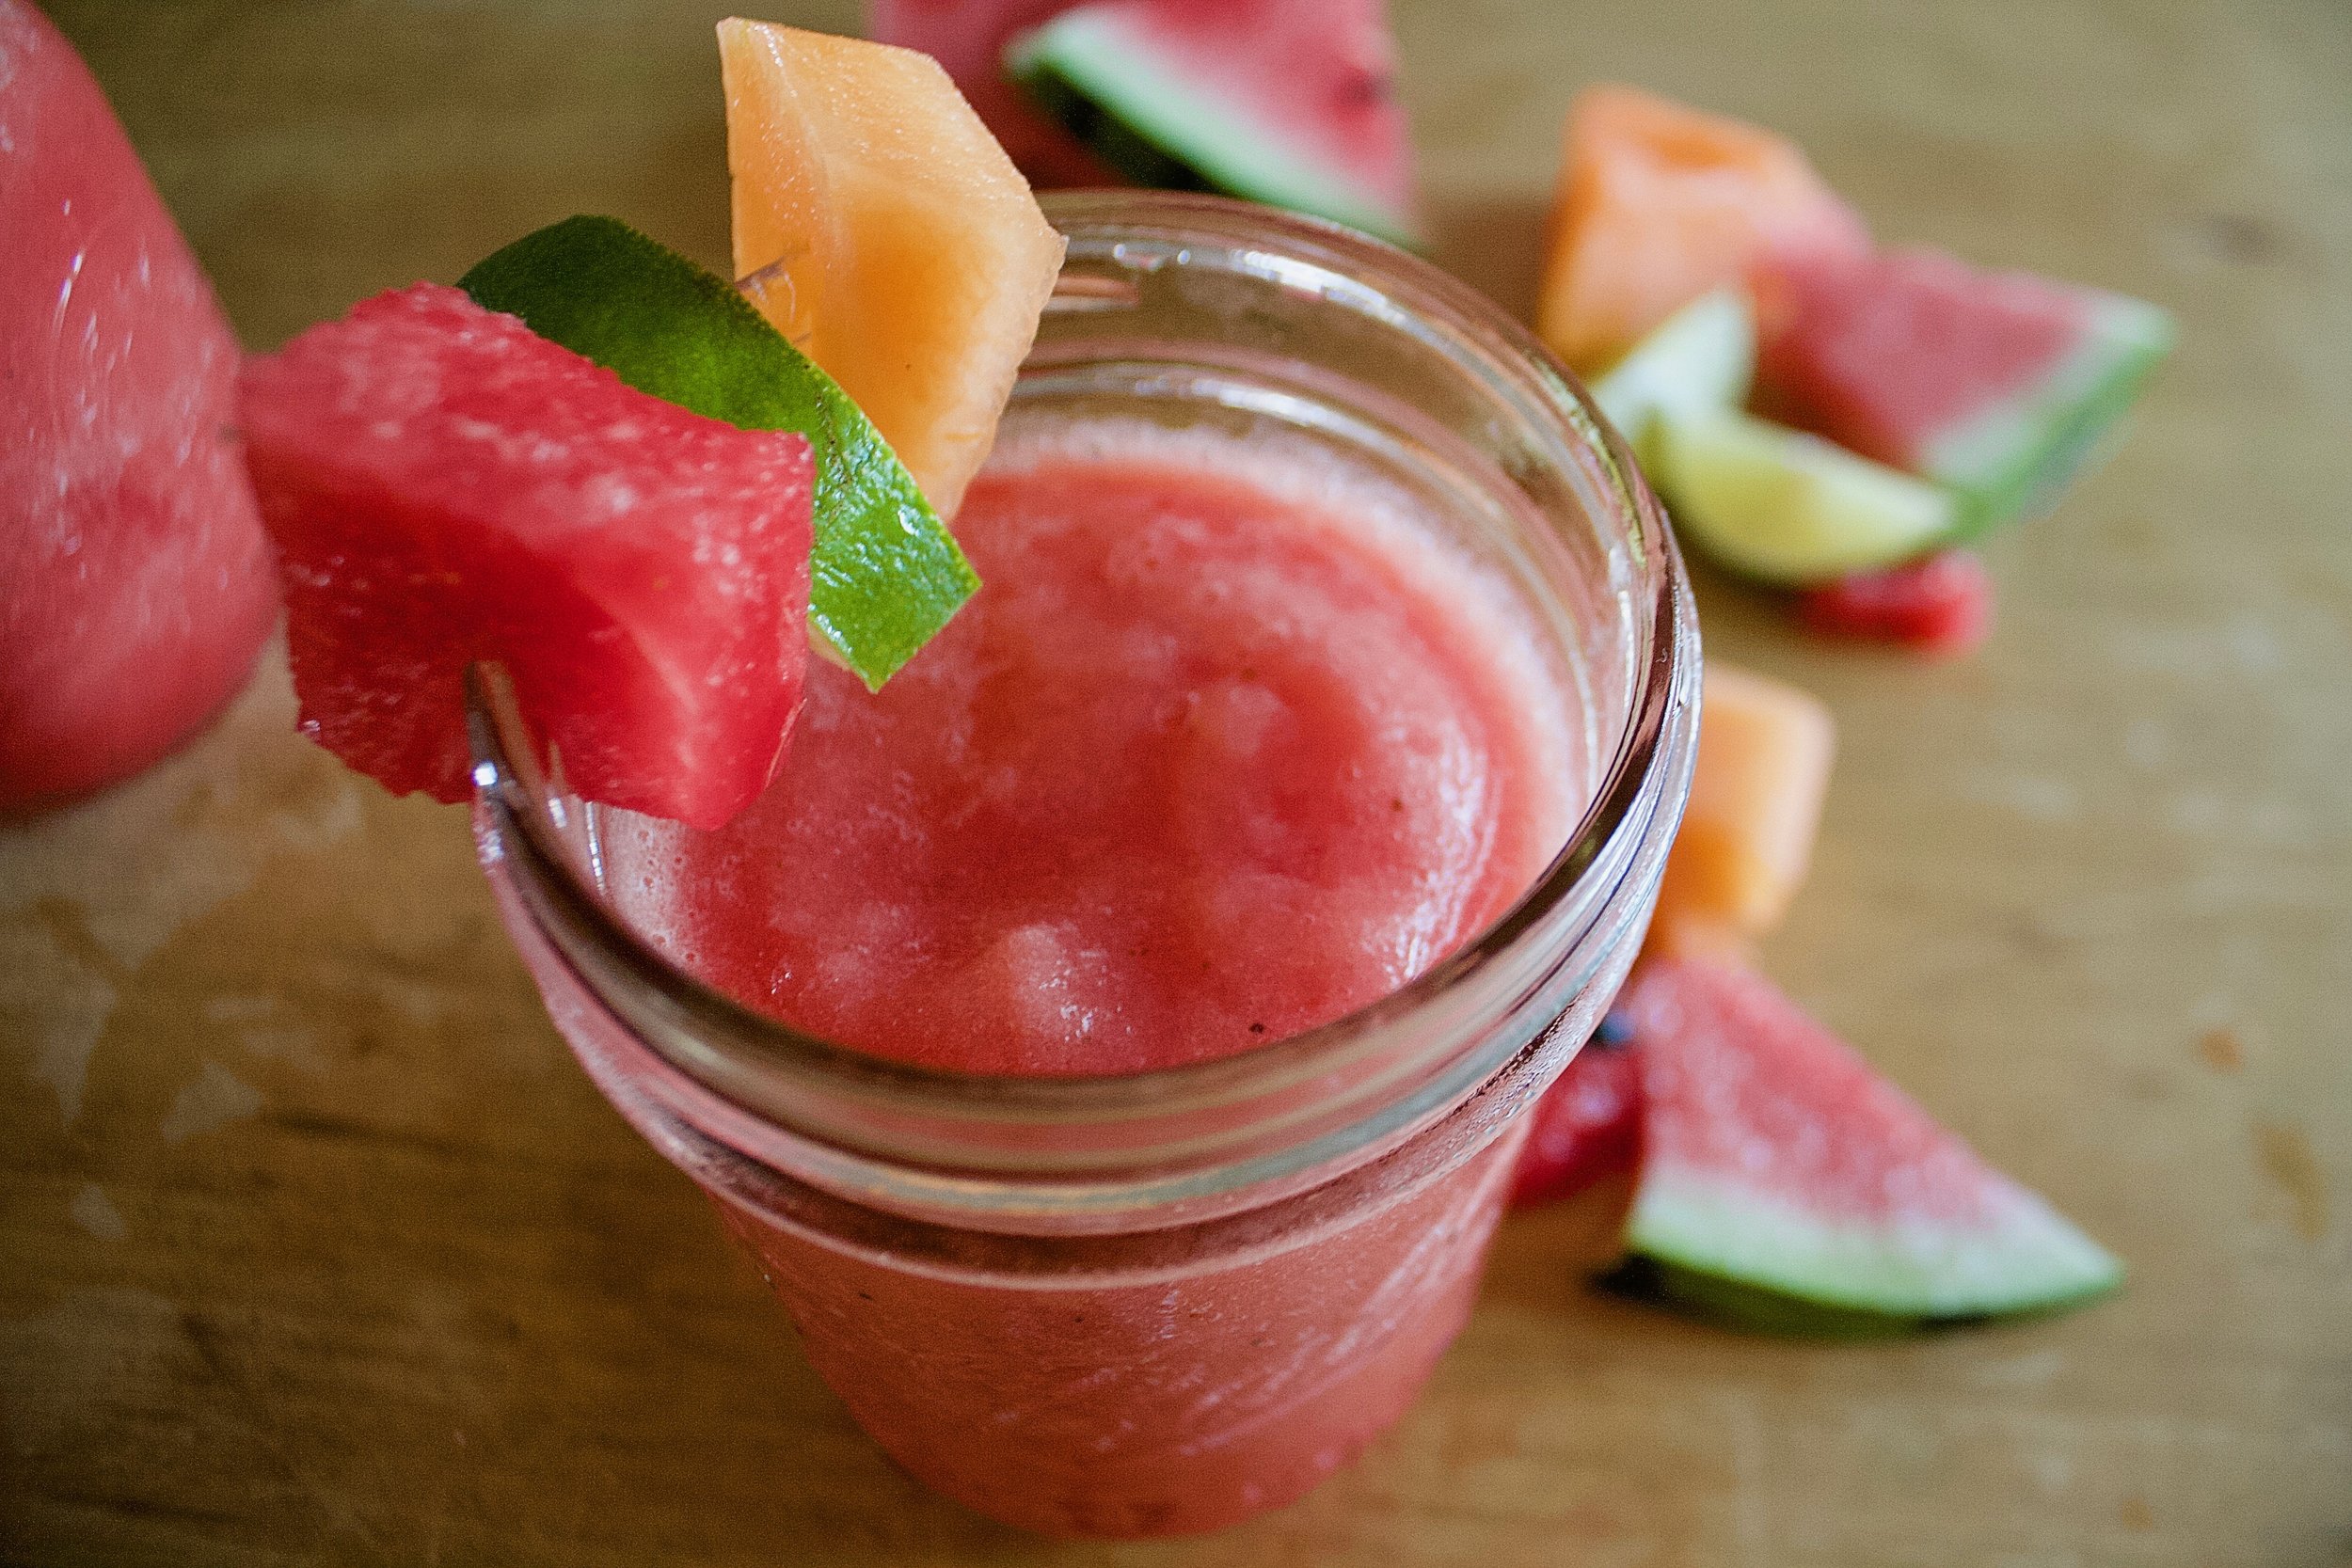
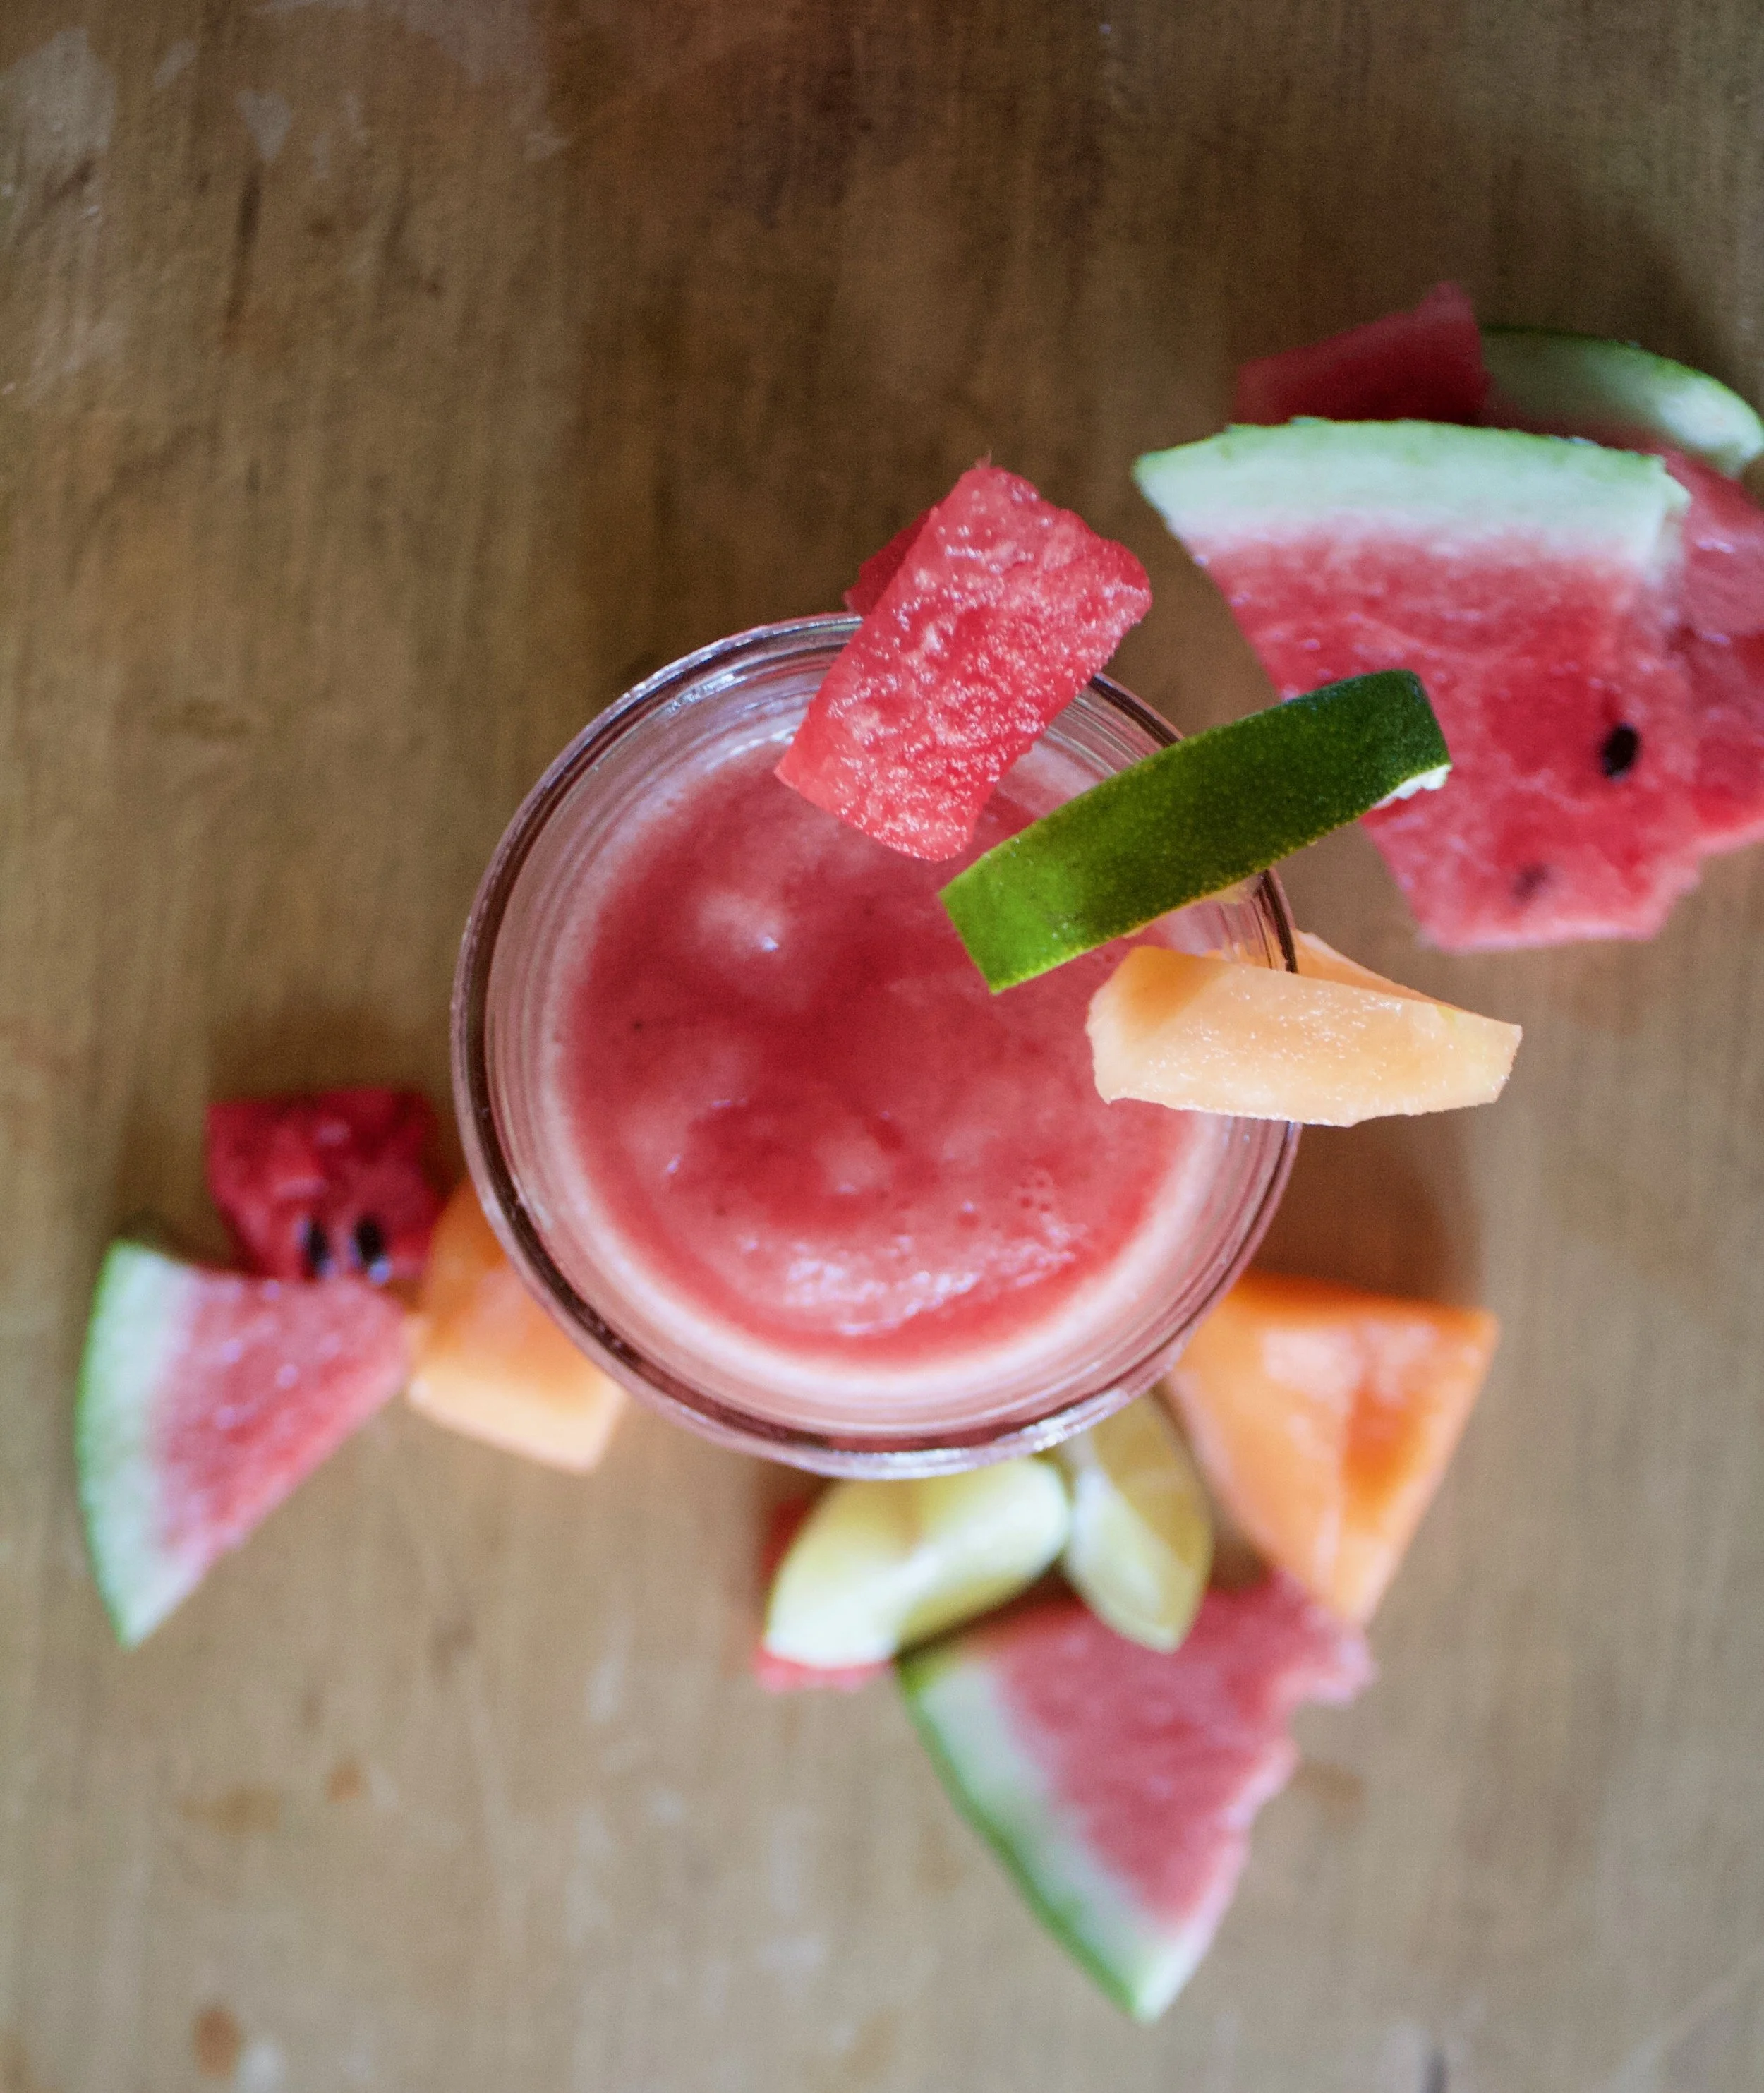
Pour into cups, garnish with a lime and/or little chunks of melon and you are good as golden.
From now on, or until summer is over and I run out of melon, I will be keeping the freezer stocked, especially because I know that the next few weeks are suppose to be stupid hot again.
Waterloupe slushies. Summertime goodness.
-C
Waterloupe (Watermelon And Cantaloupe) Slushies
- about 2 cups of a watermelon
- about 2 cups of a cantaloupe
- 1 lime
- 1/2- 1 cup water
Note. The amounts above are for two 2 cup slushies. You can, and should, freeze a crap load more melon for future slushies. Also, no one would fault you for maybe adding a little nip of some clear alcohol to this slushy situation to make it more of an adult drink......
Cut up a watermelon and a cantalopjue. Eat some and reserve at least 2 cups of each. Remove the rinds from the melons and cut into cubes. Place melon on a baking sheet and stick into the freezer until frozen.
Once frozen, place equal parts frozen watermelon and cantaloupe into the blender with the juice of a lime. Turn blender on. Slowly add in water until the blender can handle blending the frozen fruit. Blend until smooth. Pour into cups, garnish if you want with more melon and lime, then get to drinking.

 The stuff you will need. Washed and drained fresh grapes (green or red. I usually use red but the green were half the price and the red ones didn't taste very grapie*) Creamy peanut butter, skewers, and a little bit of cinnamon or cocoa powder (optional)
 When the grapes are frozen, melt peanut butter. Take a big glob and stick in a tall skinny cup or bowl and stick in the microwave or heat in a sauce pan and then transfer to a tall skinny vessel. Take frozen skewed grapes and, one skewer at a time, dip in the peanut butter. Cover with as much or as little of the peanut butter as you want and place on wax paper. If you are feeling feisty, add a sprinkle or cinnamon or even a dash of cocoa powder. Or, this may seem a little crazy, but garlic powder is so F*ing good.(it's worth at least giving it a try) When all grapes are dipped, place back into freezer for another 10 minutes or so to let the peanut butter set up a bit.
 Whenever your ready… Eat. And be so happy. And always keep a back stock of frozen grapes in the freezer. They are the best.
 There is irish soda bread in your future. I can see it. A nice hardy hunk slathered in butter and honey, crumbs all over the place.
  White whole wheat flour and all purpose flour mixed together. Salt baking soda and buttermilk. That's it.
 All the dry whisked together and in goes the buttermilk. Mix together until dough starts to form then dump onto a floured surface. Handling dough as little as possible, knead into ball.
 Place on a baking sheet and dust with flour. Take a sharp knife and cut an X through the top about 1/2 inch deep.