
I love me a good tree, pretty much any tree, real or fake. And come December, my house if full of different little trees, of all sizes, shapes and colors. It's my holiday thing because really, there is nothing better then a tree.
And yeah, I was feeling crafty, and maybe a little bit sad that there is no snow around here. And we still hadn't gotten our real tree yet (but we just got it!) so I wanted to make some more little trees to make me feel better, and this time I wanted them to light up. I was also thinking that it might be nice to bring a few little tree decorations over to the new house so I have happy little trees over there while we are working. So yeah, I needed some more little trees. And I figure you do too, that's why I am sharing this.
This is a great project to do with a few littles (they make the trees, you use the hot glue and sharp blade) or make while baking bread and watching a festive movie. You could even make and share with a loved one as a sweet little gift. And best part...it doesn't need to be packed away after the holidays because trees are not just for Christmas. These are pretty little winter trees, for everyone who is awesome and likes a tree to enjoy all winter long!(even if winter hasn't come yet)

The stuff you will need
- A piece of cardboard about 12x16 (I used an old pizza box I found in the recycling)
- assorted paper of size an color
- white tissue paper (optional)
- a strand of 20 lights (colored or white)
- a ruler
- scissors
- hot glue gun
- glue stick
- tape
- pencil
- xacto knife
Note. If you have an empty shallow box that is a good size for you, just use that. And hot glue works best, bt can be subed out with any glue, or tape for that matter (if you don't mind seeing tape on your trees)

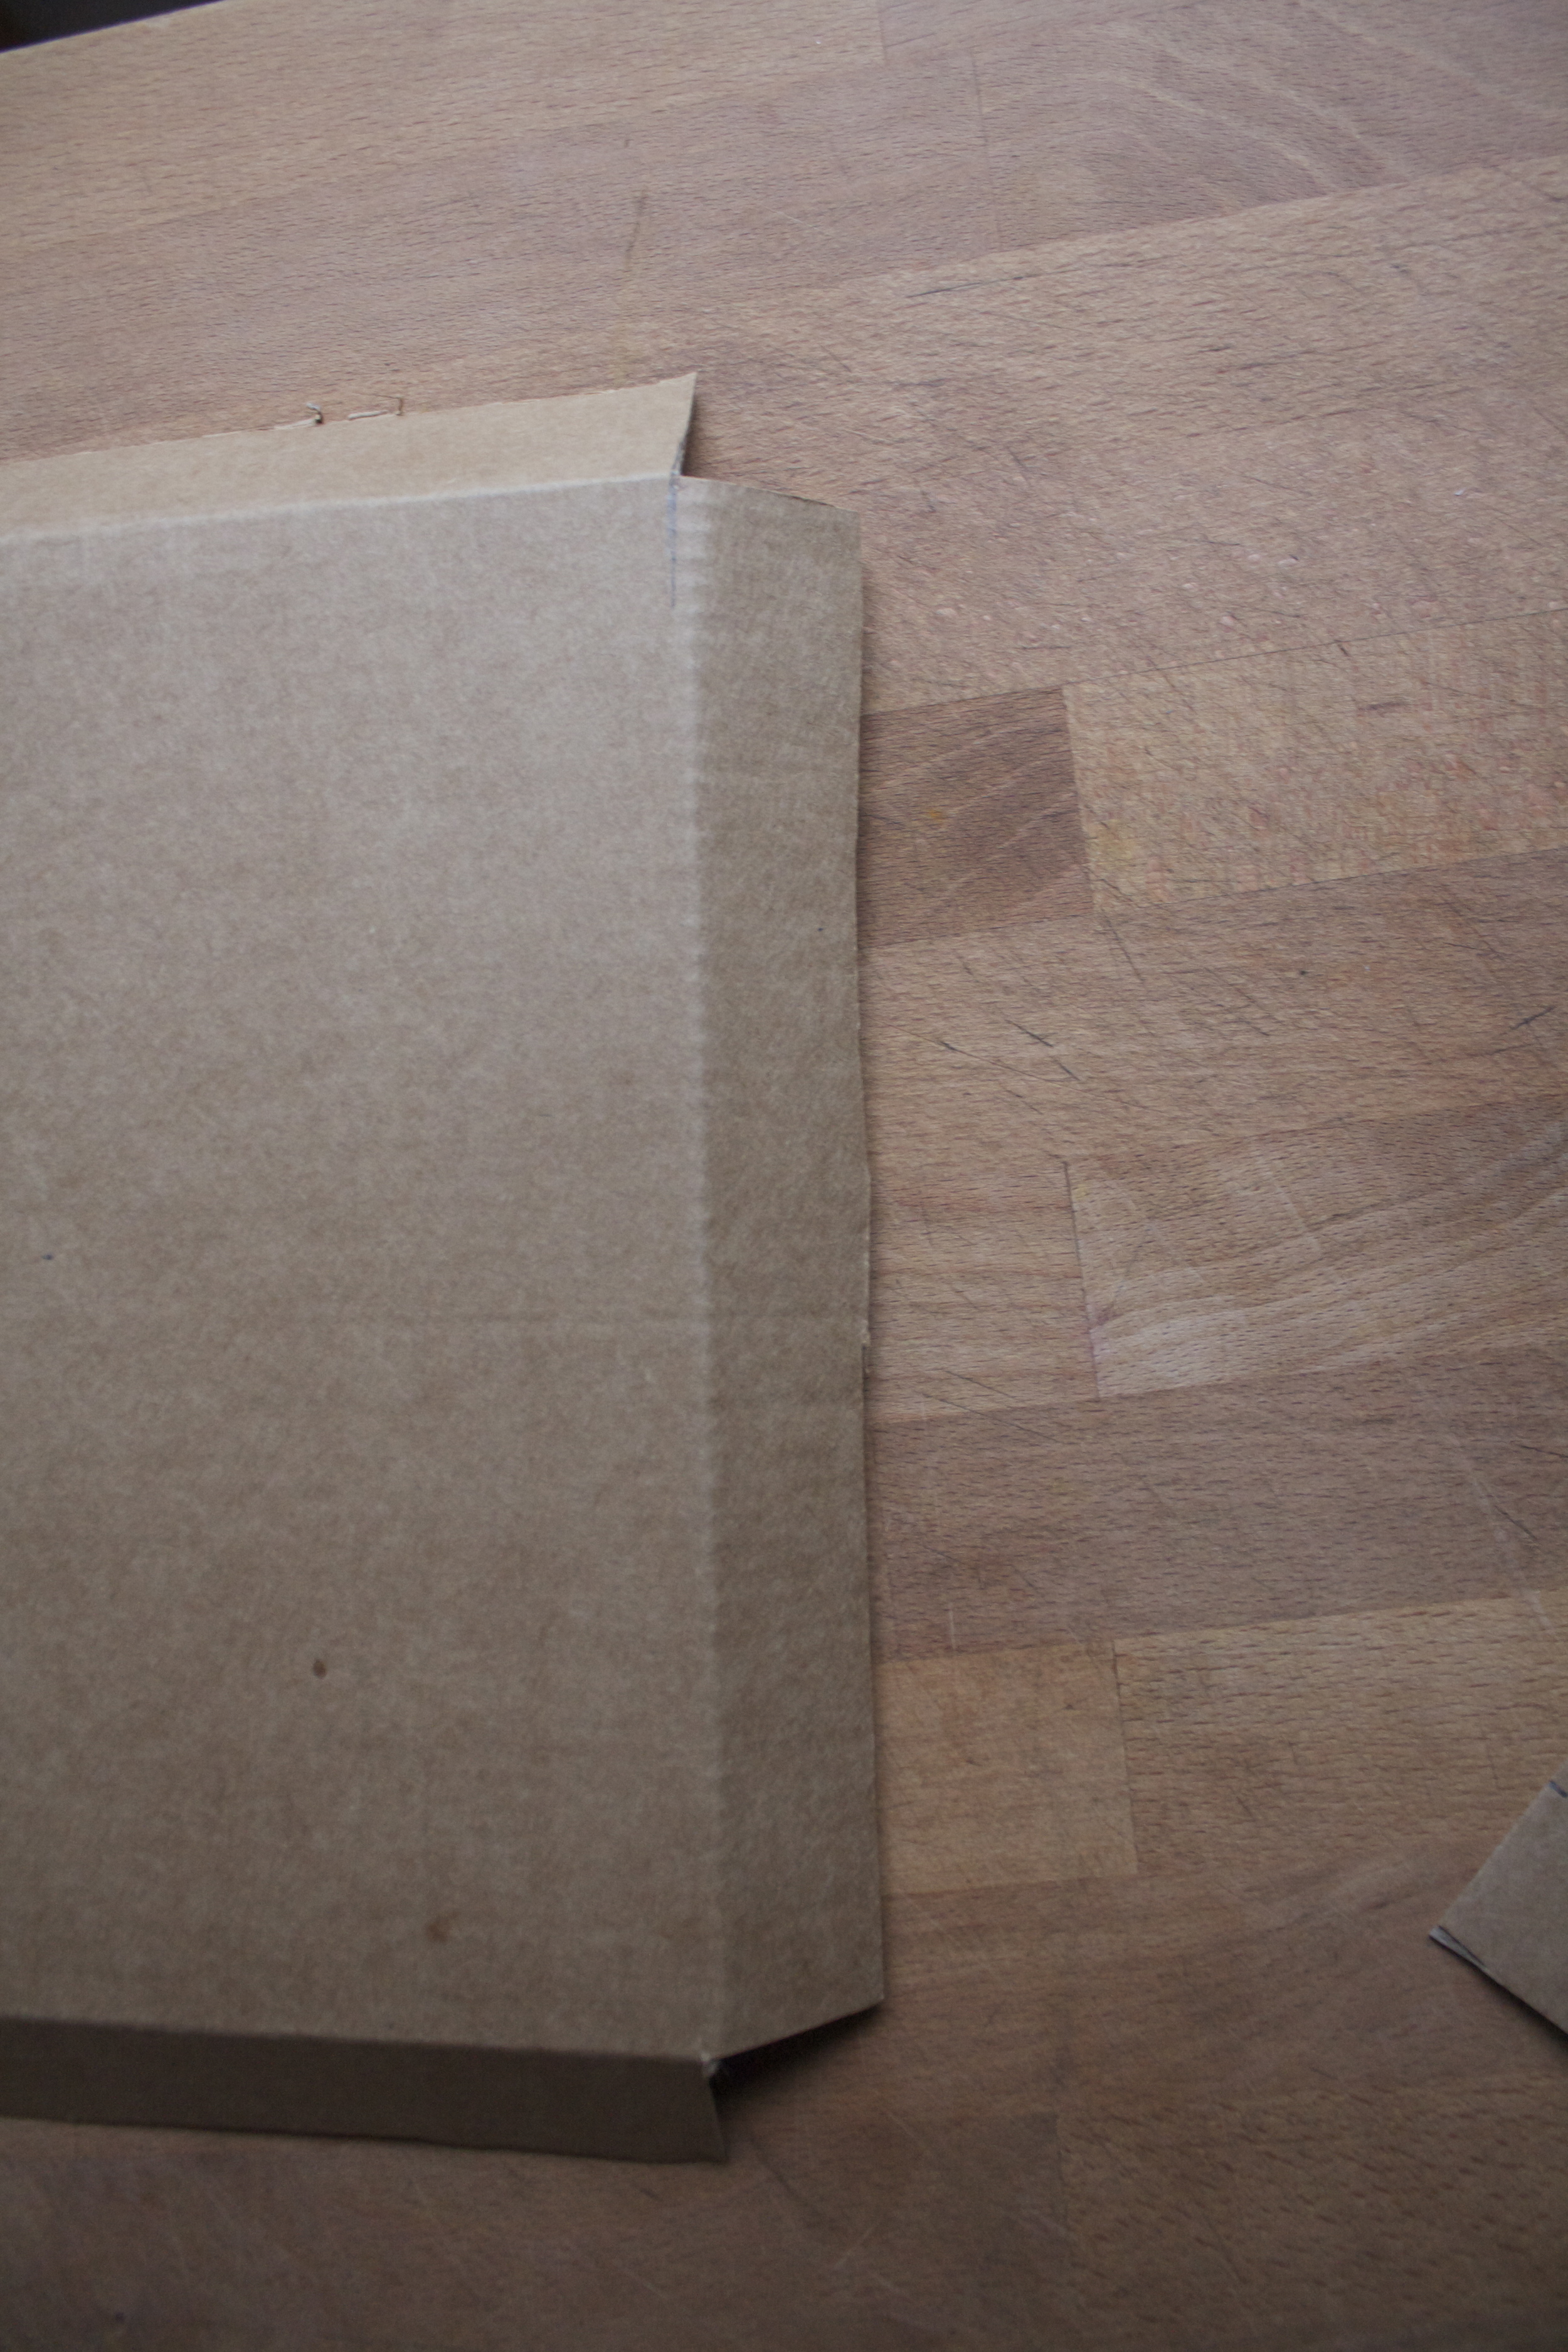
Start with making the cardboard box base. Measure each corner in 1 inch and cut our the corner. Repeat with all corners. Once they are allcut, fold each side at the cuts to make the sides.

Tape the corners together and now you got yourself a sallow box. (now you can make boxes for everything !!!) Set box aside
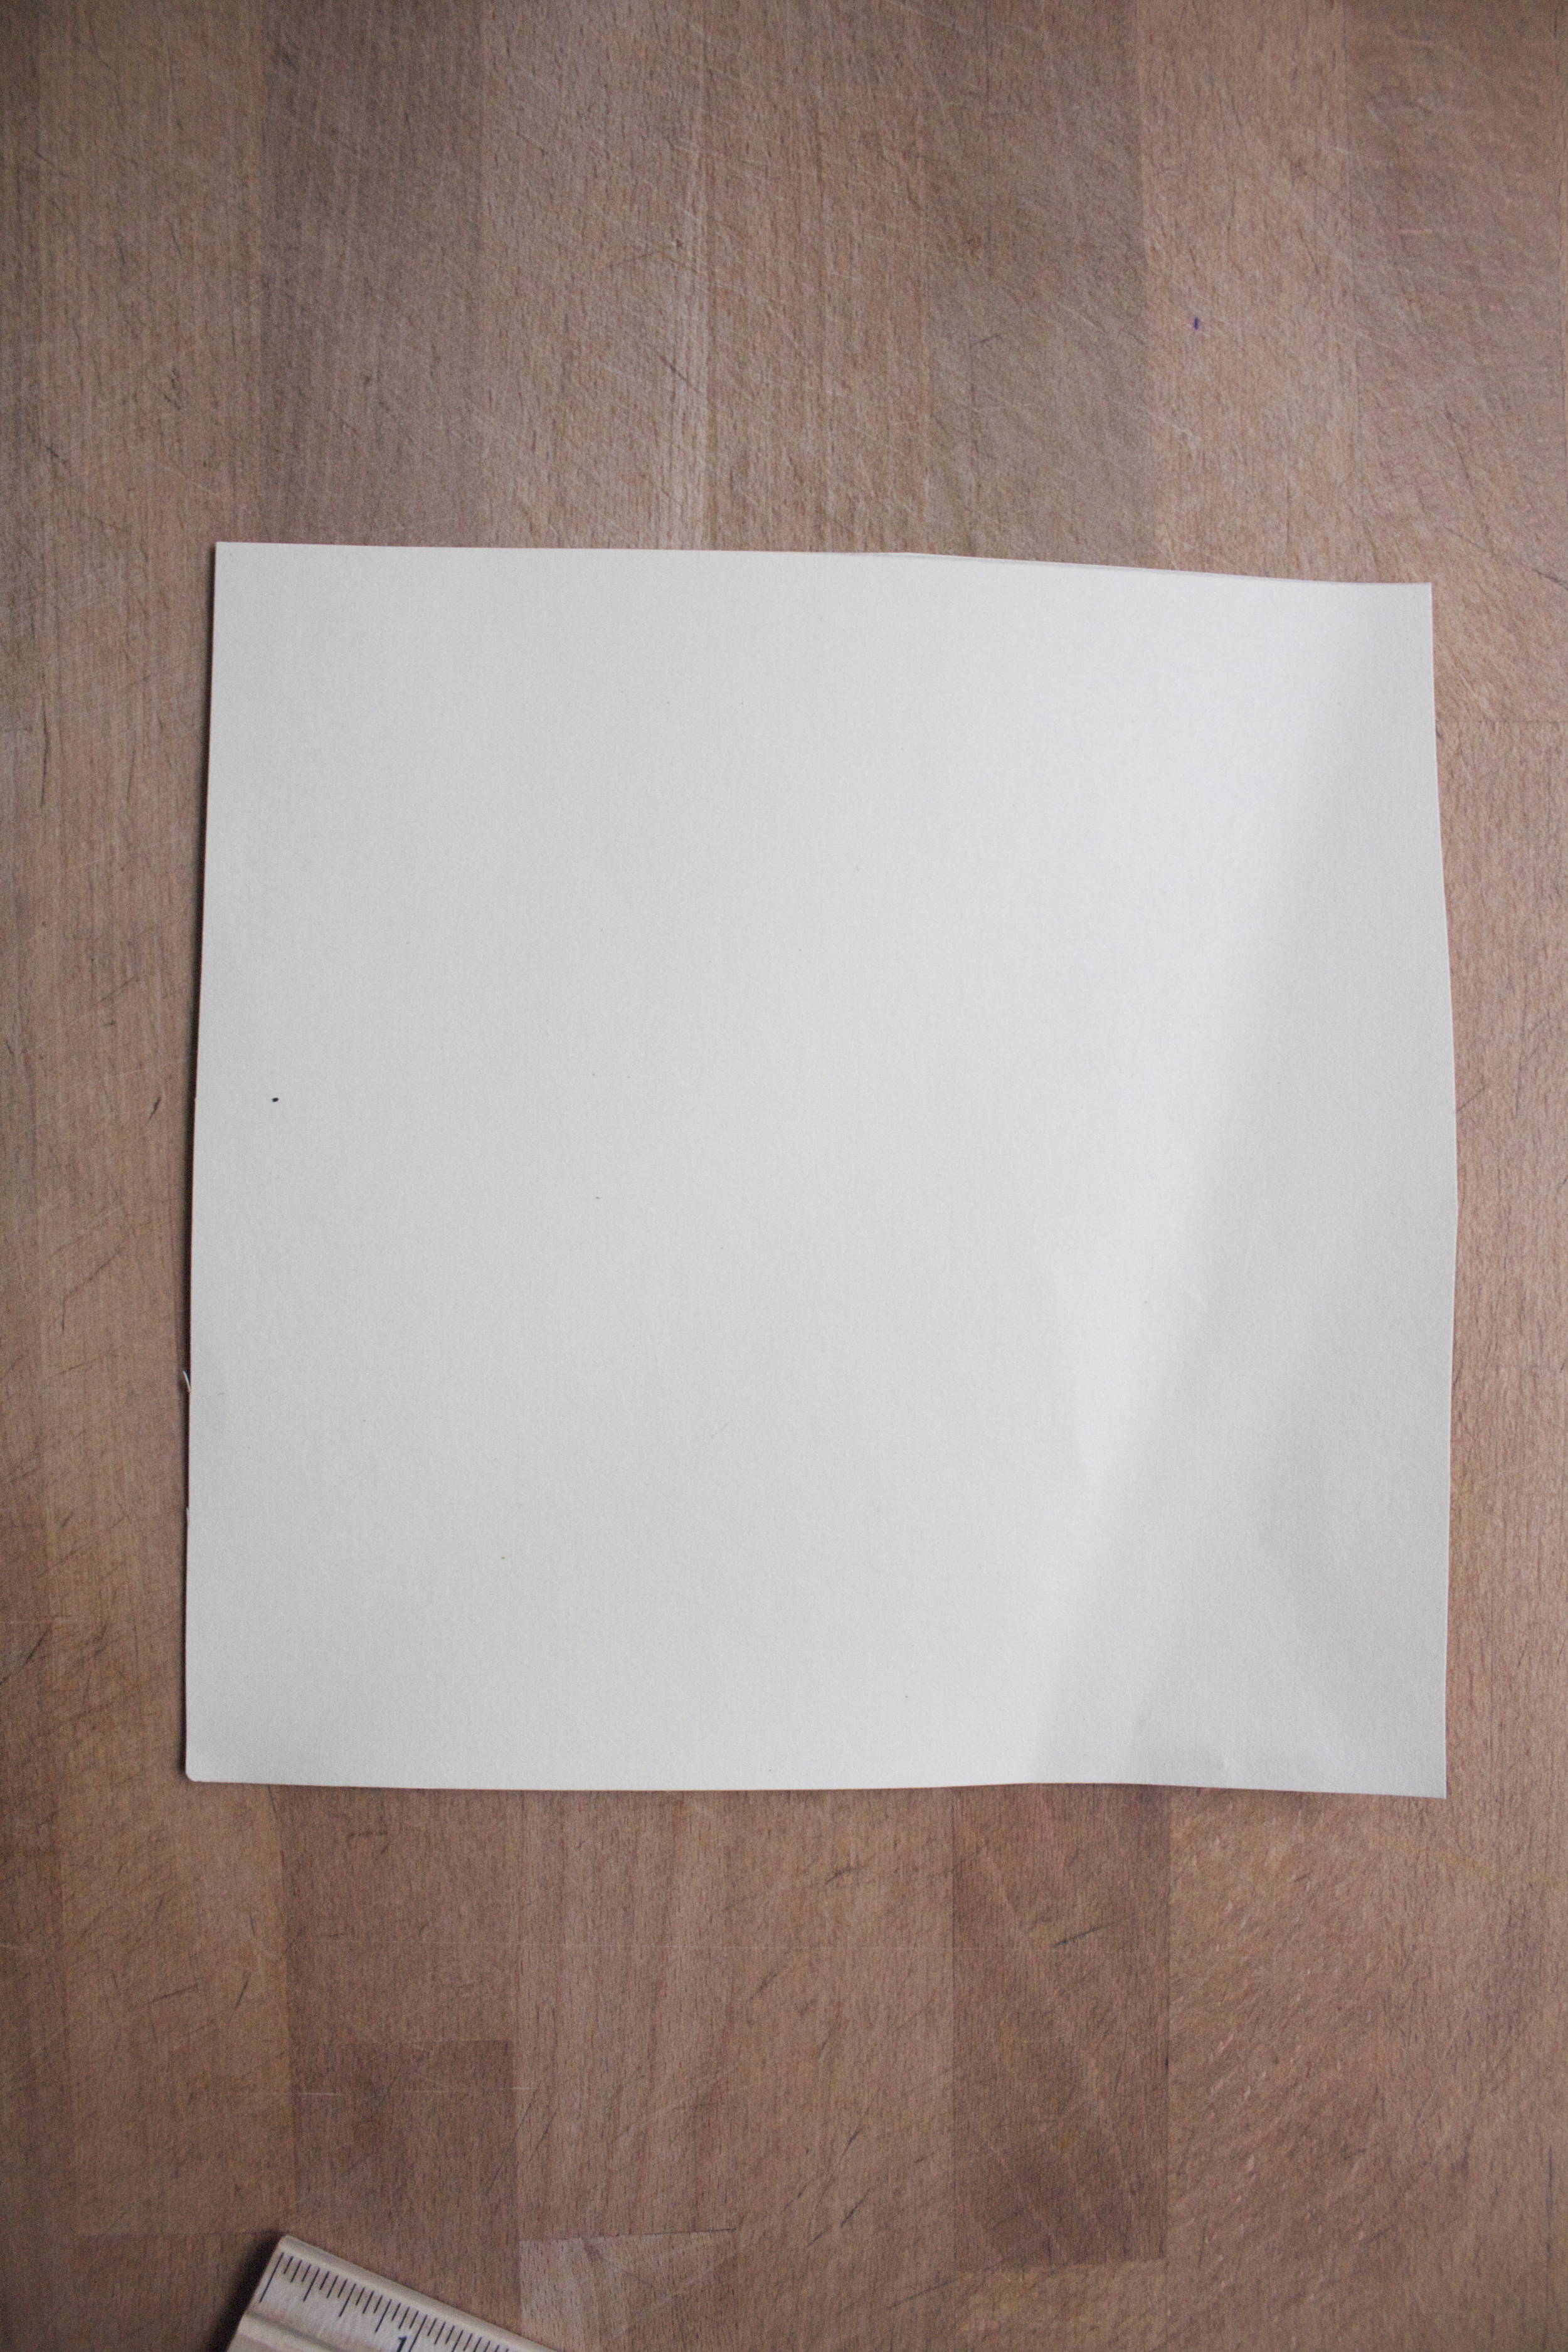


Now to make the trees. Take a piece of paper and, depending if it is already a square or not, but it into a square. (does not have to be perfect, just eyeball it)
Got your square paper, now take an edge and fold it over about 1/2 inch. And then taking you scissors and snip of the corner edge at an angle (again, not going for perfections here)
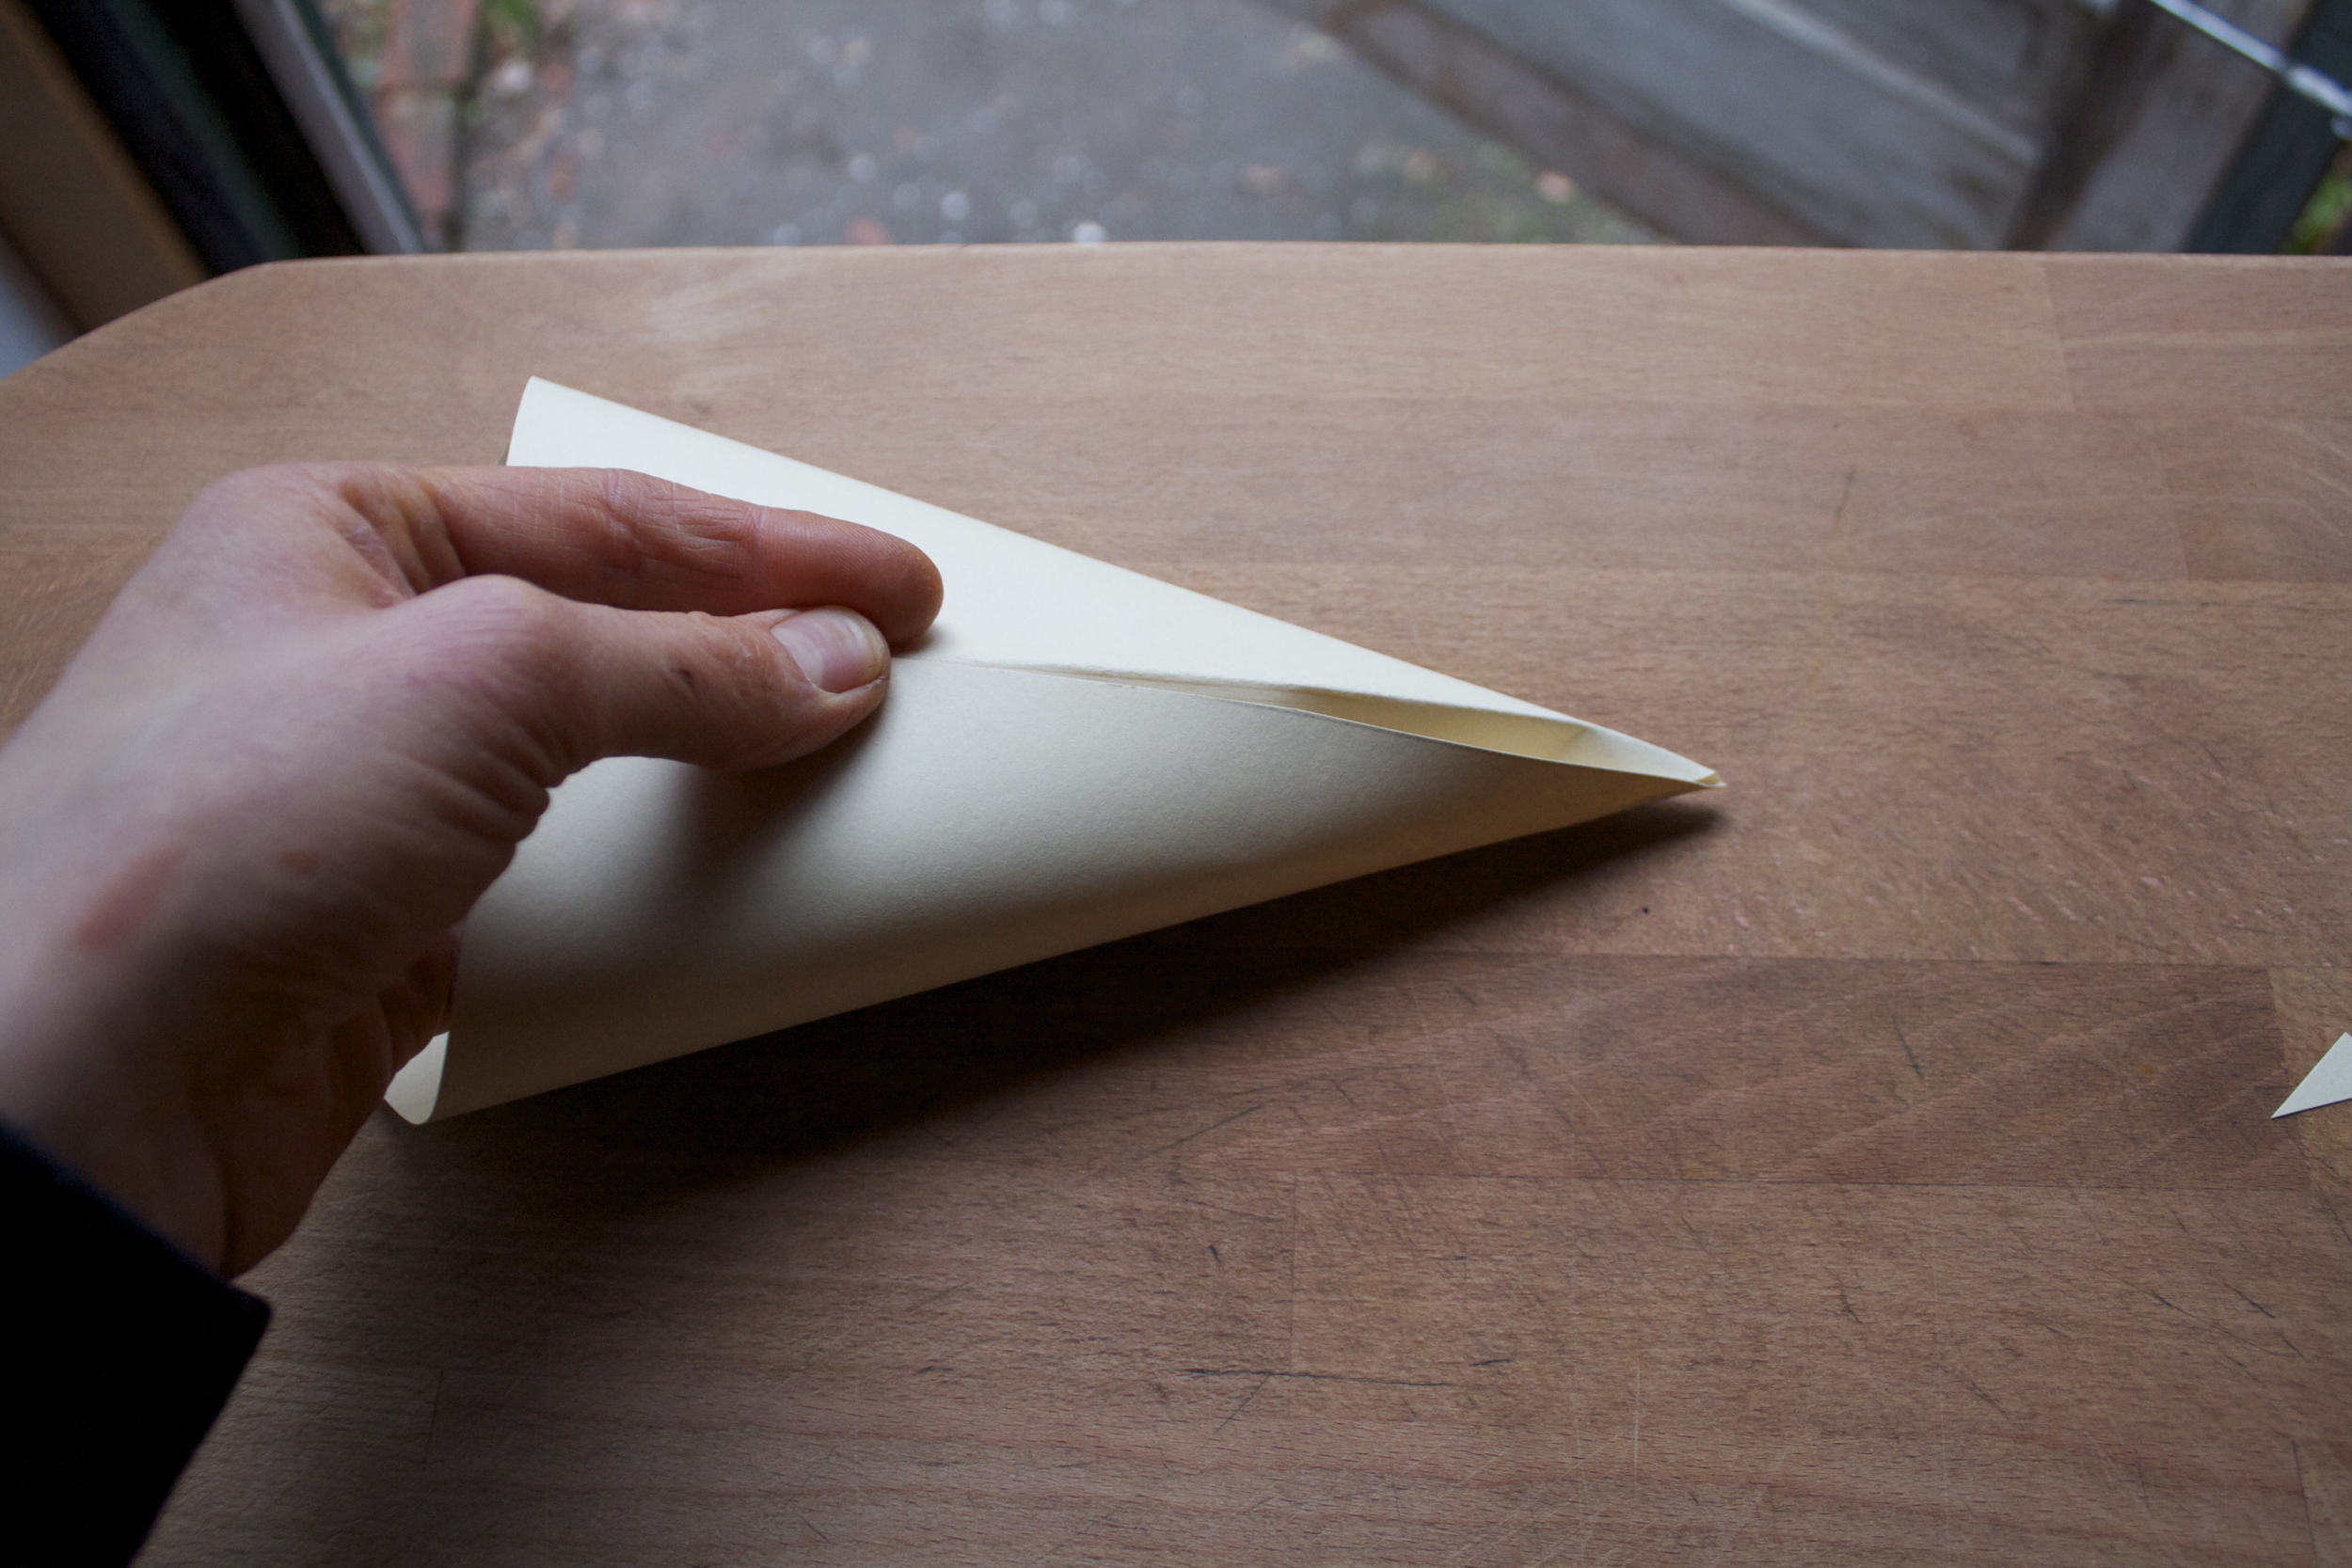
The poin is the tip that was cut, now fold the two sides together.
So you can stop here ans glue or if you want light holes.....

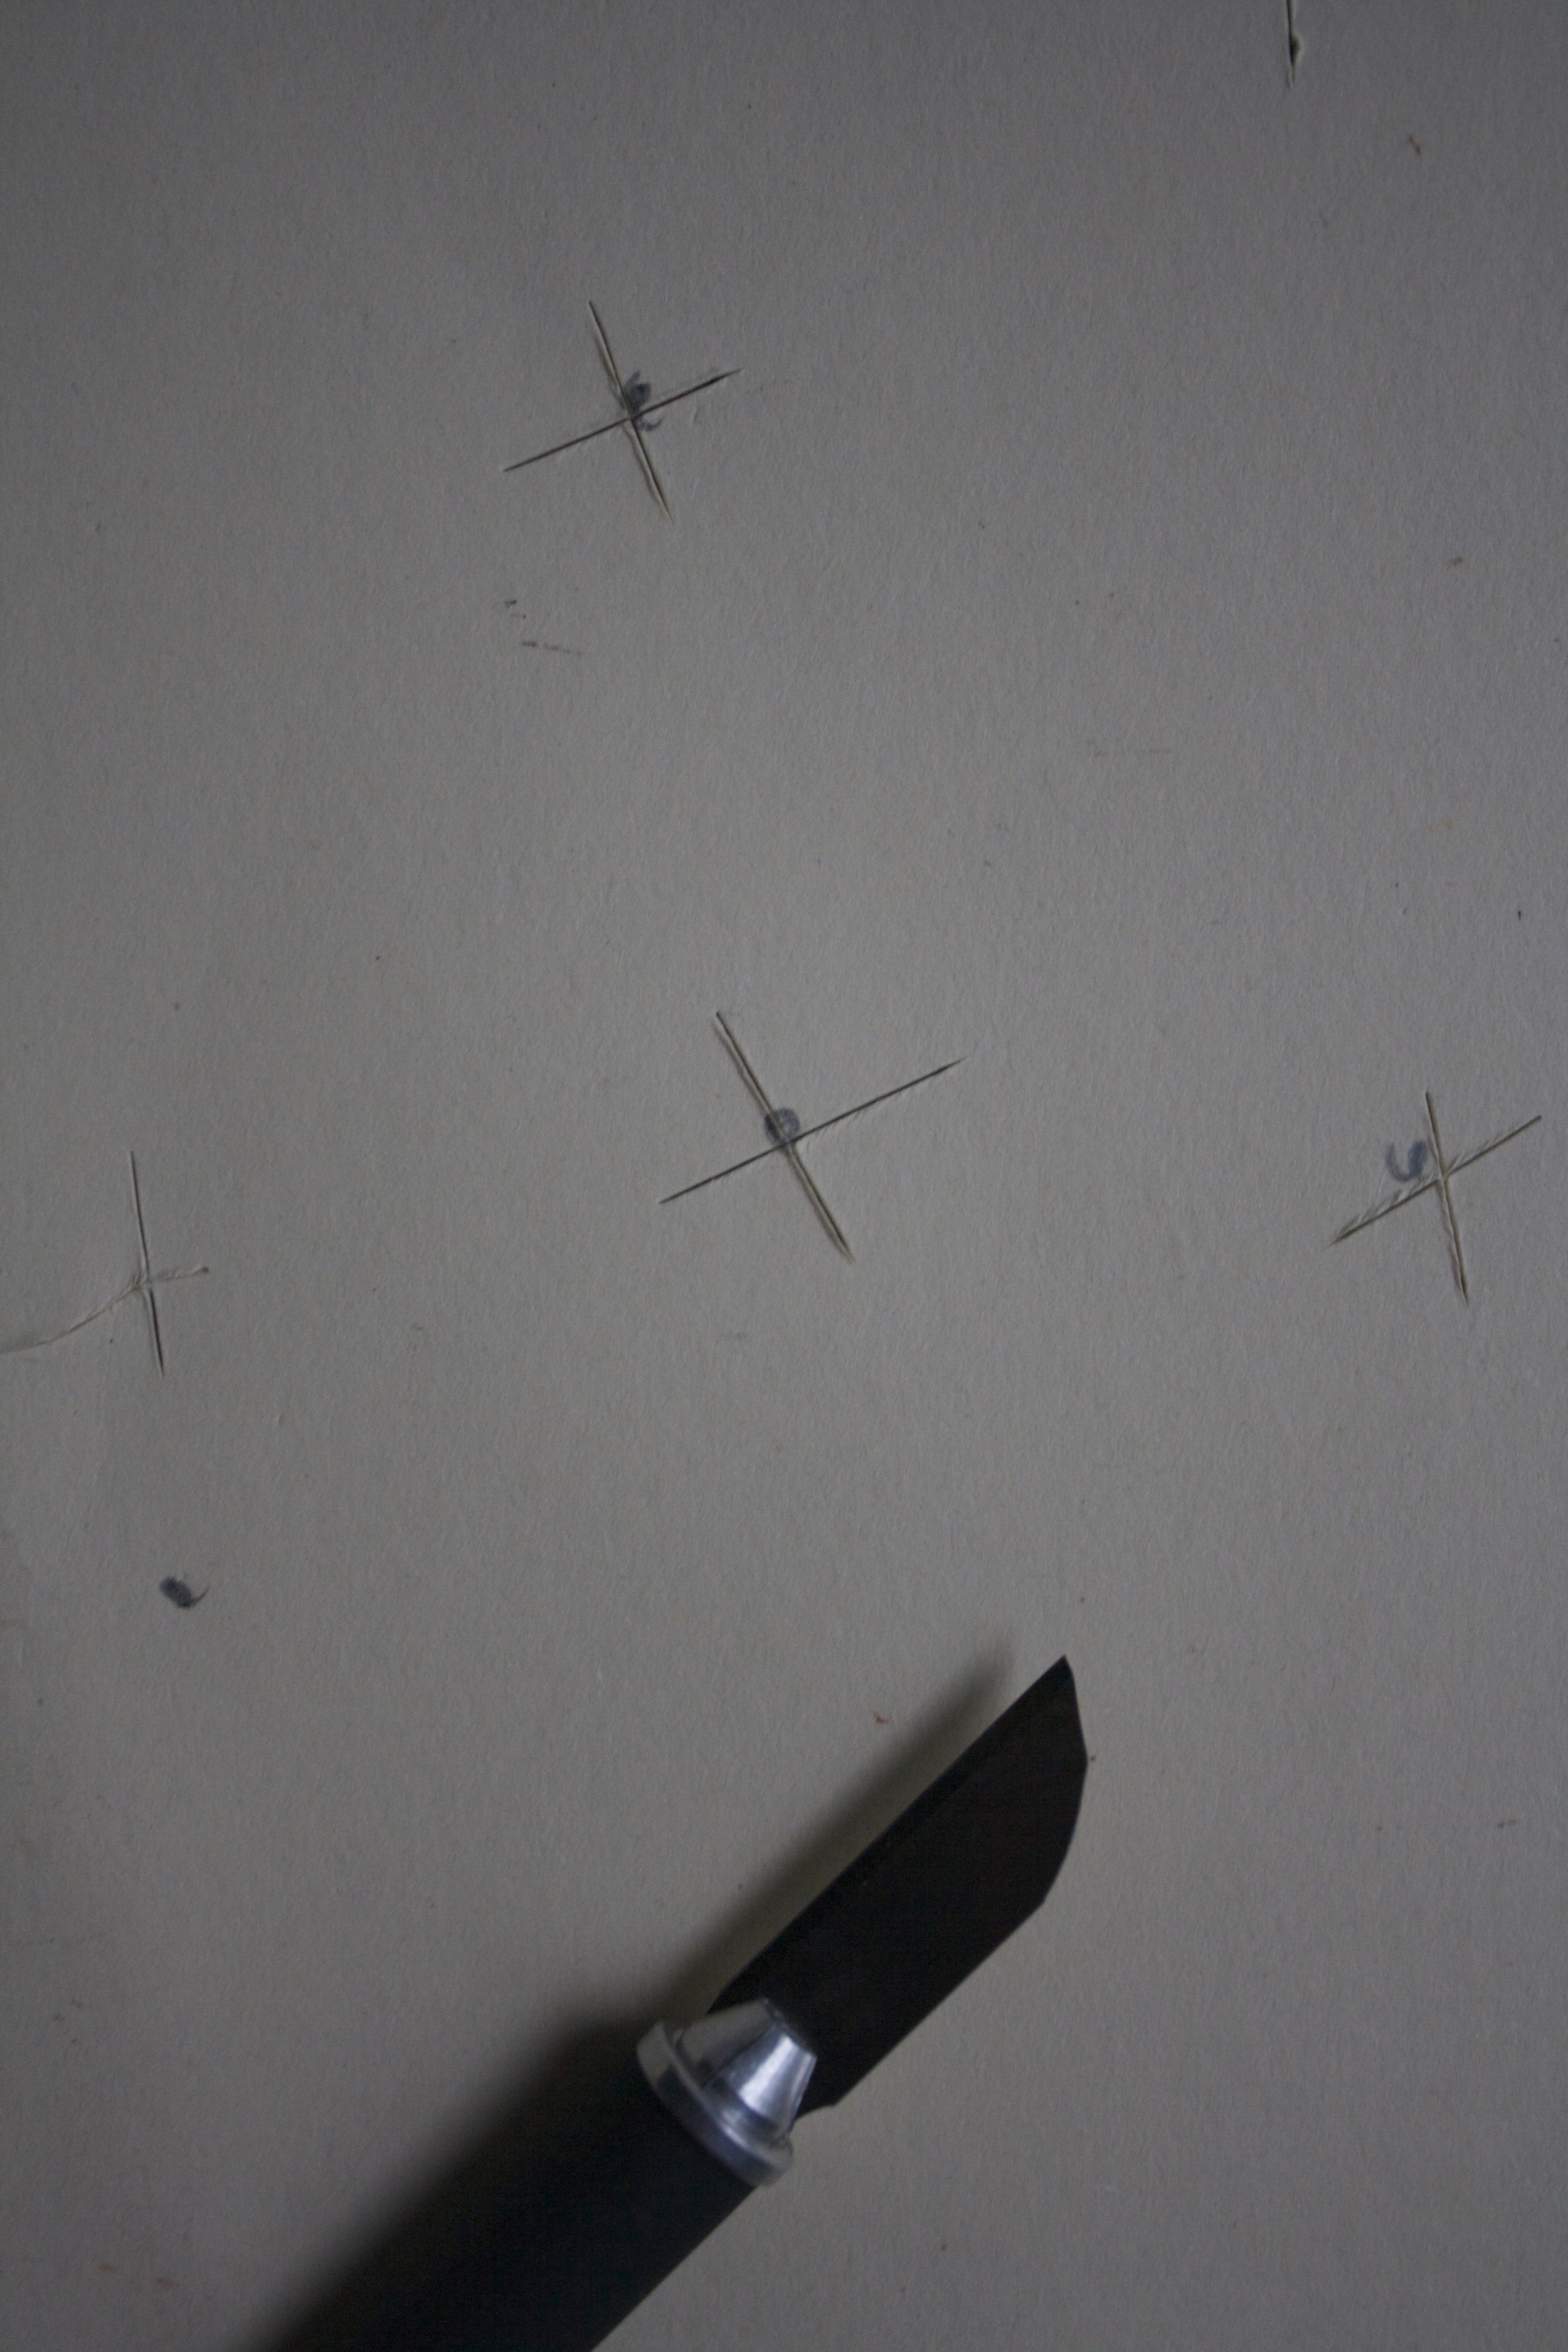
Unfold the paper and with a pencil, mark off where you wnt the holes (random is good). Take the xacto blade and cut little x'x over each hole.

Then push through each x with the eraser end of the pencil

Now glue the cone together using the hot glue gun.

You will have a weird tail left on the bottom of the cone, so just trim that off and any extra that needs to come off to make it stand up straight.

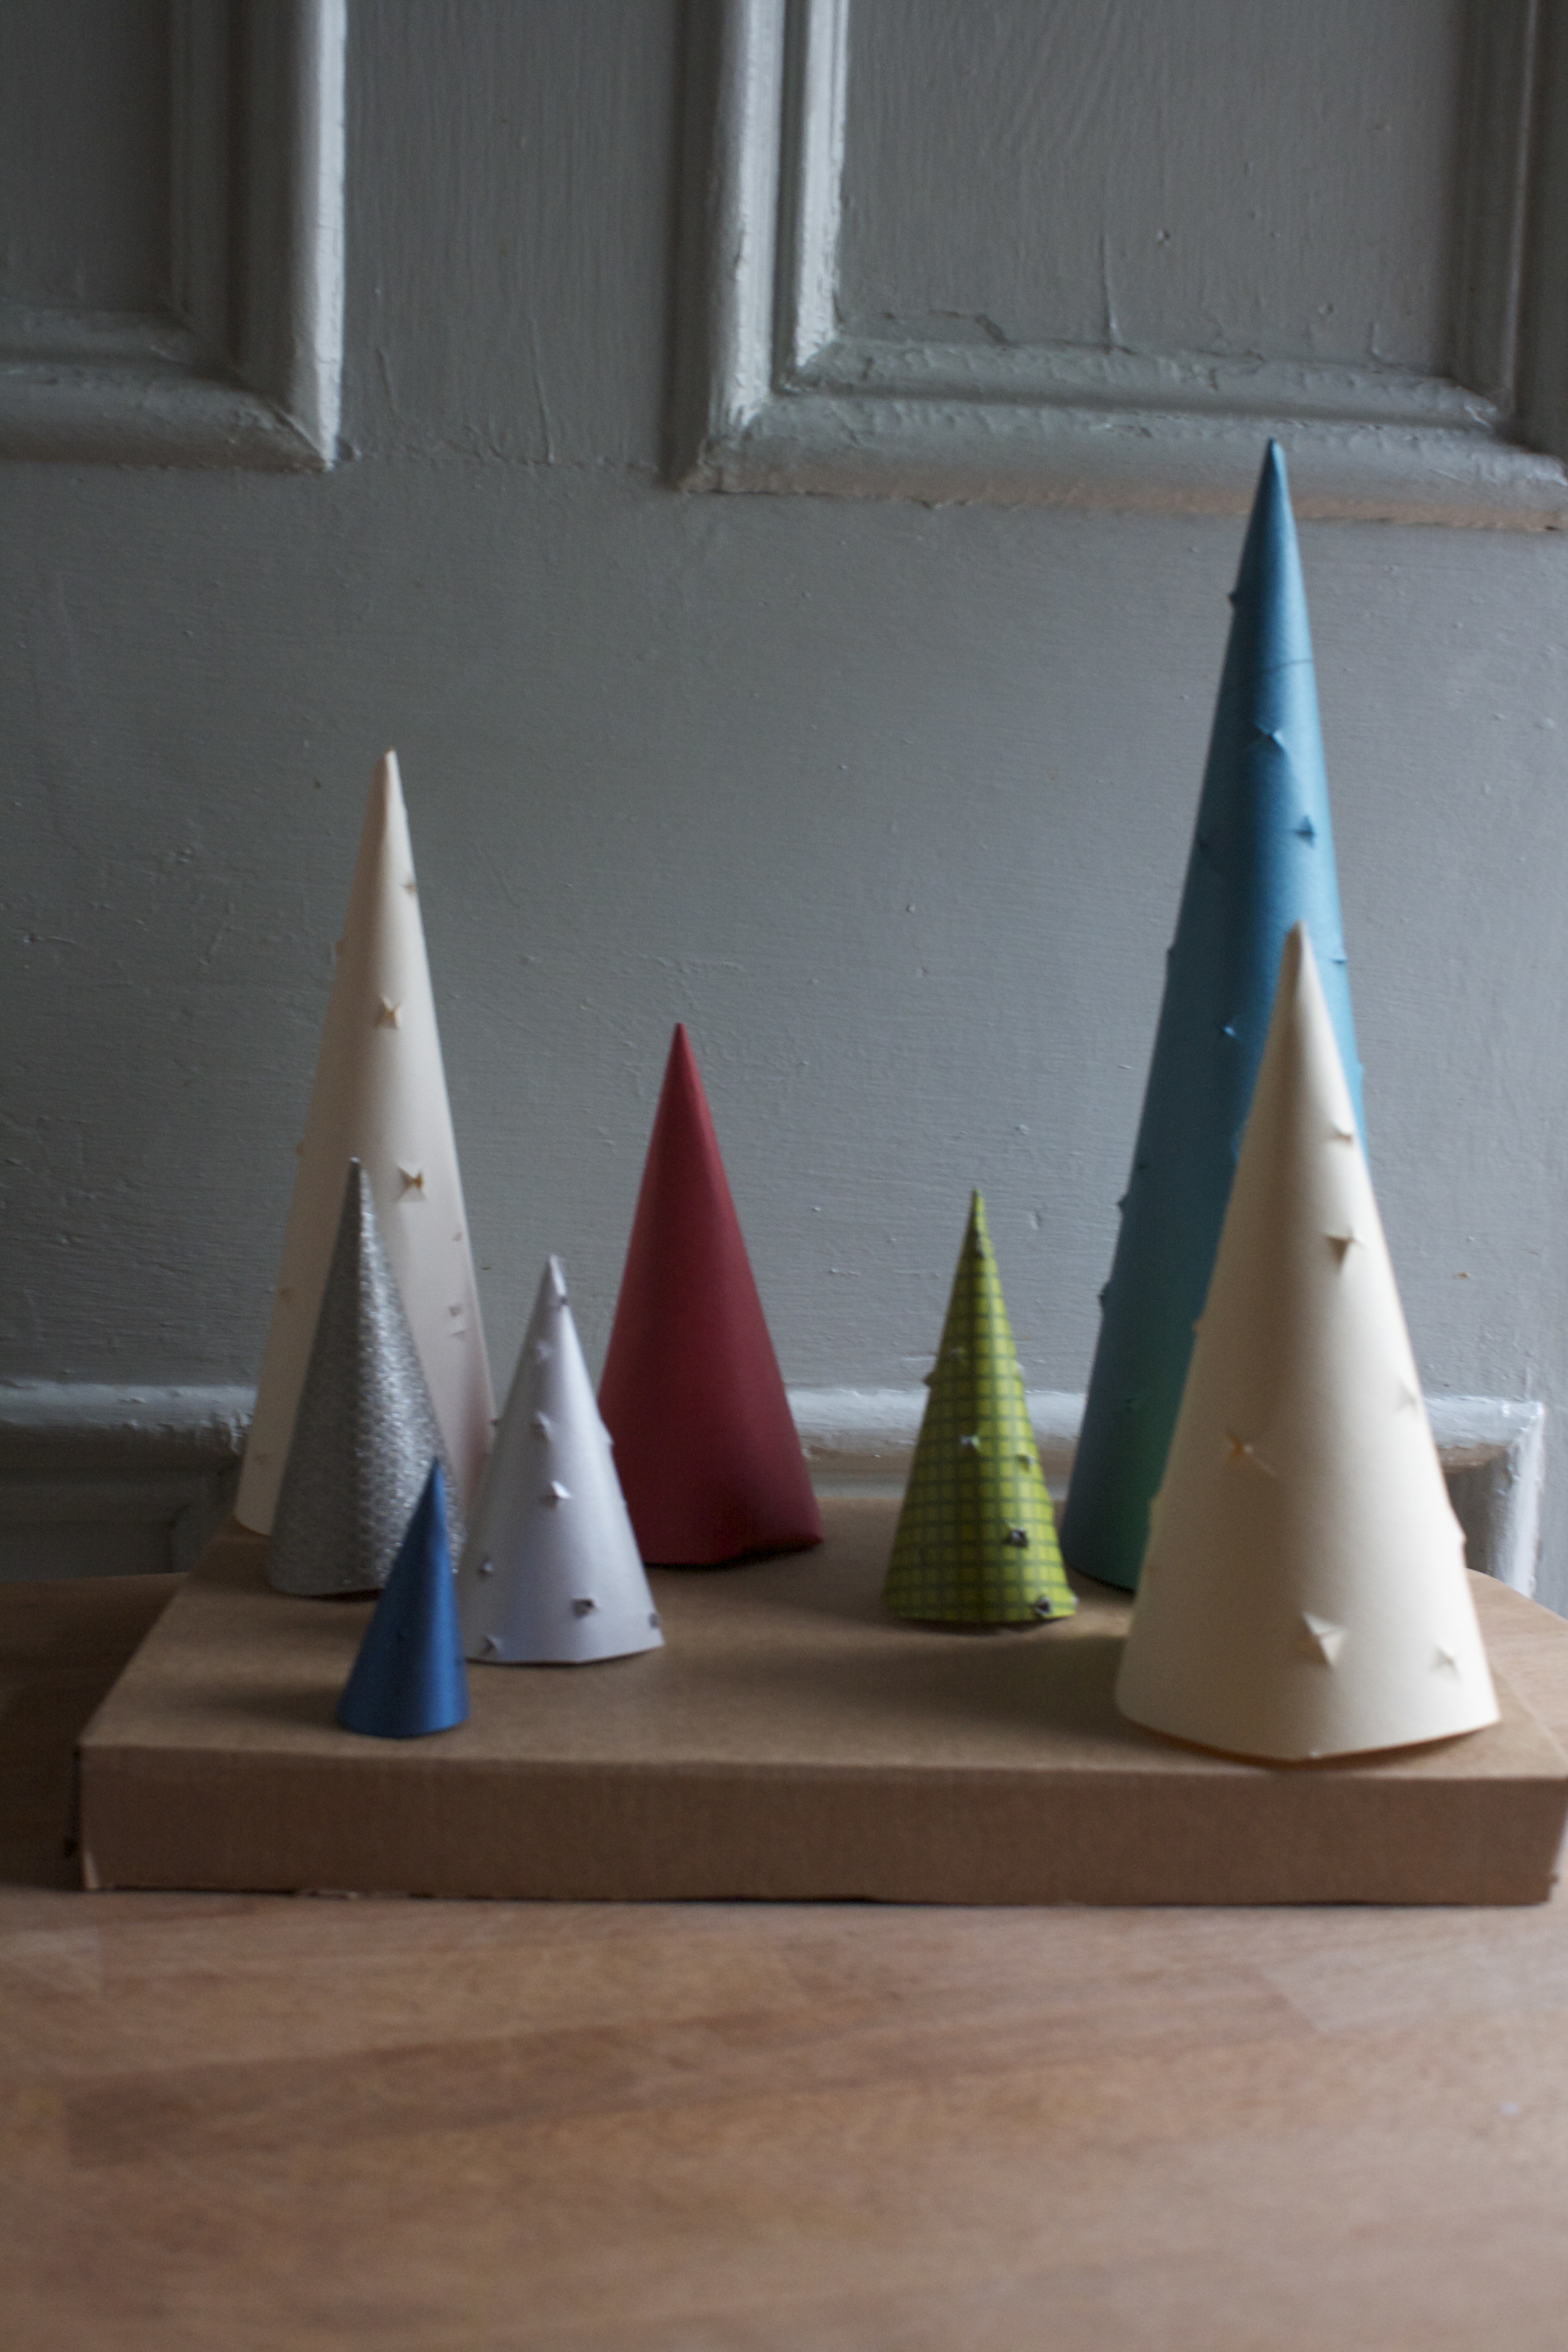
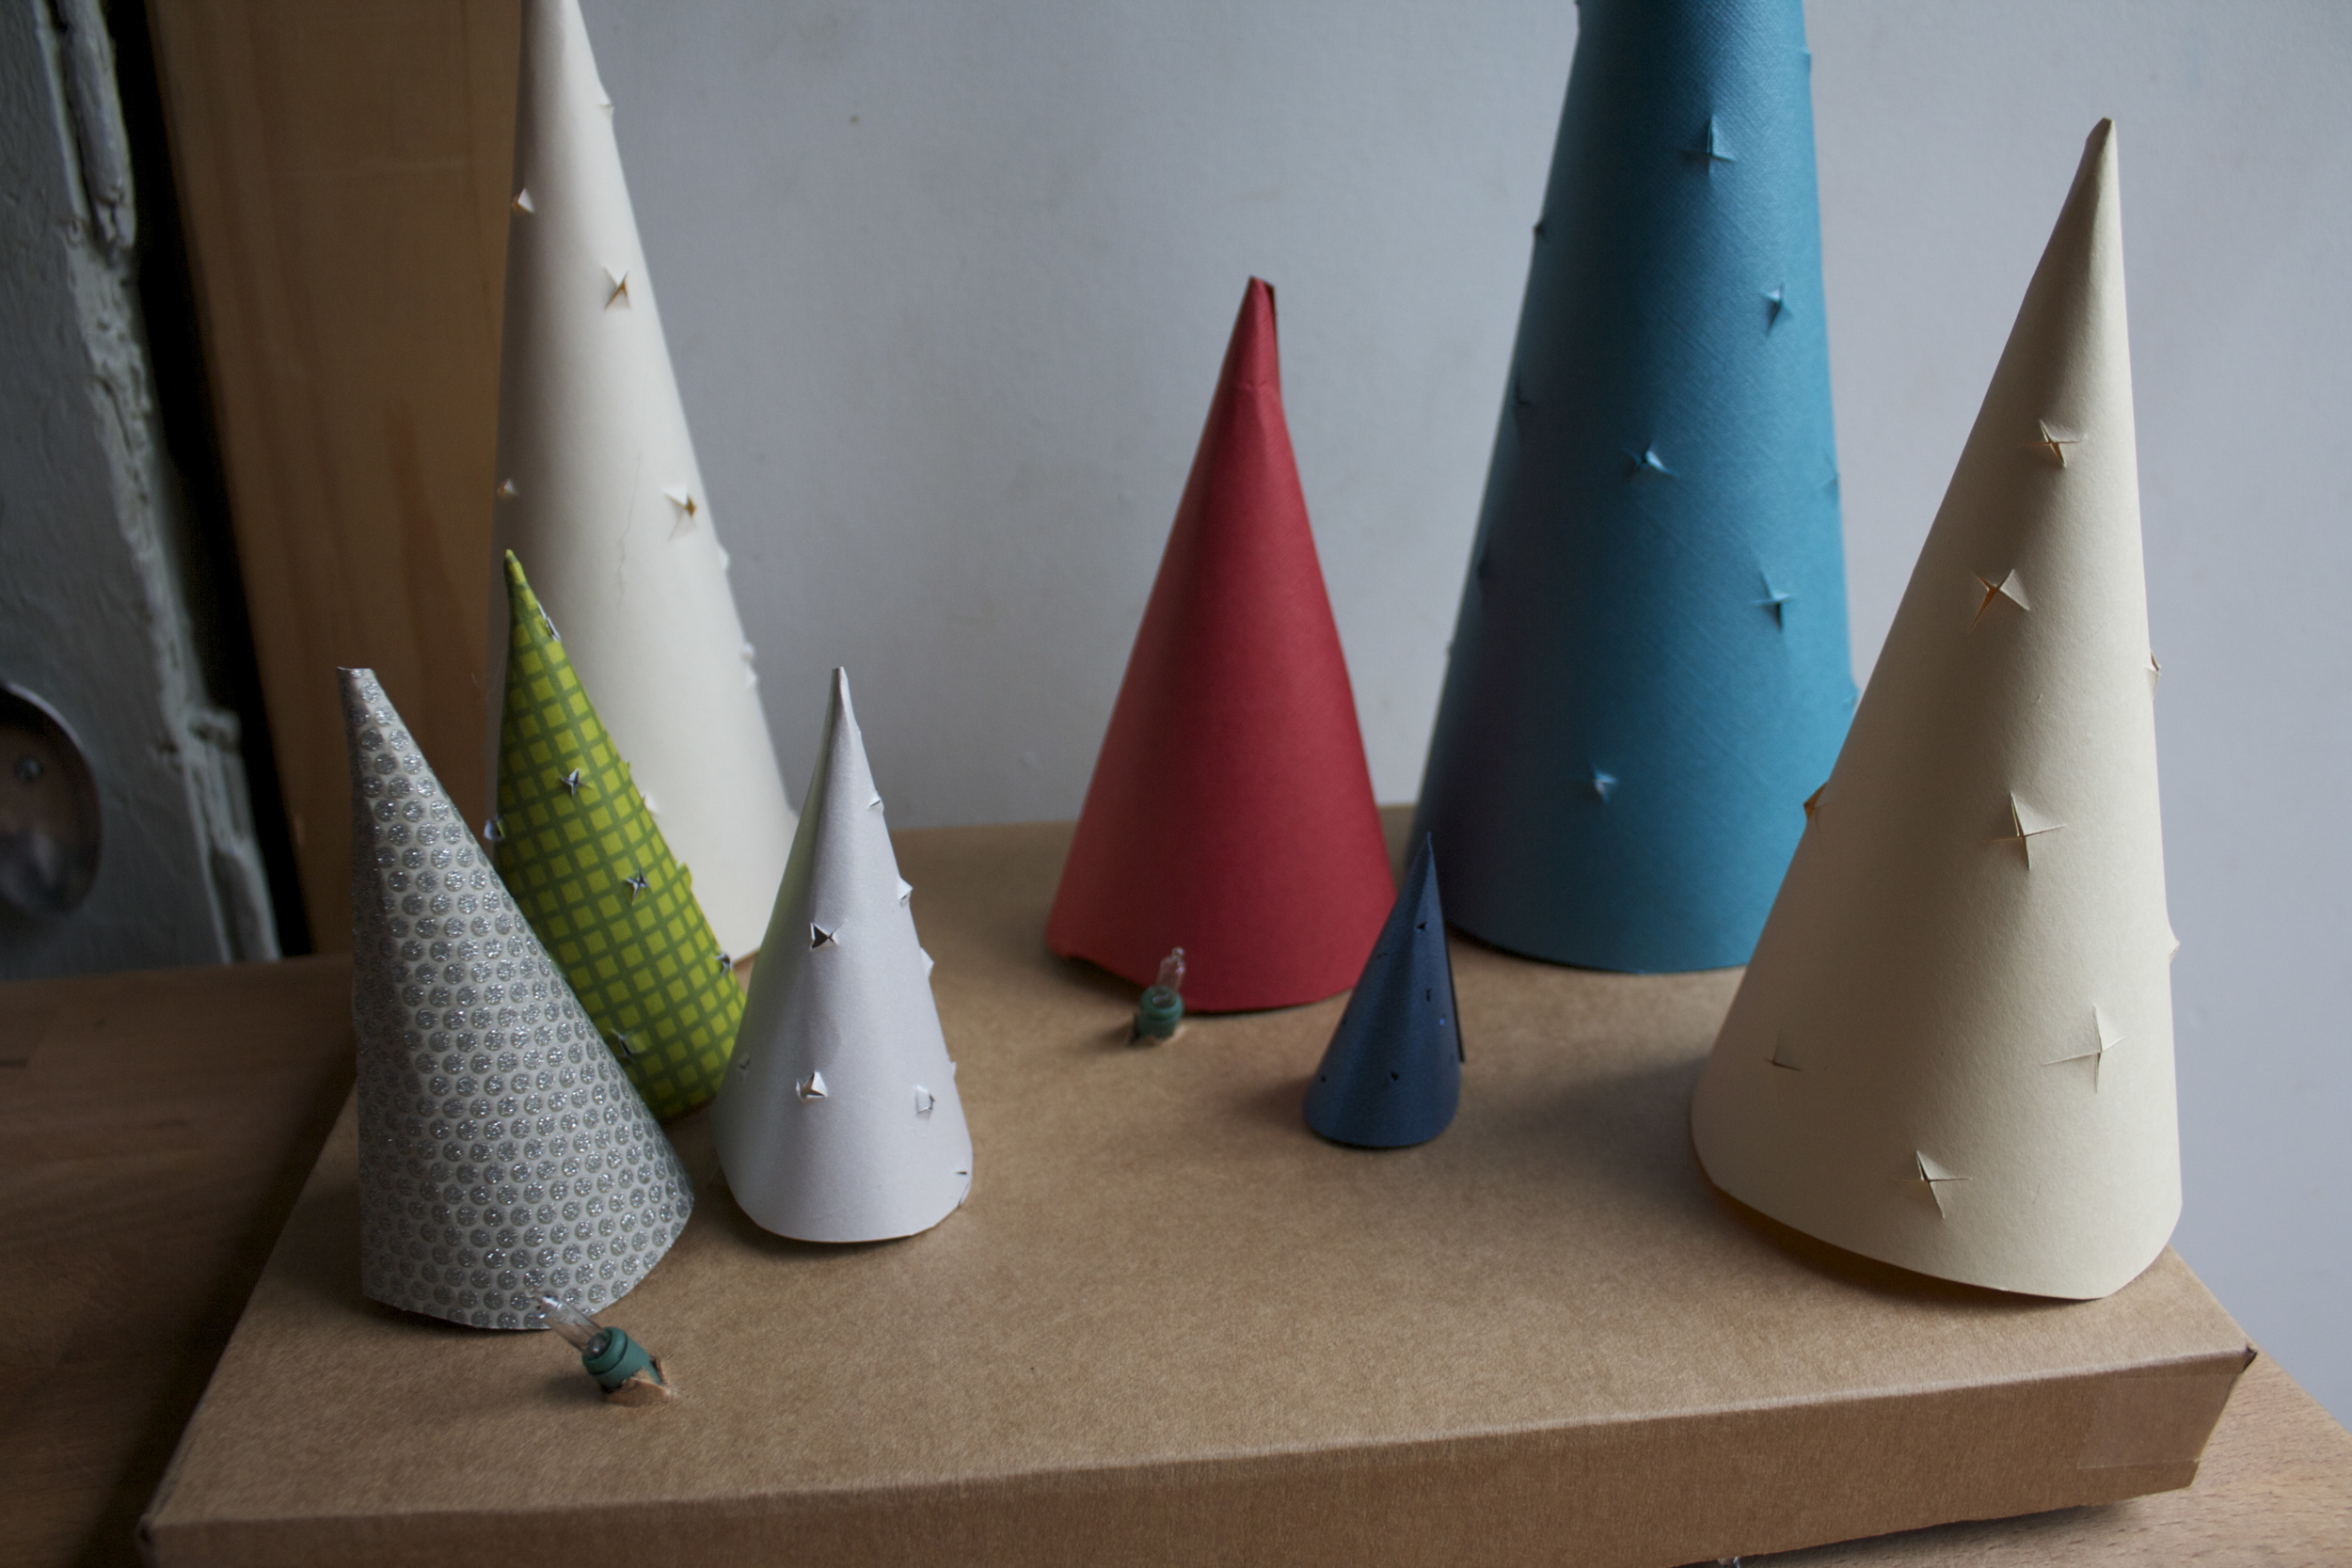
Ta Da!! A paper cone tree. Now make a bunch of them, all different sizes and colors (or all the same size and color.. up to you) And not all of them need to have light holes in them either, a couple non light trees are good.

Once you have made all the cone trees, grab the box base and set up the trees how you want them to be on the base
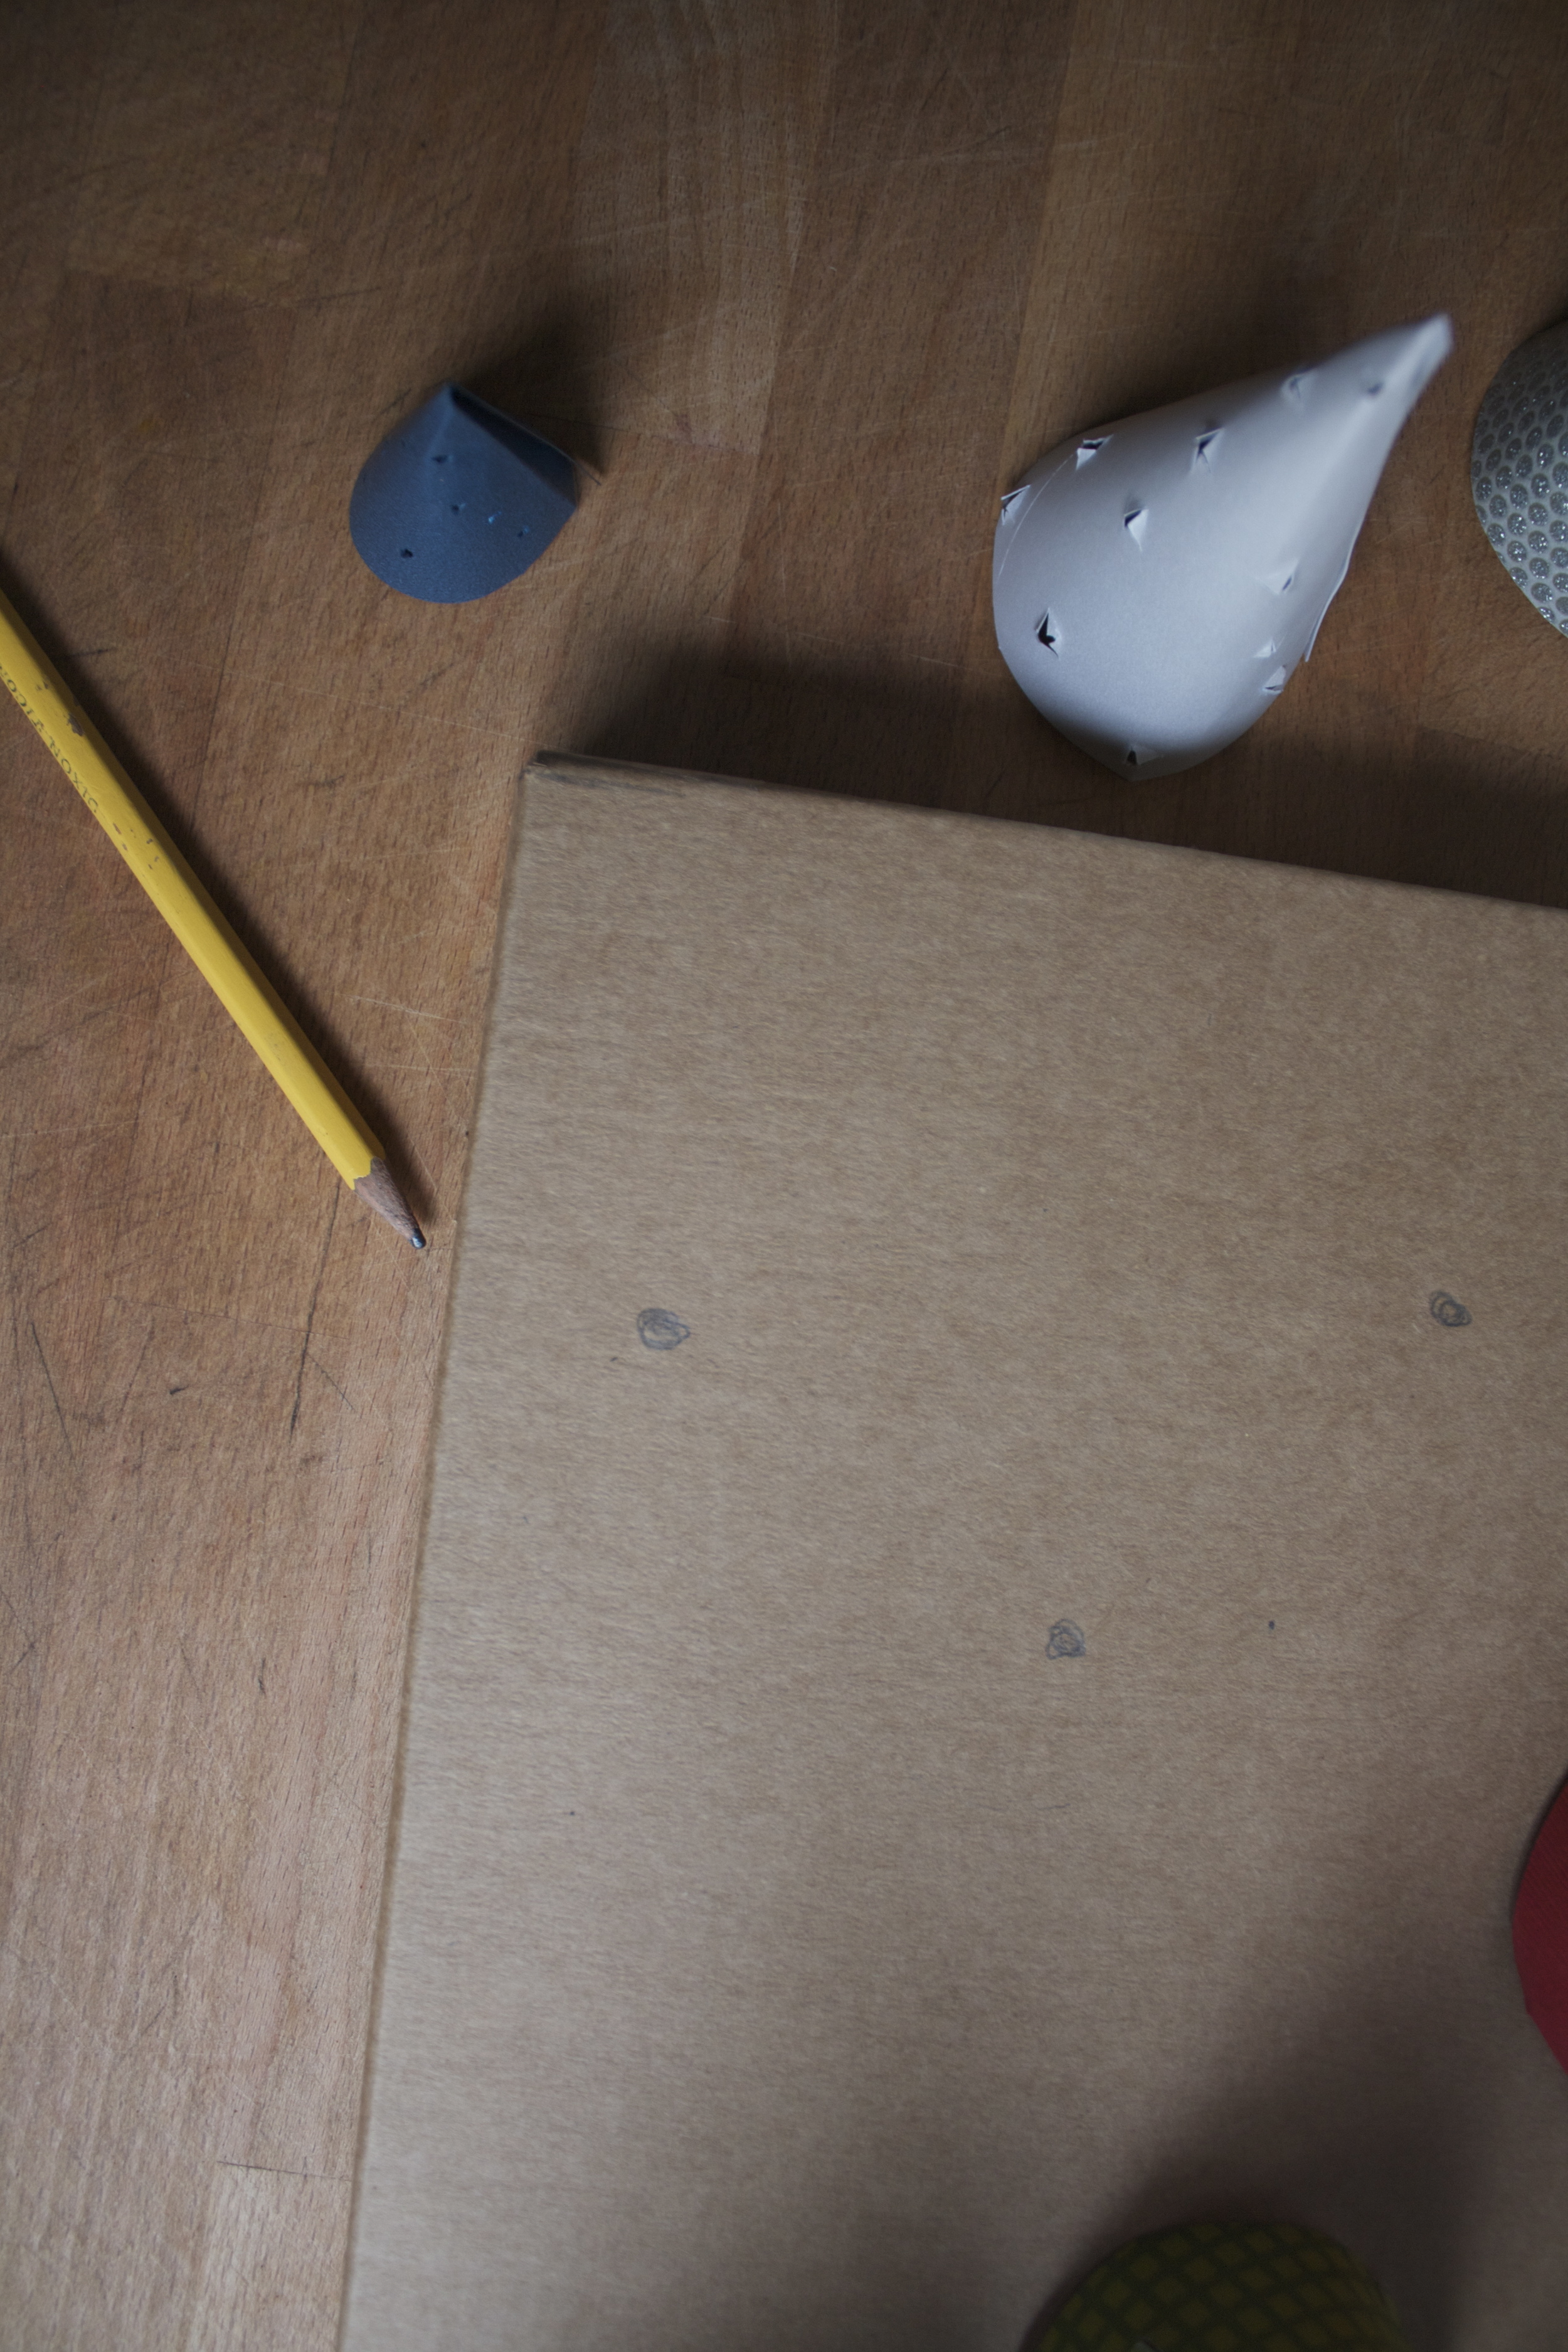
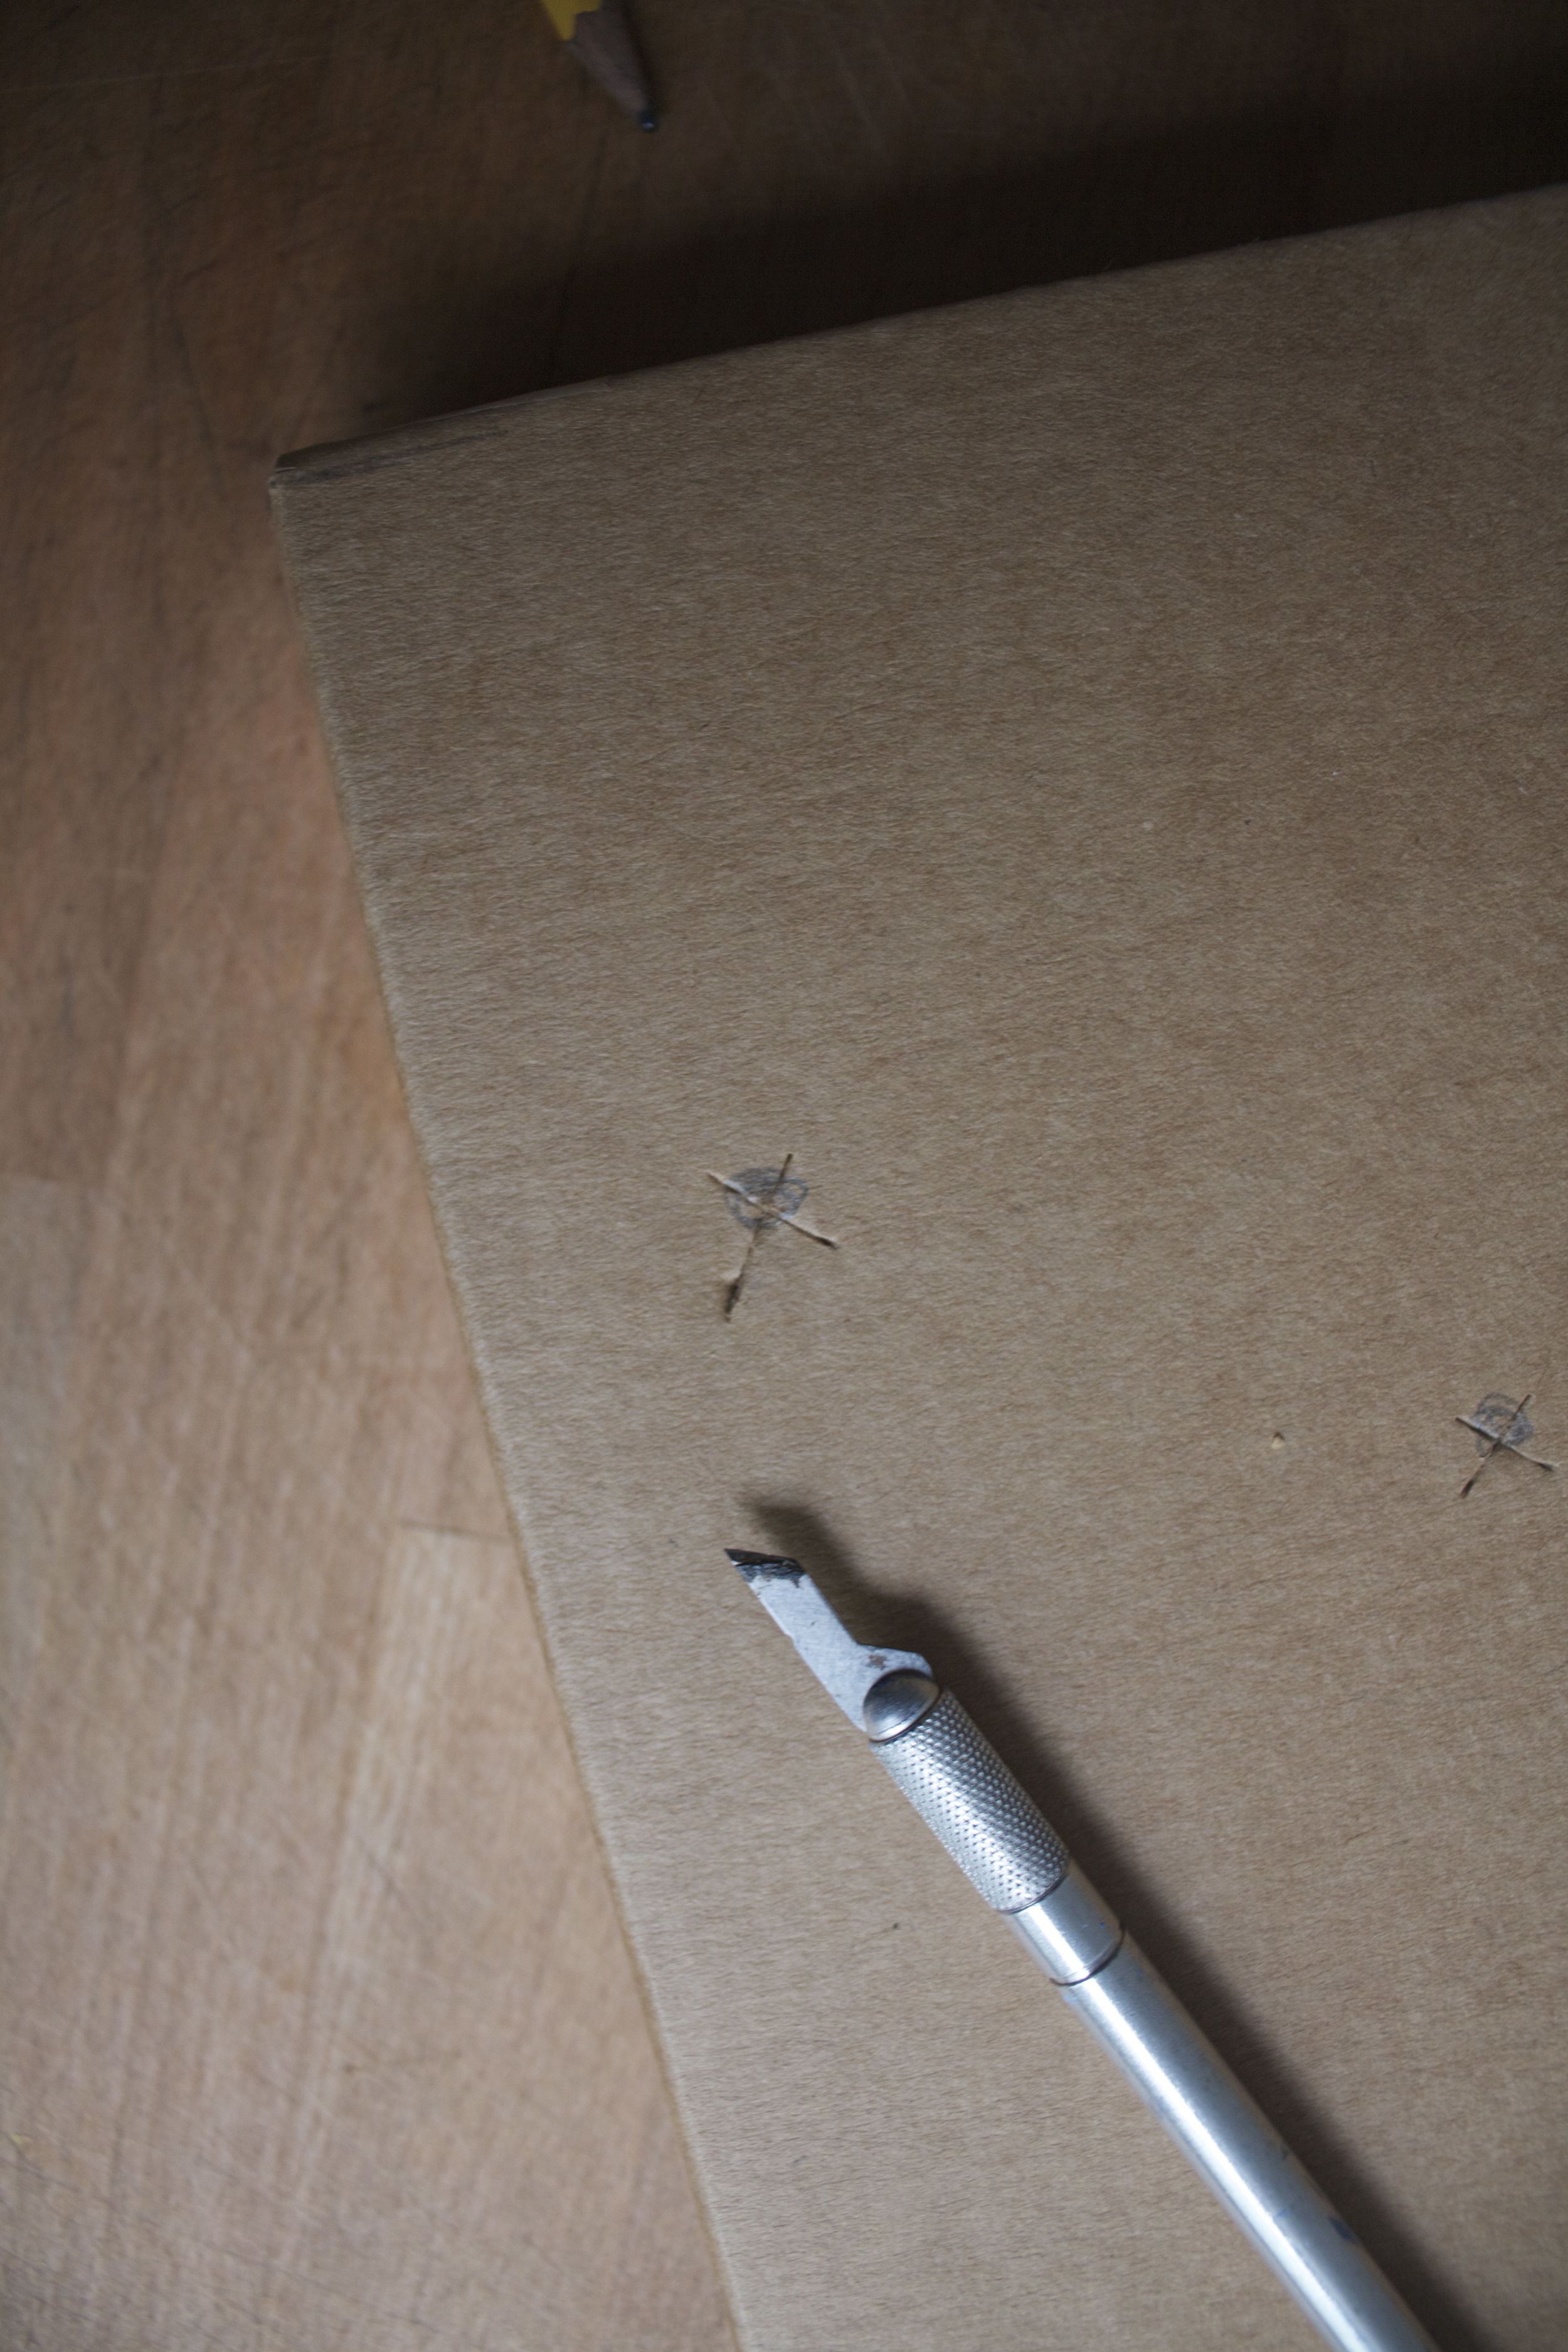
Take the trees off and mark the spots with the pencil. Grab the xacto and cut X's into the marks.
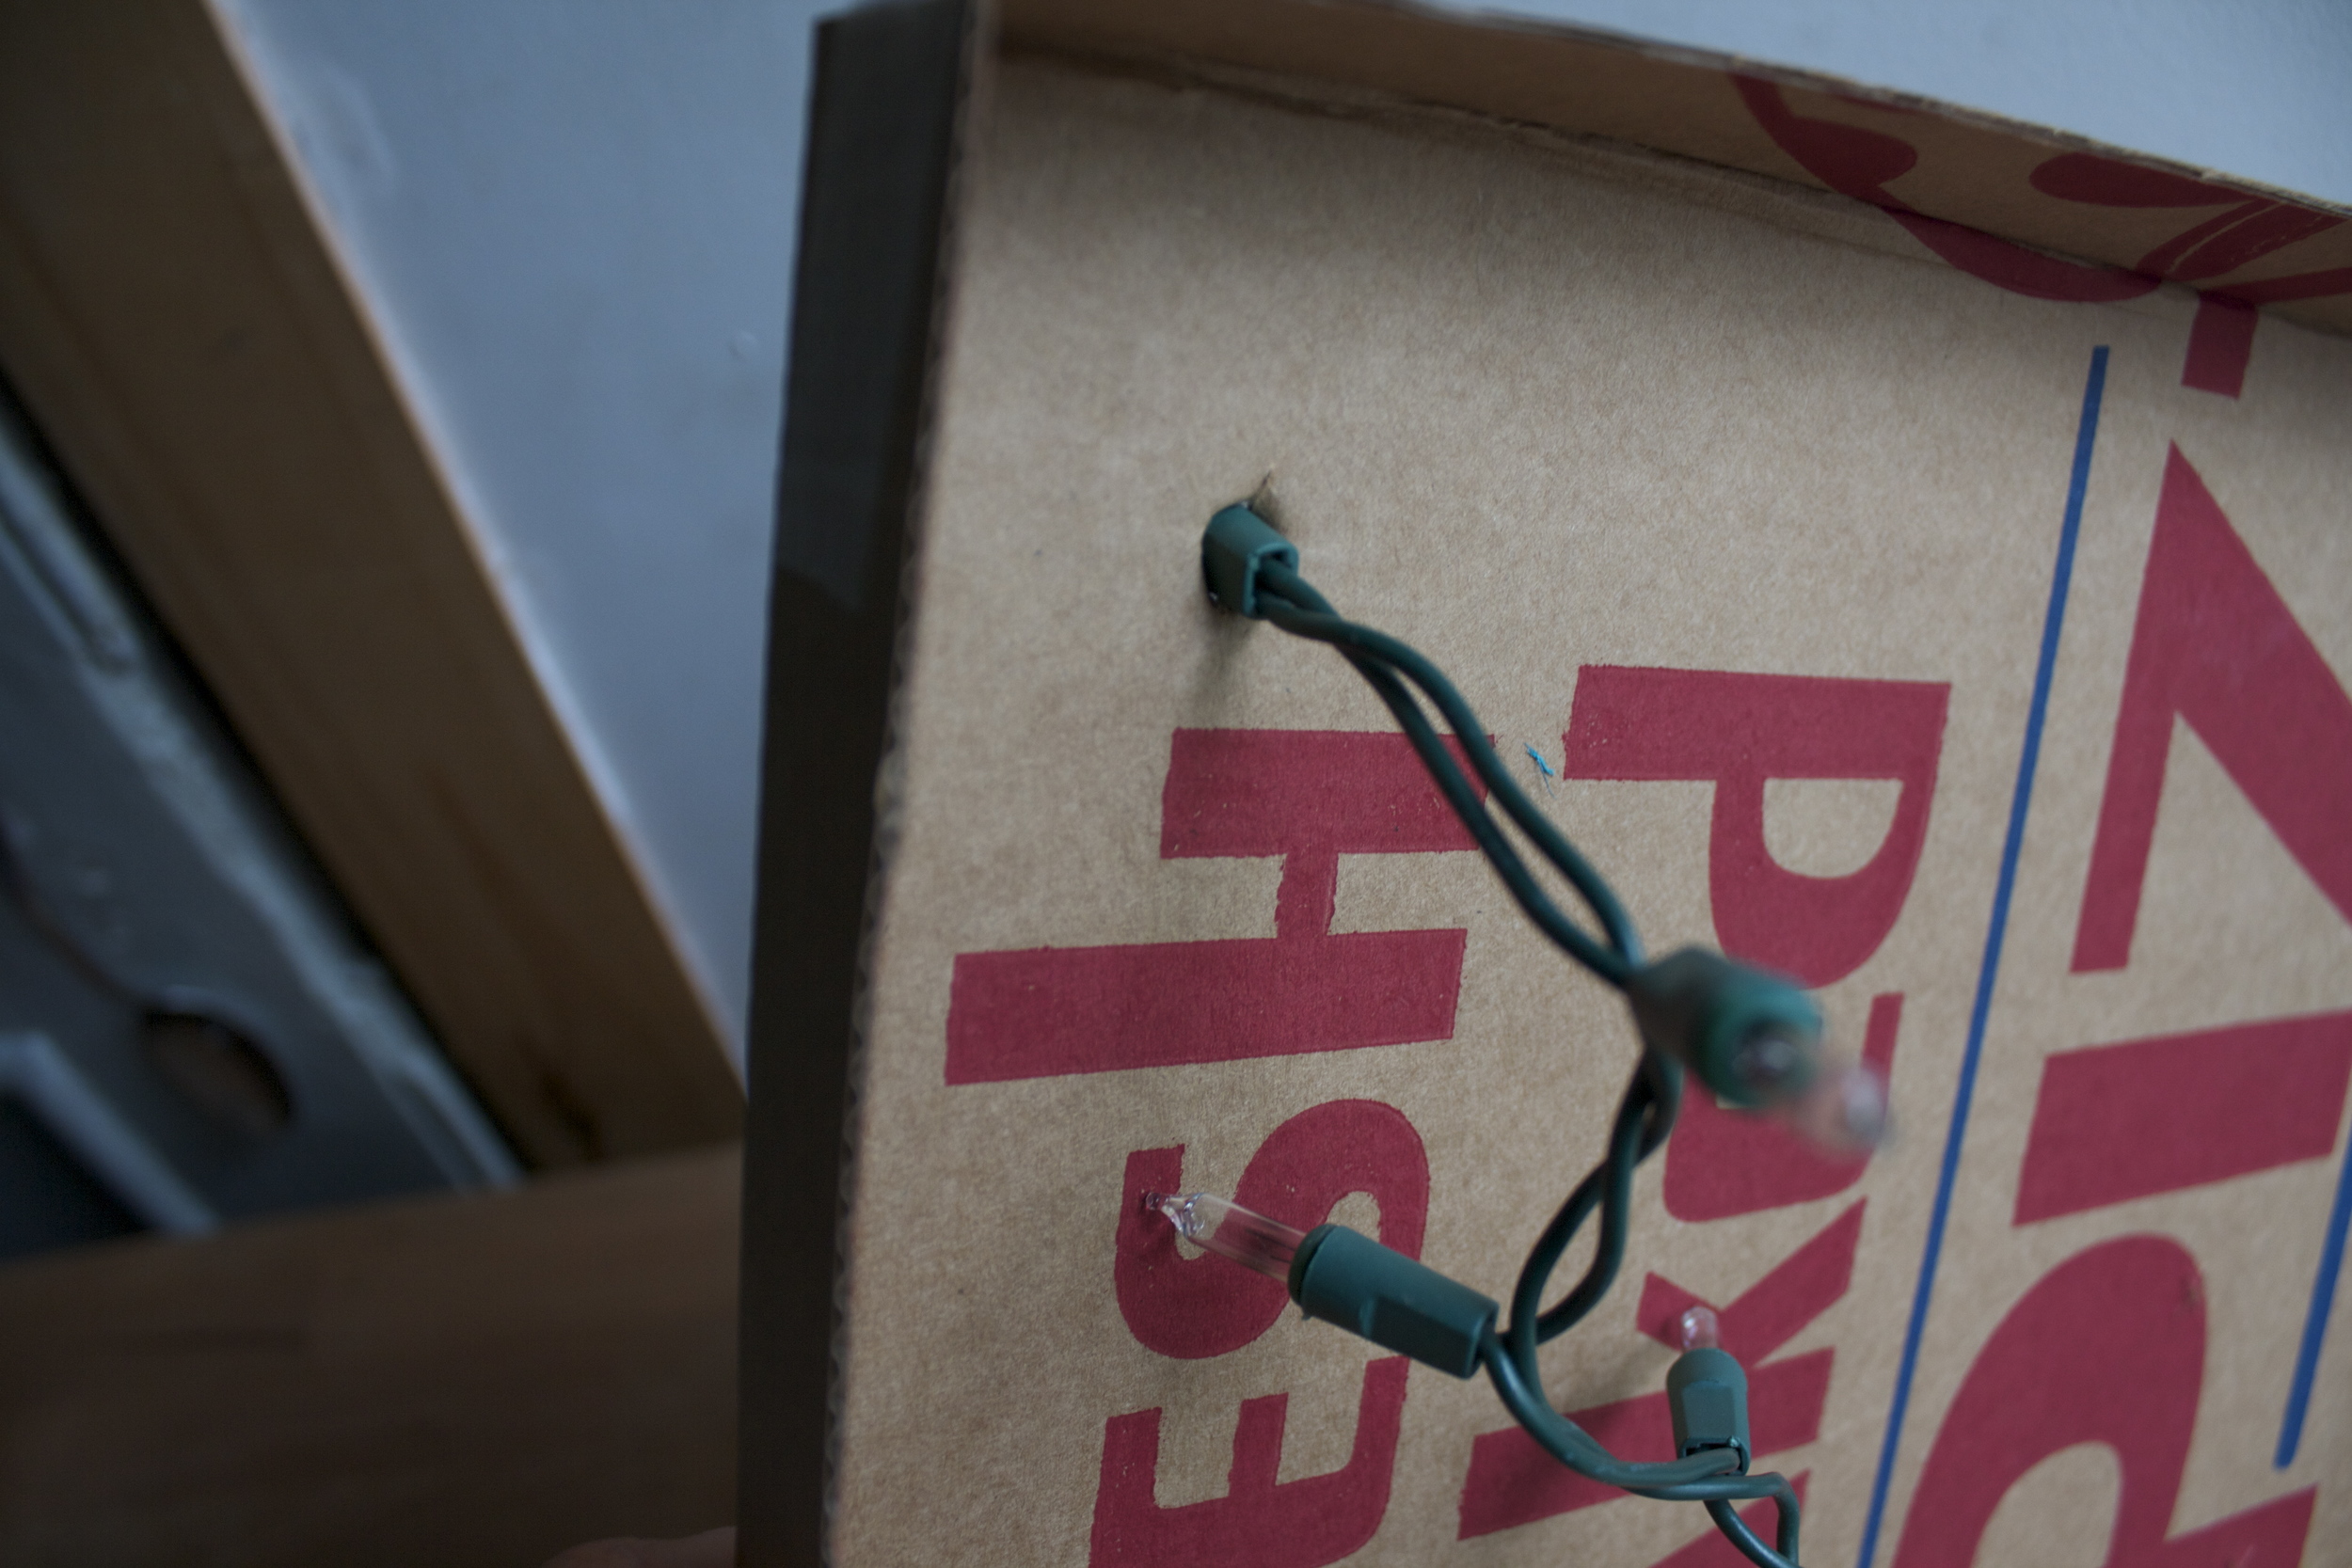
Take your lights and push the bulbs through (there will be a extra bulbs on the underside.... it makes the box glow.)

And tape down the trees back into place
So cute!
Note.. I stuck a couple extra lights through the box that have no trees. They will be covered in a minute with snow.. So you can do the same. (if you want)

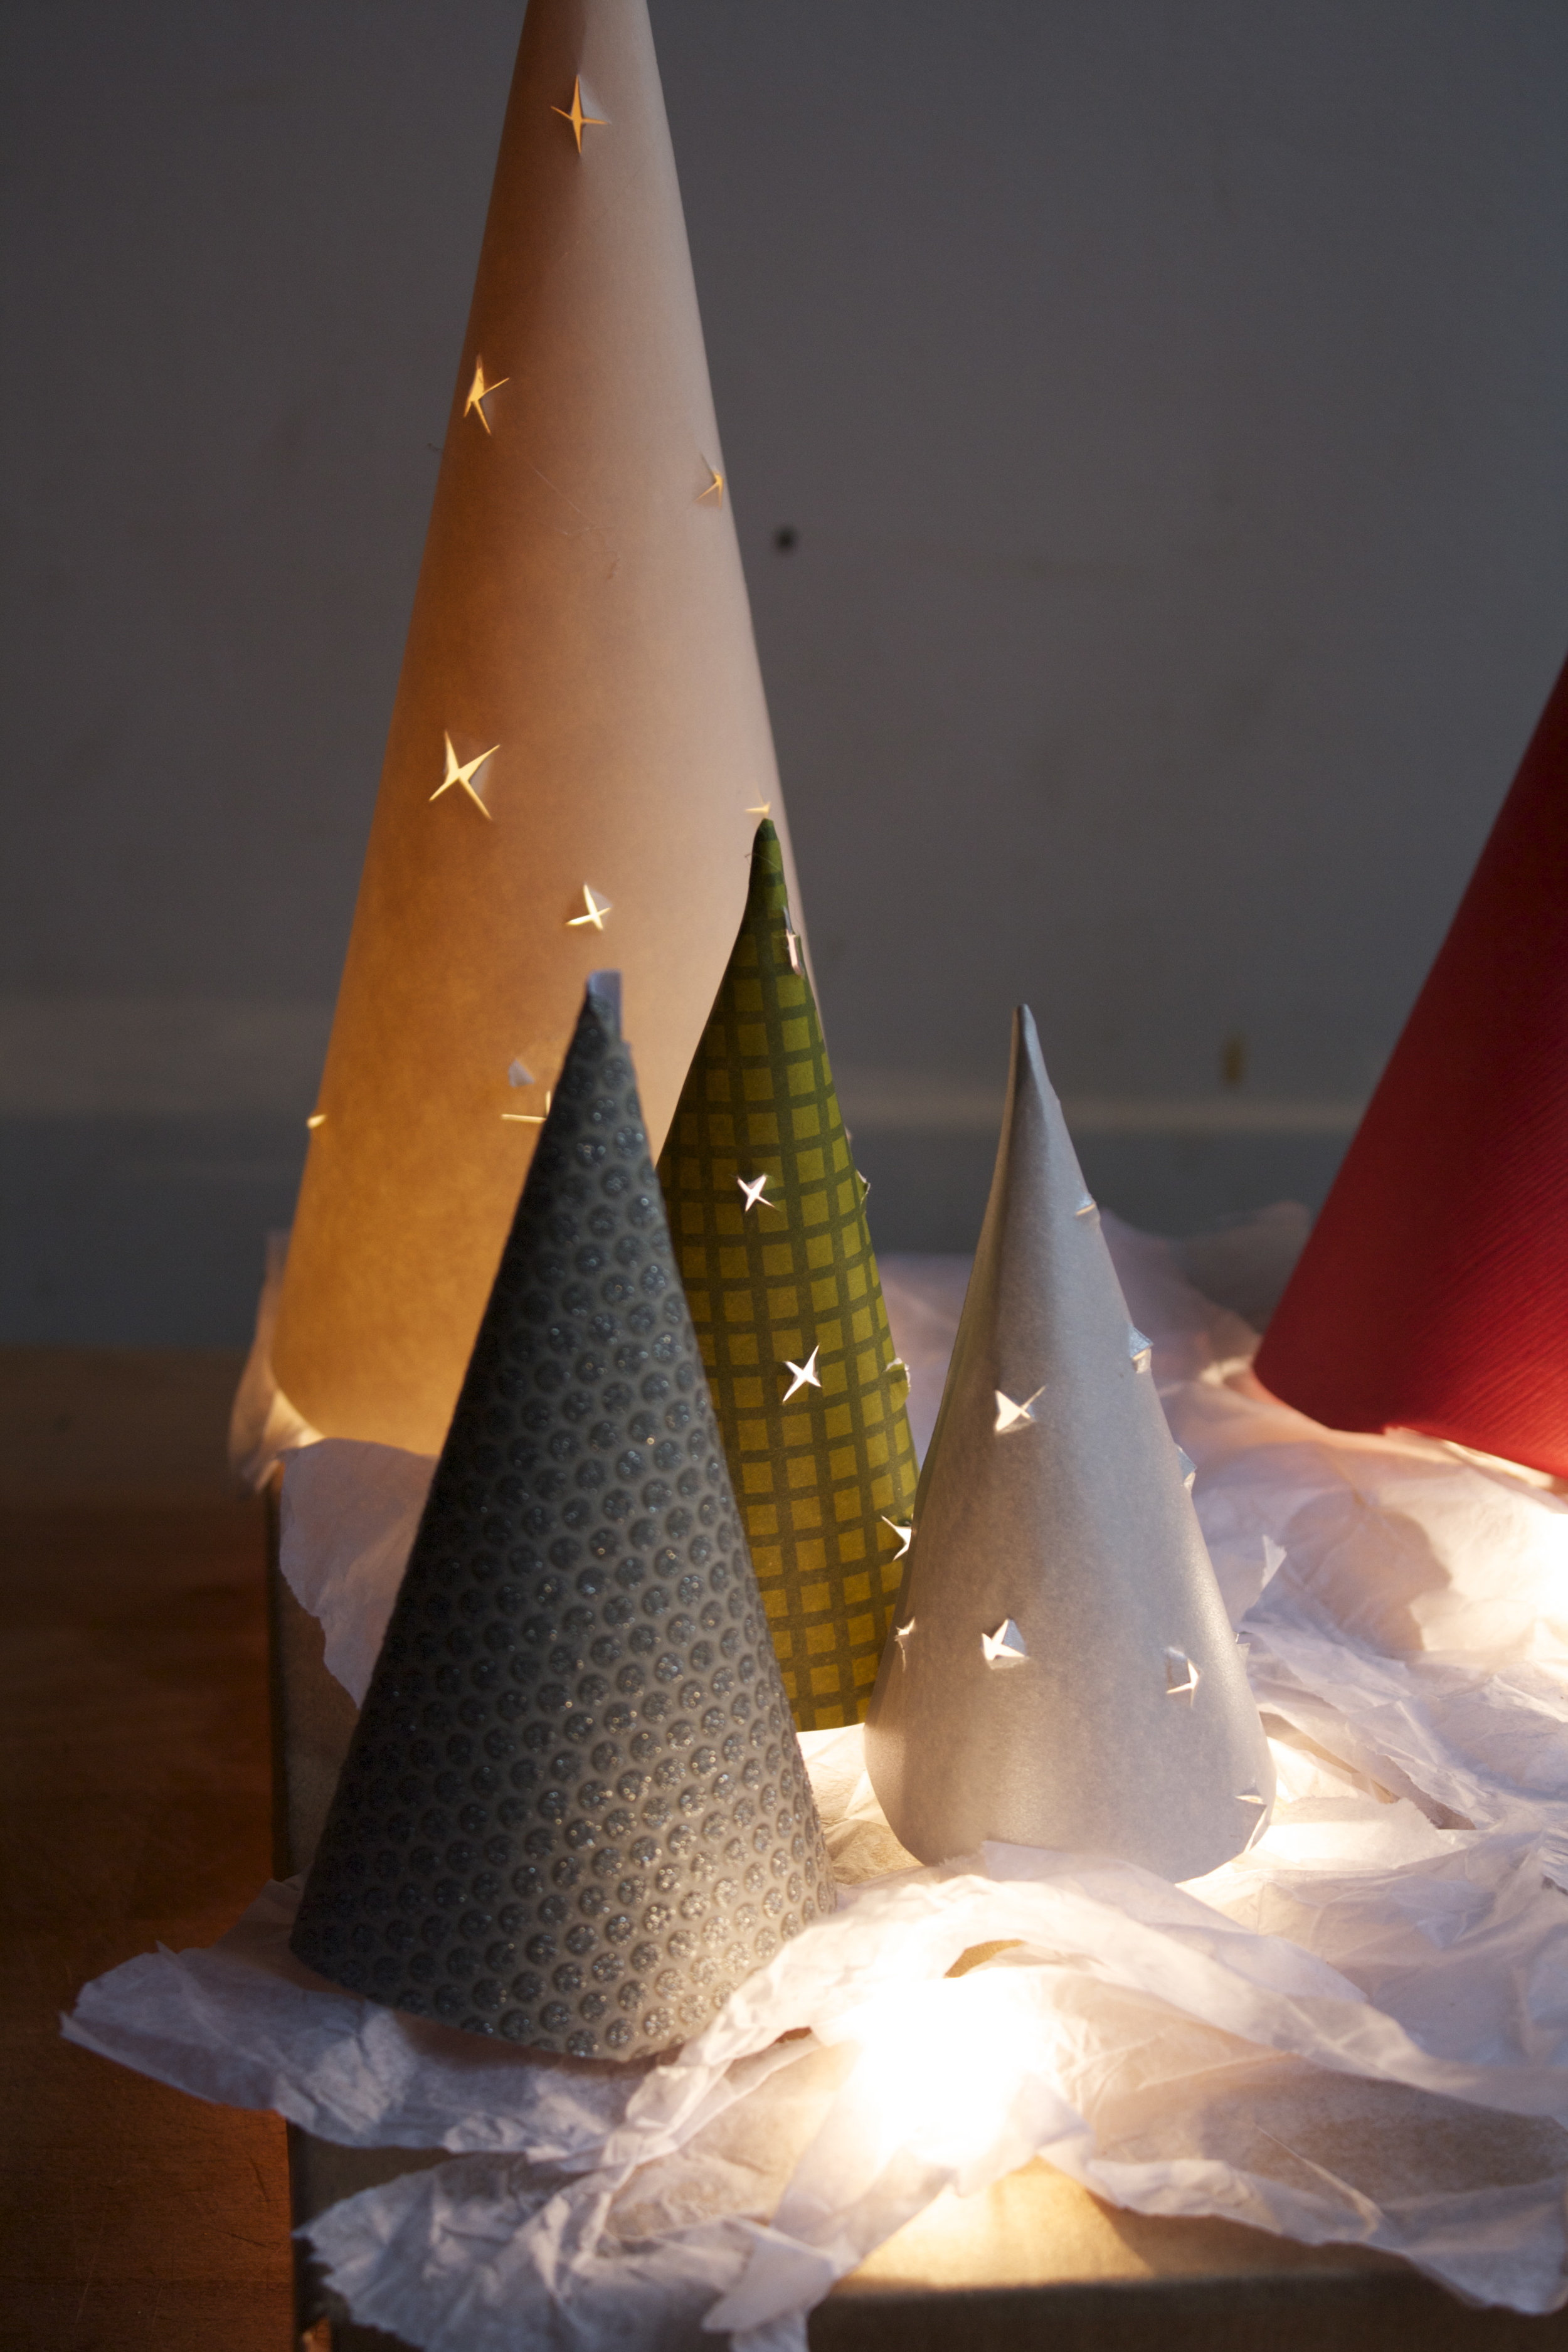
Now you check it out!!! Love it right? And stop here if you like, or go one more step and add some fake snow.
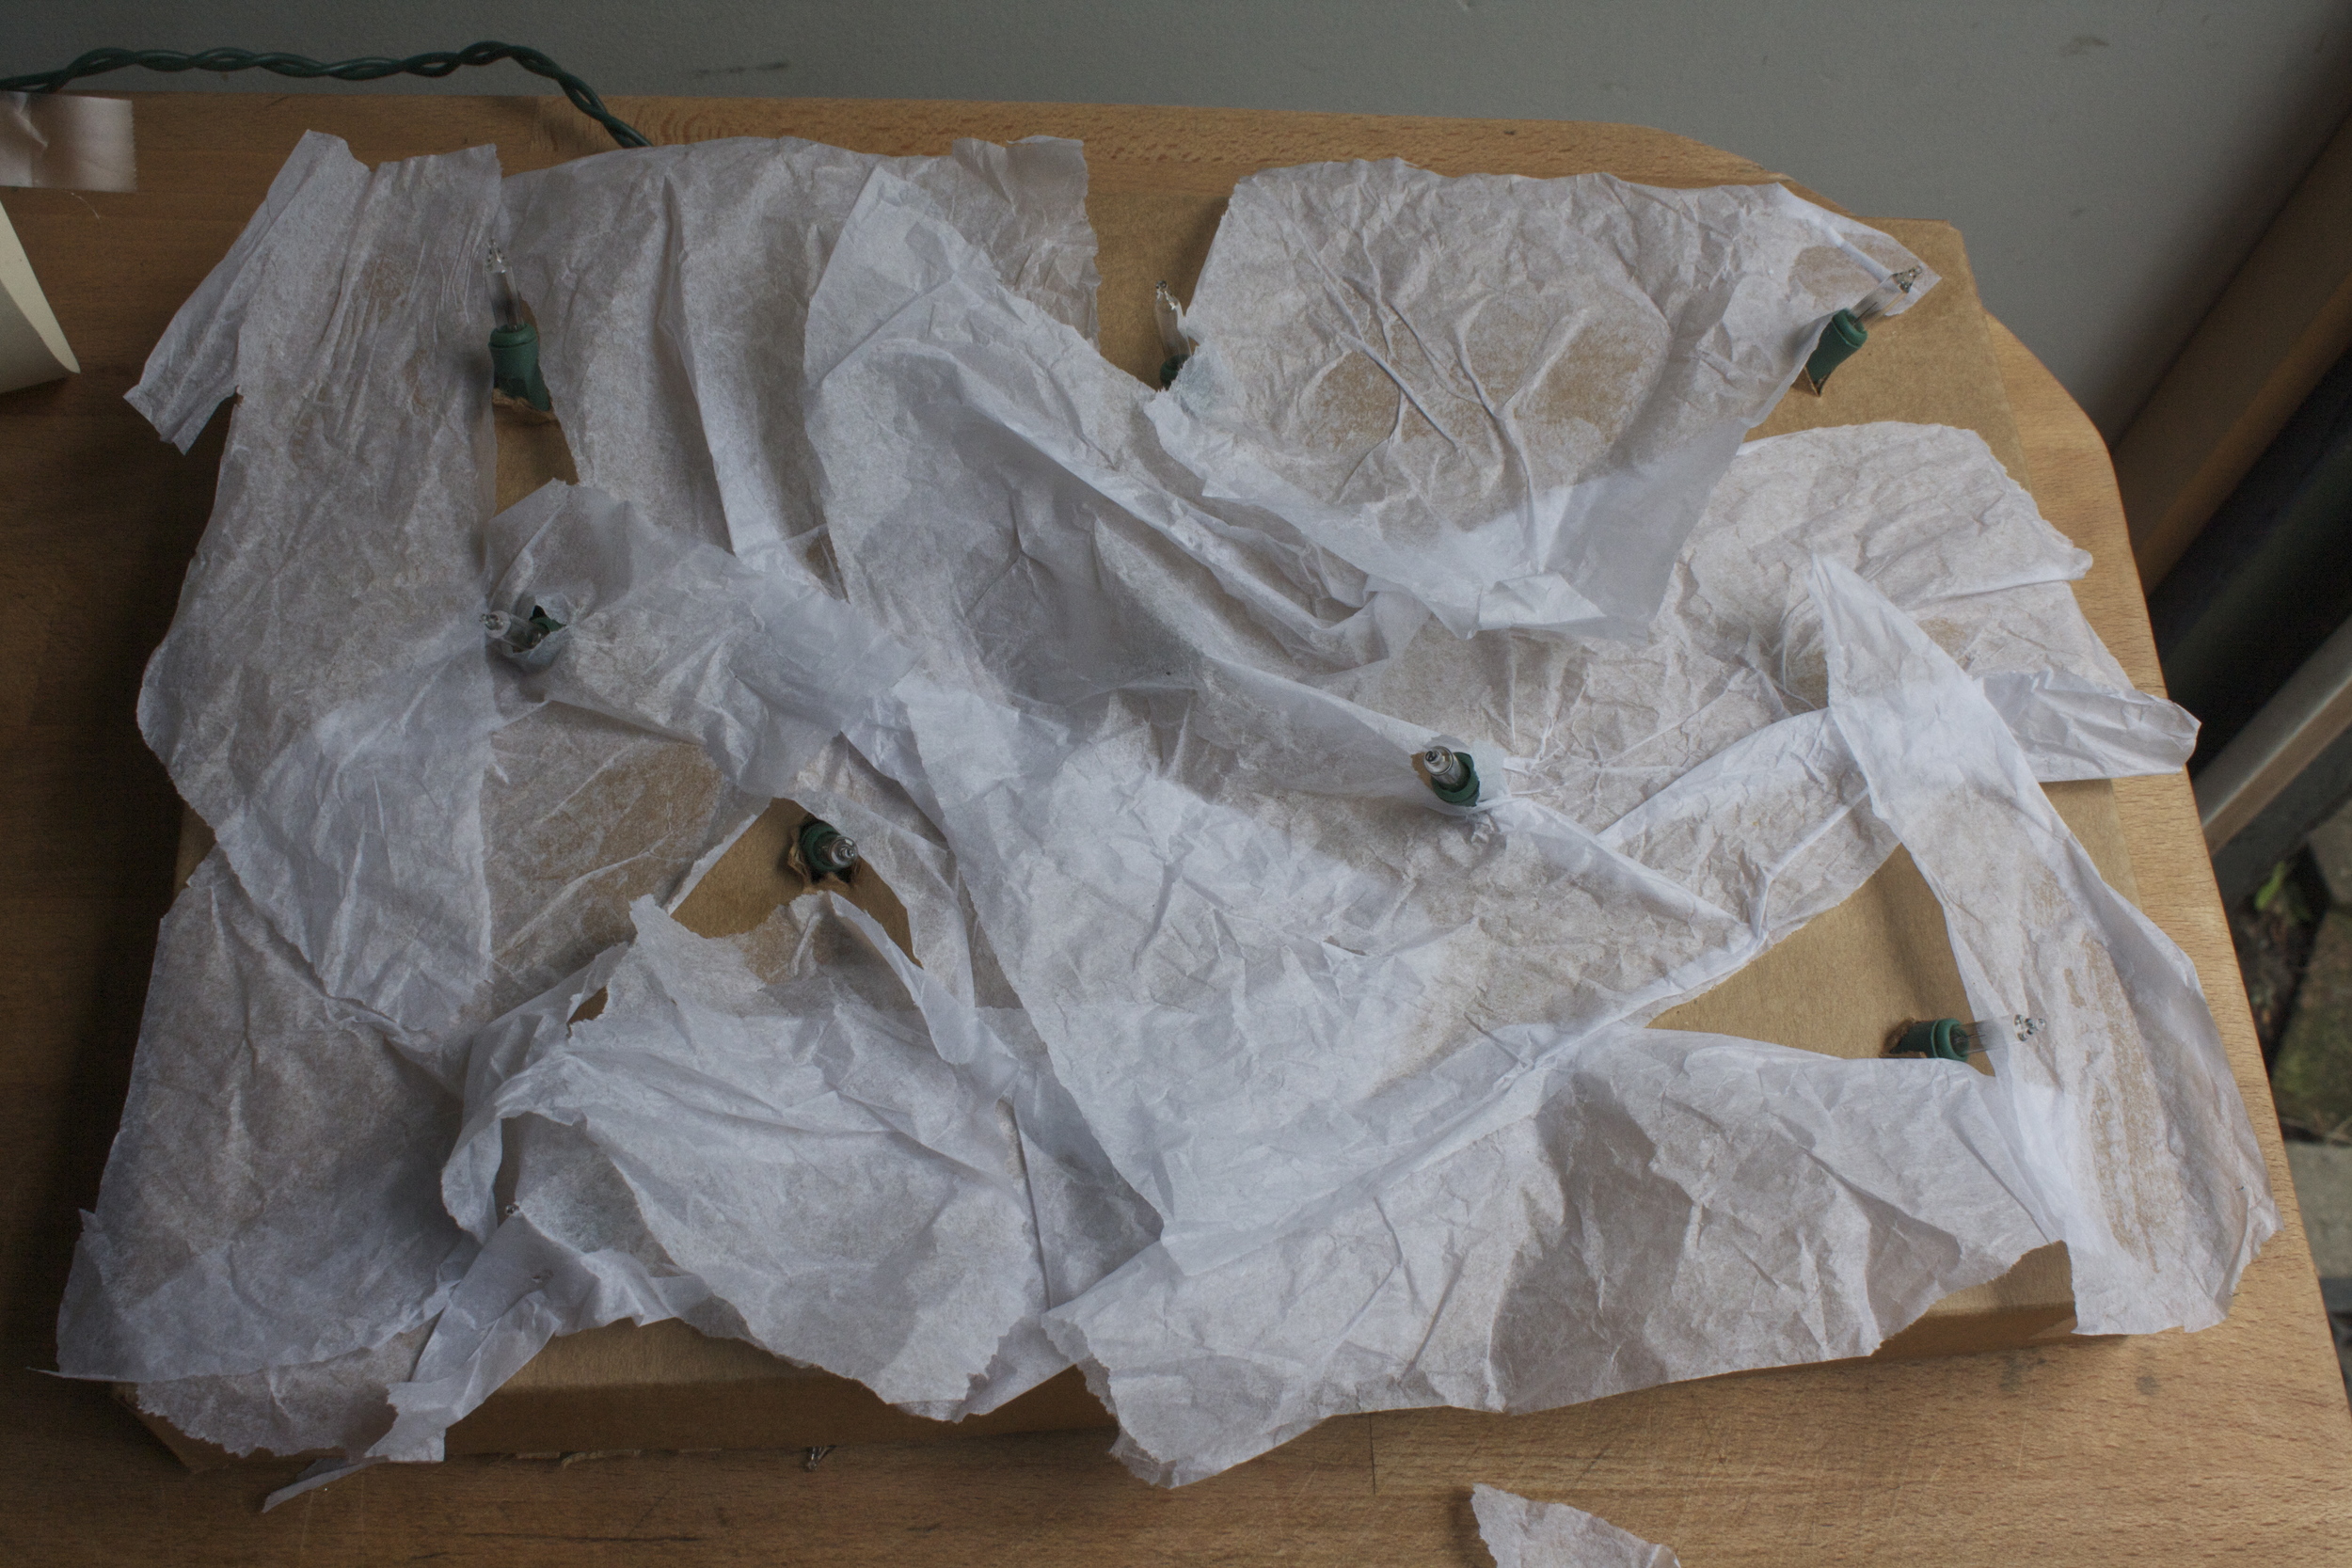
Before you tape down the trees, take glue stick and glue random pieces of tissue paper all over the box, leaving the lights uncovered. (I covered over the extra lights I popped through to make it look like glowing snow)

Stick trees back on.. same way with the tape (You might need to fanagle the trees a little bit to get them to stay) and plug it in.

Ooooh...... Aaaaahhhh
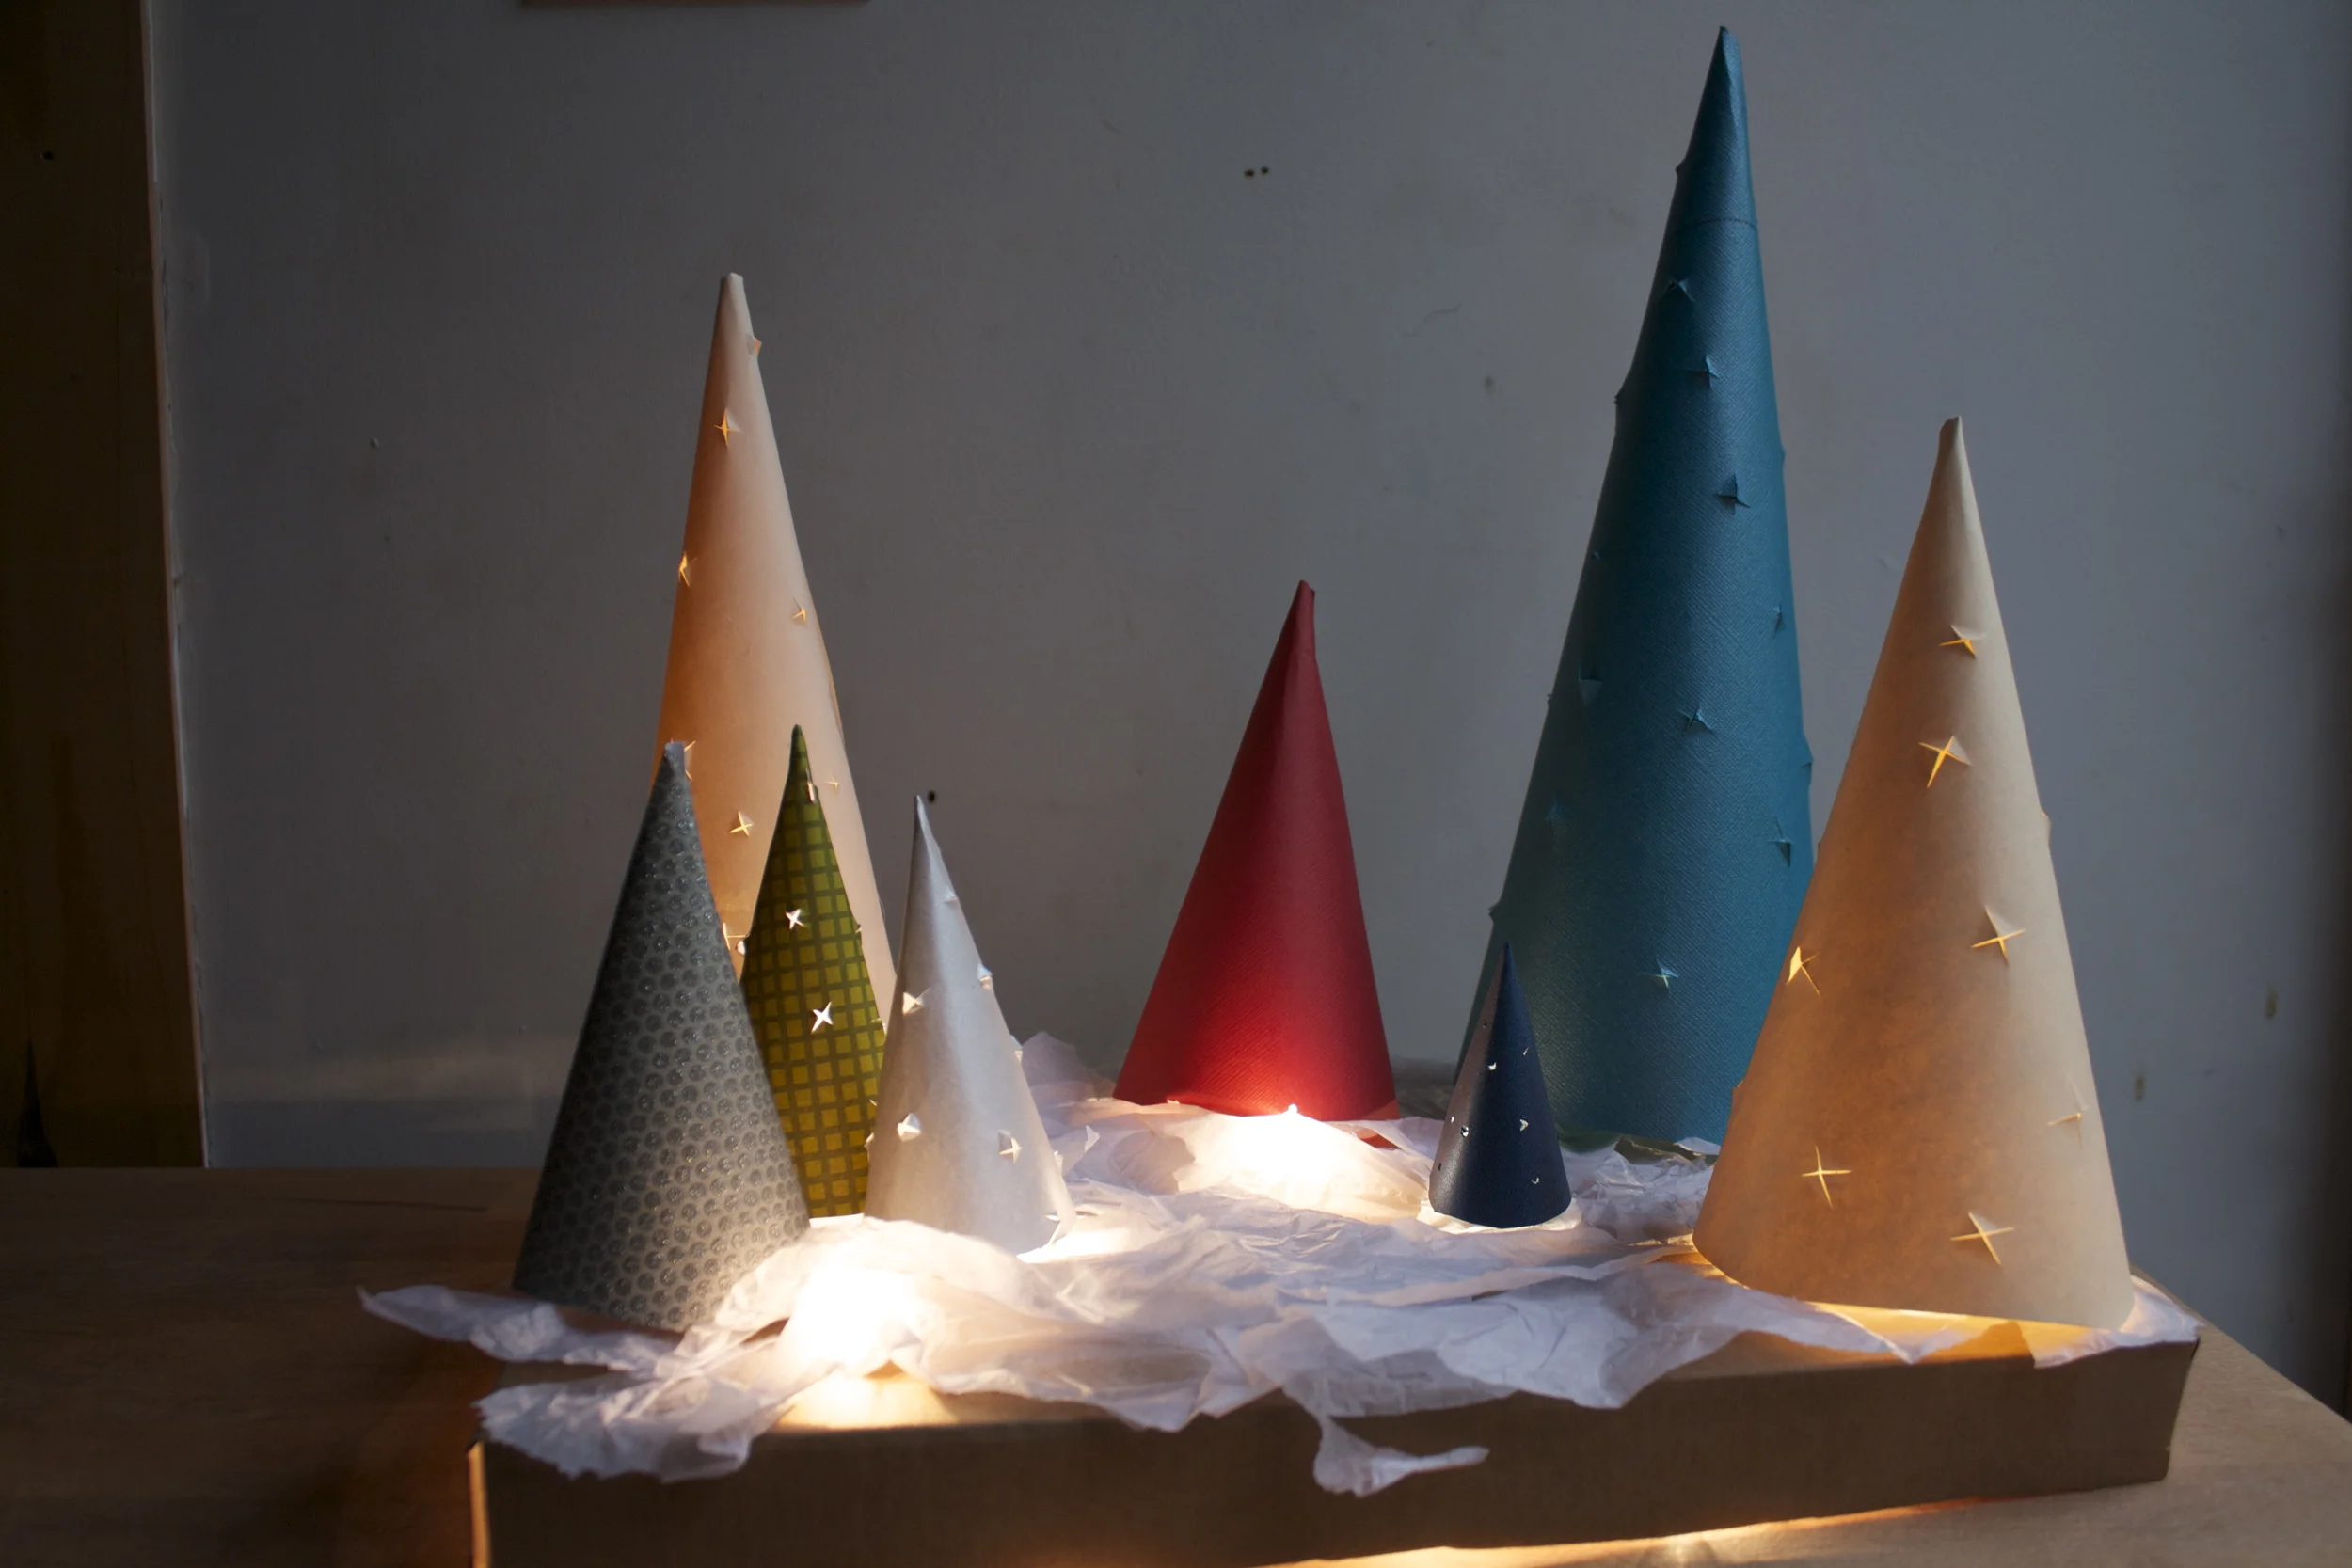
This makes me happy.
Now go get some paper and start making some trees.
Have fun!
-C


 To start, take you main color of fleece and cut into a mountainy triangle shape. You can go tall and skinny or short and fat….. any shape you want. If you feel like you need to make a paper template and use that to cut, go for it, but I don't think you really need to.
 Cut the piece for the peak in a jagged up and down pattern. Place right side up onto the base of the mountain and trim away excess fabric.
 Using the zig zag stitch on your machine, sew the jagged edges of the mountain peak right side up onto the right side of the mountain. Go slowly, but don't worry about making it perfect, just make sure to sew over all the jagged edges.
  Now turn the two pieces right sides facing in on each other. Change the stitch on you machine to a straight stitch and sew around the perimeter of the mountain, leaving a small hole in the bottom.
 Fold it right side out and stuff it. I started with little bits of the stuffing in each of the corners, then filled in the middle, it makes it easier to fill.