
Have you ever have lice as an adult? Wait hold on, let’s back up. No I don’t have lice, but I a few years ago I did and whoa that was some shit. (Thats what happens when you hang with littles all the time.) This week my head starting itching like crazy so there was a minute when I thought I might have gotten them again. But I have had it checked, a few times, and it is just dry skin. From all the hats. Because it has been pretty chilly and I have been cold. So no lice, just hats and cold weather making my head itch. Phew!
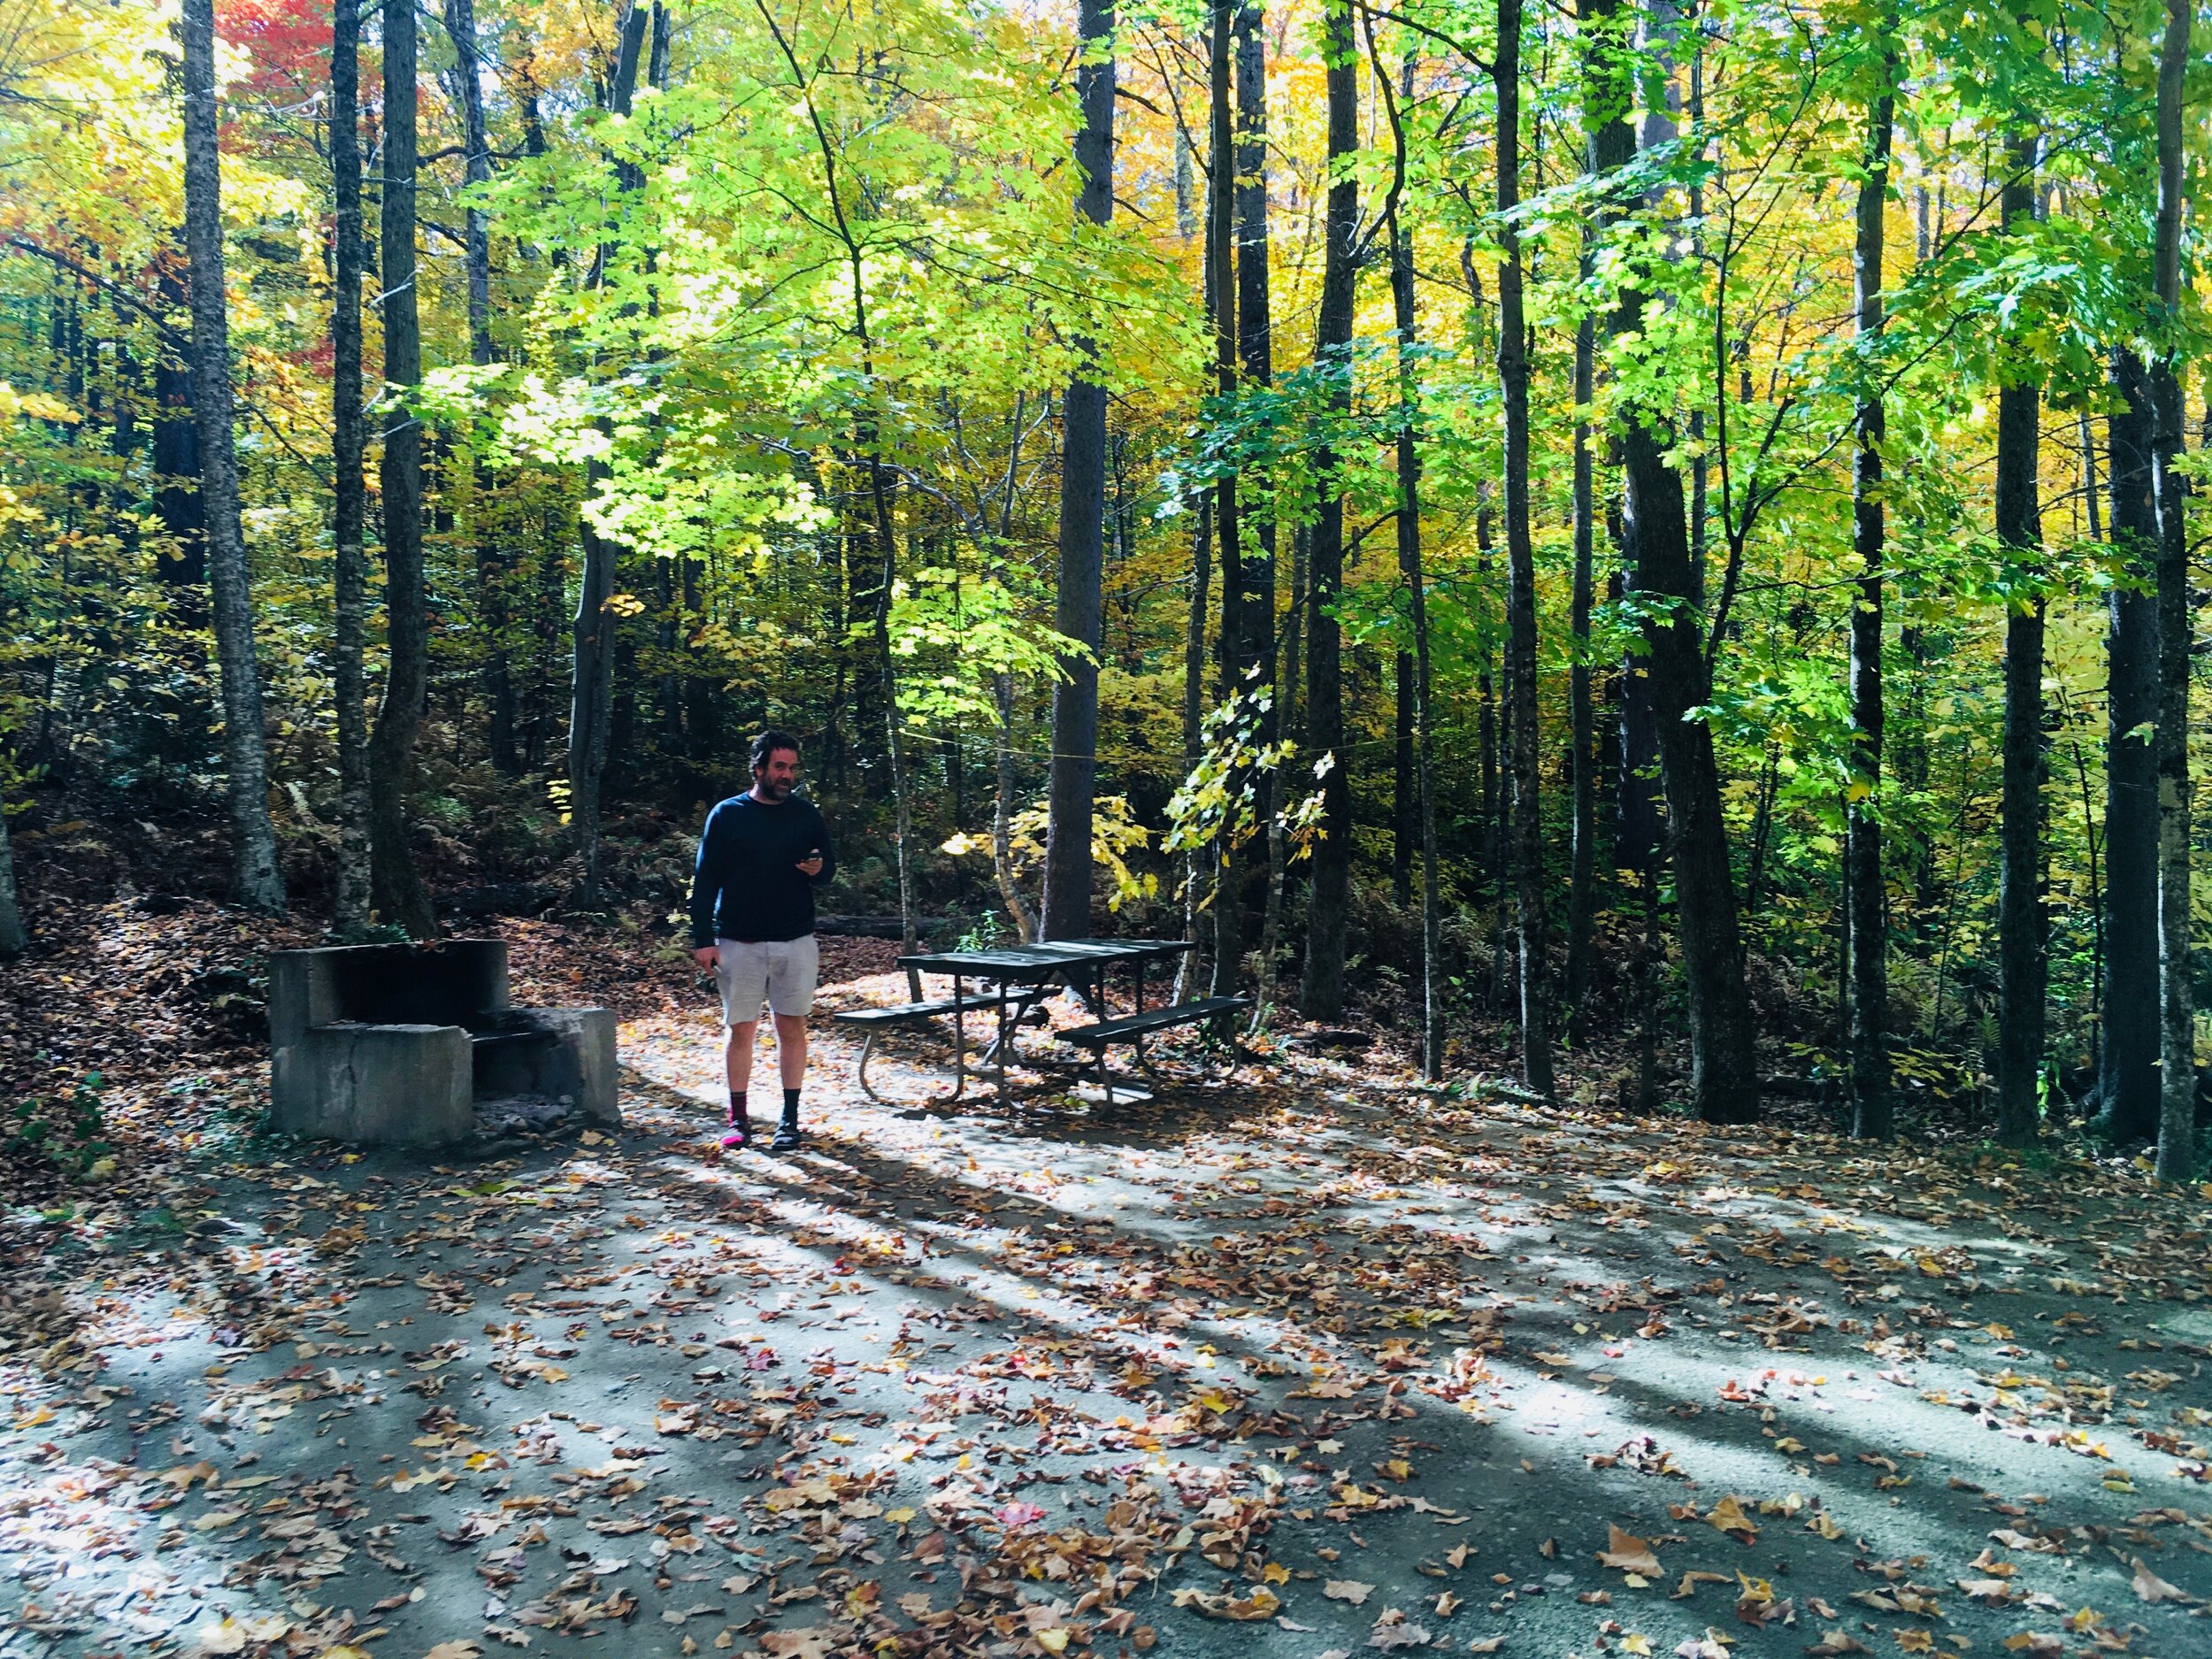
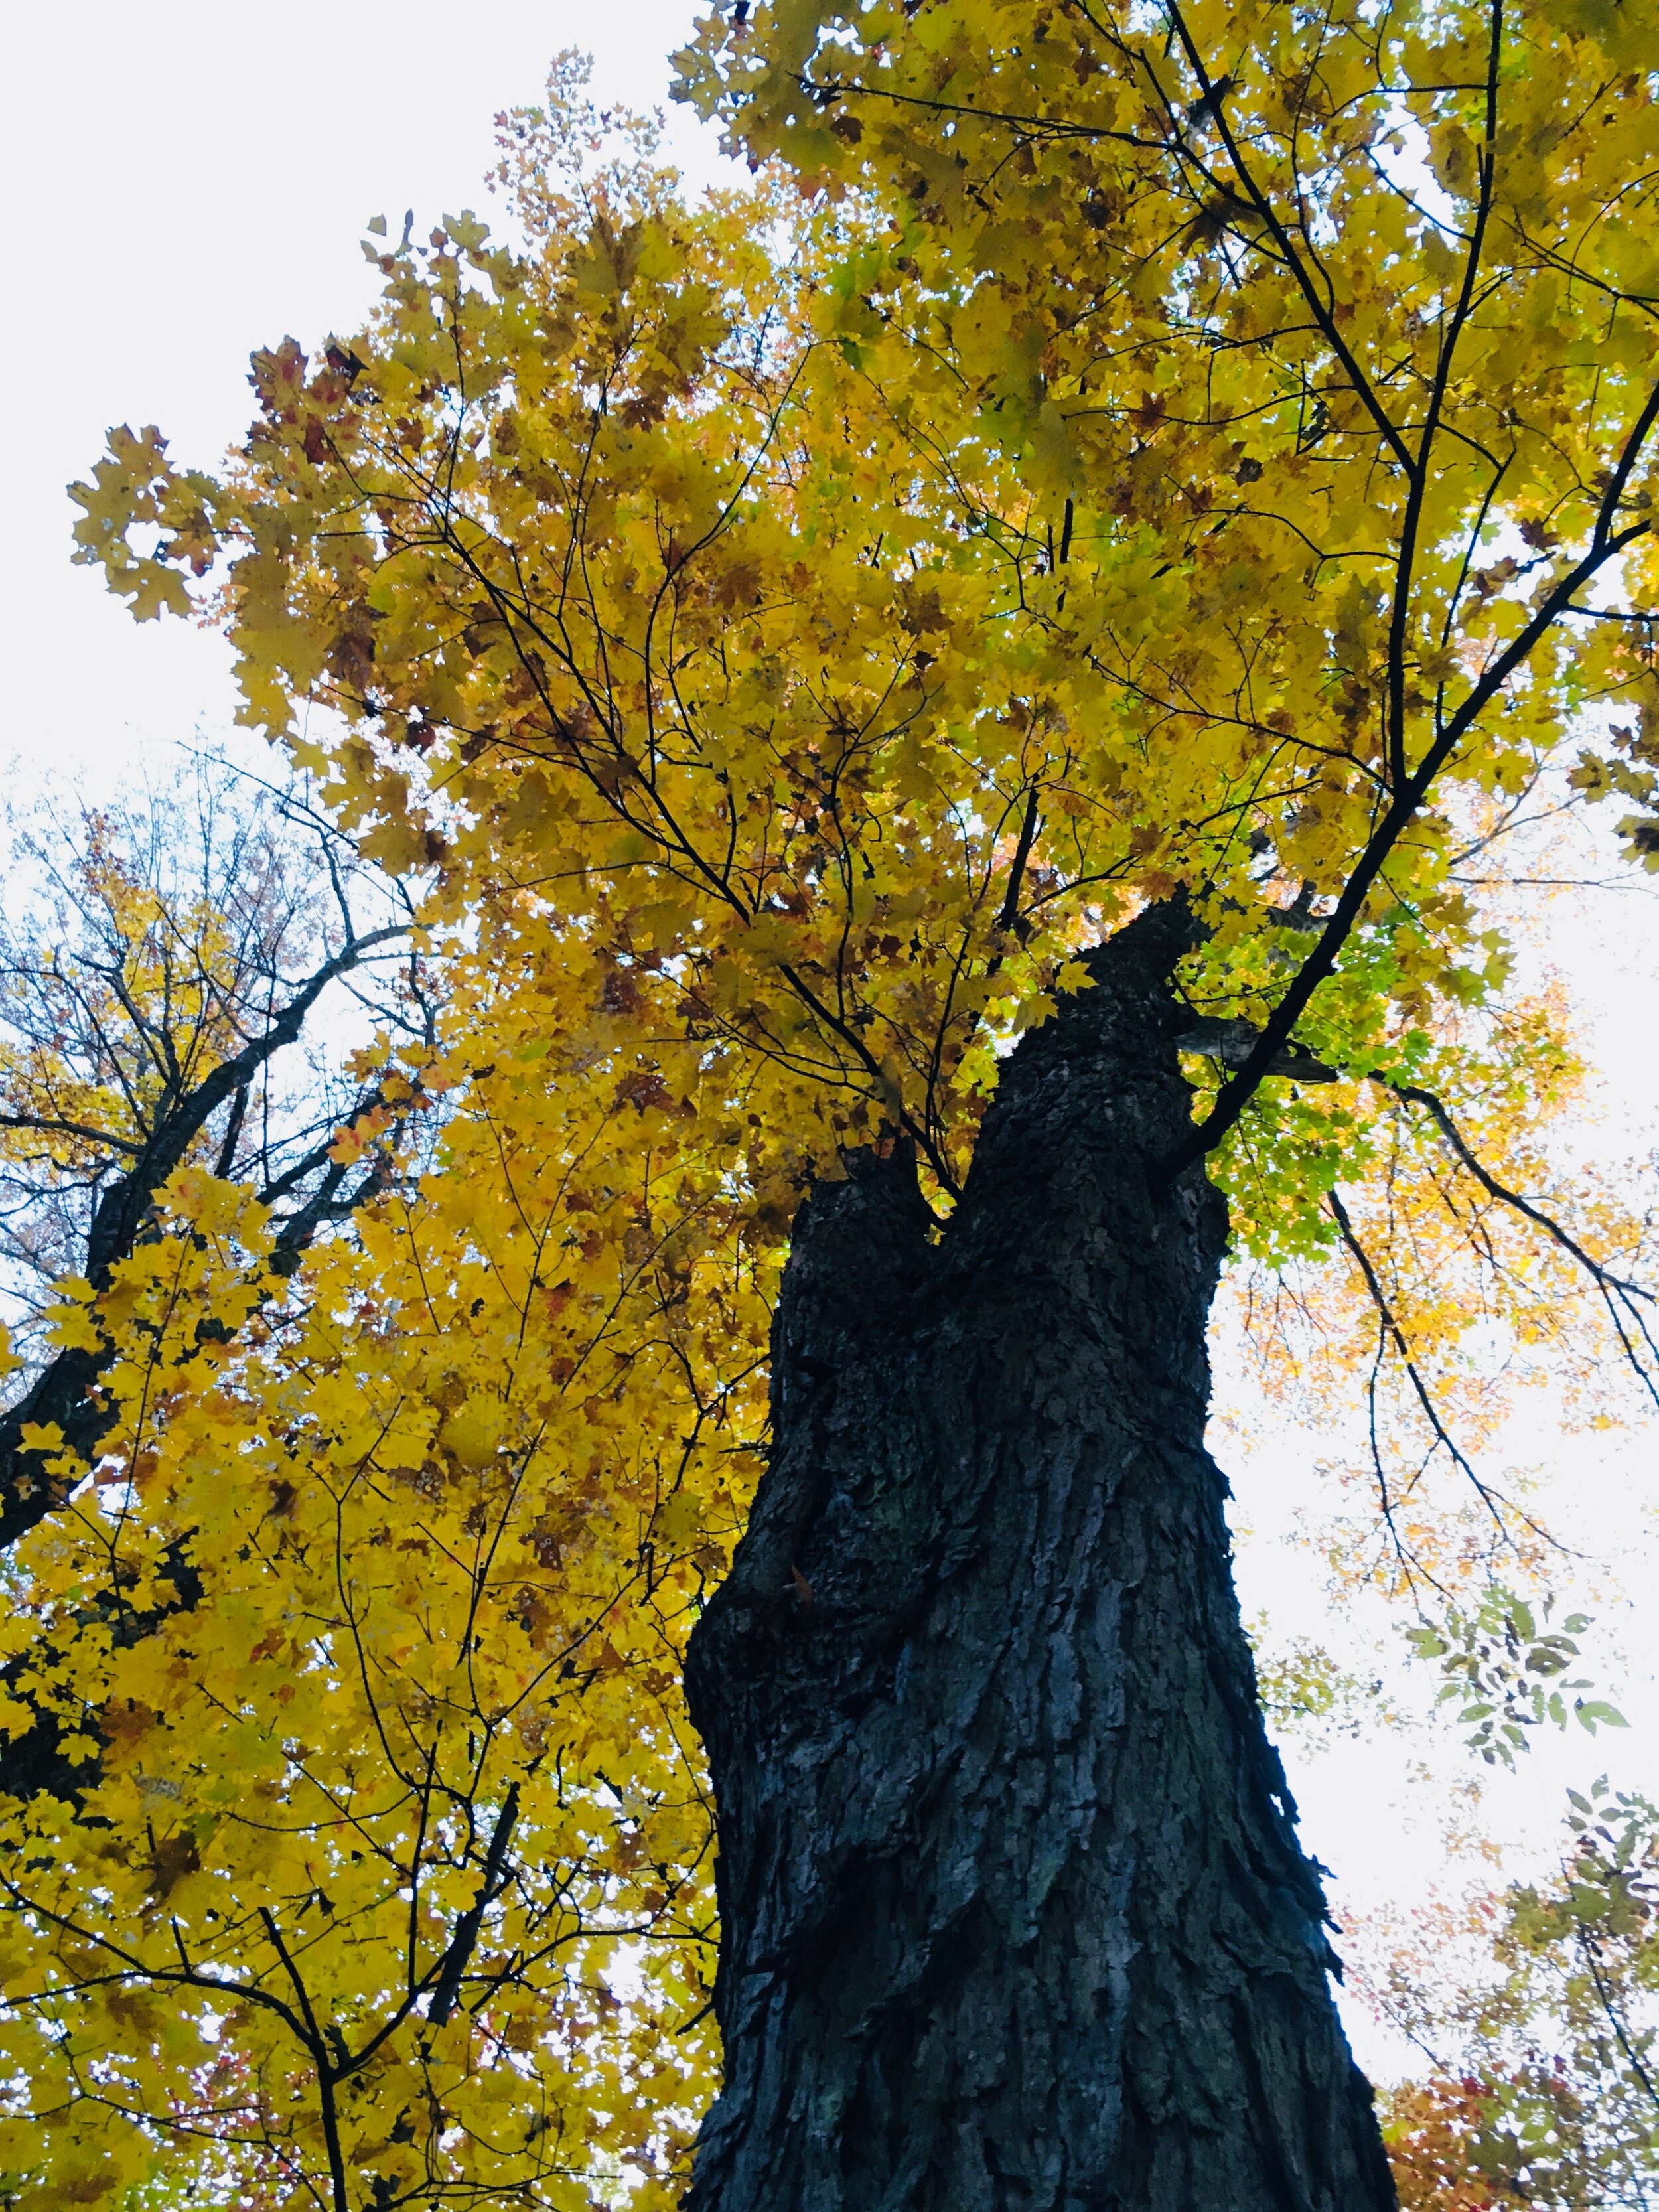
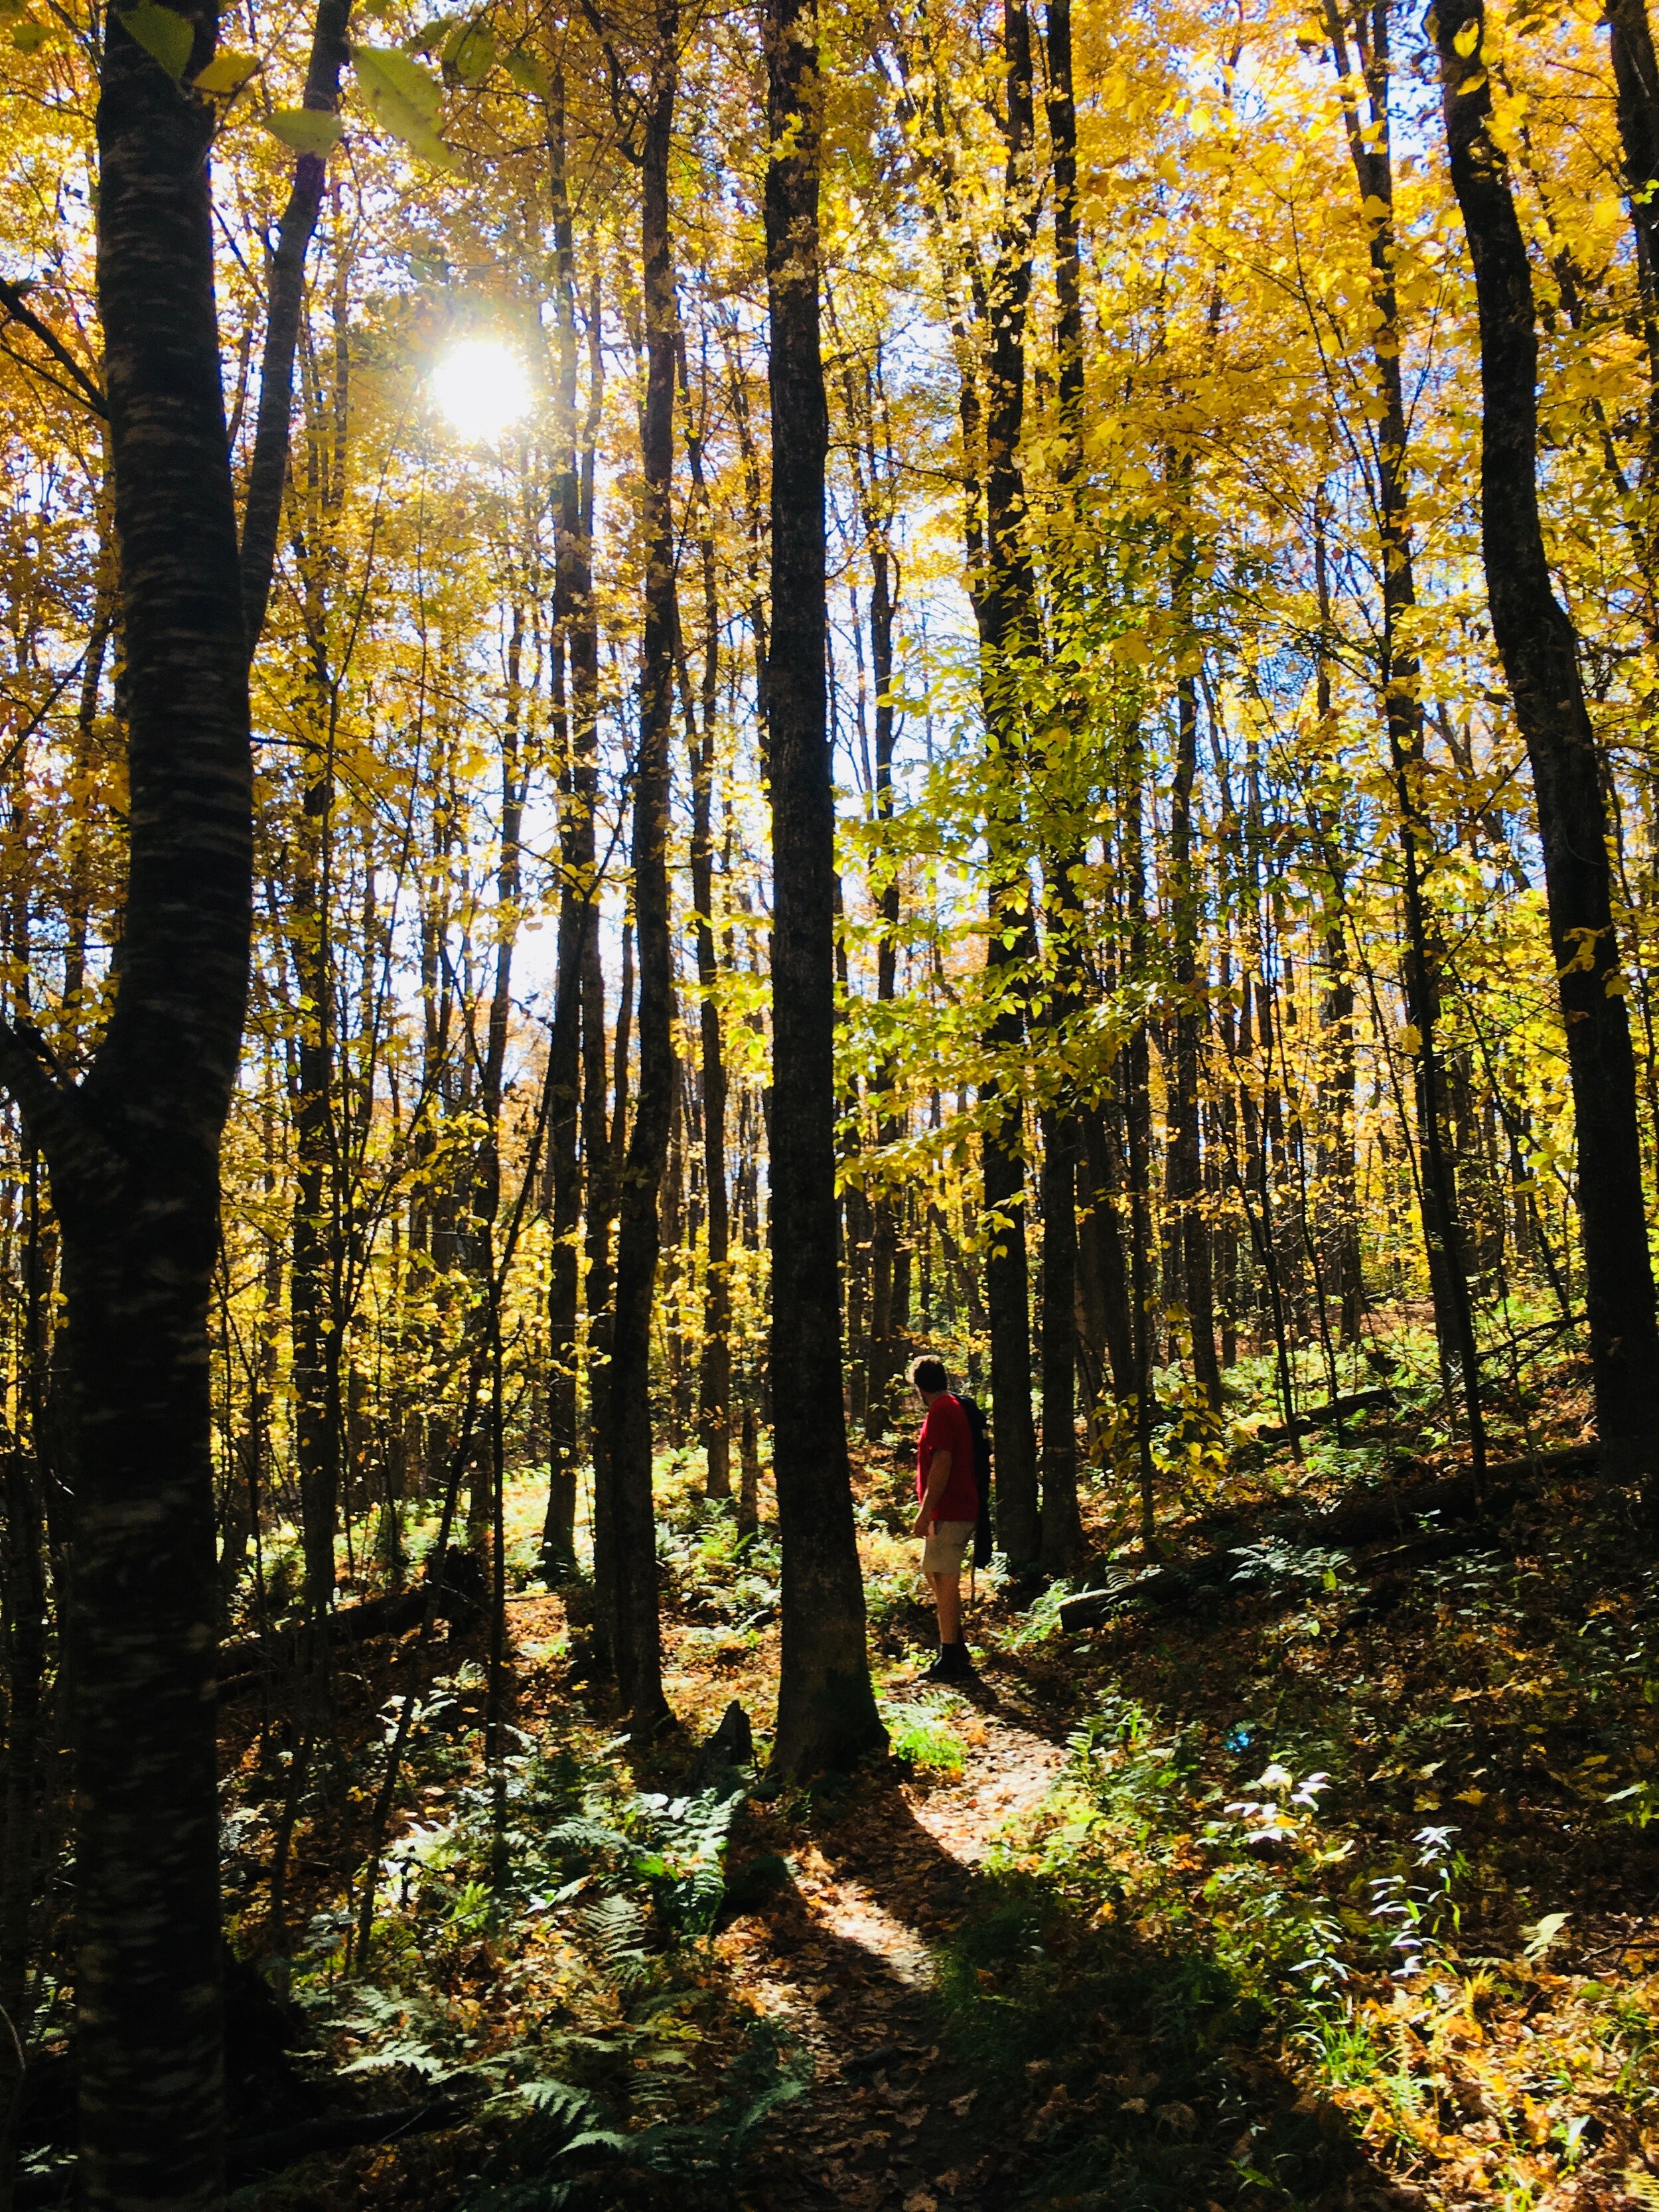
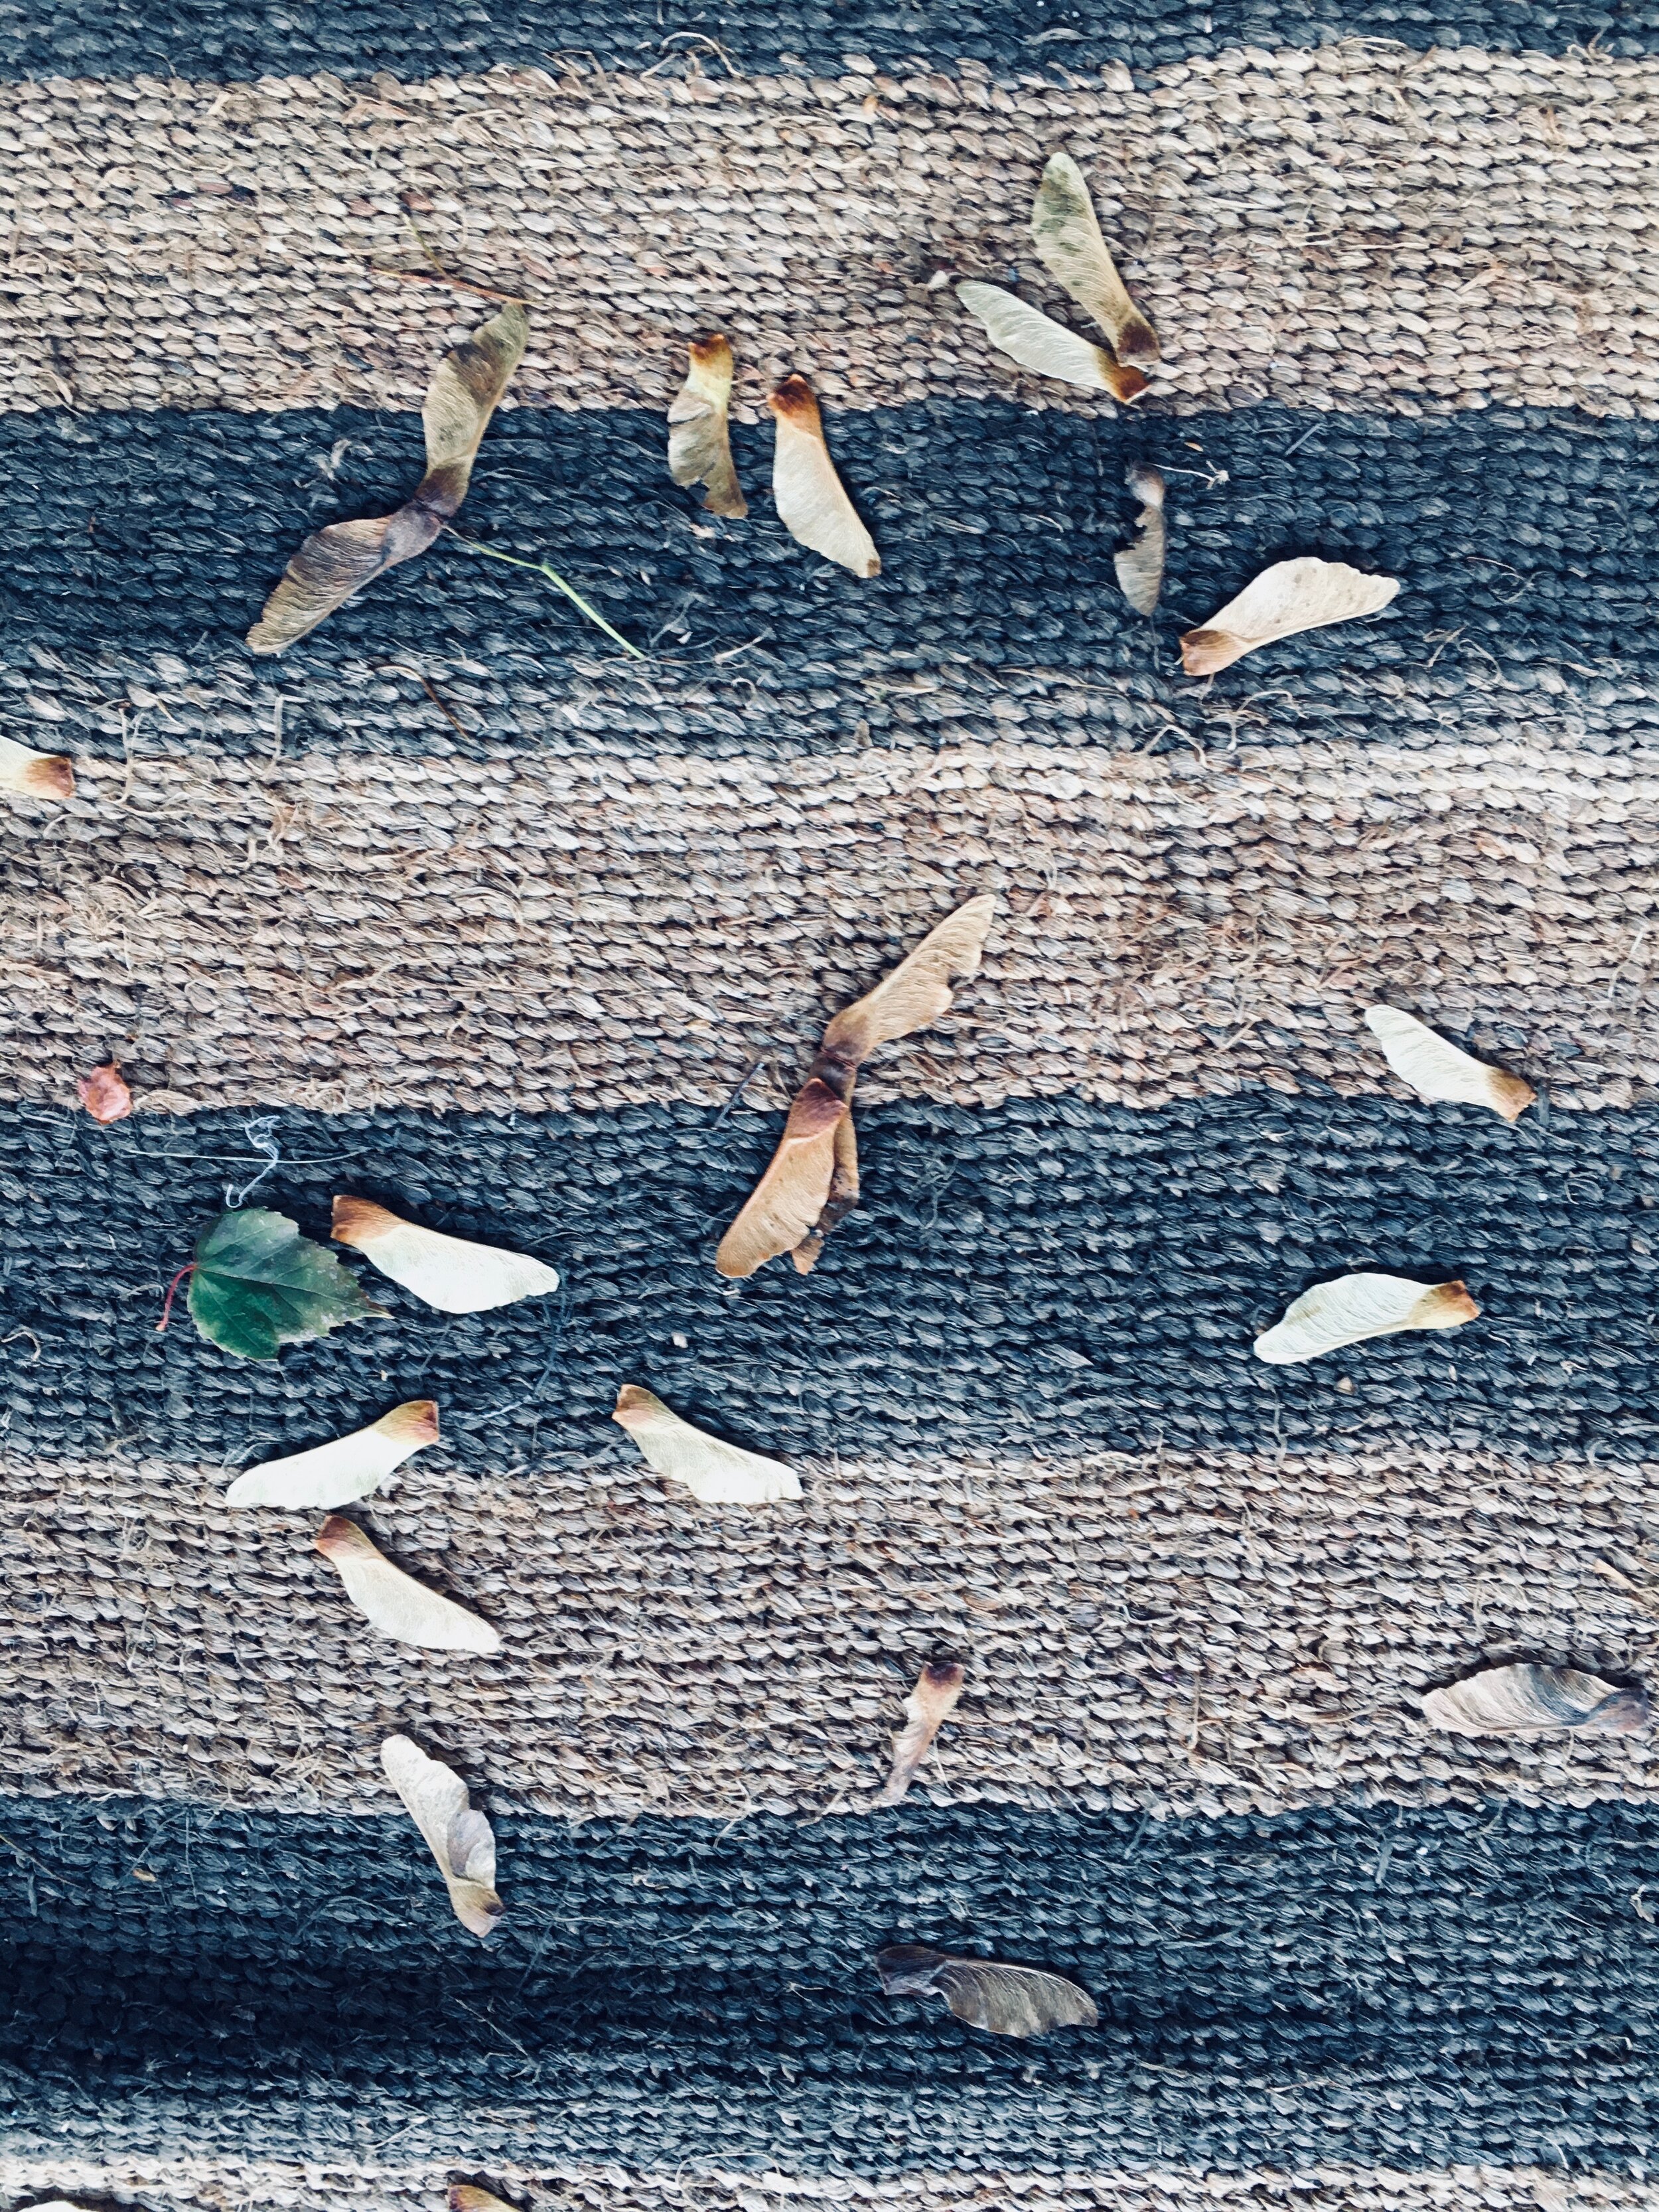
Anyway, week was up and down. Started off with camping which was amazing. The drive alone down there (Cooliadge State Park) was freaking fantastic. The peak of foliage and oh boy was it peak. And then when we got to the campground, we went on a nice long hike in the most vibrant world of colors. That was a A+ hike fore sure. Then back to the campground to make fire, eat food, cuddle cause it was super duper cold (got to 33) and crawl into the tent for the night. Woke up, very cold, jumped in o the car and hit the road. Back to town we came.
Then another week of stuff. Life stuff. Not fun stuff. Very very stressful stuff. But stuff that needed dealing and is still being dealt with. Mostly the mr, but when the mr is ain’t happy, ain’t nobody happy (HAHA!) so it was kind of another pretty stressful week. And so that is life.
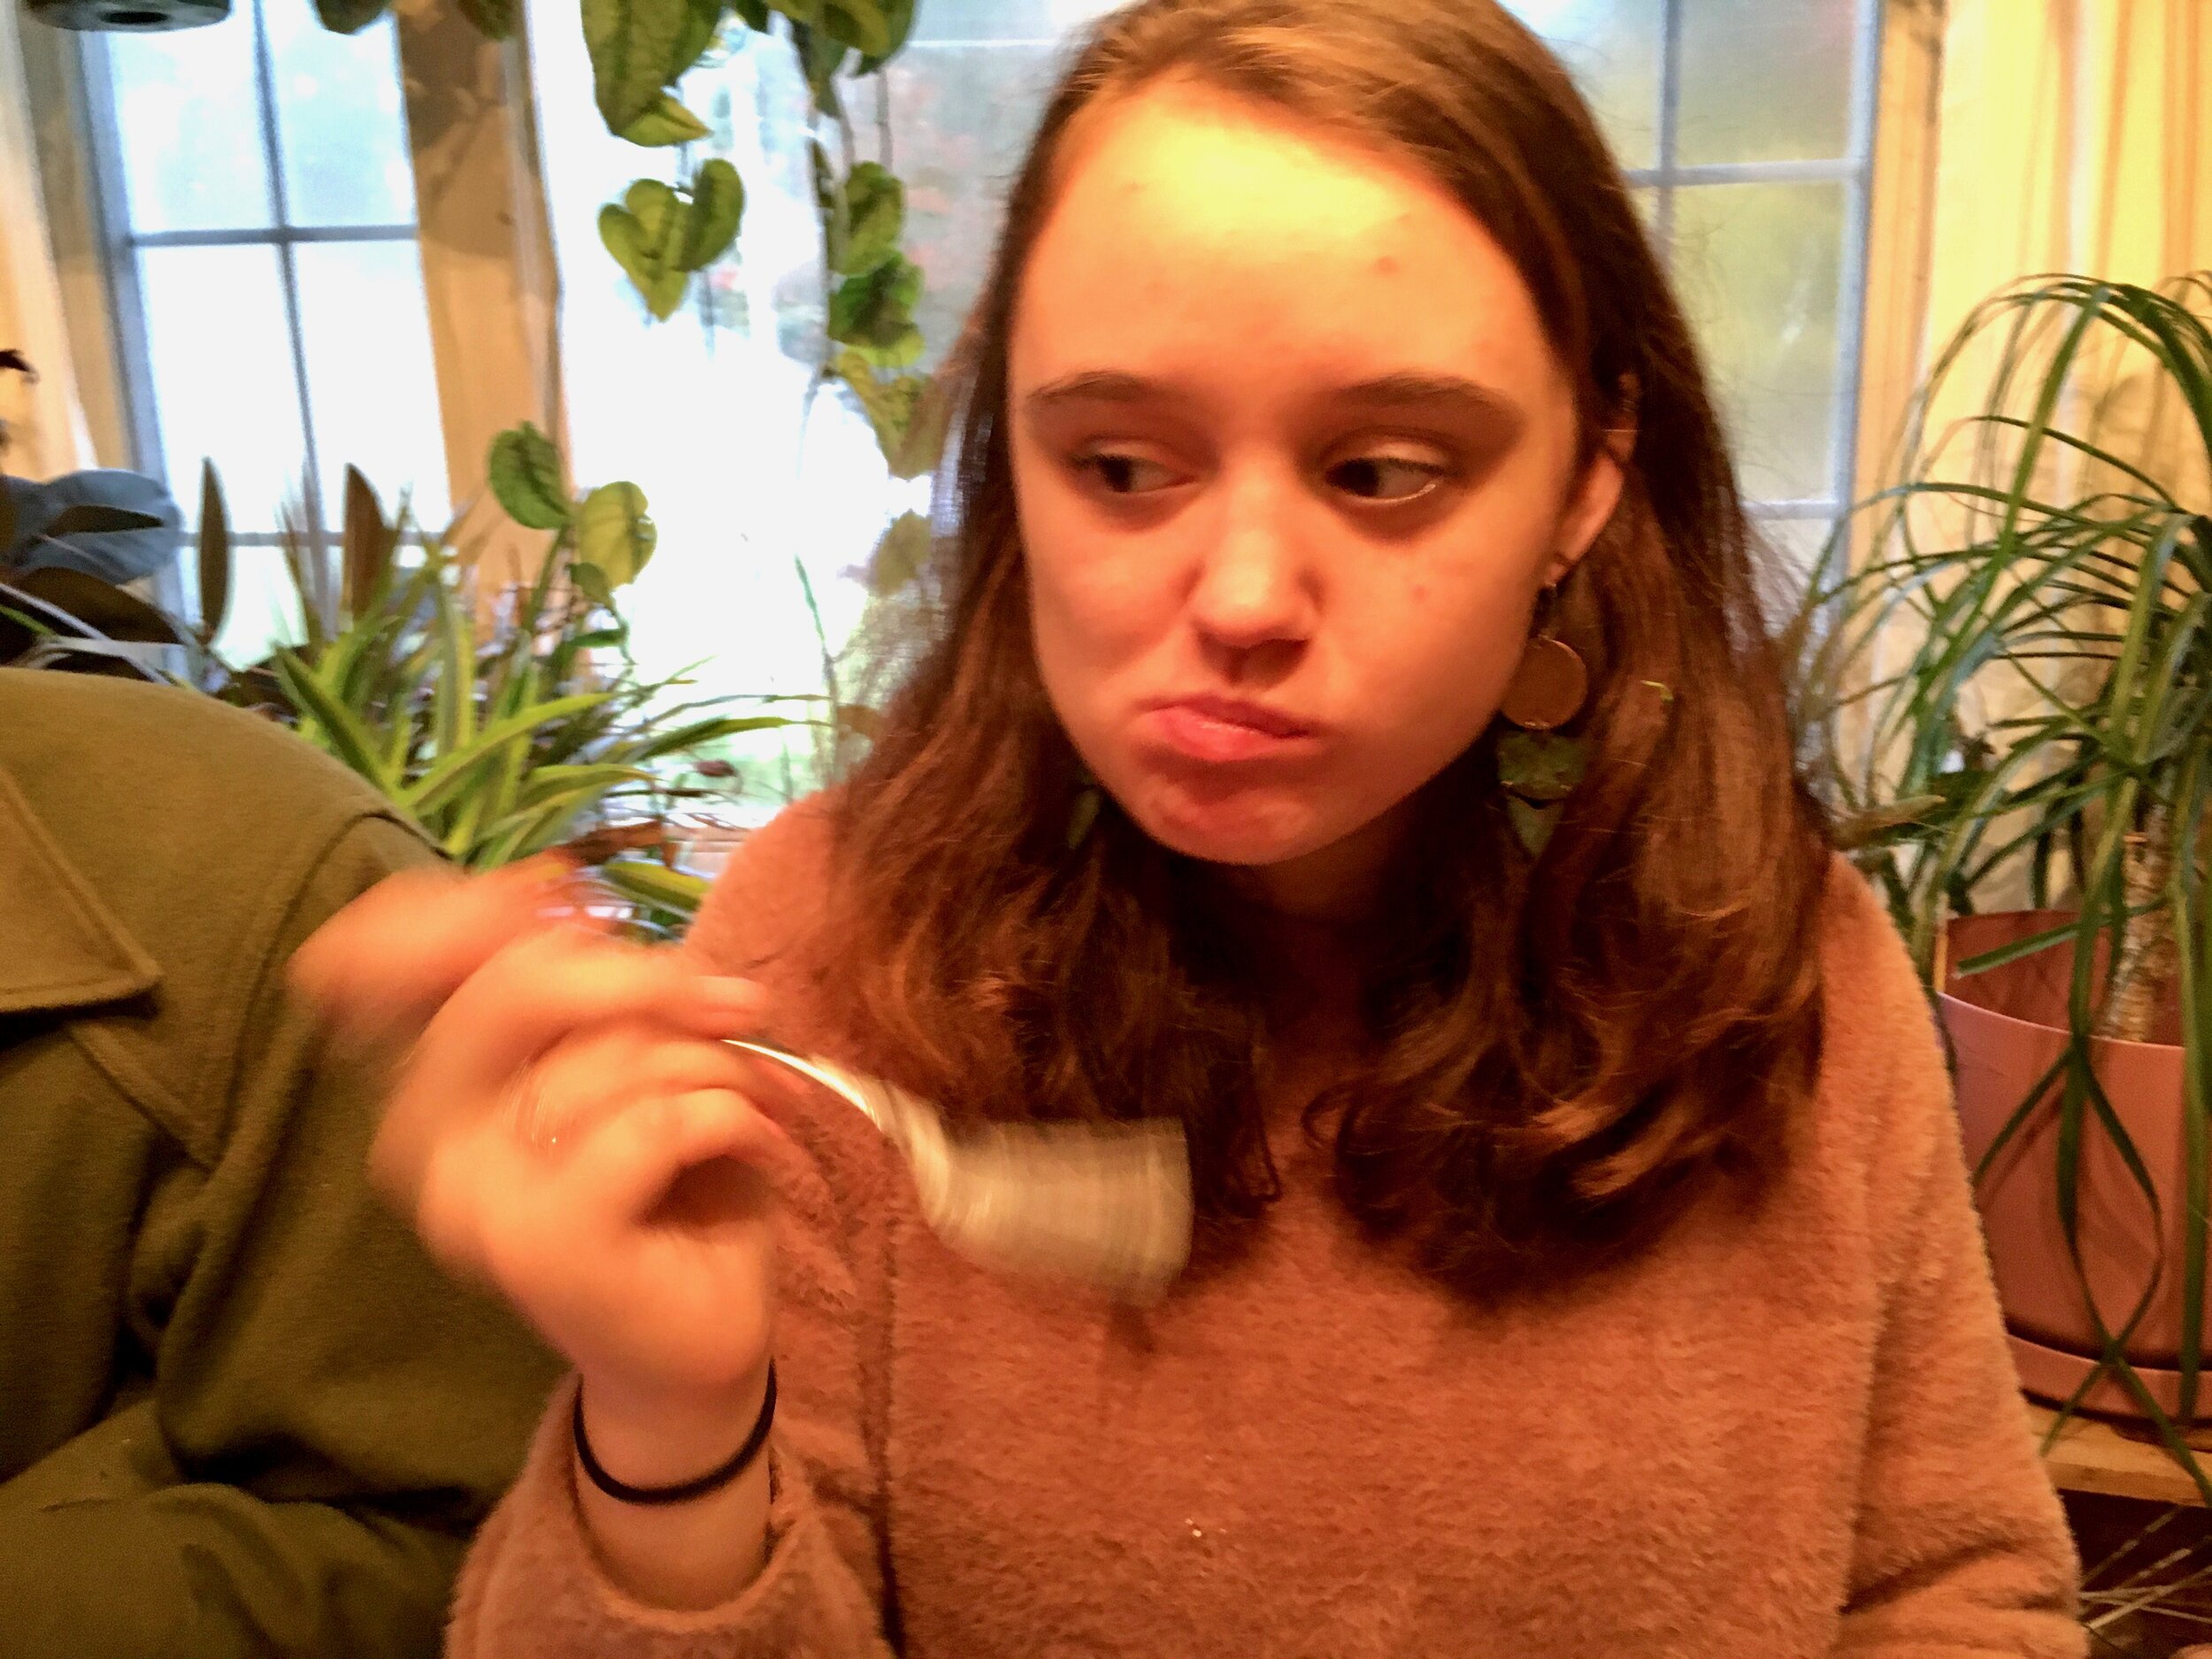
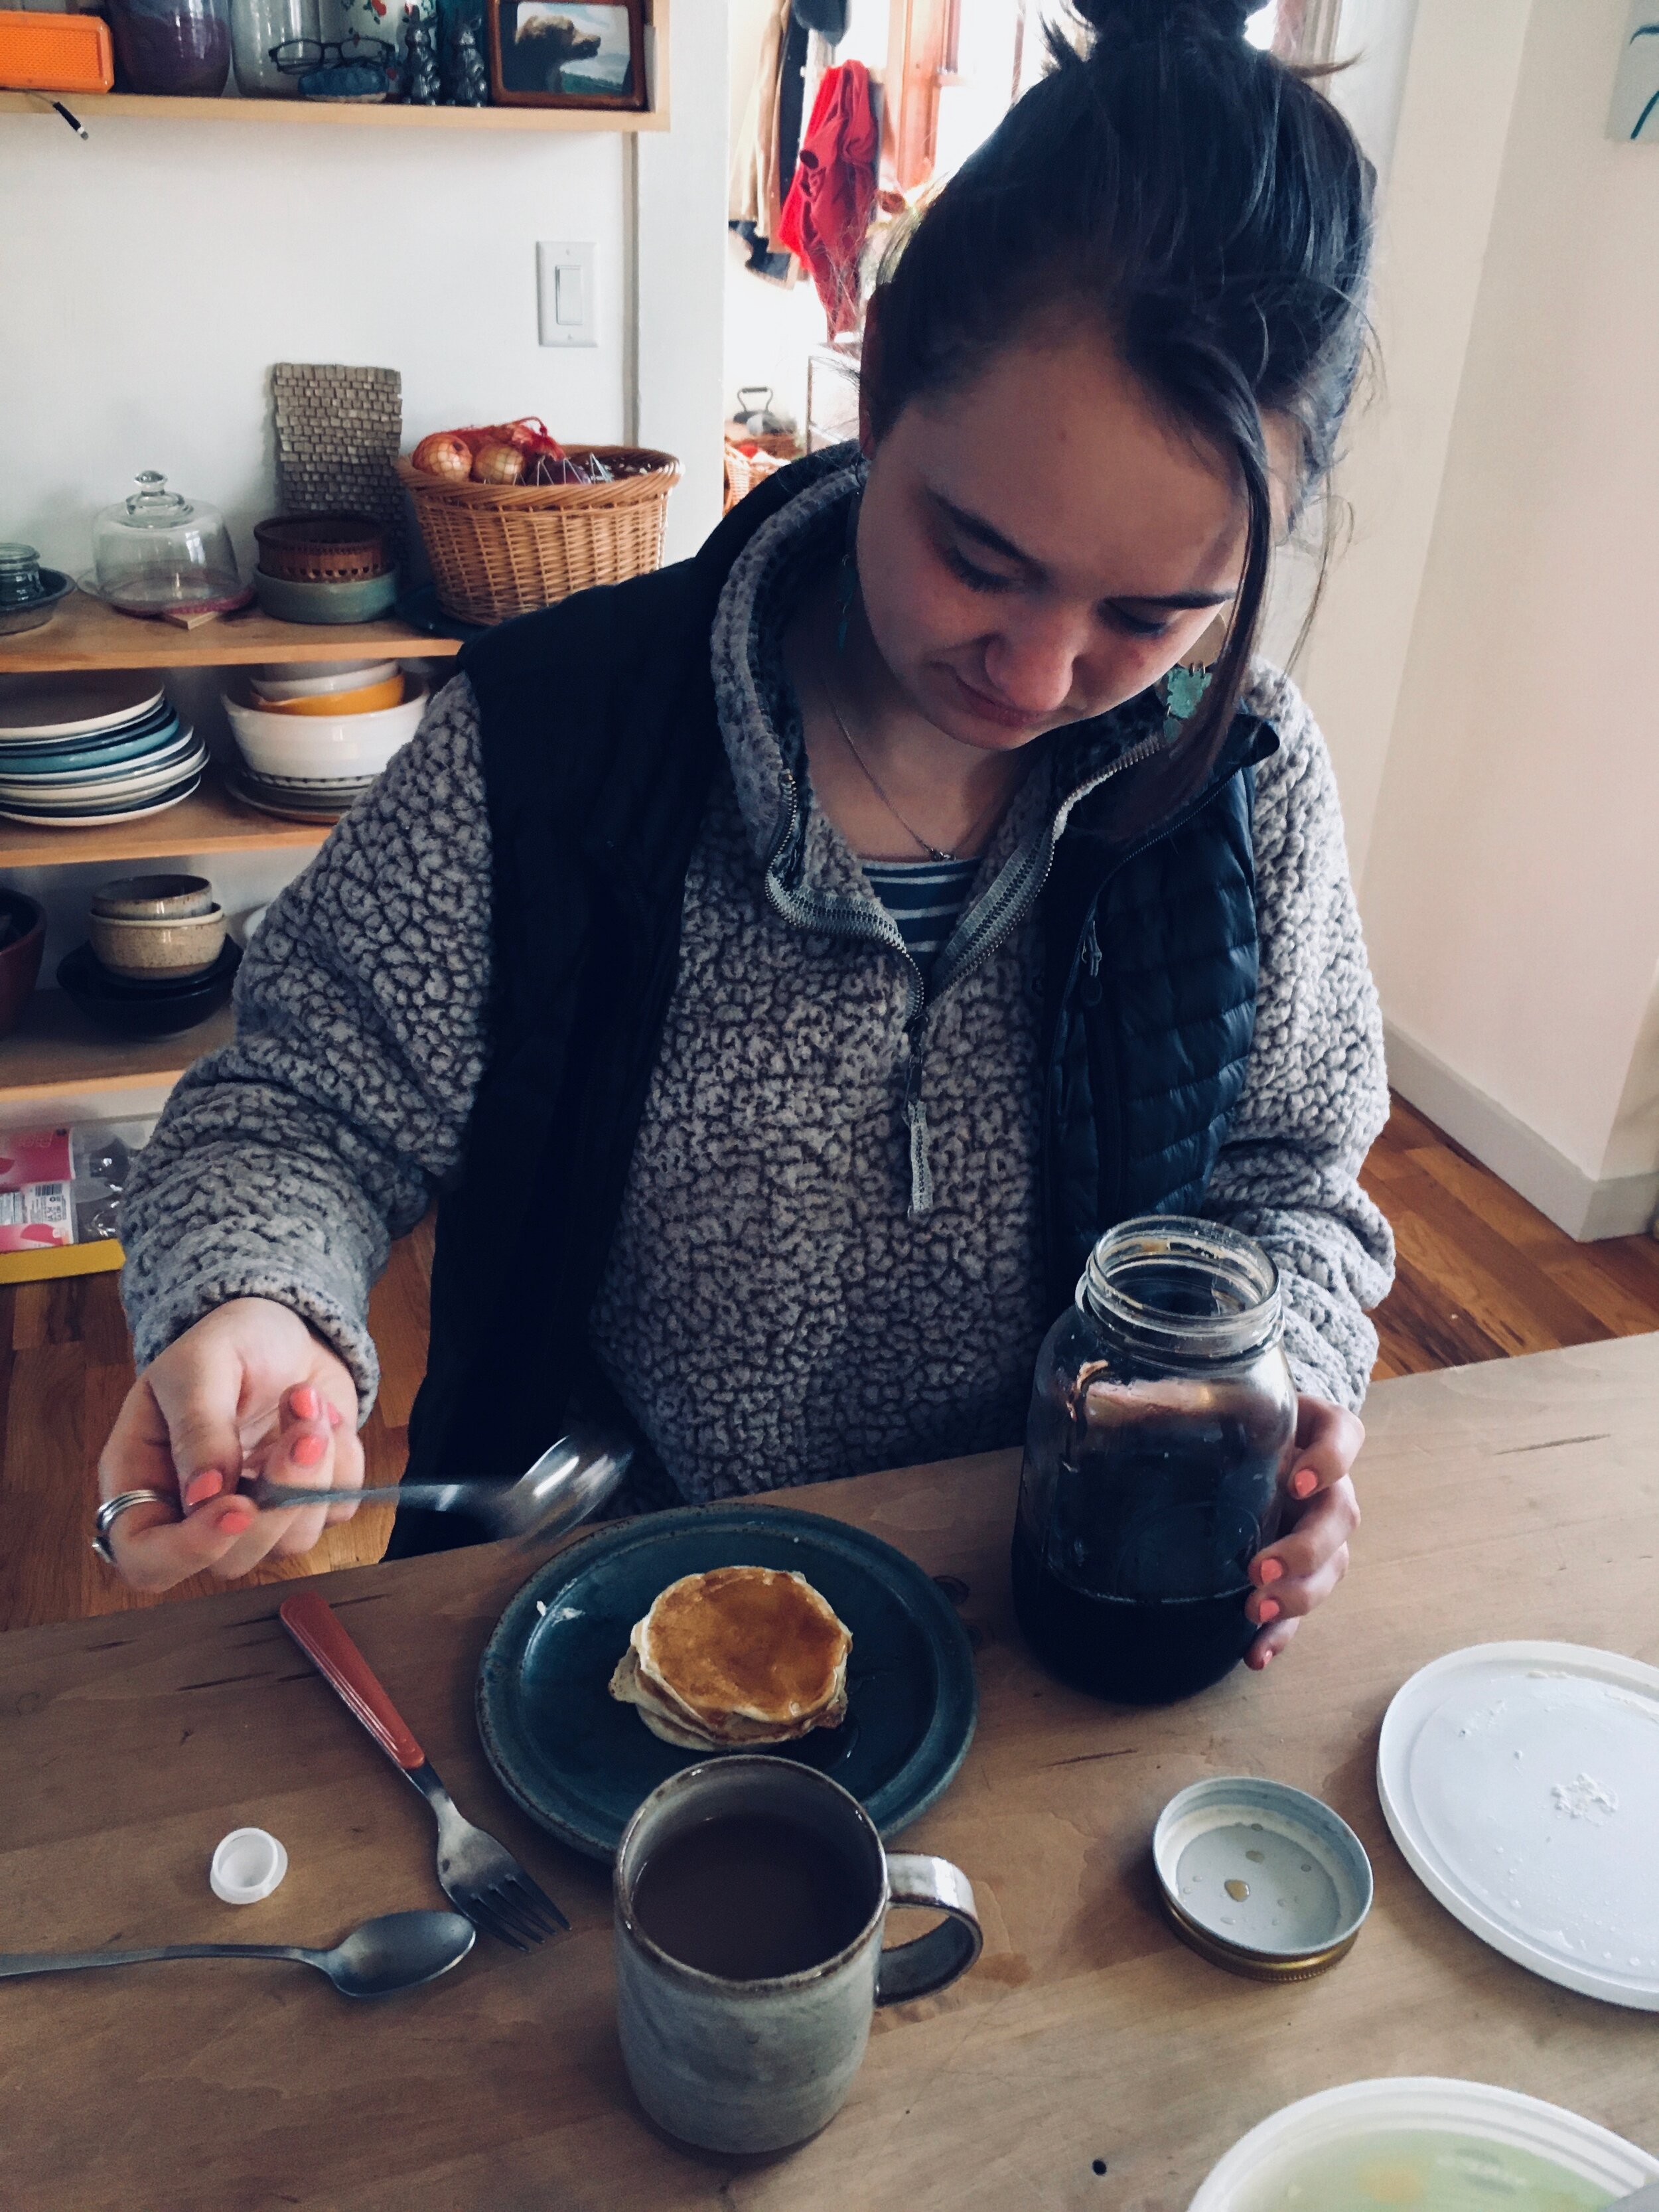
But the good is still good. I don’t have lice, the world is gorgeous, we had a chilly rainy day which are some of my favorite days. I picked up second to last farm share and heavy stocked up on squash and starting knitting a new hat. I made the cutest cookie ever and went to the dentist which actually sucked but is always good to go and be responsible about dental health. Made an ice cream cake and dinner for Barb for her birthday at my moms for her family party (HAPPY BIRTHDAY!) The lady turned 20 and I can't even. Then I made her birthday pancakes on her actual birthday and we went grocery shopping so she could run up and down the isles with the mr collecting all the packages of batteries. Because she is now 20 and needs batteries? Yeah, we will just say that was it. And napped. I took a nap this week and it was amazing. I don’t think I nap enough.
Other then that, the week just flew by. Dealing with the stuff, hanging with the people, doing the work thing.
Now its Sunday and yes, we are doing it, camping. Second to last, if not the last time. Depends on if we get that rain next weekend that the weather people say we are suppose to get. So we are making tonight really count. Going to some land on a mountain out in the middle of no where. We are so in need of this, to get the heck away for the night. And it is going to be beautiful and amazing and we have a great hike planned out and there is not cell service. Winter jacket, hats and mittens, and all the blankets we can fit into the are. I am excited.
Interent links from the week.
-You can now live like Barbie. Oh freaking jeez. Barbie Malibu Dreamhouse!
-Am I Drinking Too Much Seltzer Water? Good question, one I hear all the time.
-Jesus Shoes. For real? For real.
-I want these toilets. I get these toilets. 10 Easy Pieces: Designer Toilets. Tankless toilet..what a dream!.
-Eat, Drink And Be Wary: Ex-CIA Officer Reveals How Eateries Are Key To Spycraft. Totally makes sense.
-Currently in the middle of reading this book. It is so good. Only problem is that I started reading it a few days ago and it is due back at the library in 2 days (I forgot I had it out). It is 550+ pages long and I am not sure I am going to be able to finish it before it is due back. Might have to occur some late fees for this one.
-Coffee without the beans. The day has come. Inside the Seattle Company Plotting Lab-Made ‘Coffee’ Without Beans
-Another reason to read. Reading Before Bed Might Make You Healthier and Happier
-What Does Sunny D Taste Like? My dad used to buy it when we were kids and all I can remember it tasting like was shit. I think it actually made me throw up once. I was way more a Hi-C girl.
-6.6 lb bucket of tahini….It’s in my shopping cart.
Pictures from the week


-C


 I don't know if I have bitched enough about it, but I only have one window in my living space. And as much as I love love love our little tiny loft, I am a person who needs the sun. So when I am home I spend a lot of time siting in front of the window.
  So this project is really easy and fast. I recommend that if you are going to go to the trouble (it's really no trouble) of making one, you might as well make 2 or 5. I actually made a bunch (think Mothers day or Easter presents) and ended up only keeping a s couple. I am going to have to make a few more soon.
 Take a piece(s) of paper a little bit bigger then the hoop you are working with and stick it into a pan or tray of water. Let it sit there for a few minutes until the paper is completely soaked.
 Take the wet paper and, oh so gently, crumple into a ball. This part can be a little tricky. You want to make as many creases as possible without ripping that paper. (I ripped a few pieces) I found that if I folded that paper a few time, then crumpled that it was less likely to rip.
 Uncrumple the paper and lay it gently onto the inner part of the hoop. Now the fun part. Go to town with the watercolors. I used 2 colors per piece, but you could do 1 or 3, or more. When applying the color, use big gentle strokes and let the colors kind of meld together. Watch as all the crumple veins soak up the paint. Try using different dilutions of color. I applied some color on thinly and some on the thicker side. But really, you can't go wrong, just keep applying paint until you are happy. I stopped a few times and held it up to the window just to see what it looked like. When it looked good, I was done.
 When you are happy with the colors, let the paper dry for a while on the hoop until it is not longer super wet. I would say about an hour or so, but if you stick it near the heater, it might dry faster. (Just don't stick it in the oven while you are making bread like I did with one.. It just ended up setting on fire. Oops)

 The mister called these snow mounds goosebumps… I think that is exactly what they are
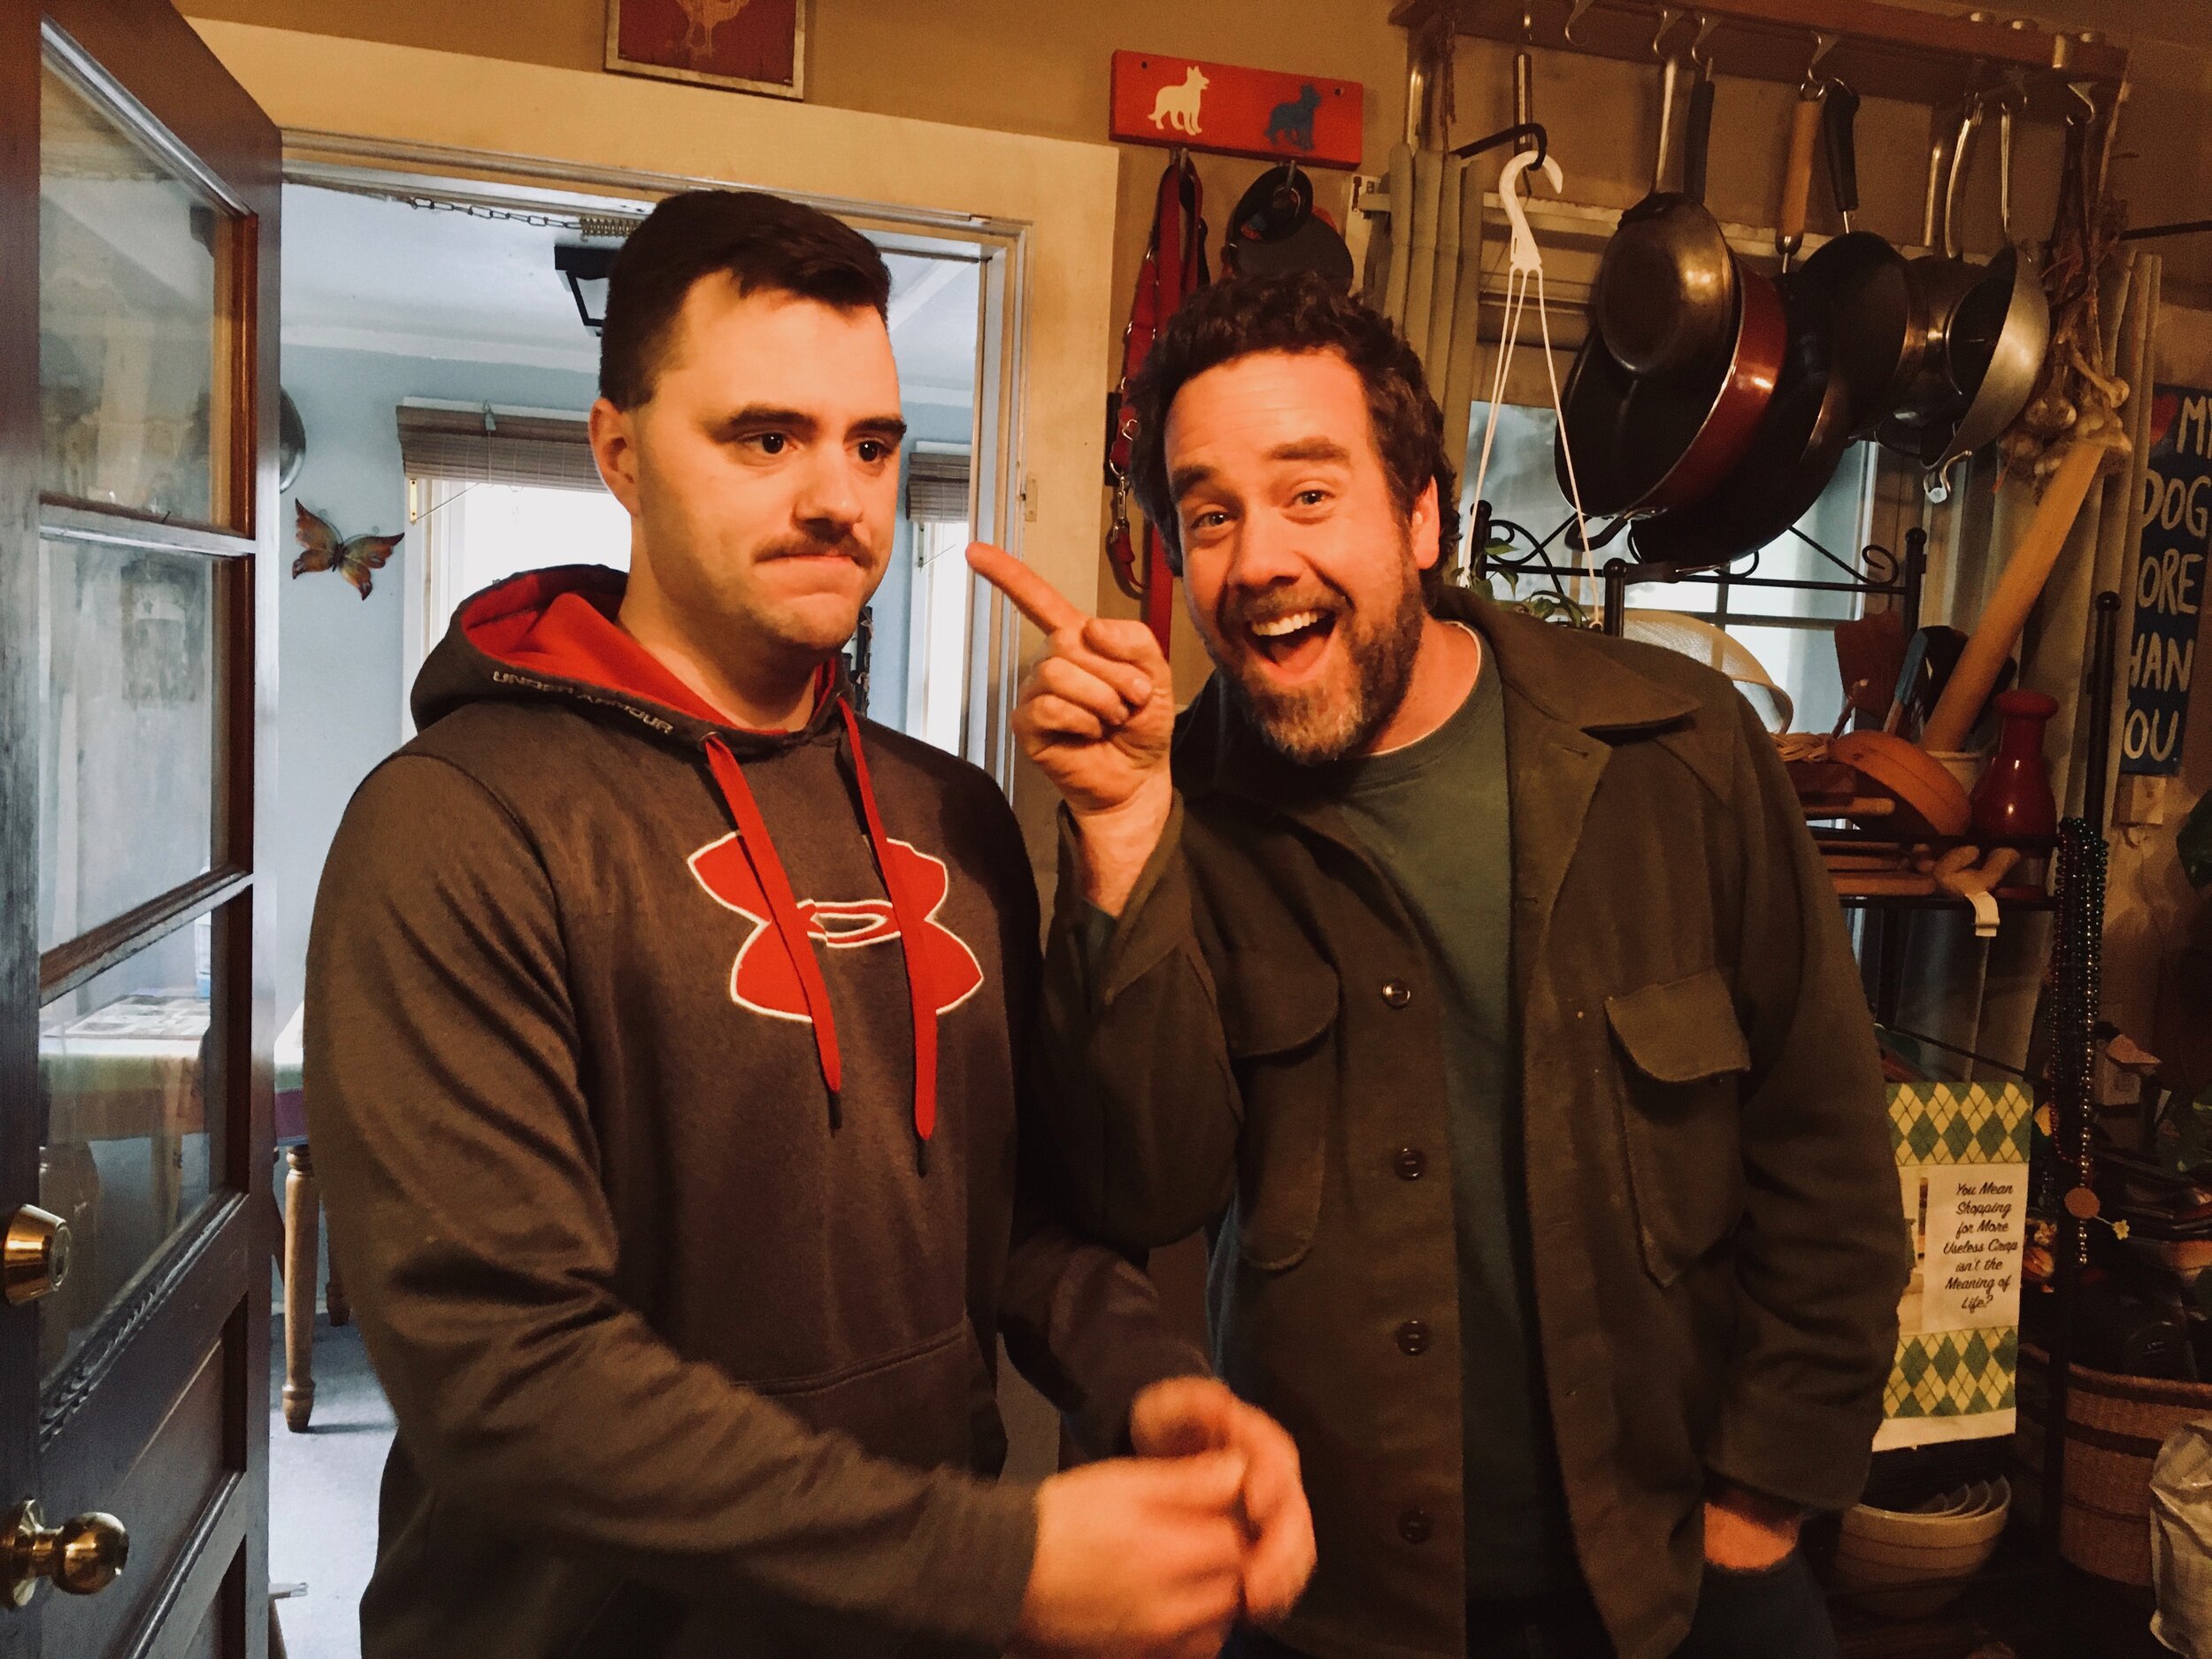
 And oh how I cannot handle how freaking cute she is!! Plus, a shout out to my brother in law….MADLOVE!
 Fresh snow..Even though it was -15, I had to stop and take this picture. The colors were amazing
 Cabbage at the farm share pick up! Love ICF!!!
 89 cents a pound for fresh organic cranberries. Score!! Made these
 This picture was taken exactly a year ago…..The mister and I were finally putting in the bathroom of our tiny little home…. And look at that awesome sink! (another amazing salvage yard find) If you ever need or want to remodel a bathroom, I suggest using a old cast iron utility sink. So practical, so functional, so pretty.….it makes me happy everyday!