• stem+node ceramics
  • HOME
  • Food Recipes
  • About
  • Contact
Menu

The Lovely Crazy

Street Address
City, State, Zip
Phone Number

Your Custom Text Here

The Lovely Crazy

  • stem+node ceramics
  • HOME
  • Food Recipes
  • About
  • Contact

Chocolate filled Vanilla Sugar Sandwich Cookies

October 19, 2019 Colleen Stem
IMG_3080.jpg
IMG_3060.jpg

As of right now, these are by far the best cookies I have ever made. Look at them. They are SO CUTE!. Worth all the effort, seeing that I do not own a ghost cookie cutter (although I think my version of ghosts are pretty fantastic) and had to hand cut out each cookie with a knife and a ghost cutout I made a few weeks back. They make me happy just looking at them. That right there is saying something. And I don’t know about you and where you are, but it is getting pretty freaking cold out and I refuse to turn the heat on for a few more weeks so I do what I need to do to stay warm. If that means turning on the oven to bake cookies, then so be it. I have a feeling I am going to be making a few more batches of cookies before the months over. HA! (For reals though.)

These cookies are more or less a traditional sugar cookie with a chocolate ganache type filling, both with a hint of coconut flavor from the use of coconut oil. Something about the whole combination; the cookie, the coconutieness, and the chocolate that really had everyone (I gave them out a Barbs birthday party) praise my amazingness. I guess they are pretty freaking delicious.

Cute and delicious. Best kind of cookie!

And quick note. Yes these are ghosts but think of all the fun shaped sandwich cookies you could make. I am thinking moose shaped cookies next or maybe Christmas trees… Oh the possibilities!

Now, to the cookies!

The stuff. White sugar, coconut oil, flour, baking powder, salt, vanilla, almond milk, cocoa powder, and powdered sugar. For cookies and filling.

IMG_2941.jpg
IMG_2944.jpg
IMG_2951.jpg
IMG_2955.jpg

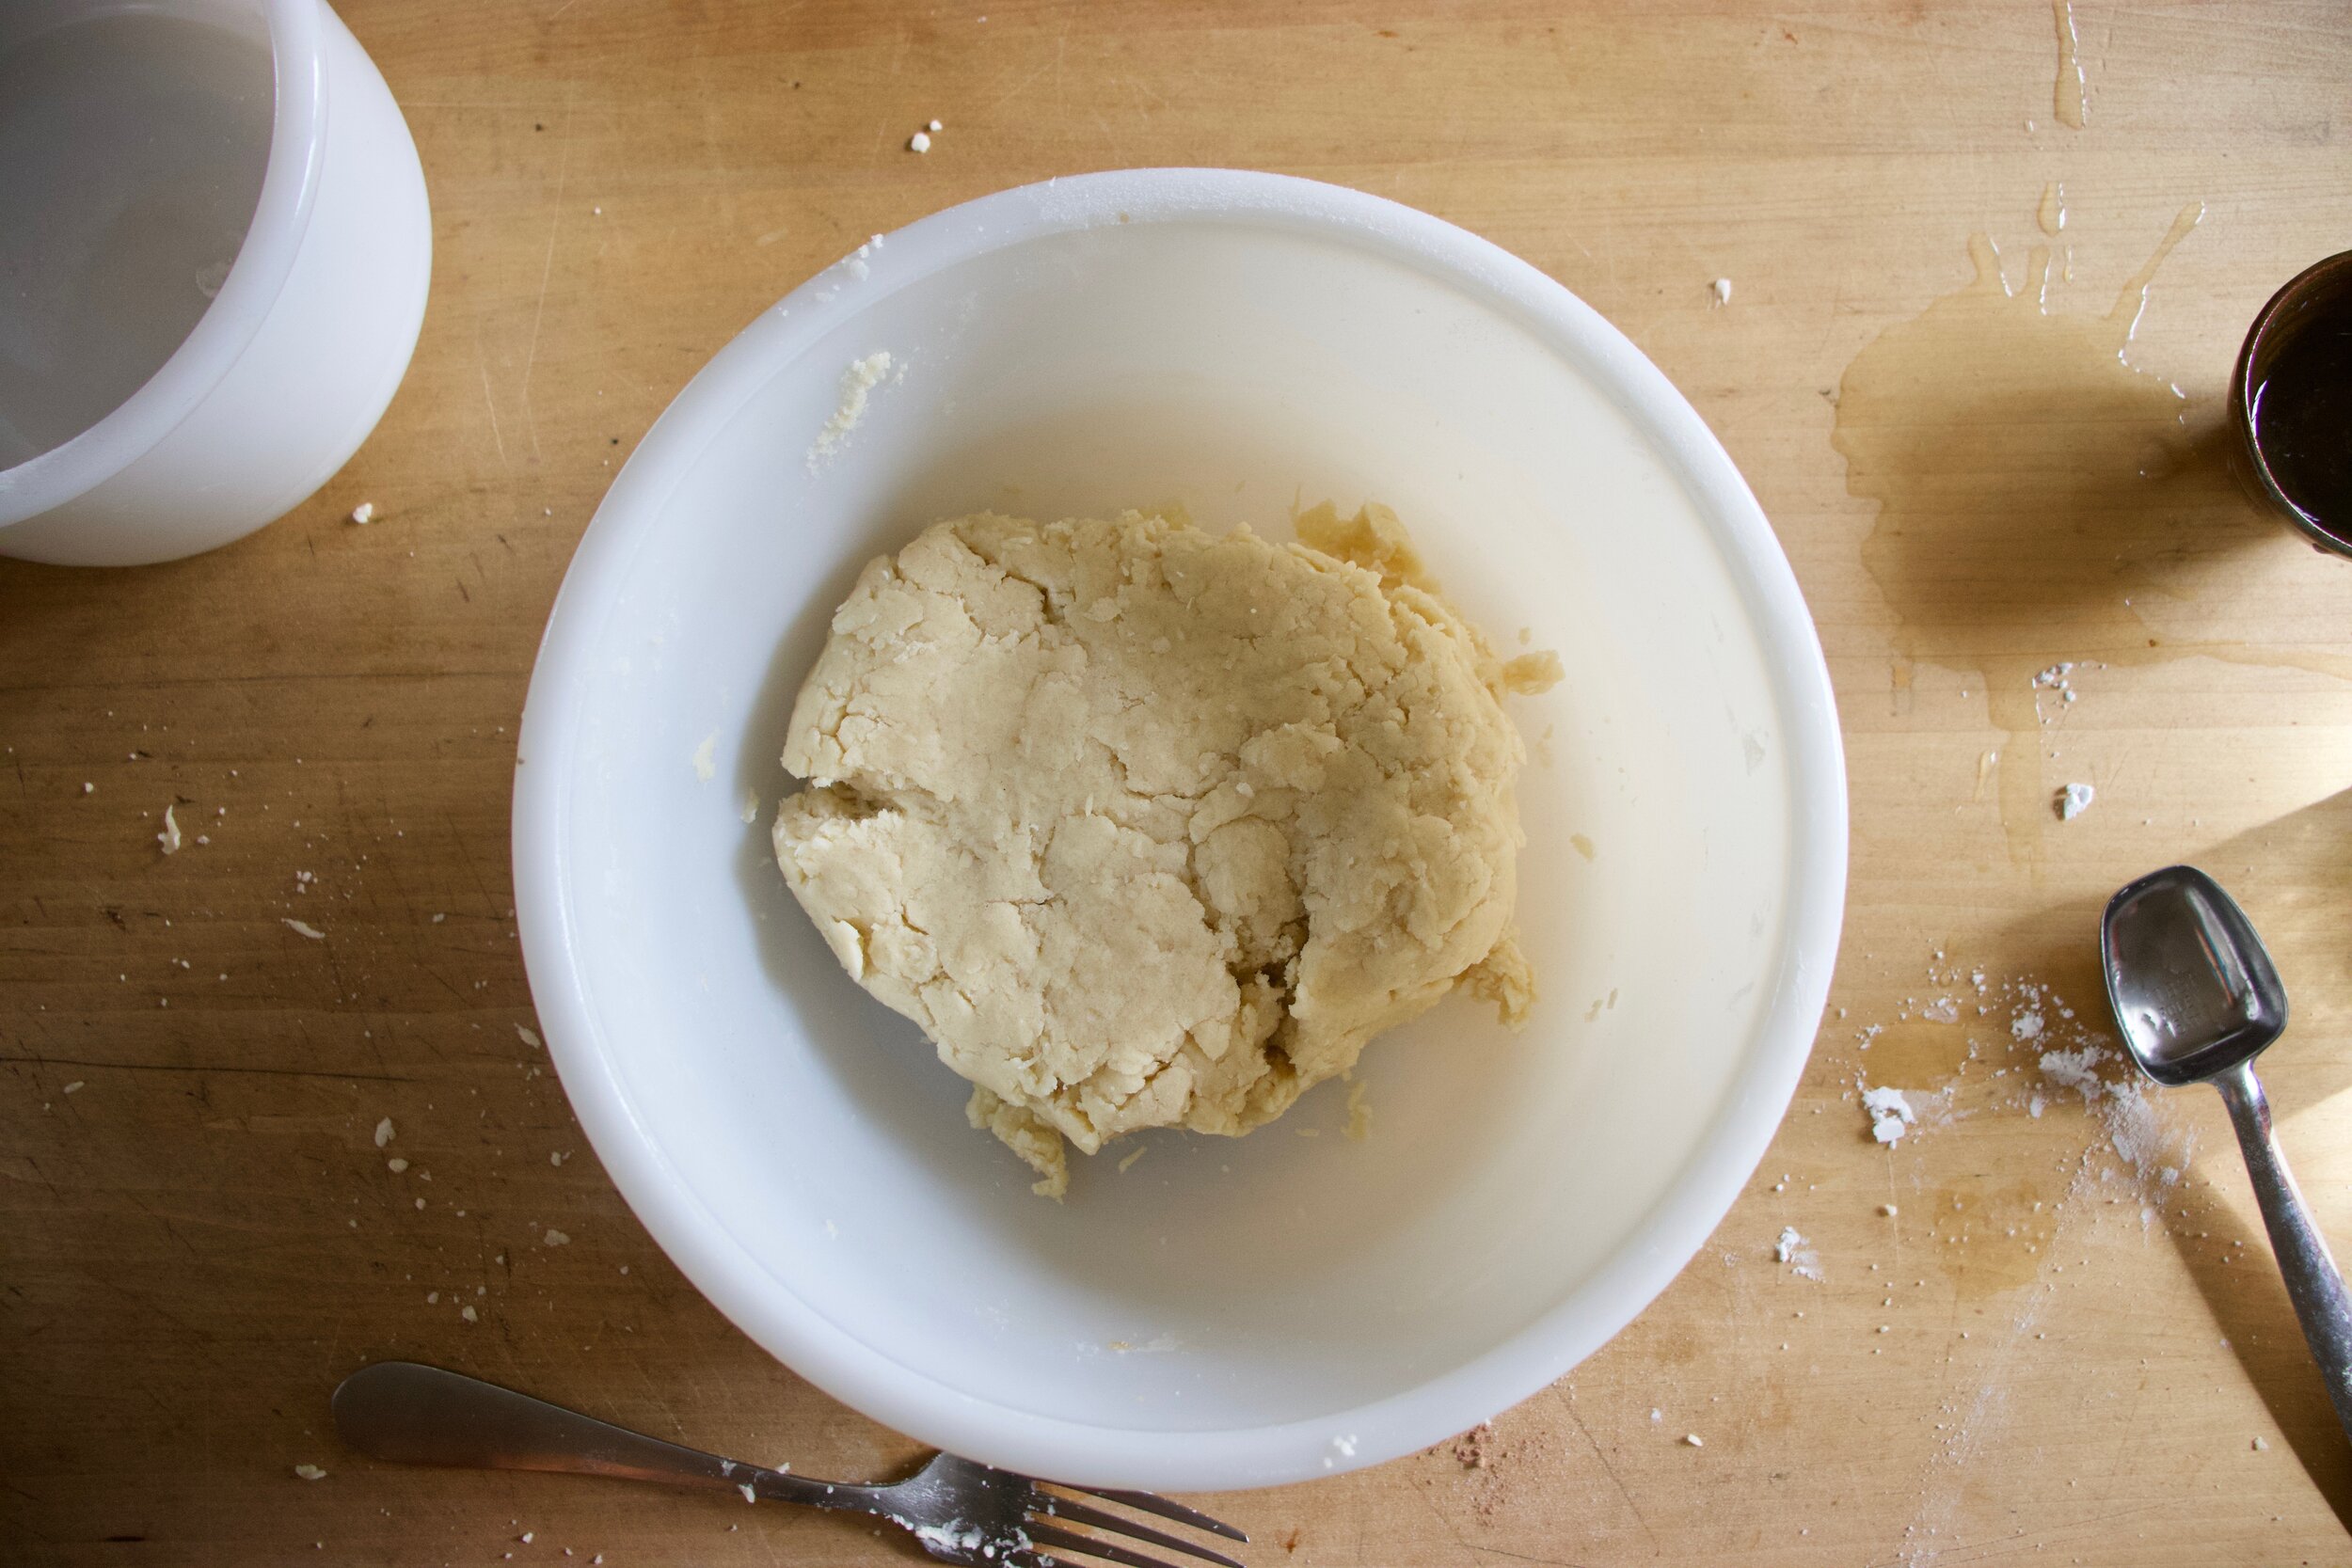
To make cookie dough. Beat toghetet the coconut oil with sugar and vanilla until smooth and fluffy. Add in all the dry ingredients and the almond milk and mix until a dough forms.

IMG_2960.jpg

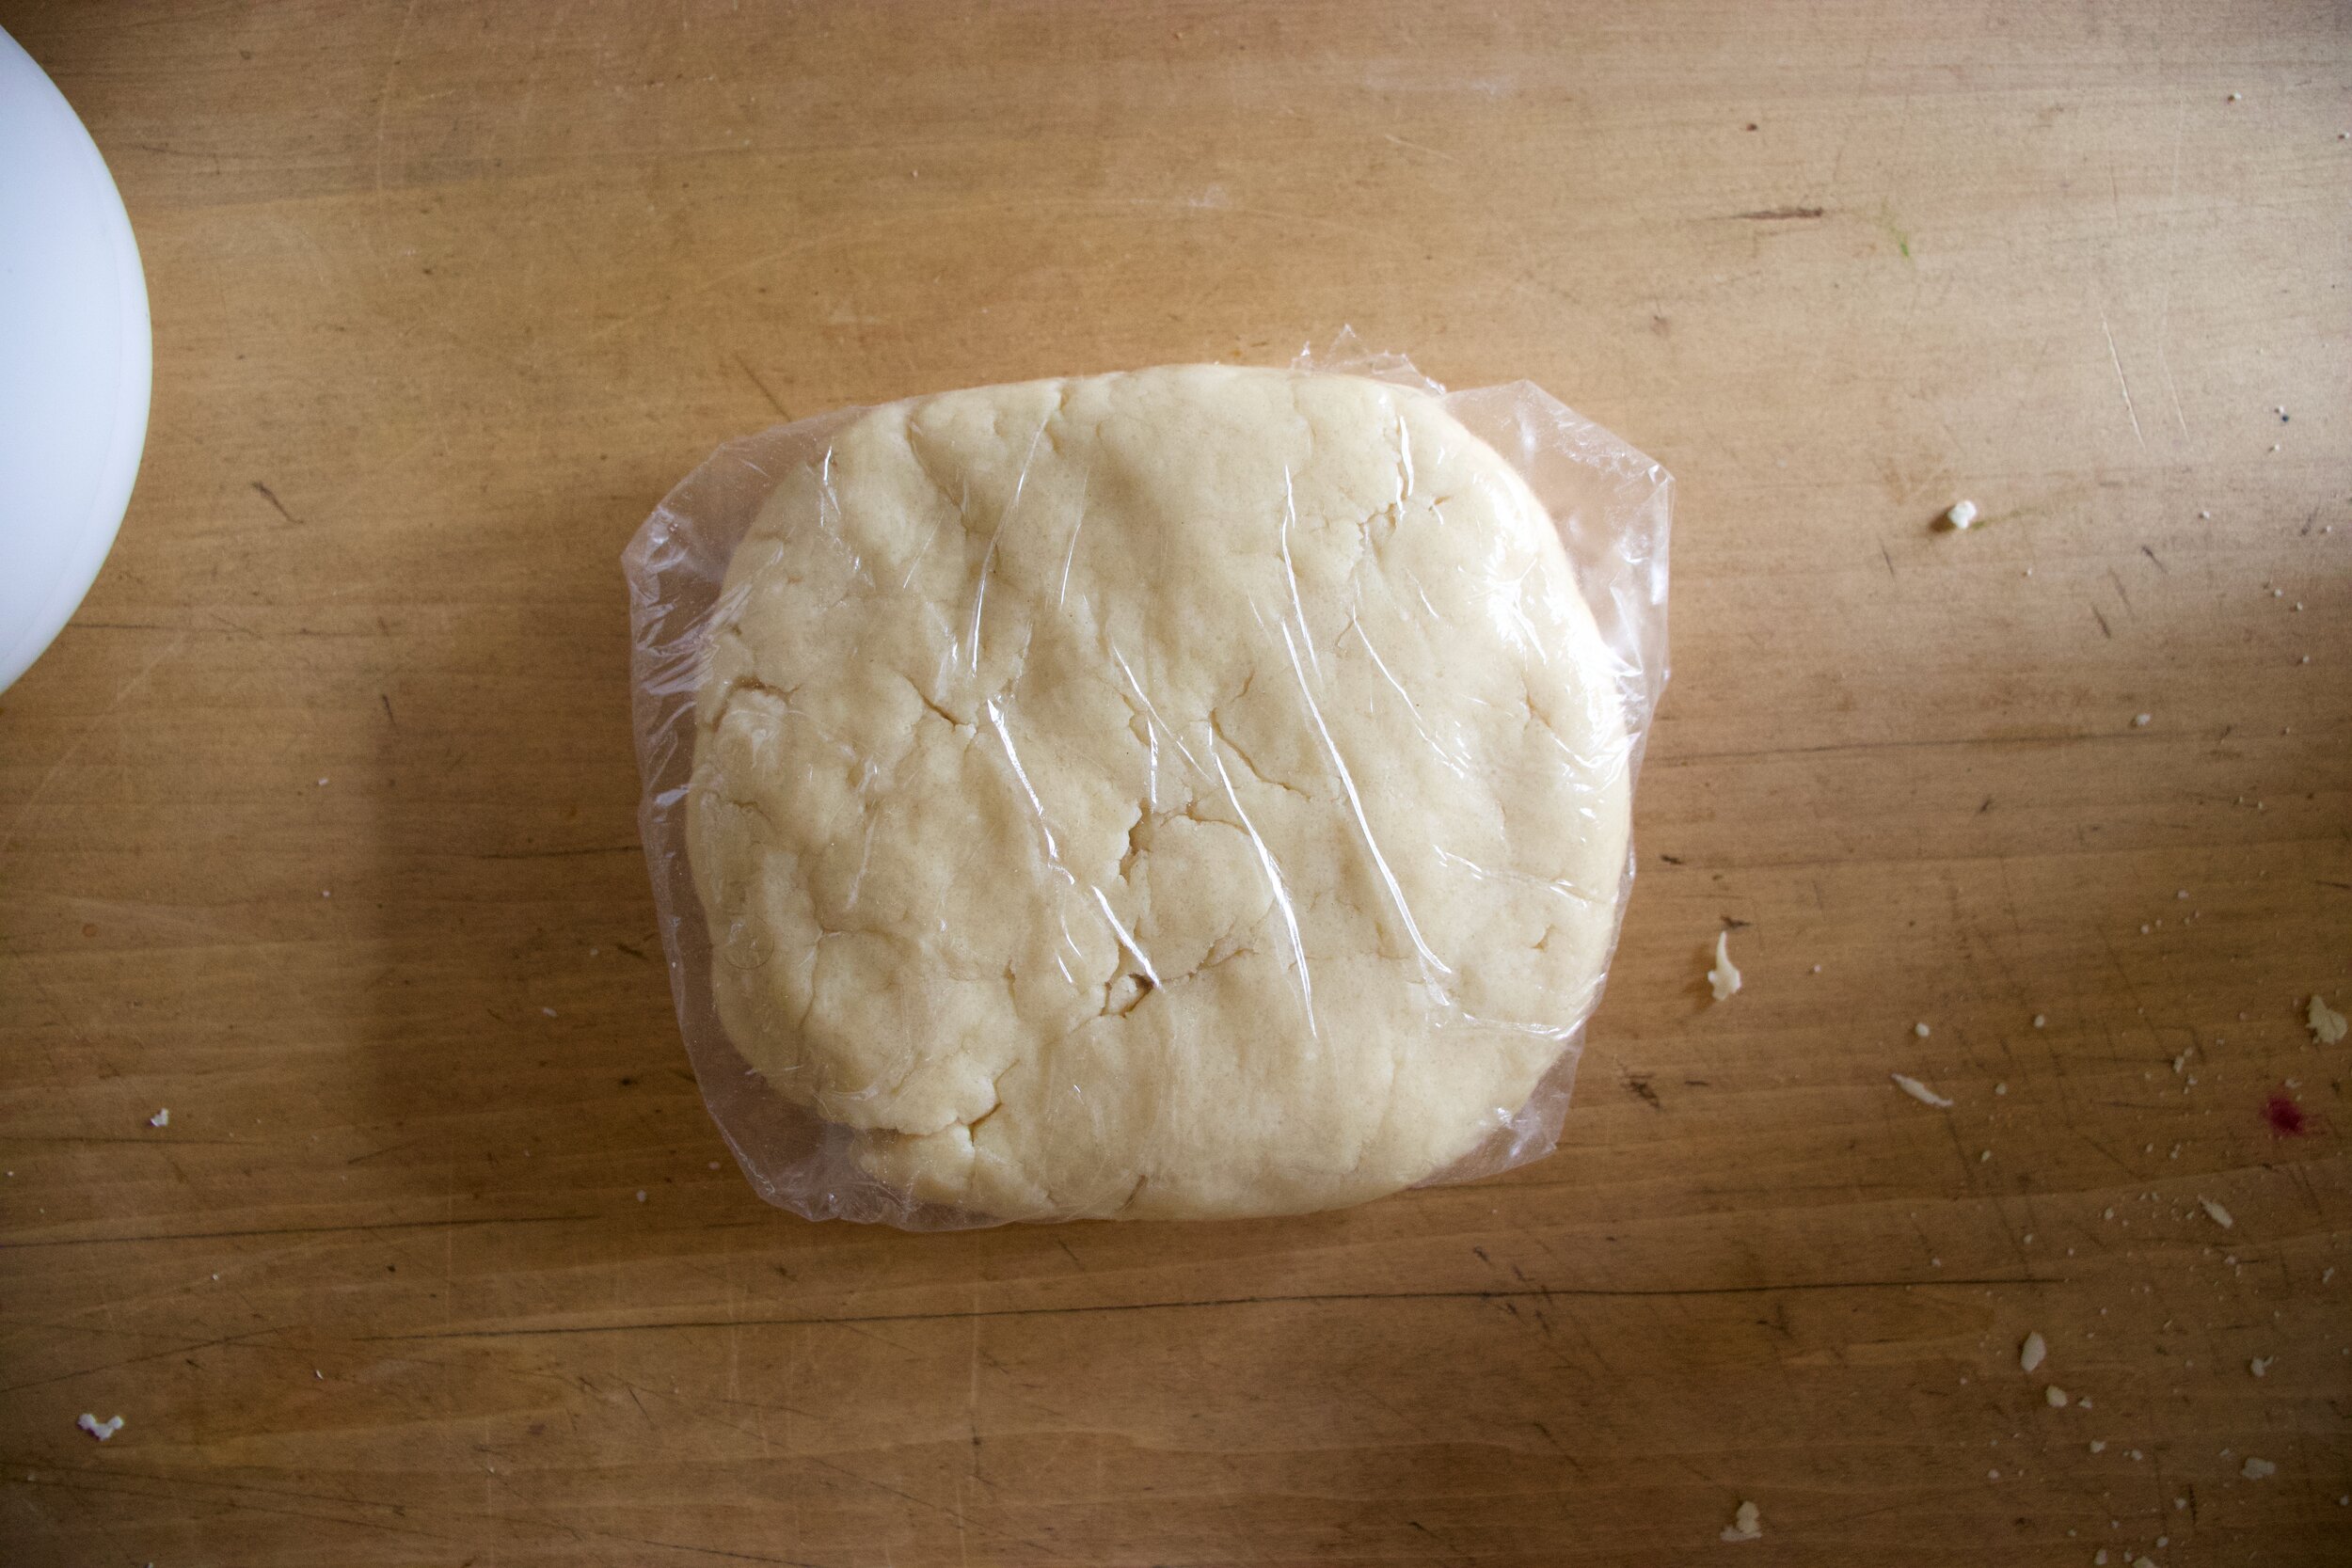
Wrap dough in plastic and squish tight. Place in fridge for an hour or up to a day.

After dough has had time in the fridge, grab it and roll it out on a lightly floured surface to about 1/4 inch thick.

IMG_2986 2.jpg

Cut out cookie shapes. If you want to cut out eyes or a few different shapes, remember each cookie needs a top and bottom so even numbers folks.

Place cut out cookies on a baking sheet then into the oven they go.

IMG_2999.jpg

Bakes and ghostly! Place them on a wire rack to cool and keep baking the rest of the cookies.

IMG_2961 2.jpg
IMG_2964.jpg

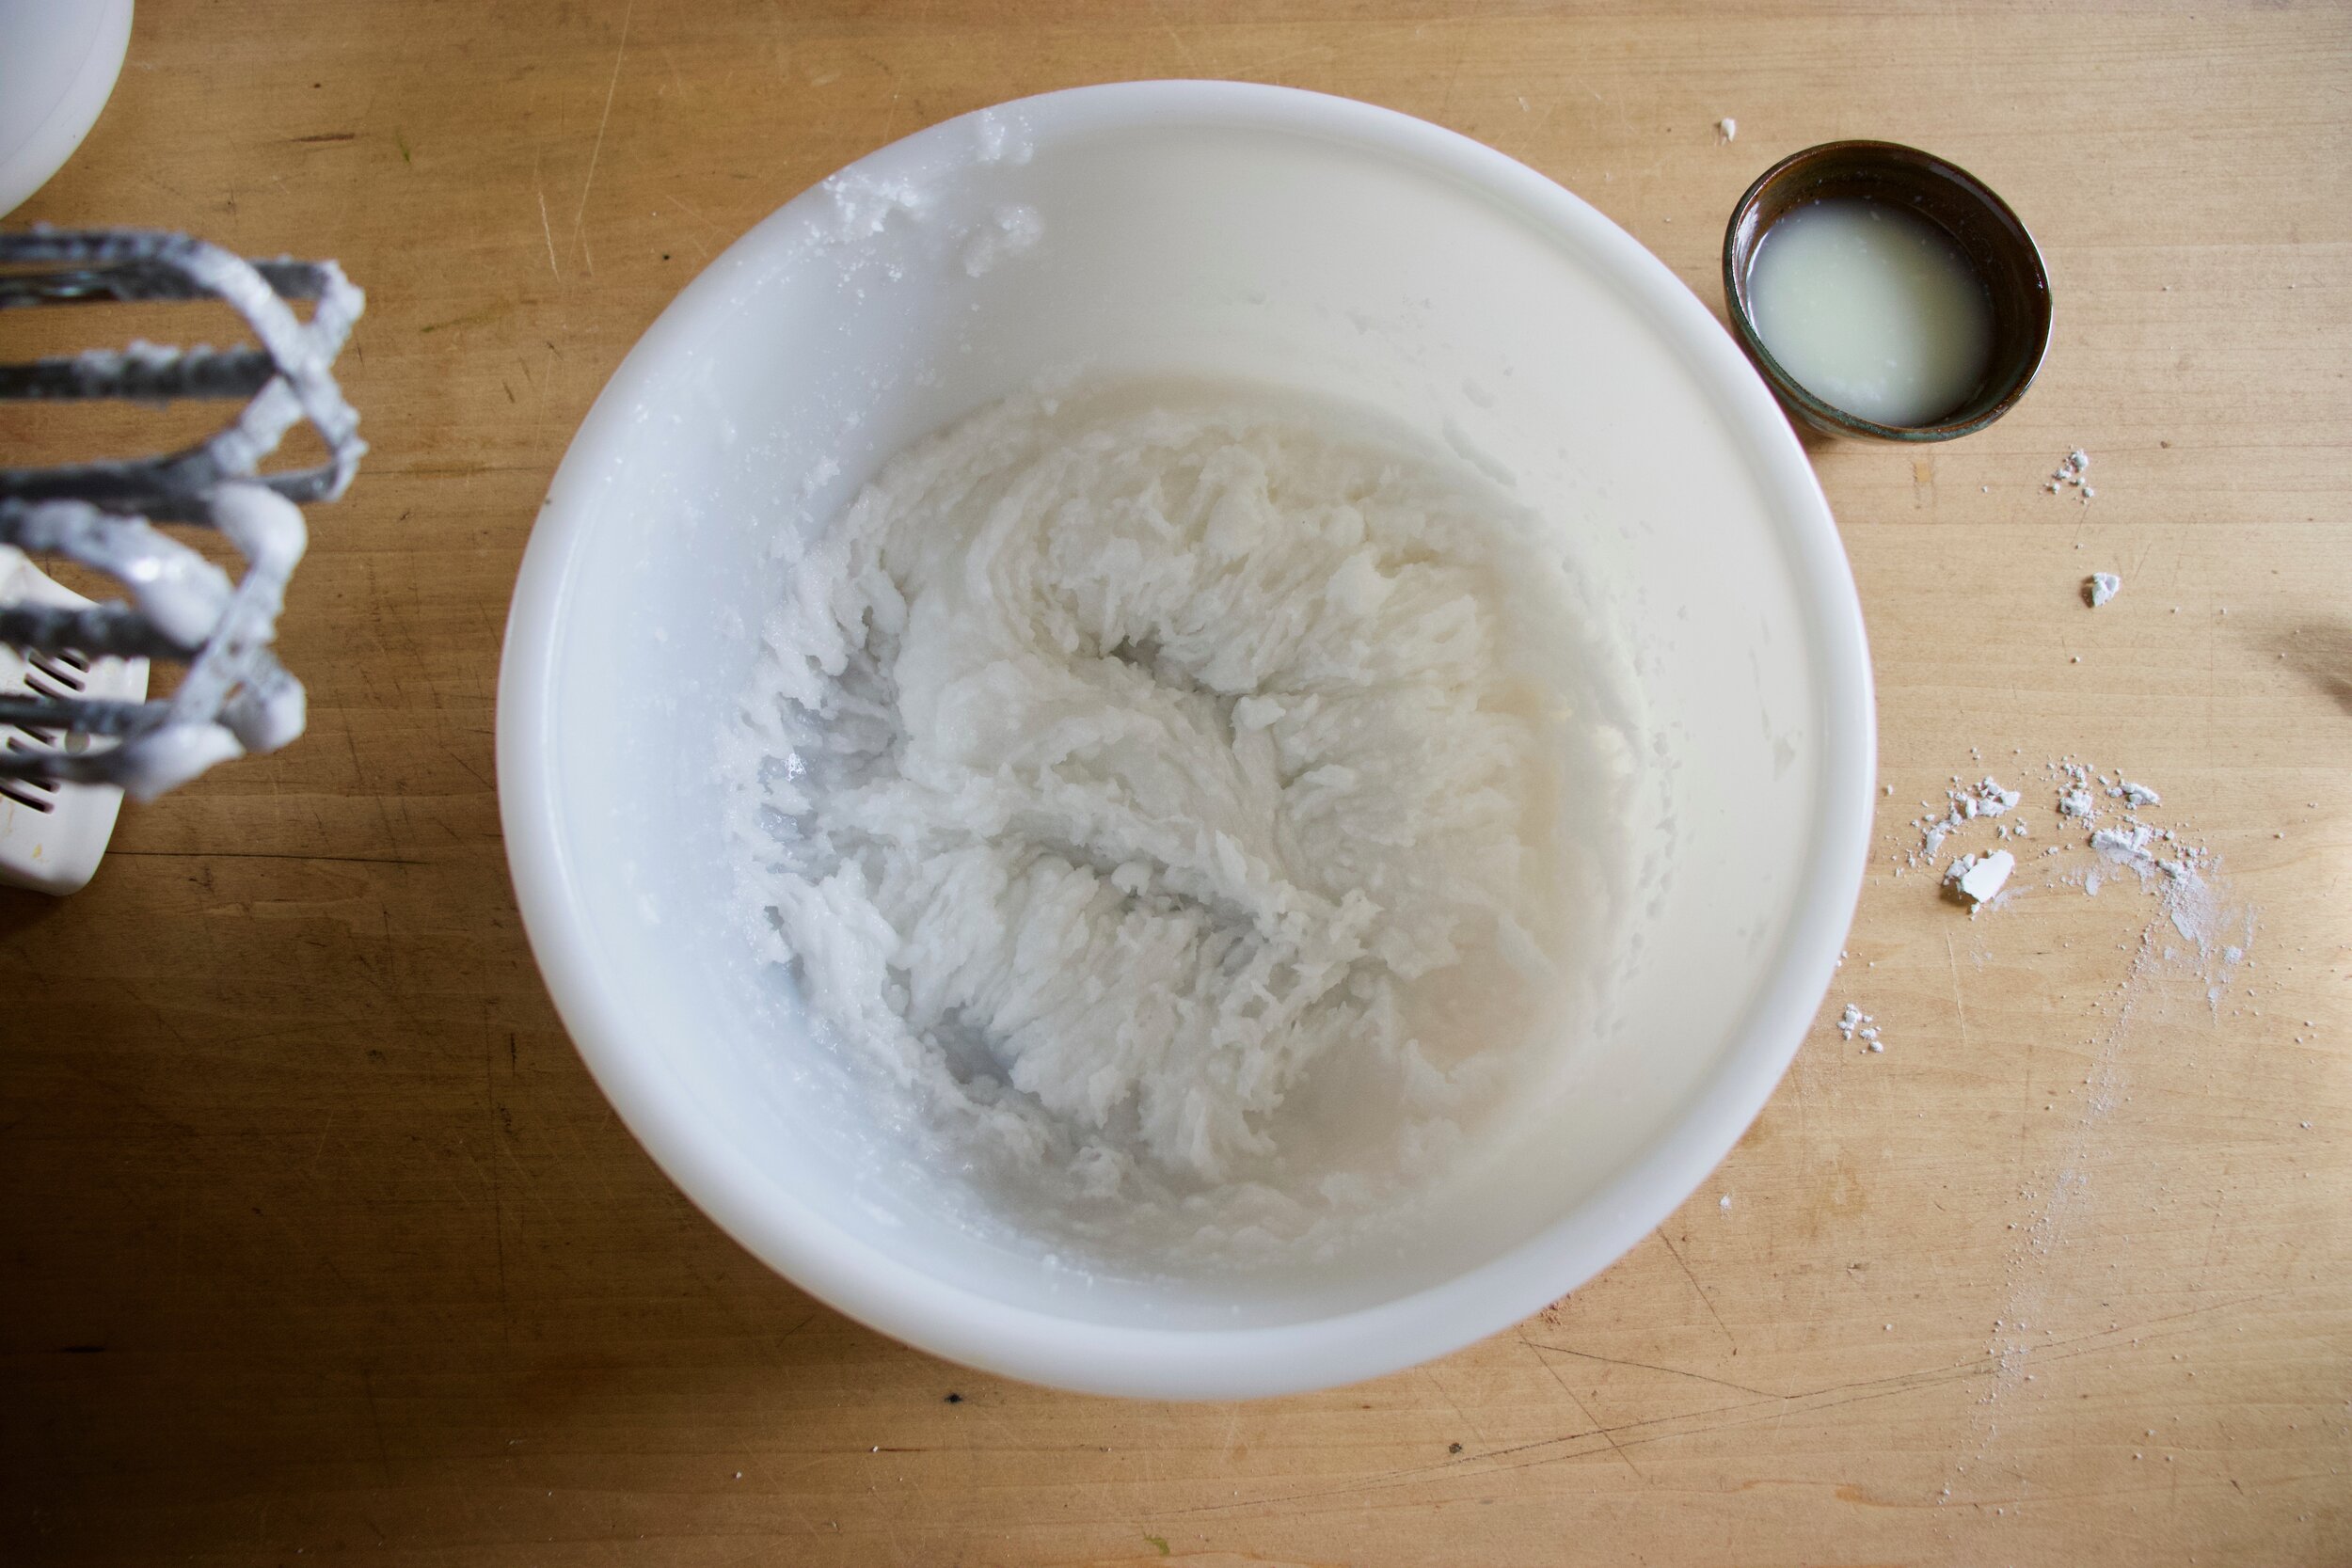
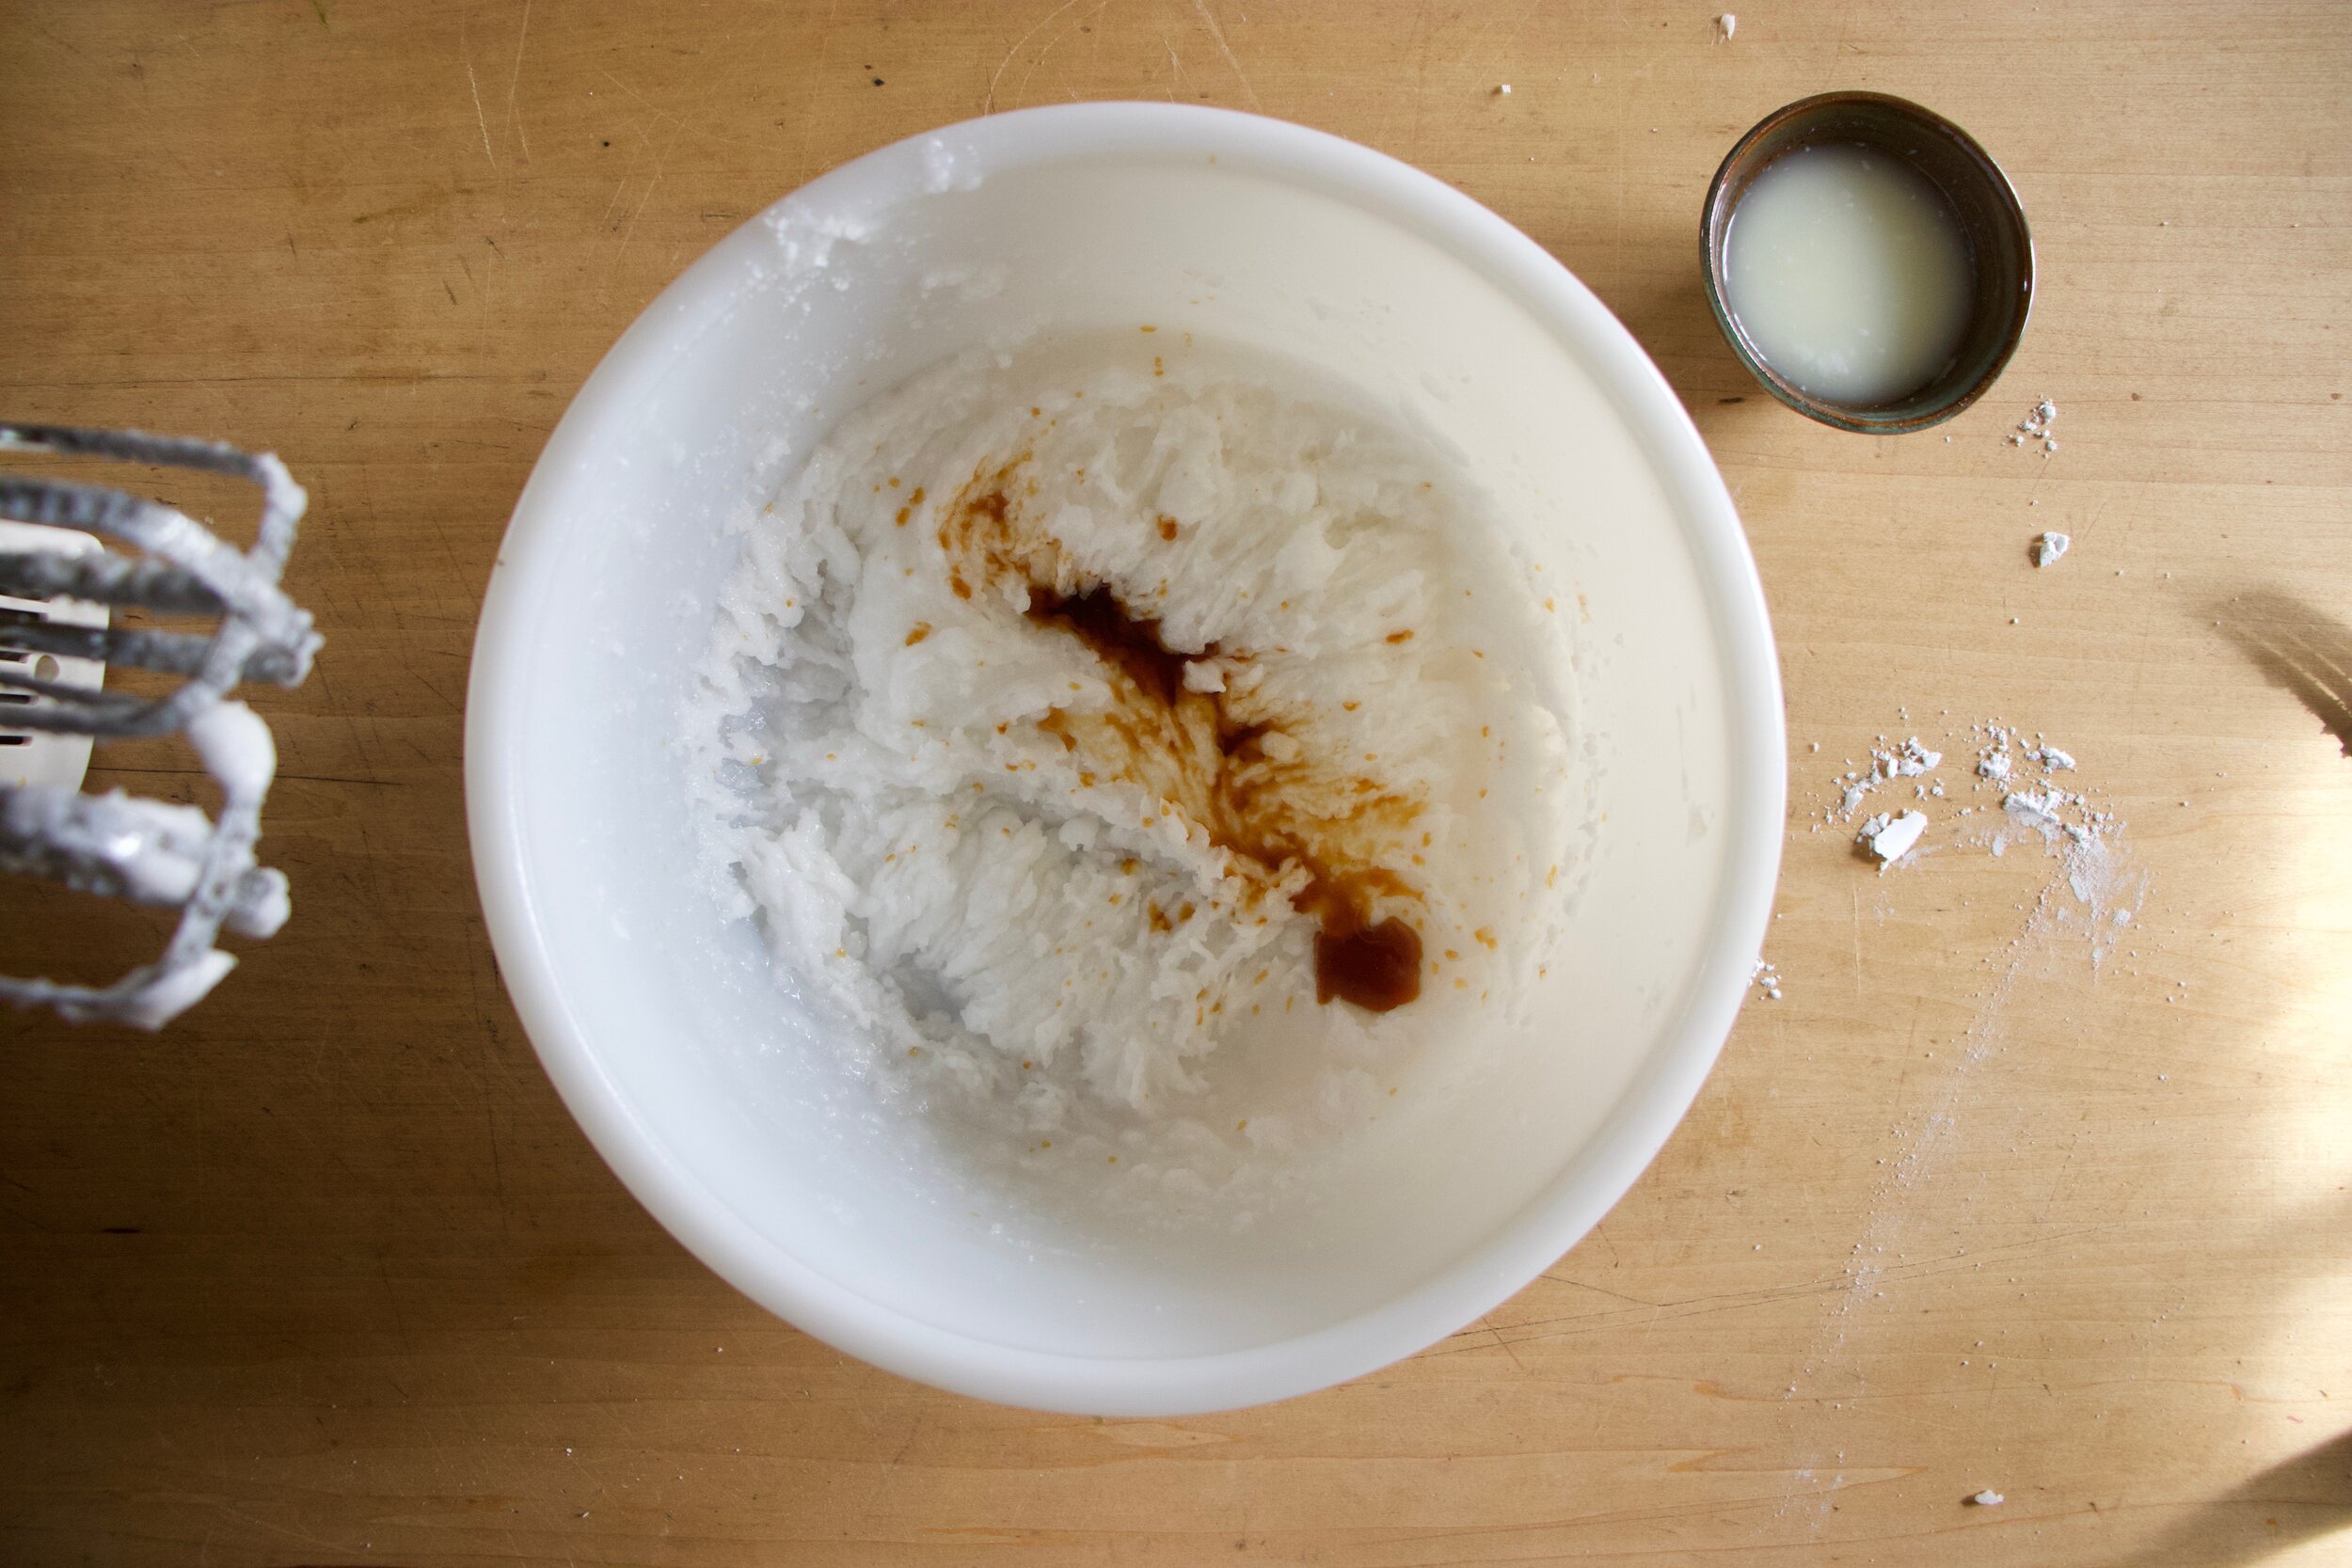
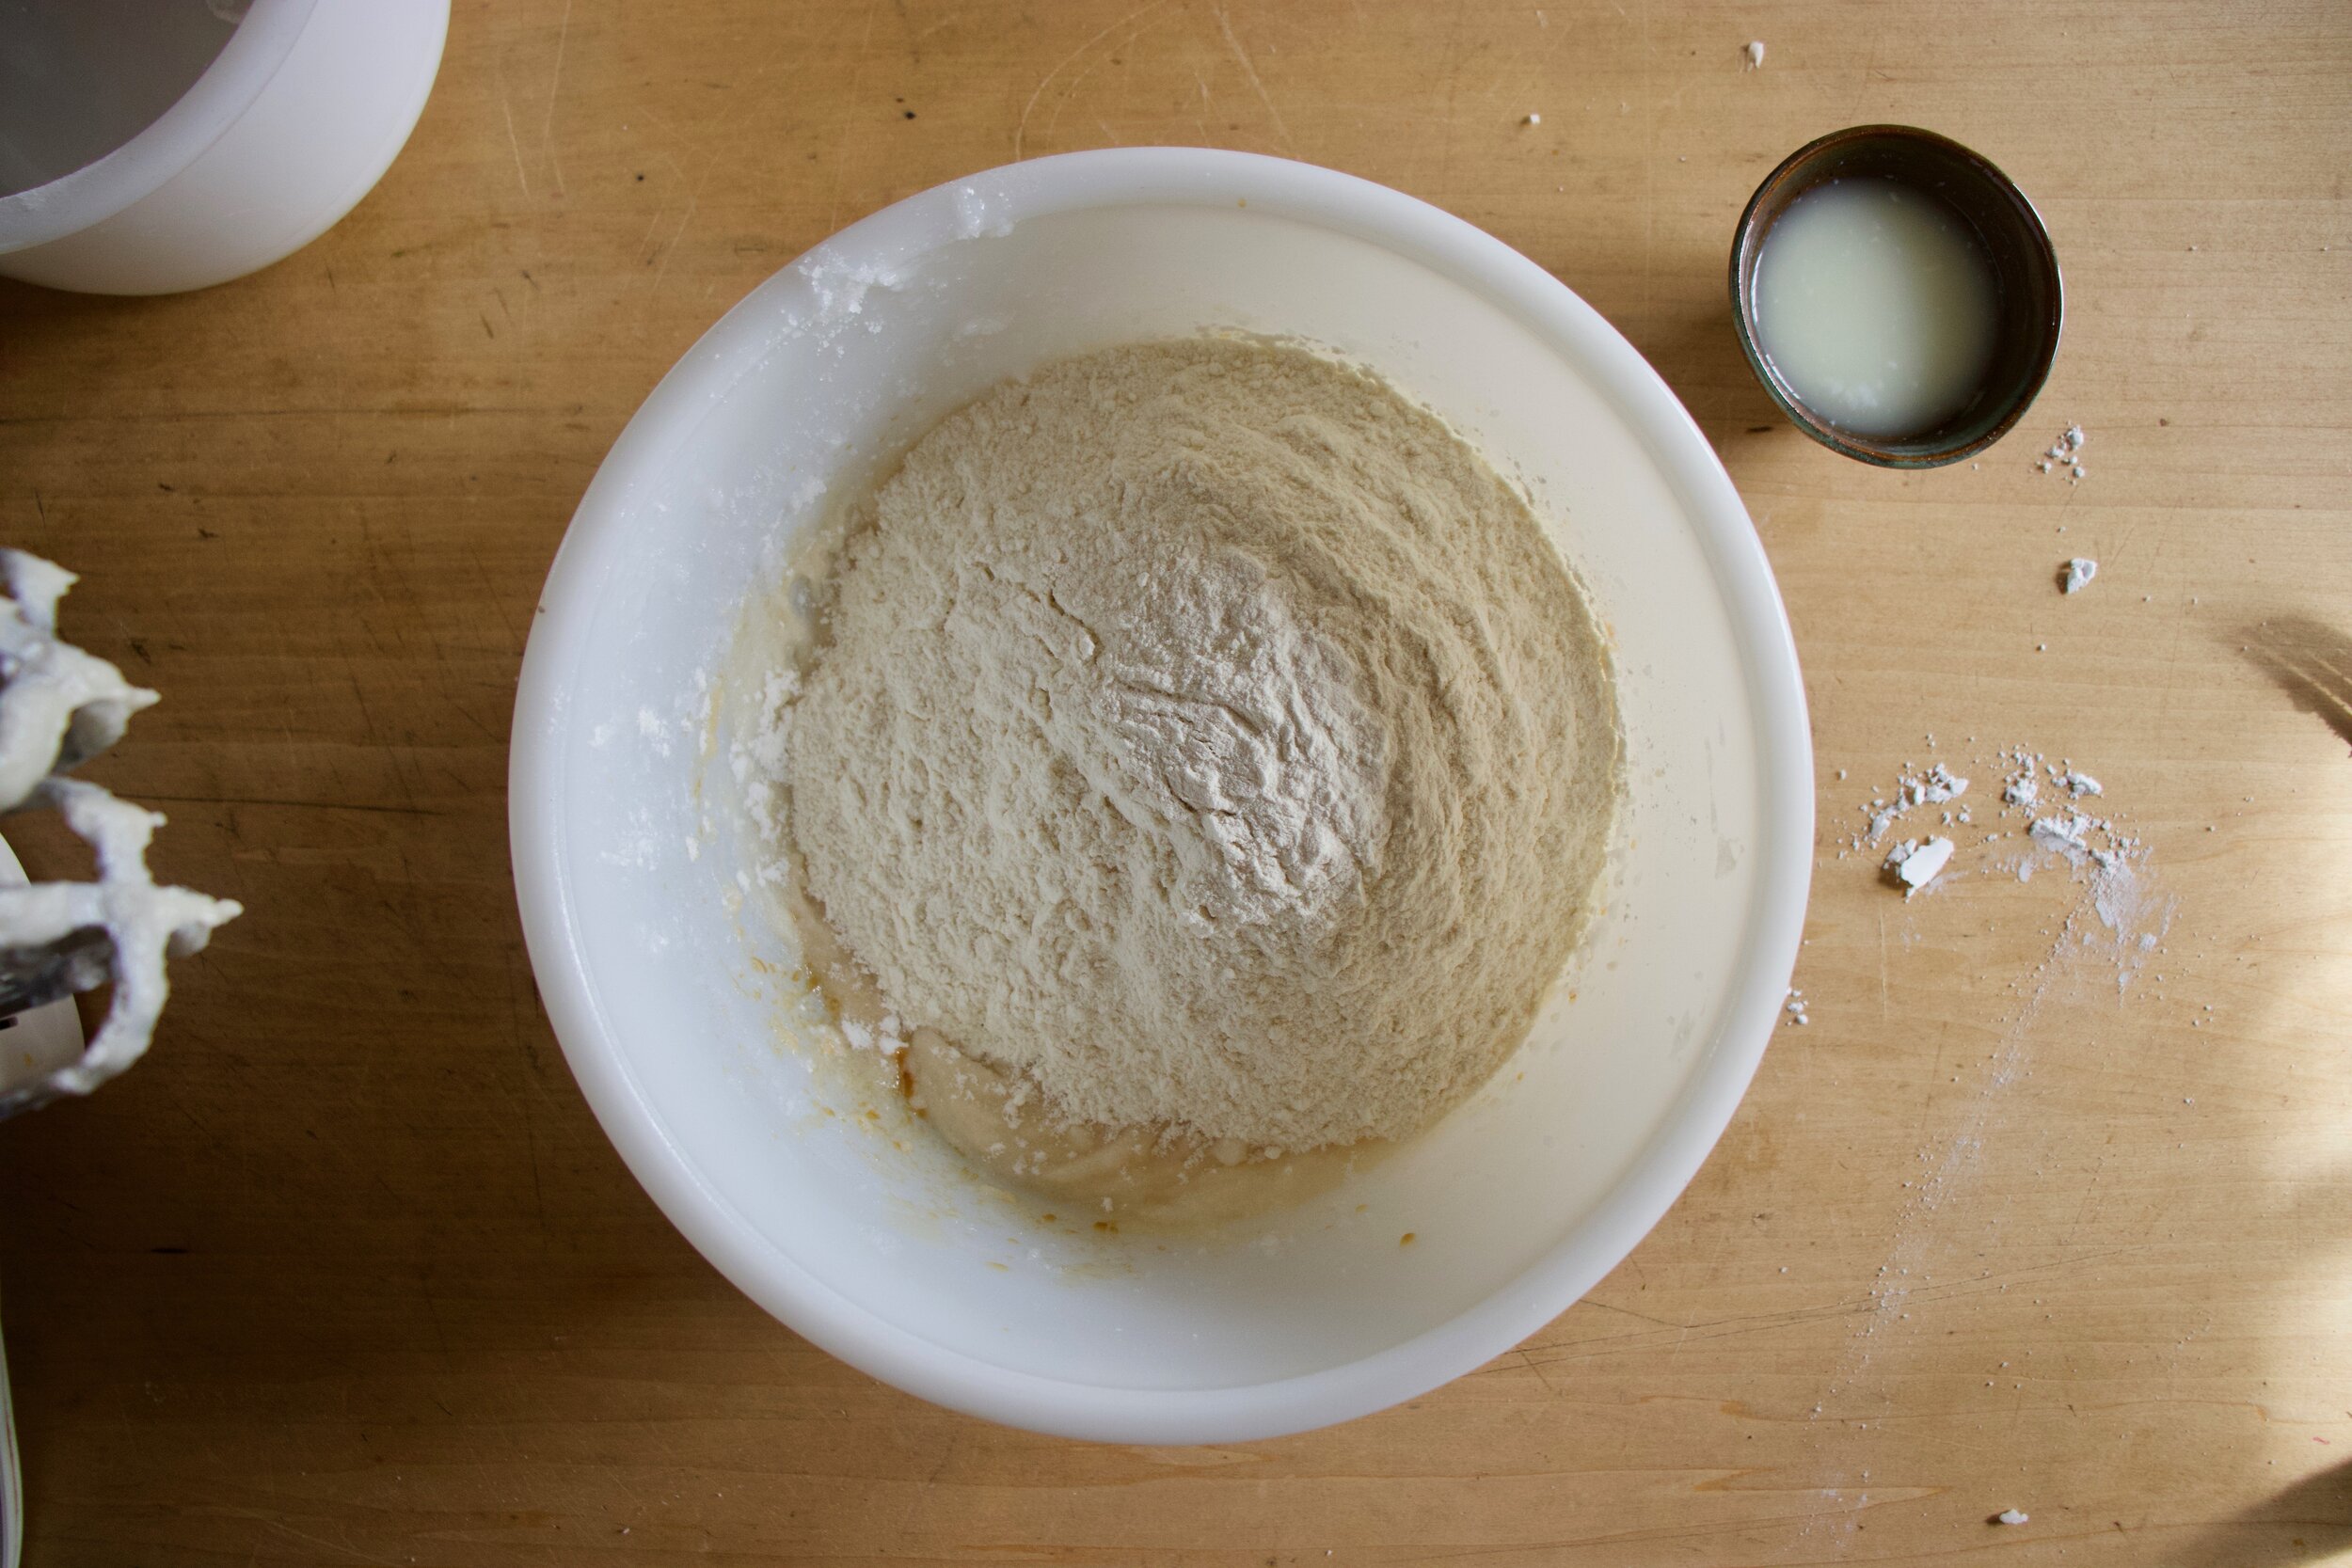
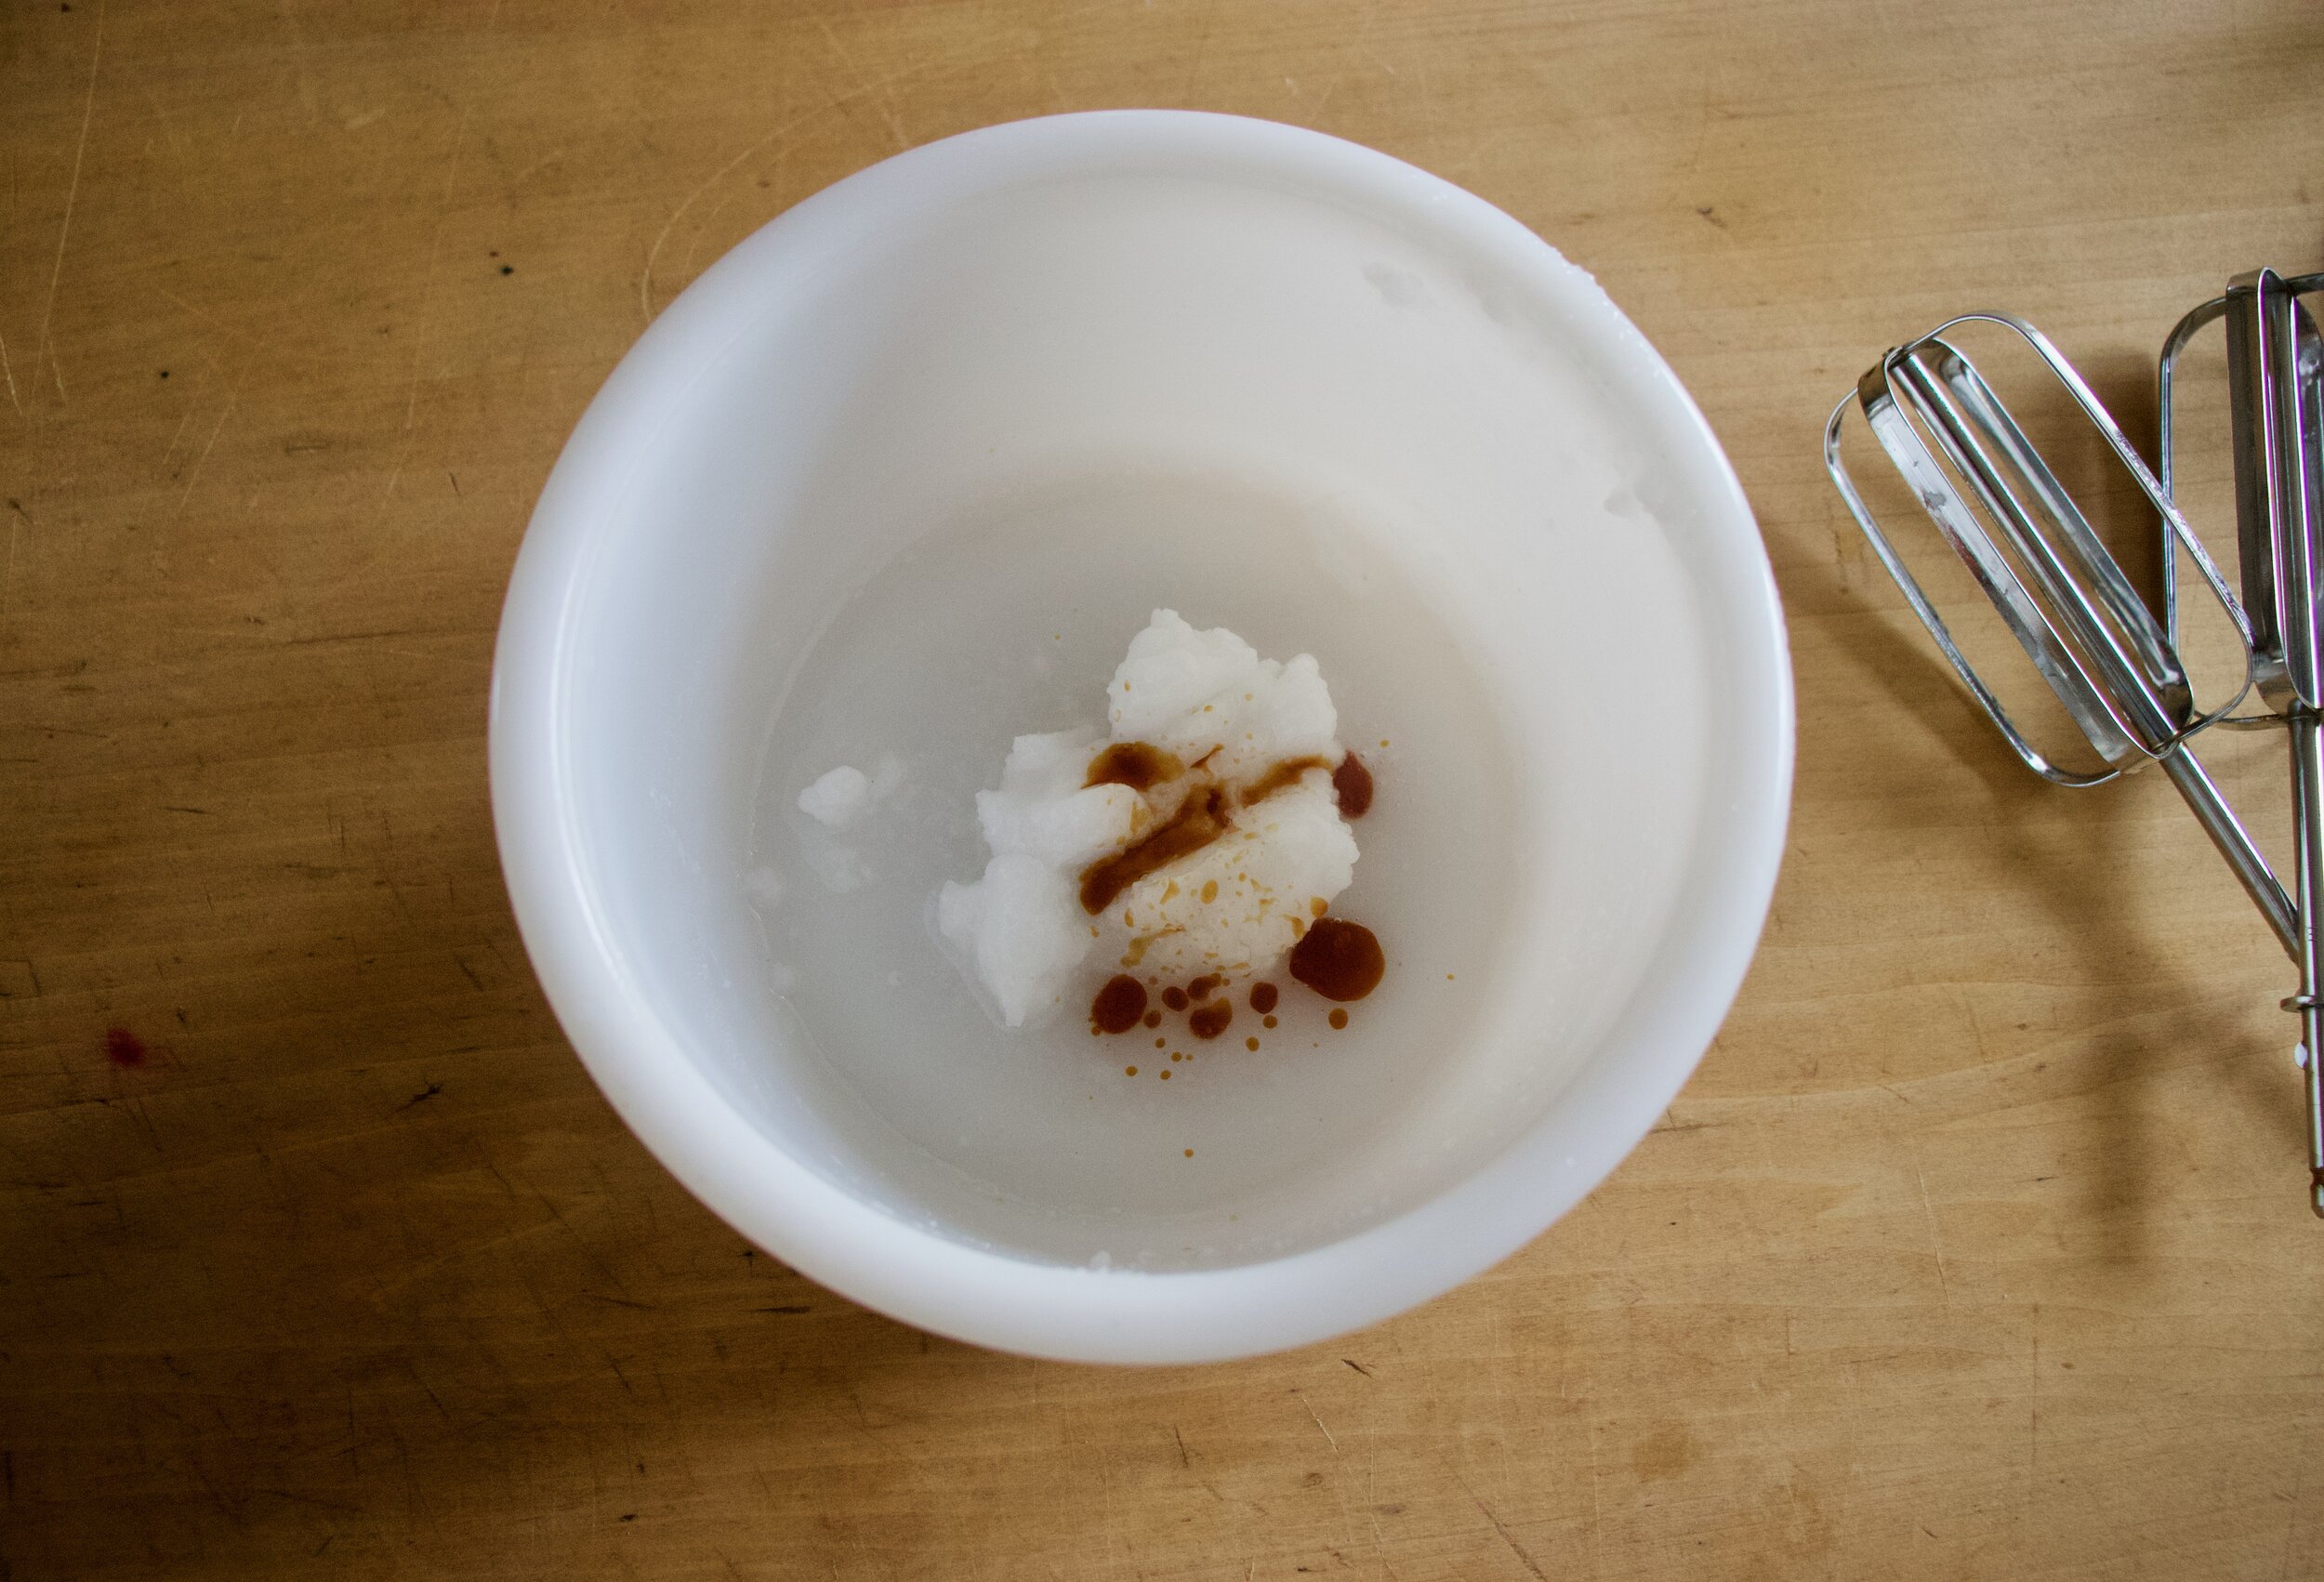
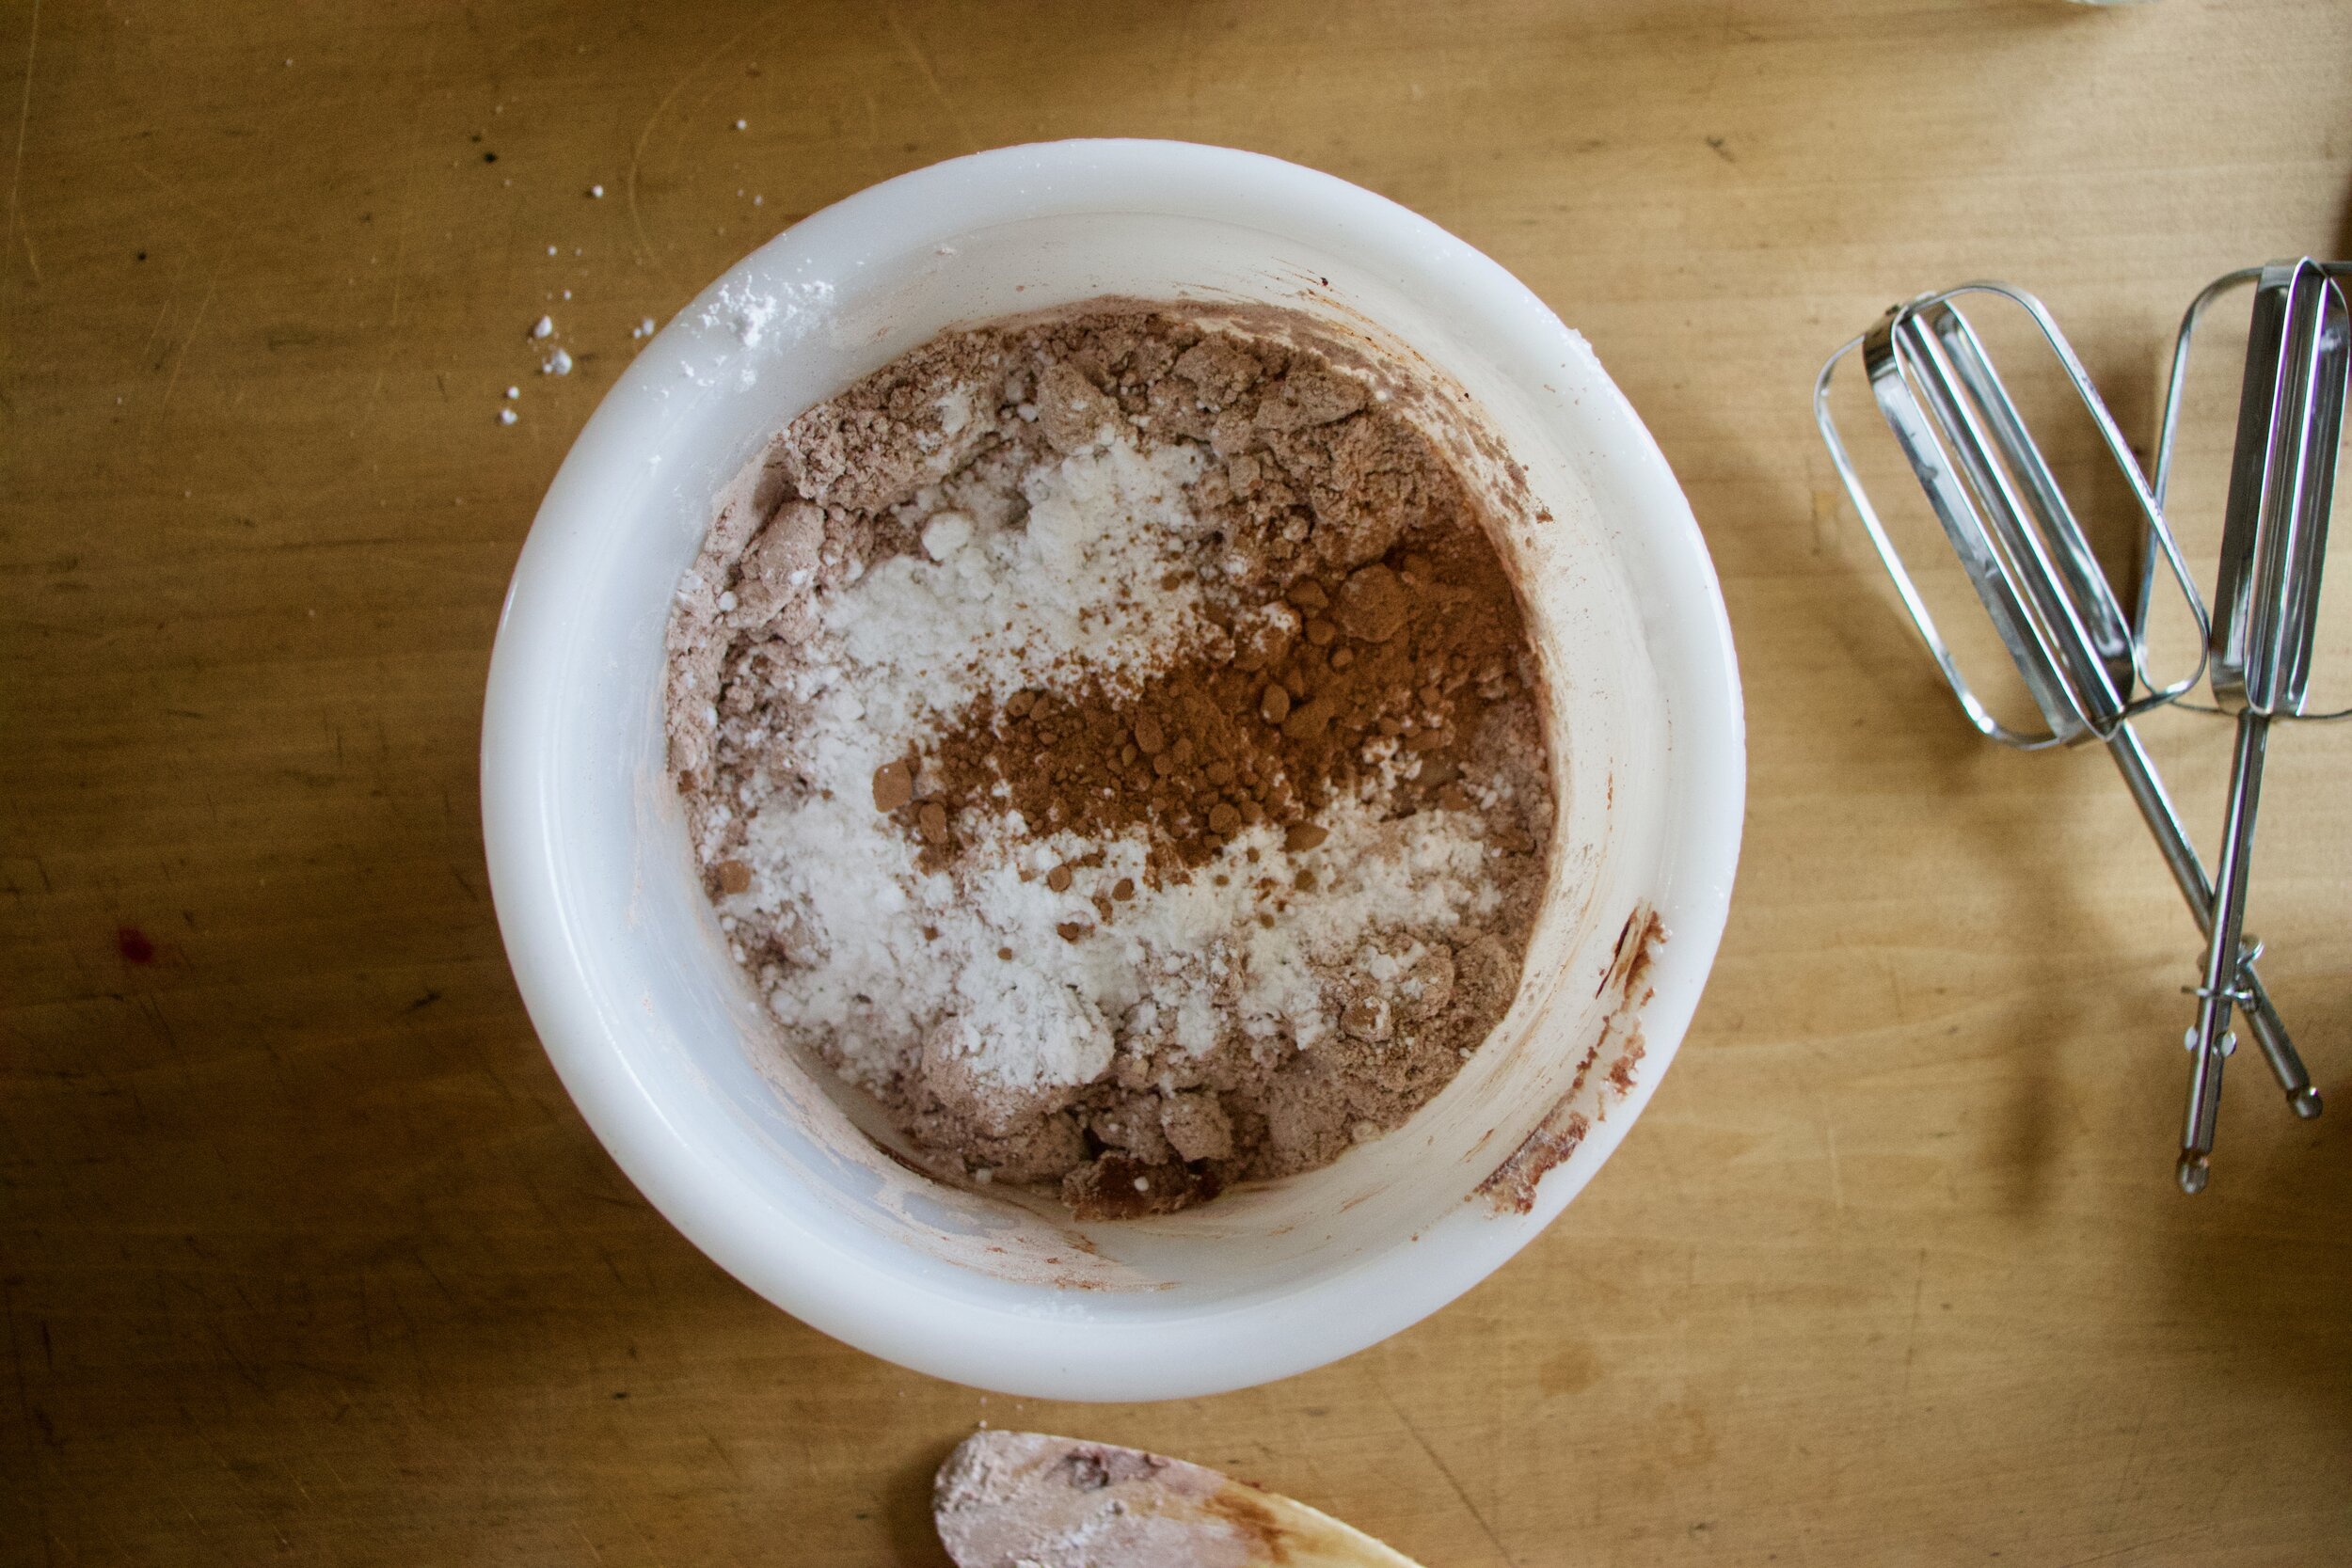
While cookies are cooling, make chocolate filling. Super soft, almost melted coconut oil goes in a bowl with vanilla and gets beaten together. Add in the cocoa powder, powdered sugar and pinch of salt and kept beating slowly anding in a bit of milk until the whole shebang comes together into chocolate filling awesomeness.

IMG_2969.jpg

Ghost filling!

IMG_3034.jpg

Once the cookies are completely cooled, fill them. The filling might have tightened up a bit so if it is not spreadable, pop into microwave for like 8 seconds to get it to move. Scoop or smear equal amounts of filling onto the bottoms of the cookies and top them off with their tops.

IMG_3055.jpg

Done, and ready to eat.

Ghosts cookies for all your ghost fueled festivities.

-C


Chocolate filled Vanilla Sugar Sandwich Cookies

makes at least 16 sandwich cookies

For the cookies

  • 2 1/4 cups all purpose flour

  • 3/4 cup white sugar

  • 1 teaspoon baking powder

  • 1/2 teaspoon salt

  • 1 teaspoon vanilla extact

  • 2/3 cup soft coconut oil

  • 5 tablespoons plant milk (I used almond)

For the filling

  • 1 1/2- 2 cups powdered sugar

  • 1/3 cup cocoa powder

  • 4 tablespoons melted coconut oil

  • 1/2 teaspoon vanilla extract

  • 2-3 tablespoons plant milk

  • 1/8 teaspoon salt

Preheat oven to 350

In a bowl beat together the white sugar with the coconut oil and vanilla extract. Add in the flour, baking powder, and salt and start to mix with a spoon or fork, adding in the milk as you go. Keep mixing until completely incorporated and turns to a ball of dough. Gather together into a ball and wrap in plastic. Pat flat and place into fridge for an hour or up to a day.

To cut out cookies. Roll fridgerated dough out on a floured surface to about 1/2 inch thick. Cut out shapes, making sure to have a top and bottom for each cookie. Gather left over dough into a ball and repeat until all the dough is used.

Place cookies on a baking sheet and bake for 13-15 minutes or until they are just starting to lightly brown around the edges. Remove from oven and place on a wire rack to cook.

For chocolate filling. Beat together the melted coconut oil with vanilla. Add in the lesser amount of powdered sugar, salt, and cocoa powder. Beat on low, adding in 2 tablespoons plant milk. Beat until mixture comes together into a thick but spreadable consistency. If it seems too thick, add more milk, too thin, a little more powdered sugar.

Cookie assembly. 2 cookies at a time. A top and bottom. Spread about a tablespoon of chocolate filling to bottom cookies and pop the top on.

Eat cookies. Store what is not eaten in a airtight container for up to a week, but these ghosts will definitely not last that long.


In cookies, Dairy Free, desserts, sandwiches, Sweets, Vegan, holiday Tags Chocolate Filled Vanilla Sugar Sandwich Cookies, sugar cookies, cut out cookies, vegan cookies, vegan sugar cookies, vegan, plant based, sandwich cookies, chocolate, king Arthur flour, food 52, vegan dessert, halloween, holiday cookies, cookie swap, fall, ghost, dairy free
Comment

Raspberry Rhubarb Cobbler

April 27, 2019 Colleen Stem
IMG_7865.jpg
IMG_7904.jpg

I found another bag of frozen rhubarb in the chest freezer which is never a bad thing, but my rhubarb patch outside is growing strong and I will have all the fresh rhubarb I could possible eat within the next few weeks. So found rhubarb just means I need to eat it right fast before the fresh stuff comes in. (I haven’t had a problem with that. it’s almost gone already). Plus the other day while I was digging up and transplanting raspberry bushes to the back yard, my neighbor came over and gave me a gallon of frozen raspberries, harvested from said bushes that I was currently planting in my yard. Score for me! Free bushes and berries…I have such nice neighbors.

So the logical thing to do with my new found and giving bounty was of course to hurry up and bake something. Cobbler. Why cobbler? Well, why not? I figured the mr would really like it and eat it and I also didn’t want to make anything to fussy because I was just to dang busy spending all of my extra time outside doing outside things. And cobbler, it’s not fussy because it is basically biscuits and jam baked up all together. Not a lot to think about and comes out looking all homey and sweet and smelling all nice and cozy. Doesn’t that sound nice? And not a pain in the ass?

And best part. A made cobbler works as dessert or breakfasts or just a snack. Just asked the mr. He ate it for all the reasons. With a dollop of yogurt or cream of course because he is fancy like that.

And yeah the fruit I used was frozen, but fresh works just the same here too.

Now, lets get to that cobbler.

The stuff. Raspberries (frozen), rhubarb (frozen), sugar, flour, salt, baking power, cinnamon ,almond milk, apple cider vinegar, cornstarch, and oil.

IMG_7777.jpg

Raspberries, rhubarb, sugar, cinnamon, cornstarch. Its all there in the bowl. Just needs to be mixed. So mix it.

IMG_7781.jpg

Dump fruit mixture into well greased 8 inch pan and pop it into a hot oven to get a head start on baking.

IMG_7797 2.jpg
IMG_7802.jpg

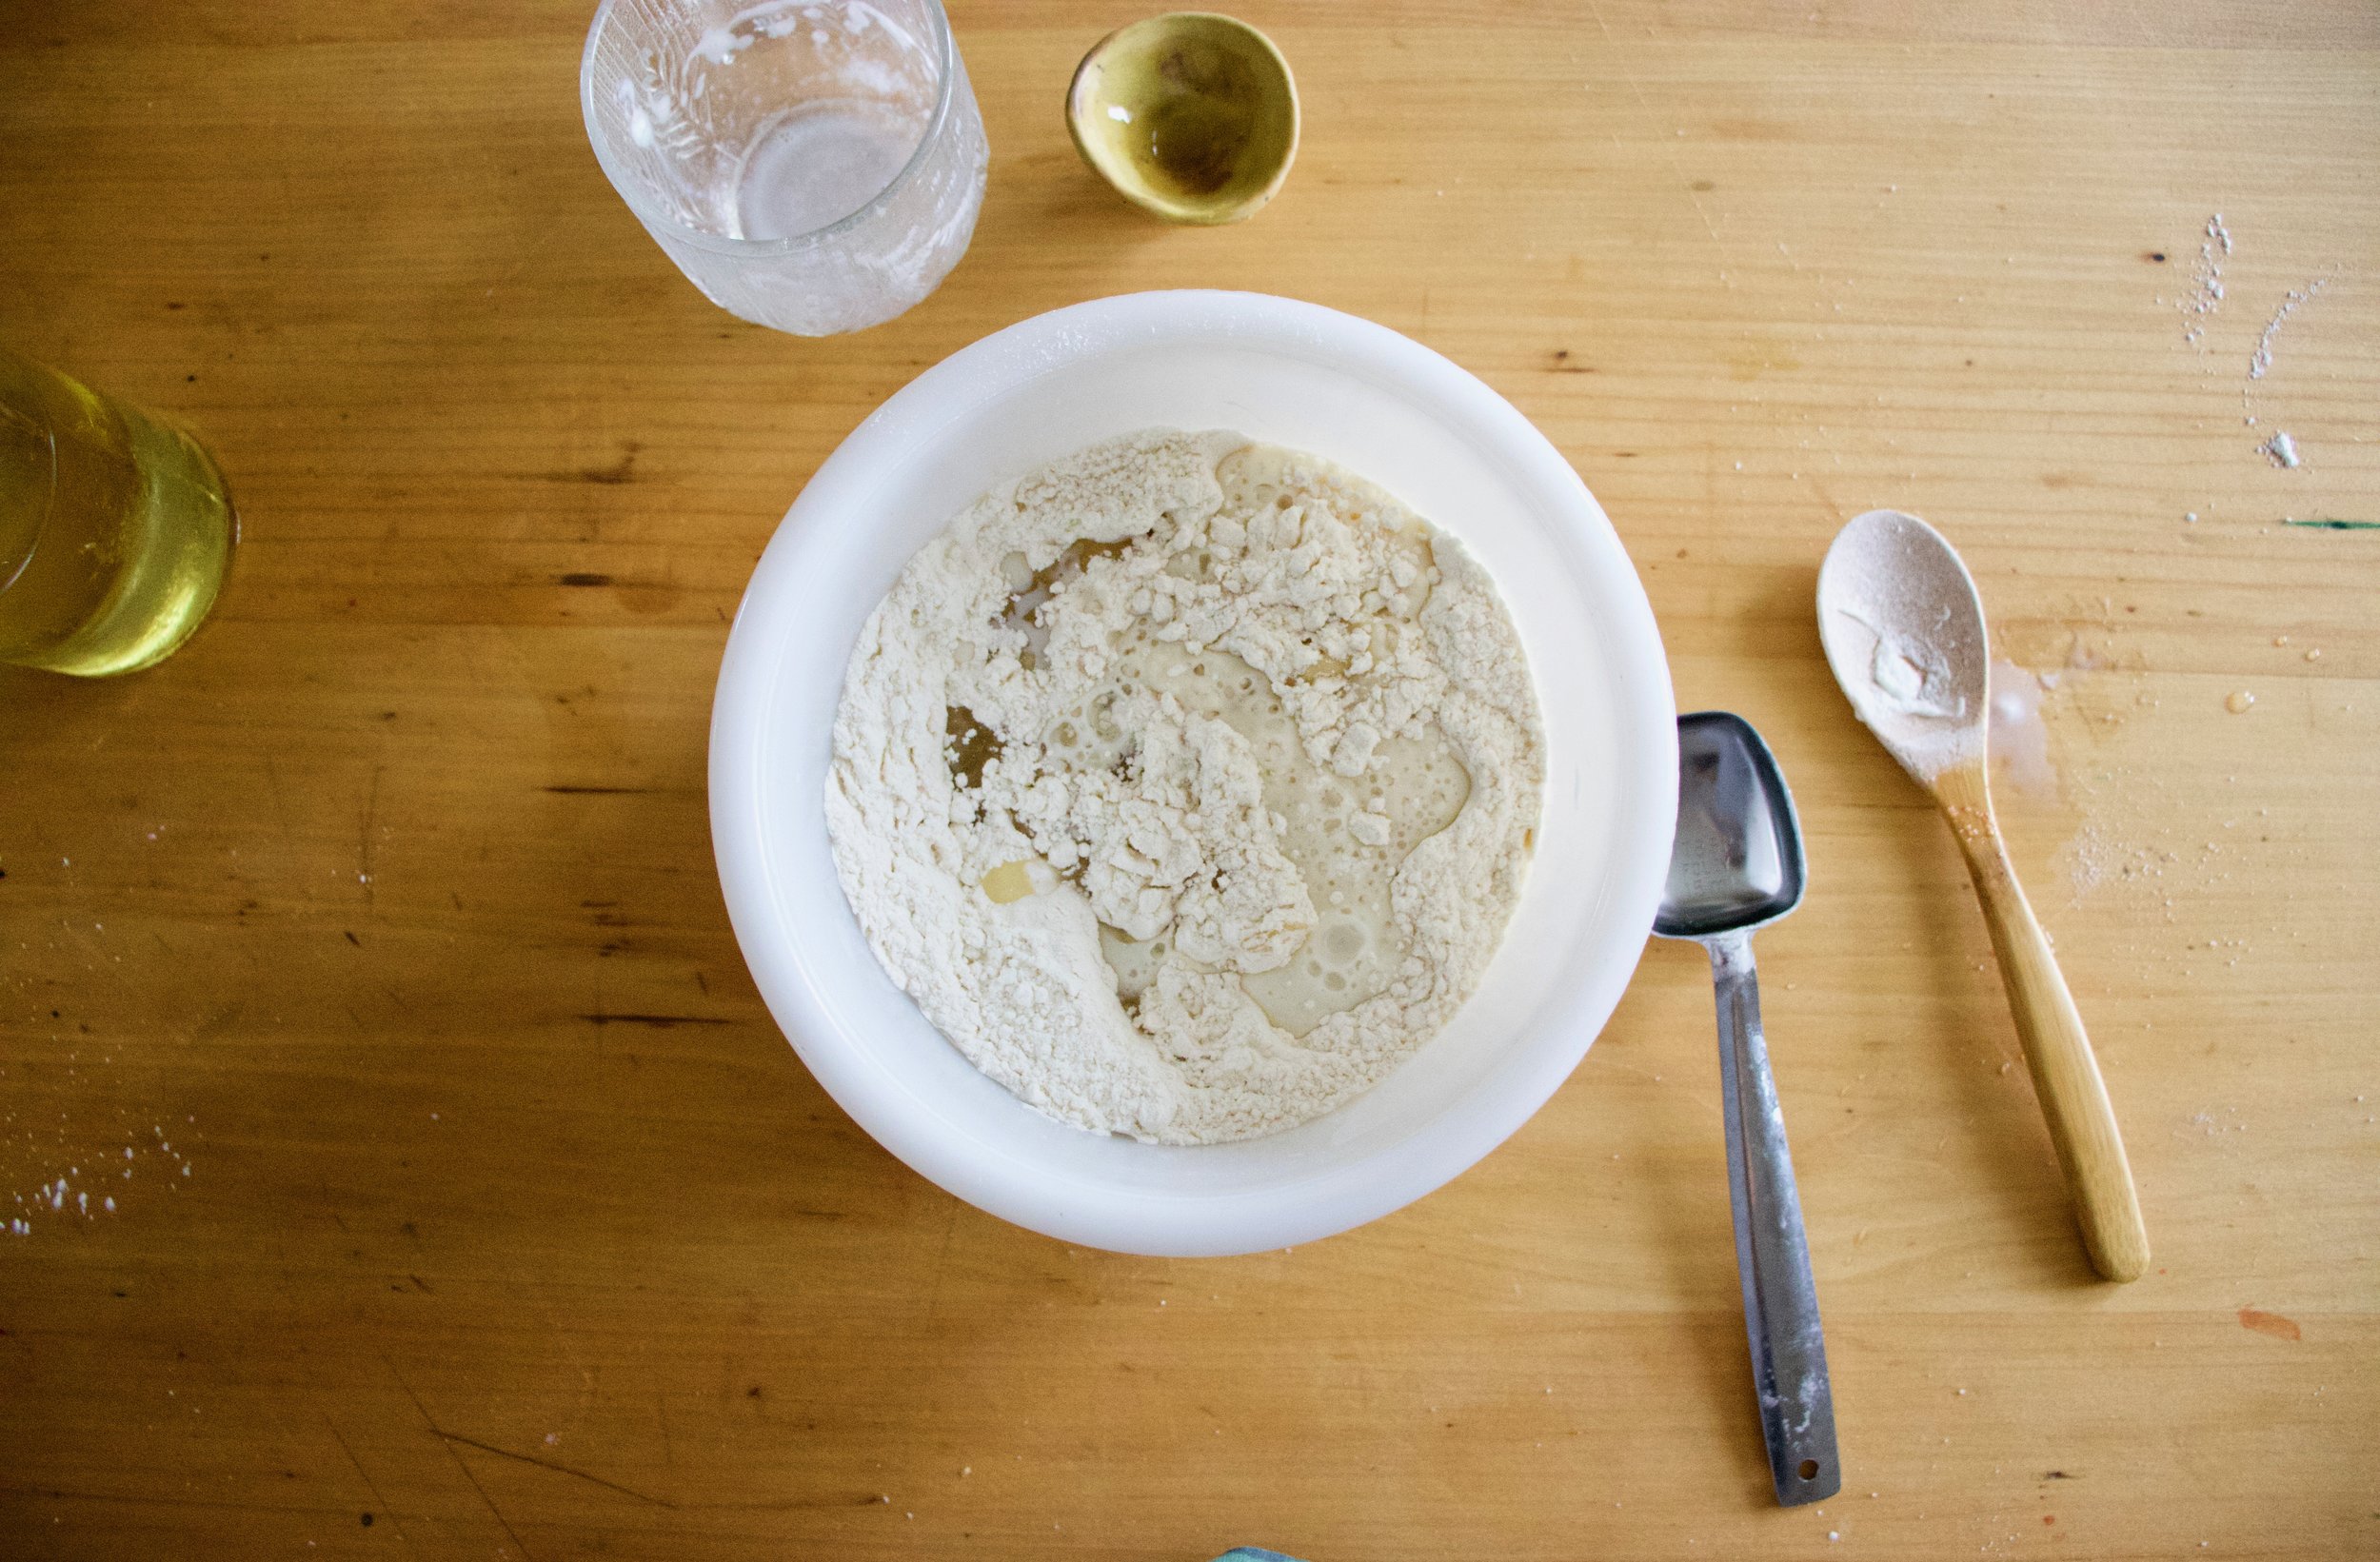
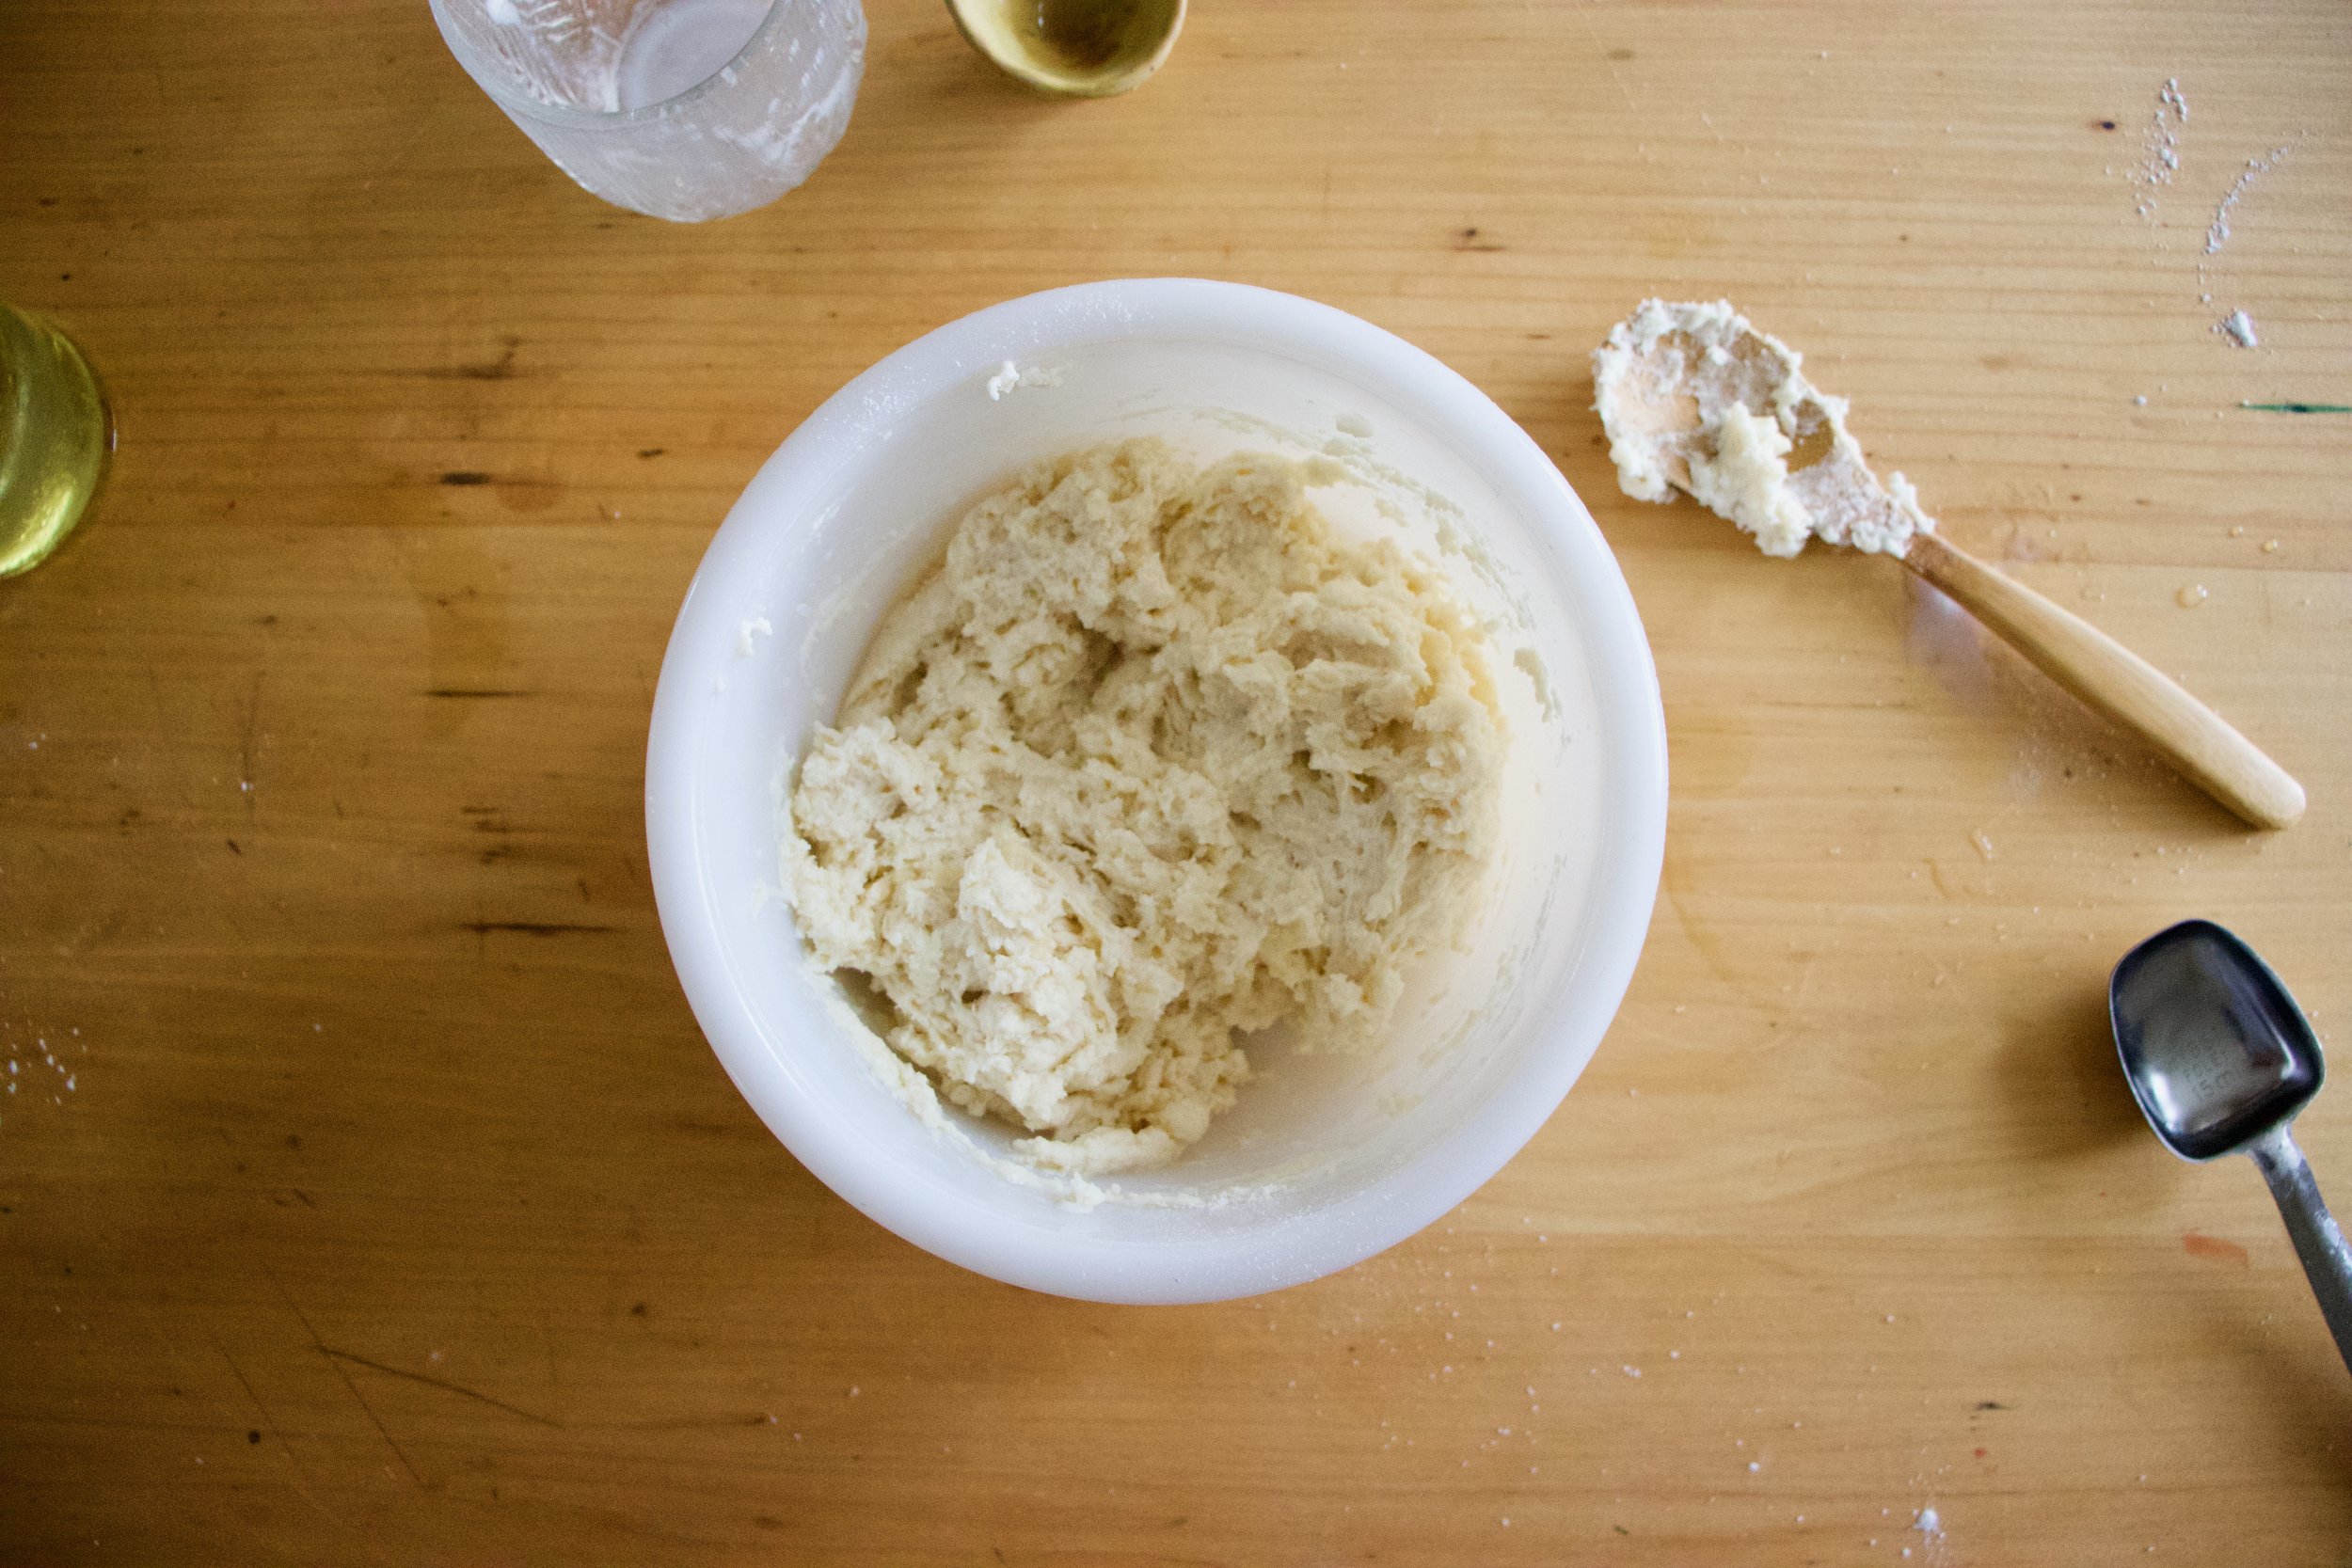
While the fruits in the oven, make the biscuit dough. Mix the dry together then mix in the wet until just incorporated and a sticky dough forms.

IMG_7805.jpg

Pulled from the oven, the fruit is starting to cook down and whoa, it just smells so good!

IMG_7816.jpg

Drop on the biscuits dough on top of the fruit (careful of the hot pan). Evenly if possible, but don’t work to hard to make it look perfect. Imperfection makes it look perfect, you know?

Once biscuits are on, lightly brush the tops with a little milk and sprinkle with more sugar then pop it back into the oven for another 25-30 minutes or until the biscuits are baked.

IMG_7817 2.jpg

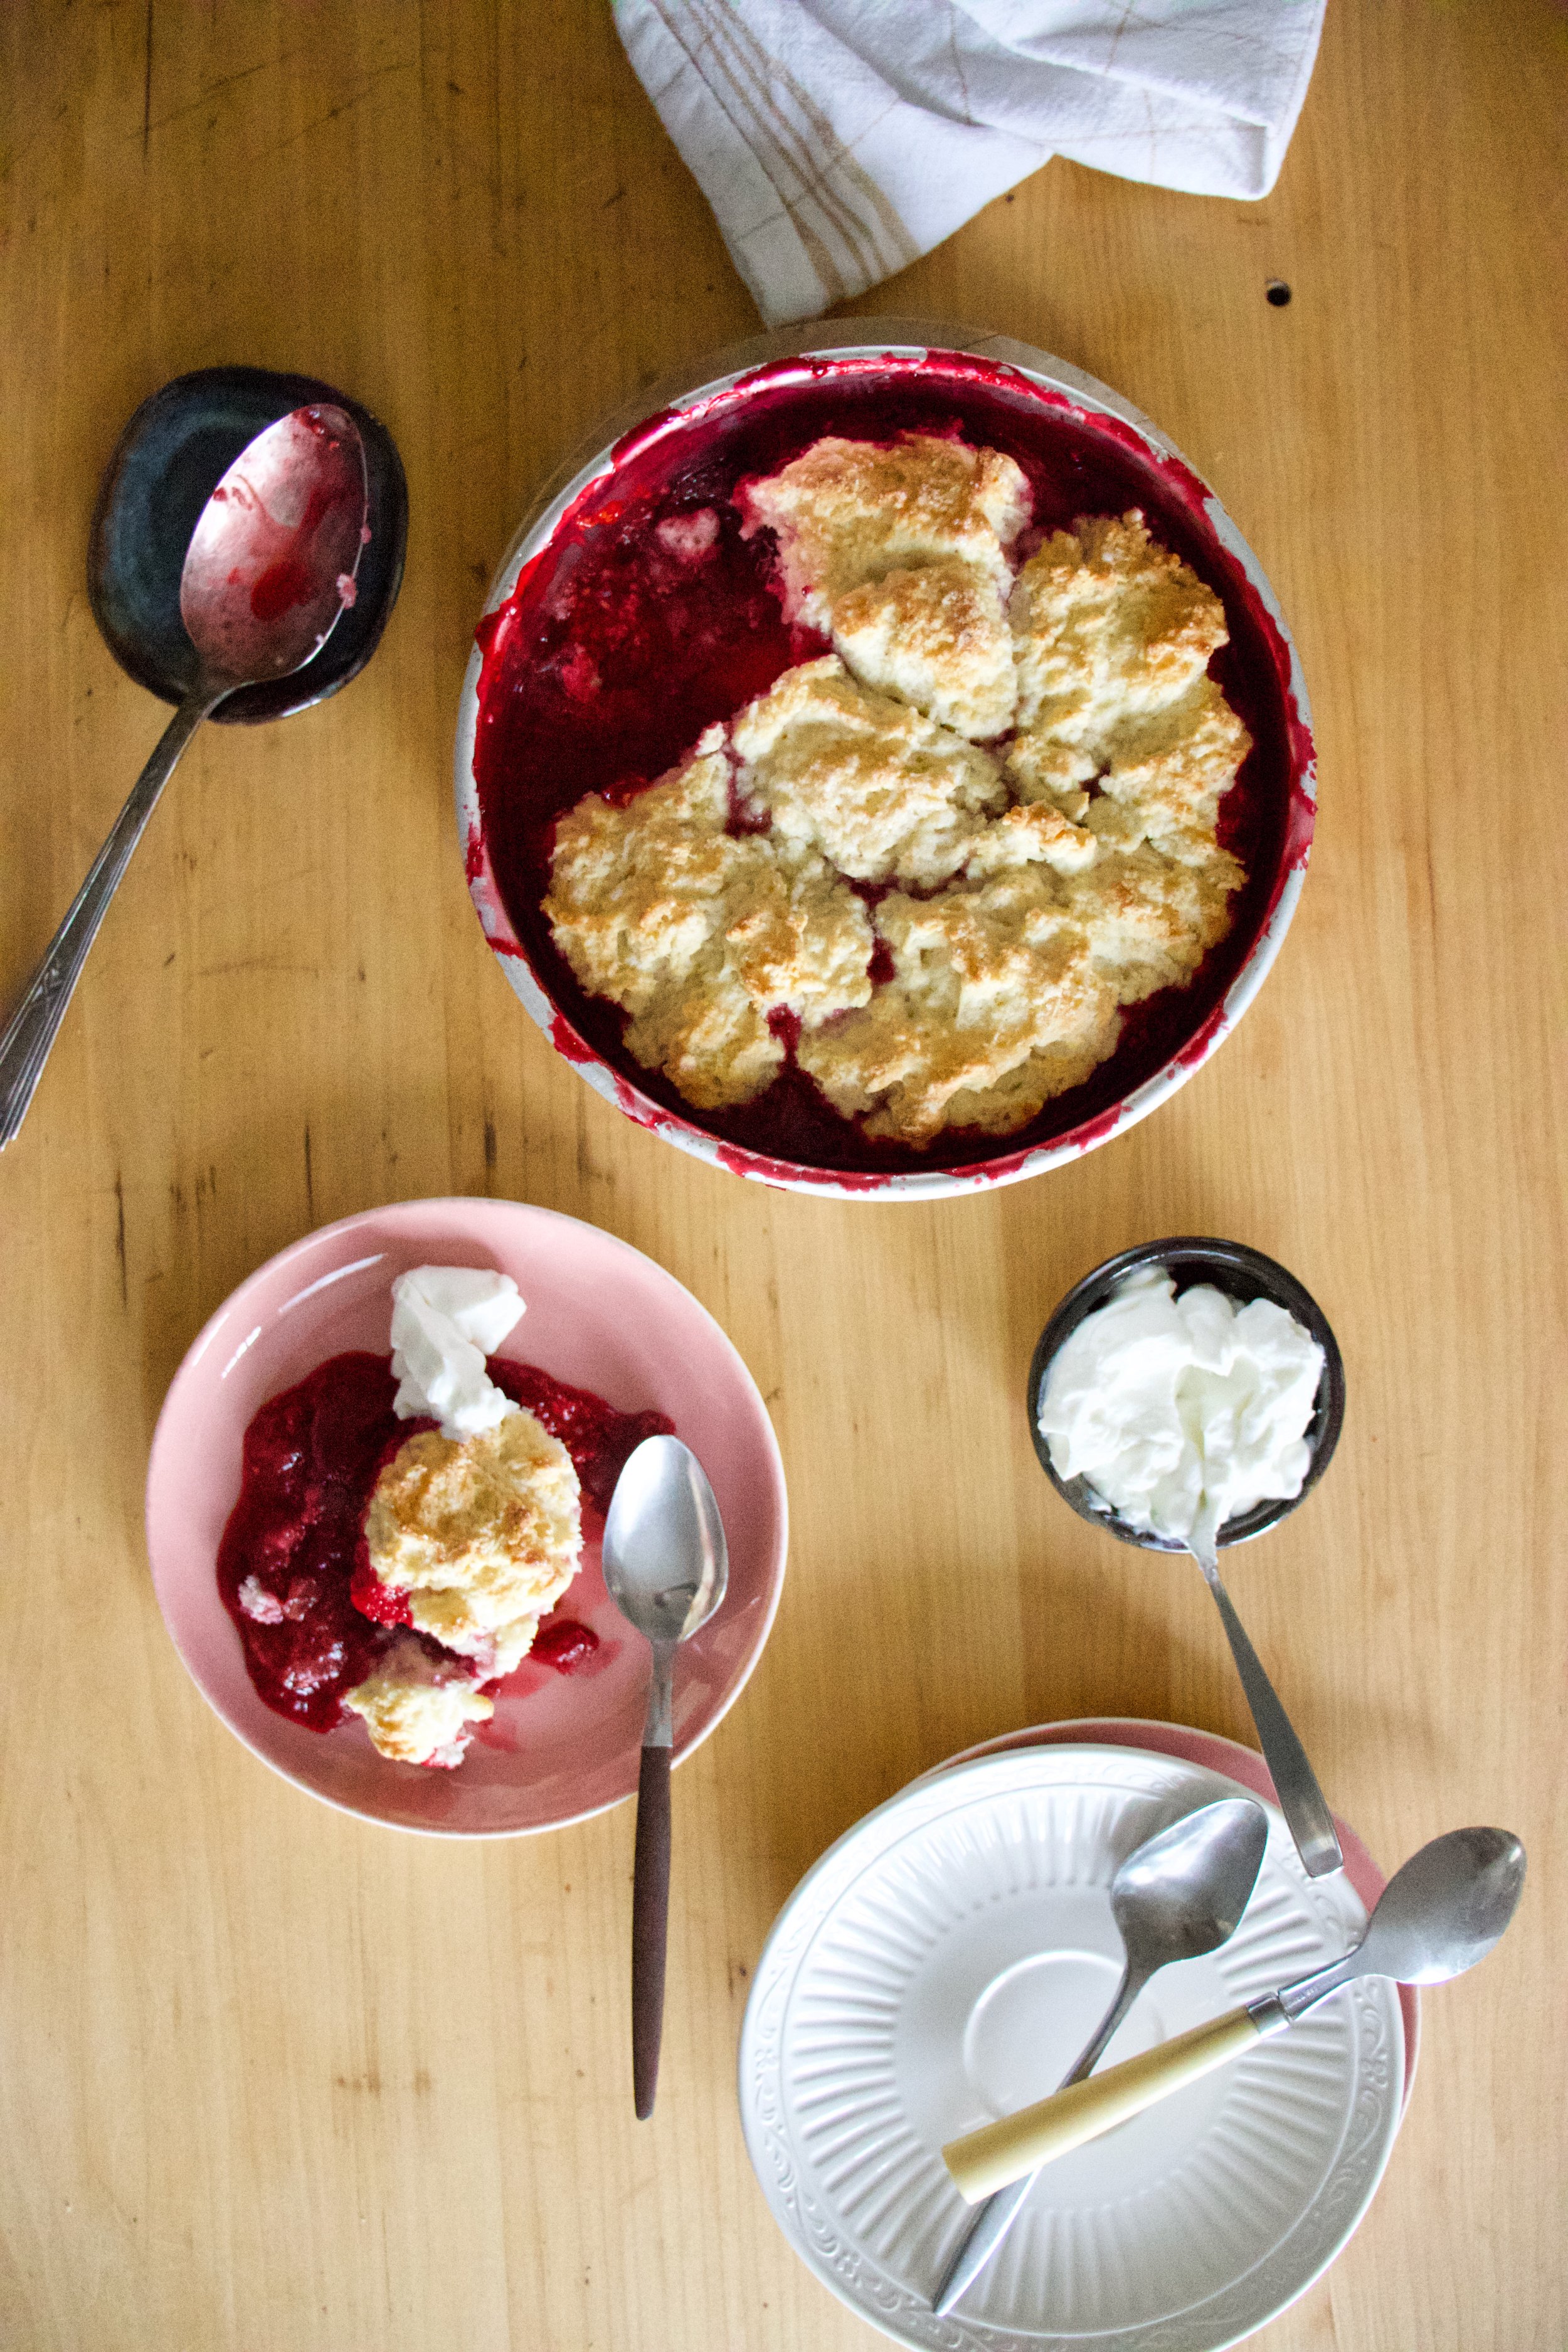
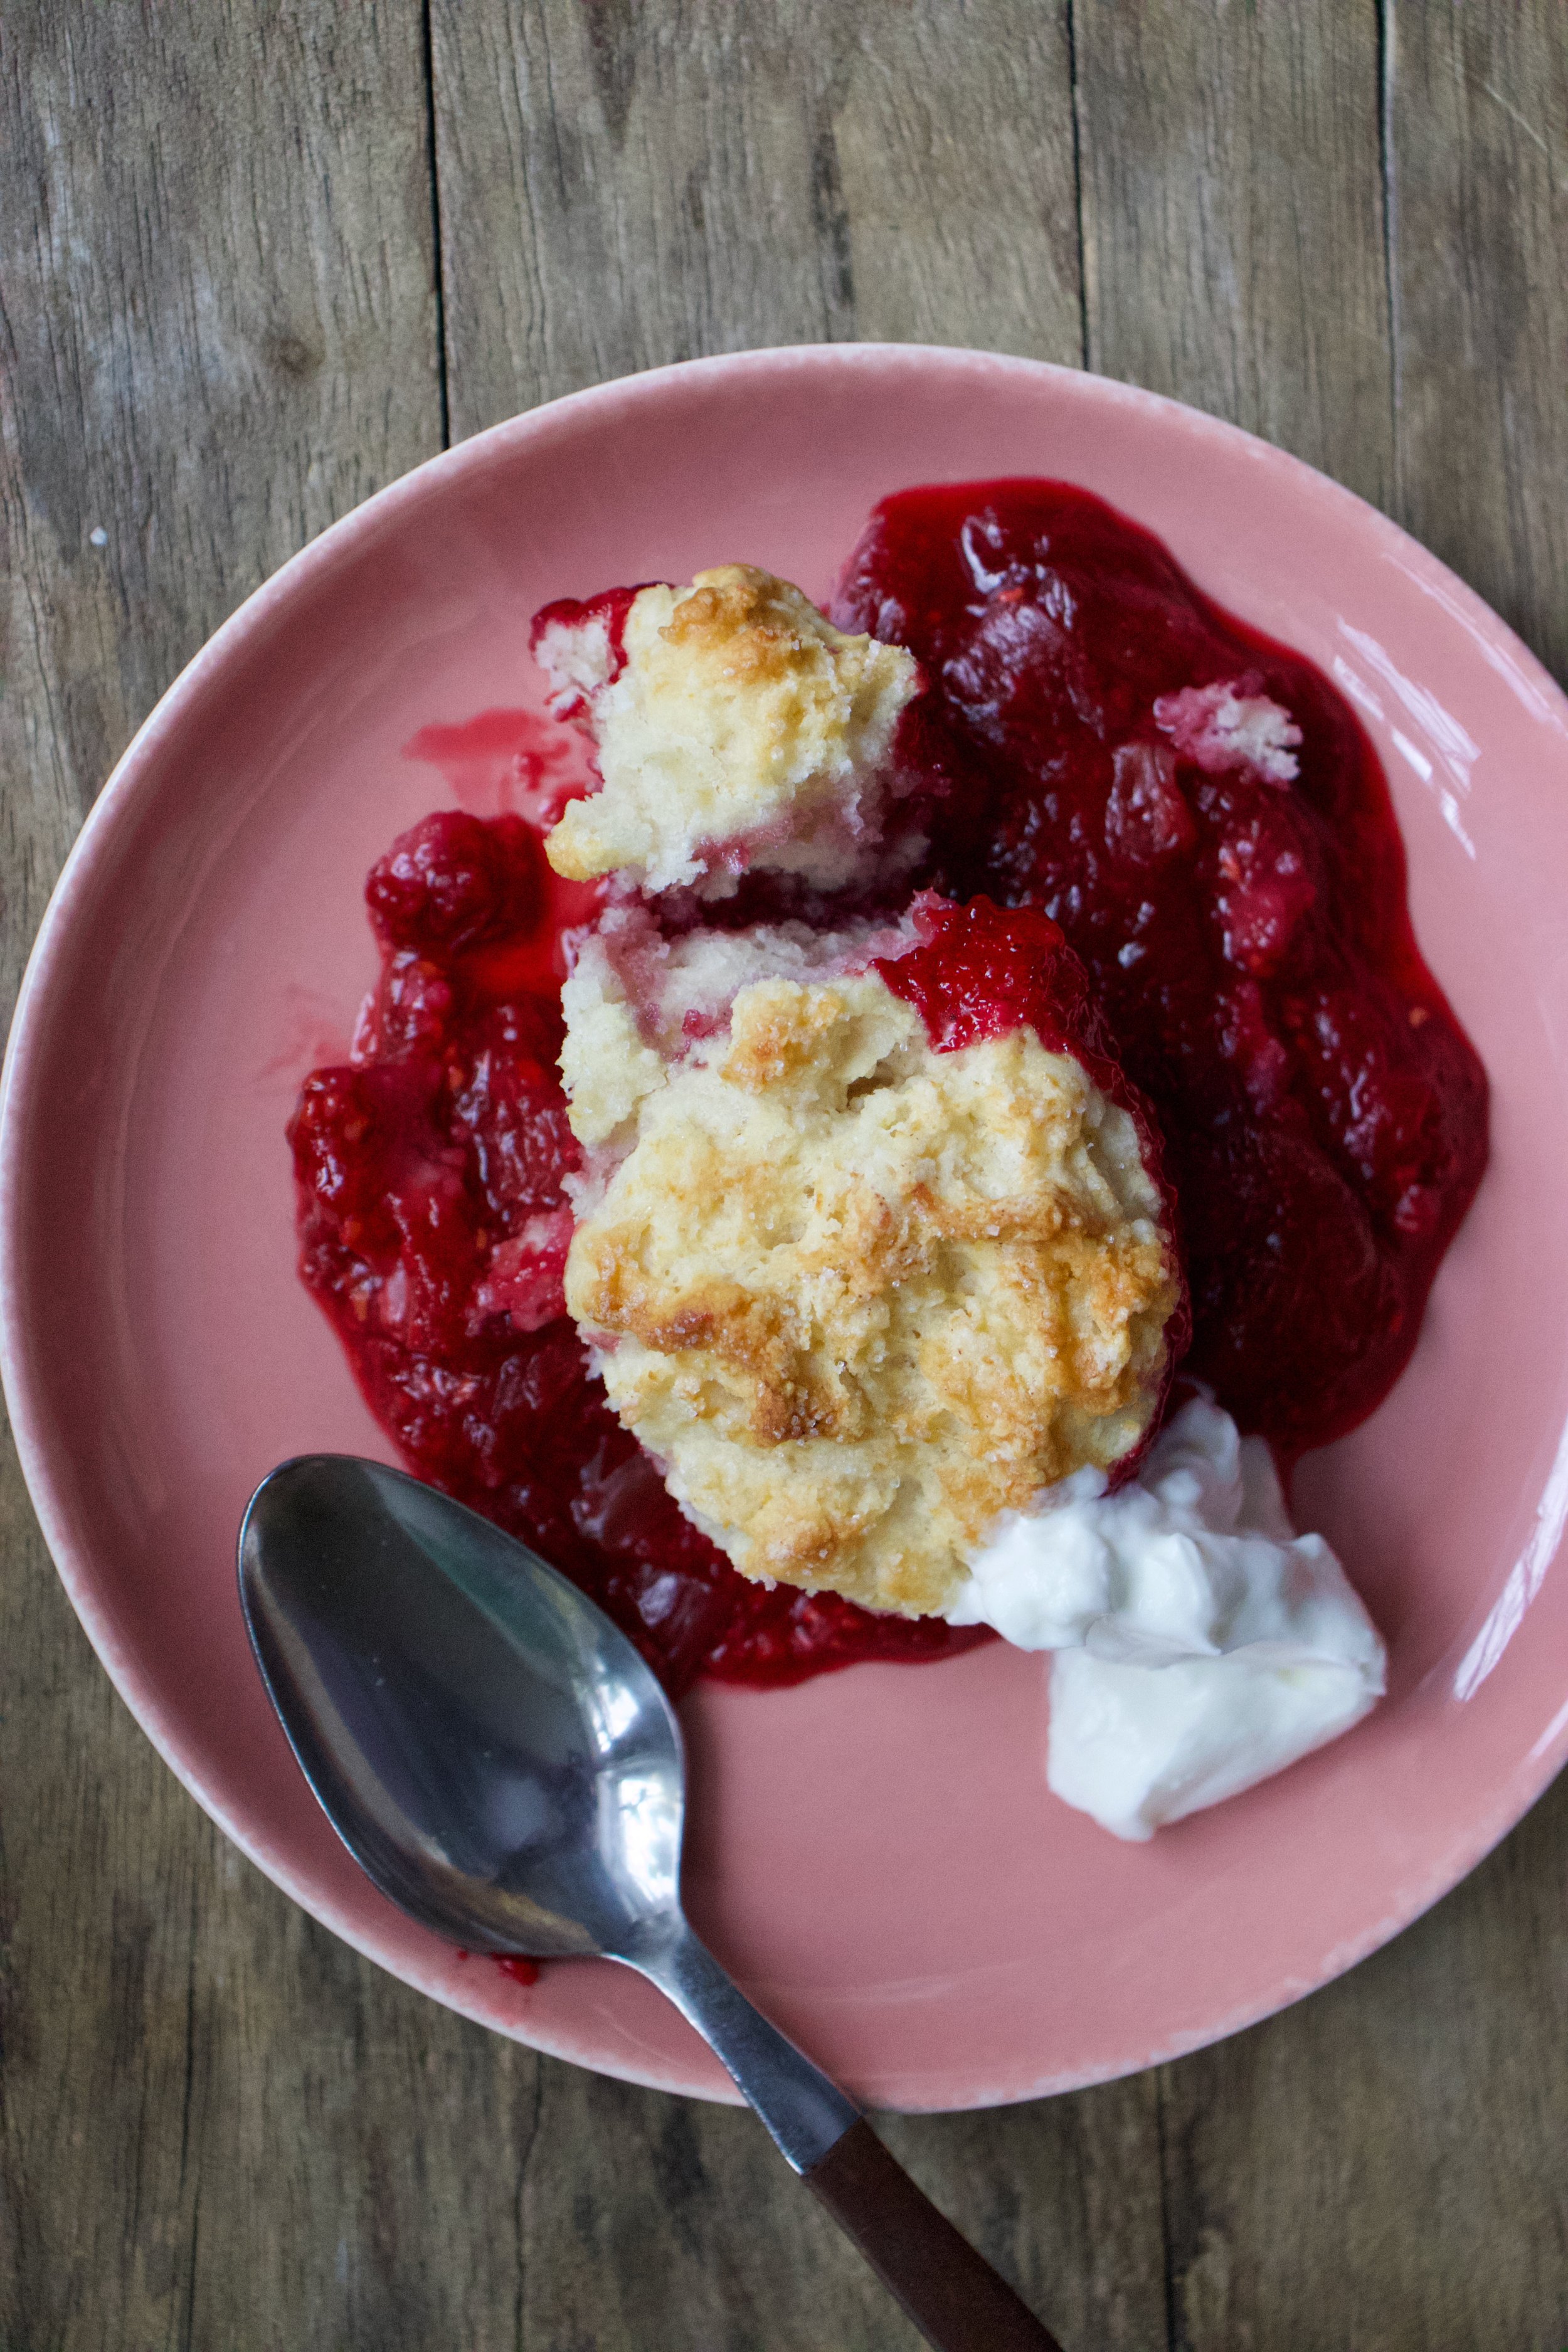
Pulled from the oven with a bubbly filling and a golden brown biscuity top. Things are looking good here.

IMG_7929.jpg

And now it’s time.

Dig on in my friend. Sever with something creamy like whipped coconut cream or some type of yogurt or ice cream situation of your choice. And again, this can be your breakfast.

Happy spring people!

-C


Raspberry Rhubarb Cobbler

make a a 8 inch round which serves 5-6

For the Filling

  • 2 cups raspberries (fresh or frozen)

  • 2 cups rhubarb chopped into 1/2 inch to inch long pieces (fresh or frozen)

  • 1 1/2 tablespoons corn starch

  • 3/4 -1 cup sugar (lesser amount if you like a little more tartness. I used lesser amount)

  • 1 teaspoon cinnamon

For the dough

  • 1 cups all purpose flour

  • 1 1/2 teaspoon baking powder

  • 1/2 teaspoon salt

  • 3 tablespoons sugar

  • 3 tablespoons neutral flavored oil

  • 1/2 cup plant based milk

  • 1 teaspoon apple cider vinegar

Preheat oven to 350.

In a large bowl mix together the rhubarb and raspberries with the corn starch, sugar, and cinnamon. Grease a 8 inch round pan the is at least 2 inches deep (can use a slightly large pan or a square) and dump in fruit mixture. Place into oven to bake for about 15 minutes or the fruit starts to break down.

While fruit is baking, mix up biscuit dough. Flour, salt, 2 tablespoons sugar, and baking powder go in a large bowl and mixed until combined. Add in the oil, the milk, and the vinegar. Mix until just incorporated and a dough has formed.

Remove the fruit cooking from the oven. Turn heat up to 375.

Carefully drop spoonfuls of biscuit batter on top of fruit. Brush the top of the biscuits with a little milk and sprinkle with remaining tablespoon sugar. Place the pan back into the oven and bake for another 25-30 minutes or until the biscuits are all nice and golden brown on top.

Remove from oven and let cool for a few minutes before serving. Serve warm with a scoop or dollop of soothing creamy (coconut cream, yogurt, ice cream…..whatever floats your boat.)

Left overs can be stored in pan, just cover it with something and place in fridge. Can be eaten cold to or reheated in microwave or oven.

In Vegan, Spring, fruit, desserts, brunch, breakfast, biscuits and such, cobblers and crumbles Tags Raspberry Rhubarb Cobbler, Cobbler, dessert, raspberries, rhubarb, spring, fruit, plant based, vegan, vegan dessert, biscuits, easy, dairy free, breakfast, brunch
1 Comment

Chocolate Chip and Pumpkin Seed Soft Pumpkin Cookies

October 27, 2018 Colleen Stem
IMG_1898.jpg
IMG_1910 2.jpg
IMG_1907.jpg

I love making cookies. There something about having to keep a close eye on the oven, the anticipation of the perfect time to pull them from the oven. Not too early, but never to late. You have to pay close attention. A cookie is not very forgiving if left in for a minutes or two too long. Those minutes can make or break a great cookie. OS baking them is , to me anyway, like a form of meditation. You can’t be distracted, thinking about things like “who came up with the name Banana Republic and then used it for a clothing store?”, or looking up “ large metal rolling balls”. No, you need to pay attention to cookies, or else your cookies might burn. But don’t let that scare you, and really, you can totally think of all the random, but important, things you want while baking, just use a timer or think those thoughts while watching the oven.

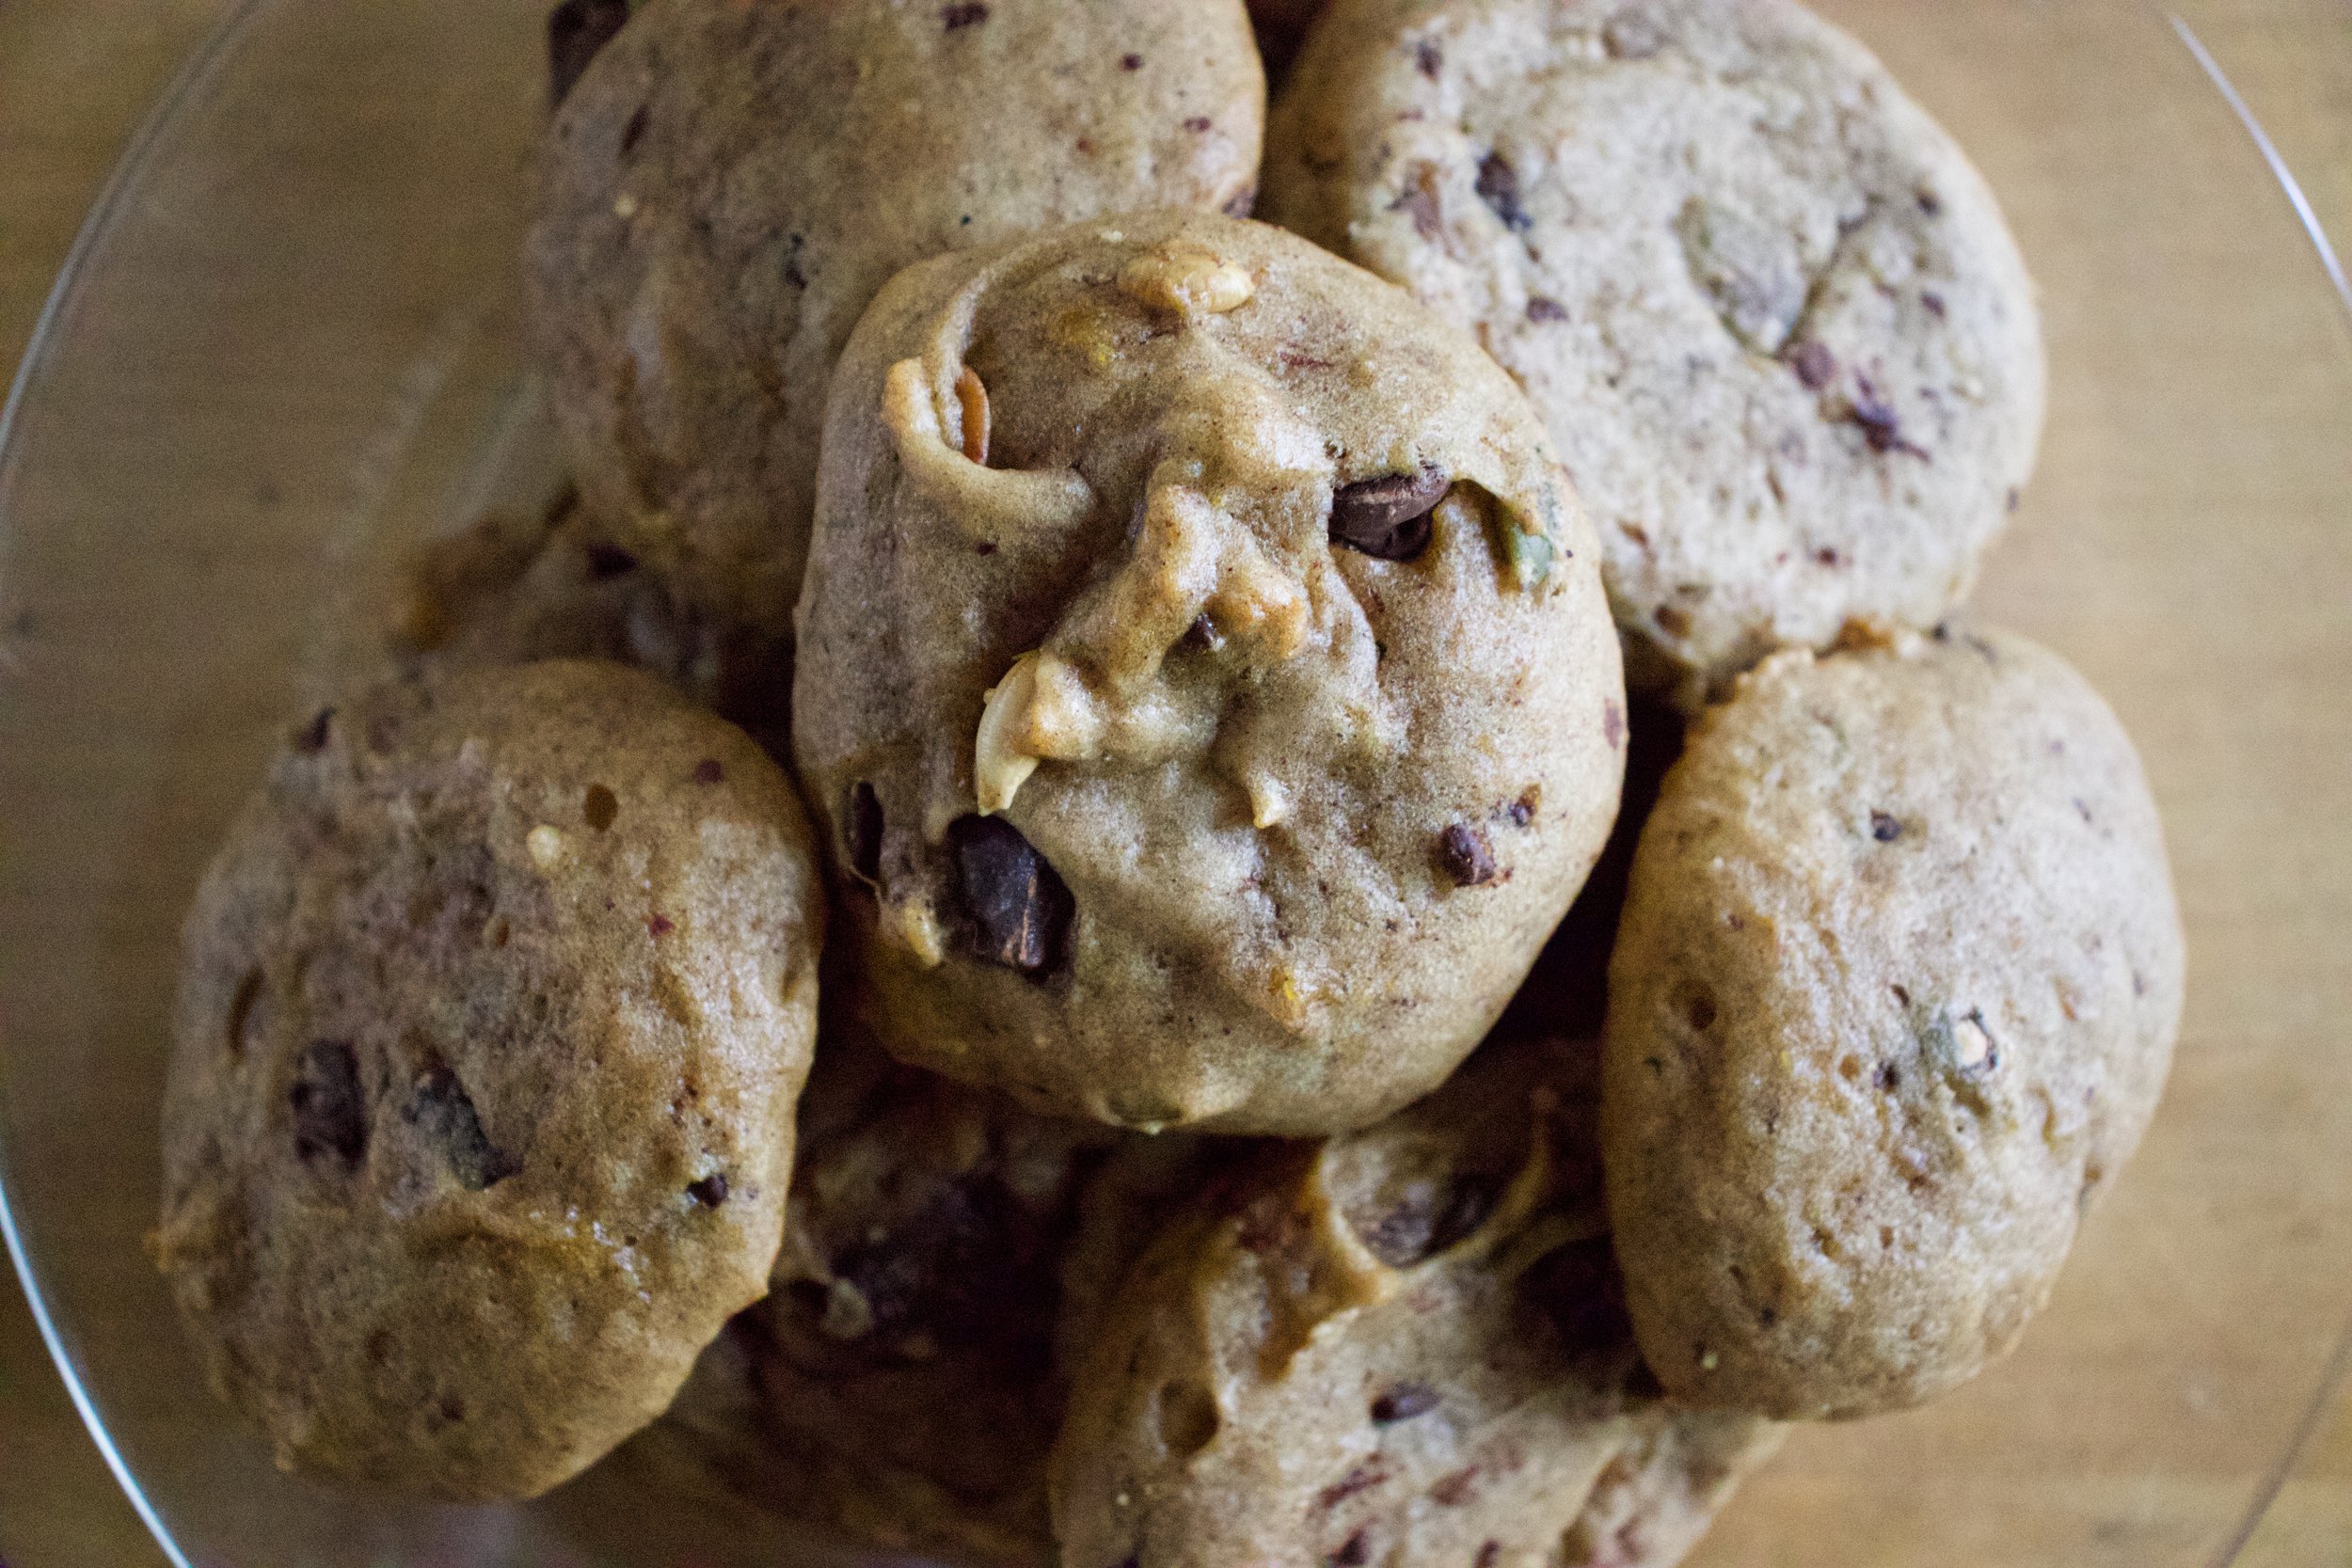
These cookies are the cookies that you want to make. A cookie yes, but almost like little soft cakes, full of chocolate chips and pumpkin seeds and warm spices to elevate the pumpkiness of the pumpkin. A perfect cookie to bake when you are freezing and want nothing else then to sit in front of a warm oven, spacing out, and revealing in the smell of a fall kitchen.

Fall pro tip. Place outwear in the kitchen while baking. I had my jacket on a stool close by while the cookies were baking and even now, a few days later, it still smell like cookies.

To the cookies!

IMG_1723.jpg

The stuff. Brown and granulated sugar, flour with salt, cinnamon, allspice ,nutmeg, and baking soda and baking powder. Pumpkin puree vanilla extract, canola oil, chocolate chips, and toasted pumpkin seeds.

IMG_1731.jpg
IMG_1735.jpg

Mix the sugars, oil, vanilla, and pumpkin puree together until completely incorporated.

IMG_1746.jpg

Whisk together all the dry

IMG_1750 2.jpg

Add dry to wet. Mix gently, until just incorporated.

IMG_1762 2.jpg

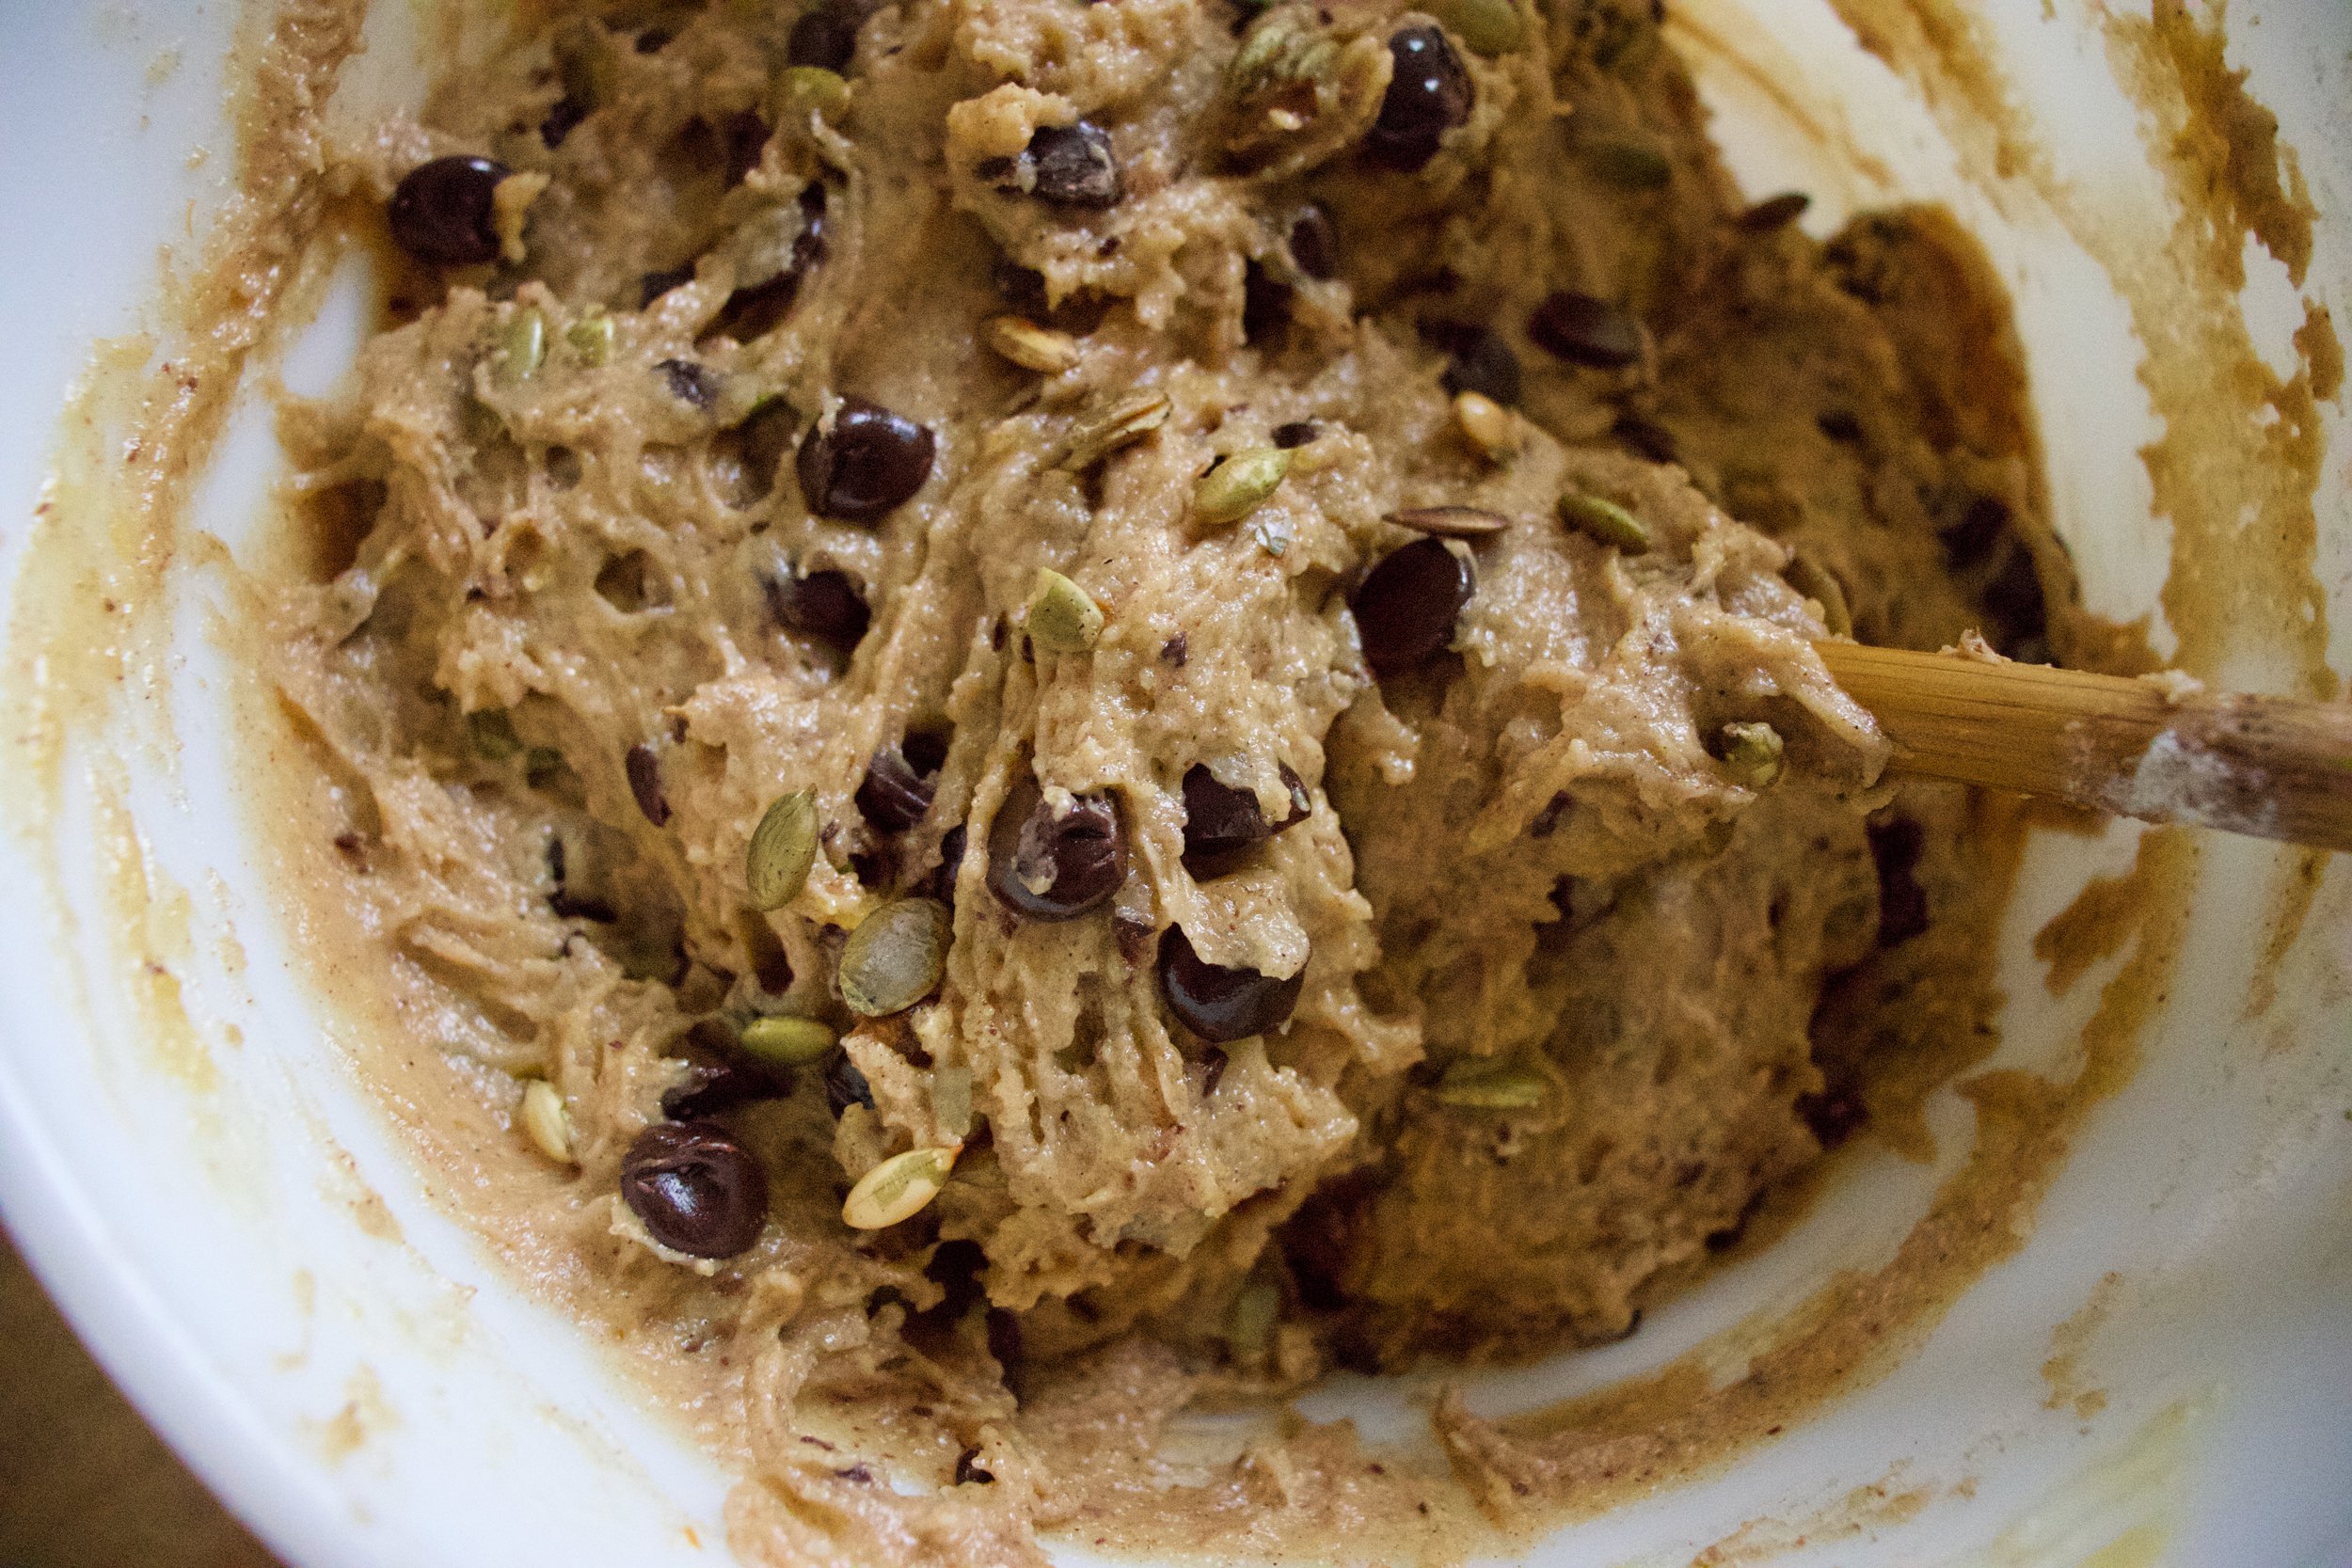
A now you have cookie batter. But wait, can’t forget the chocolate and seeds.

IMG_1765.jpg

I like to give the chocolate chips a rough chop to make the chips a bit smaller. You can skip this step or just use small chips if you want.

IMG_1778.jpg

Chocolate chips and toasted pumpkin seeds go into batter.

IMG_1785.jpg

After a gentle mix, it’s time bake.

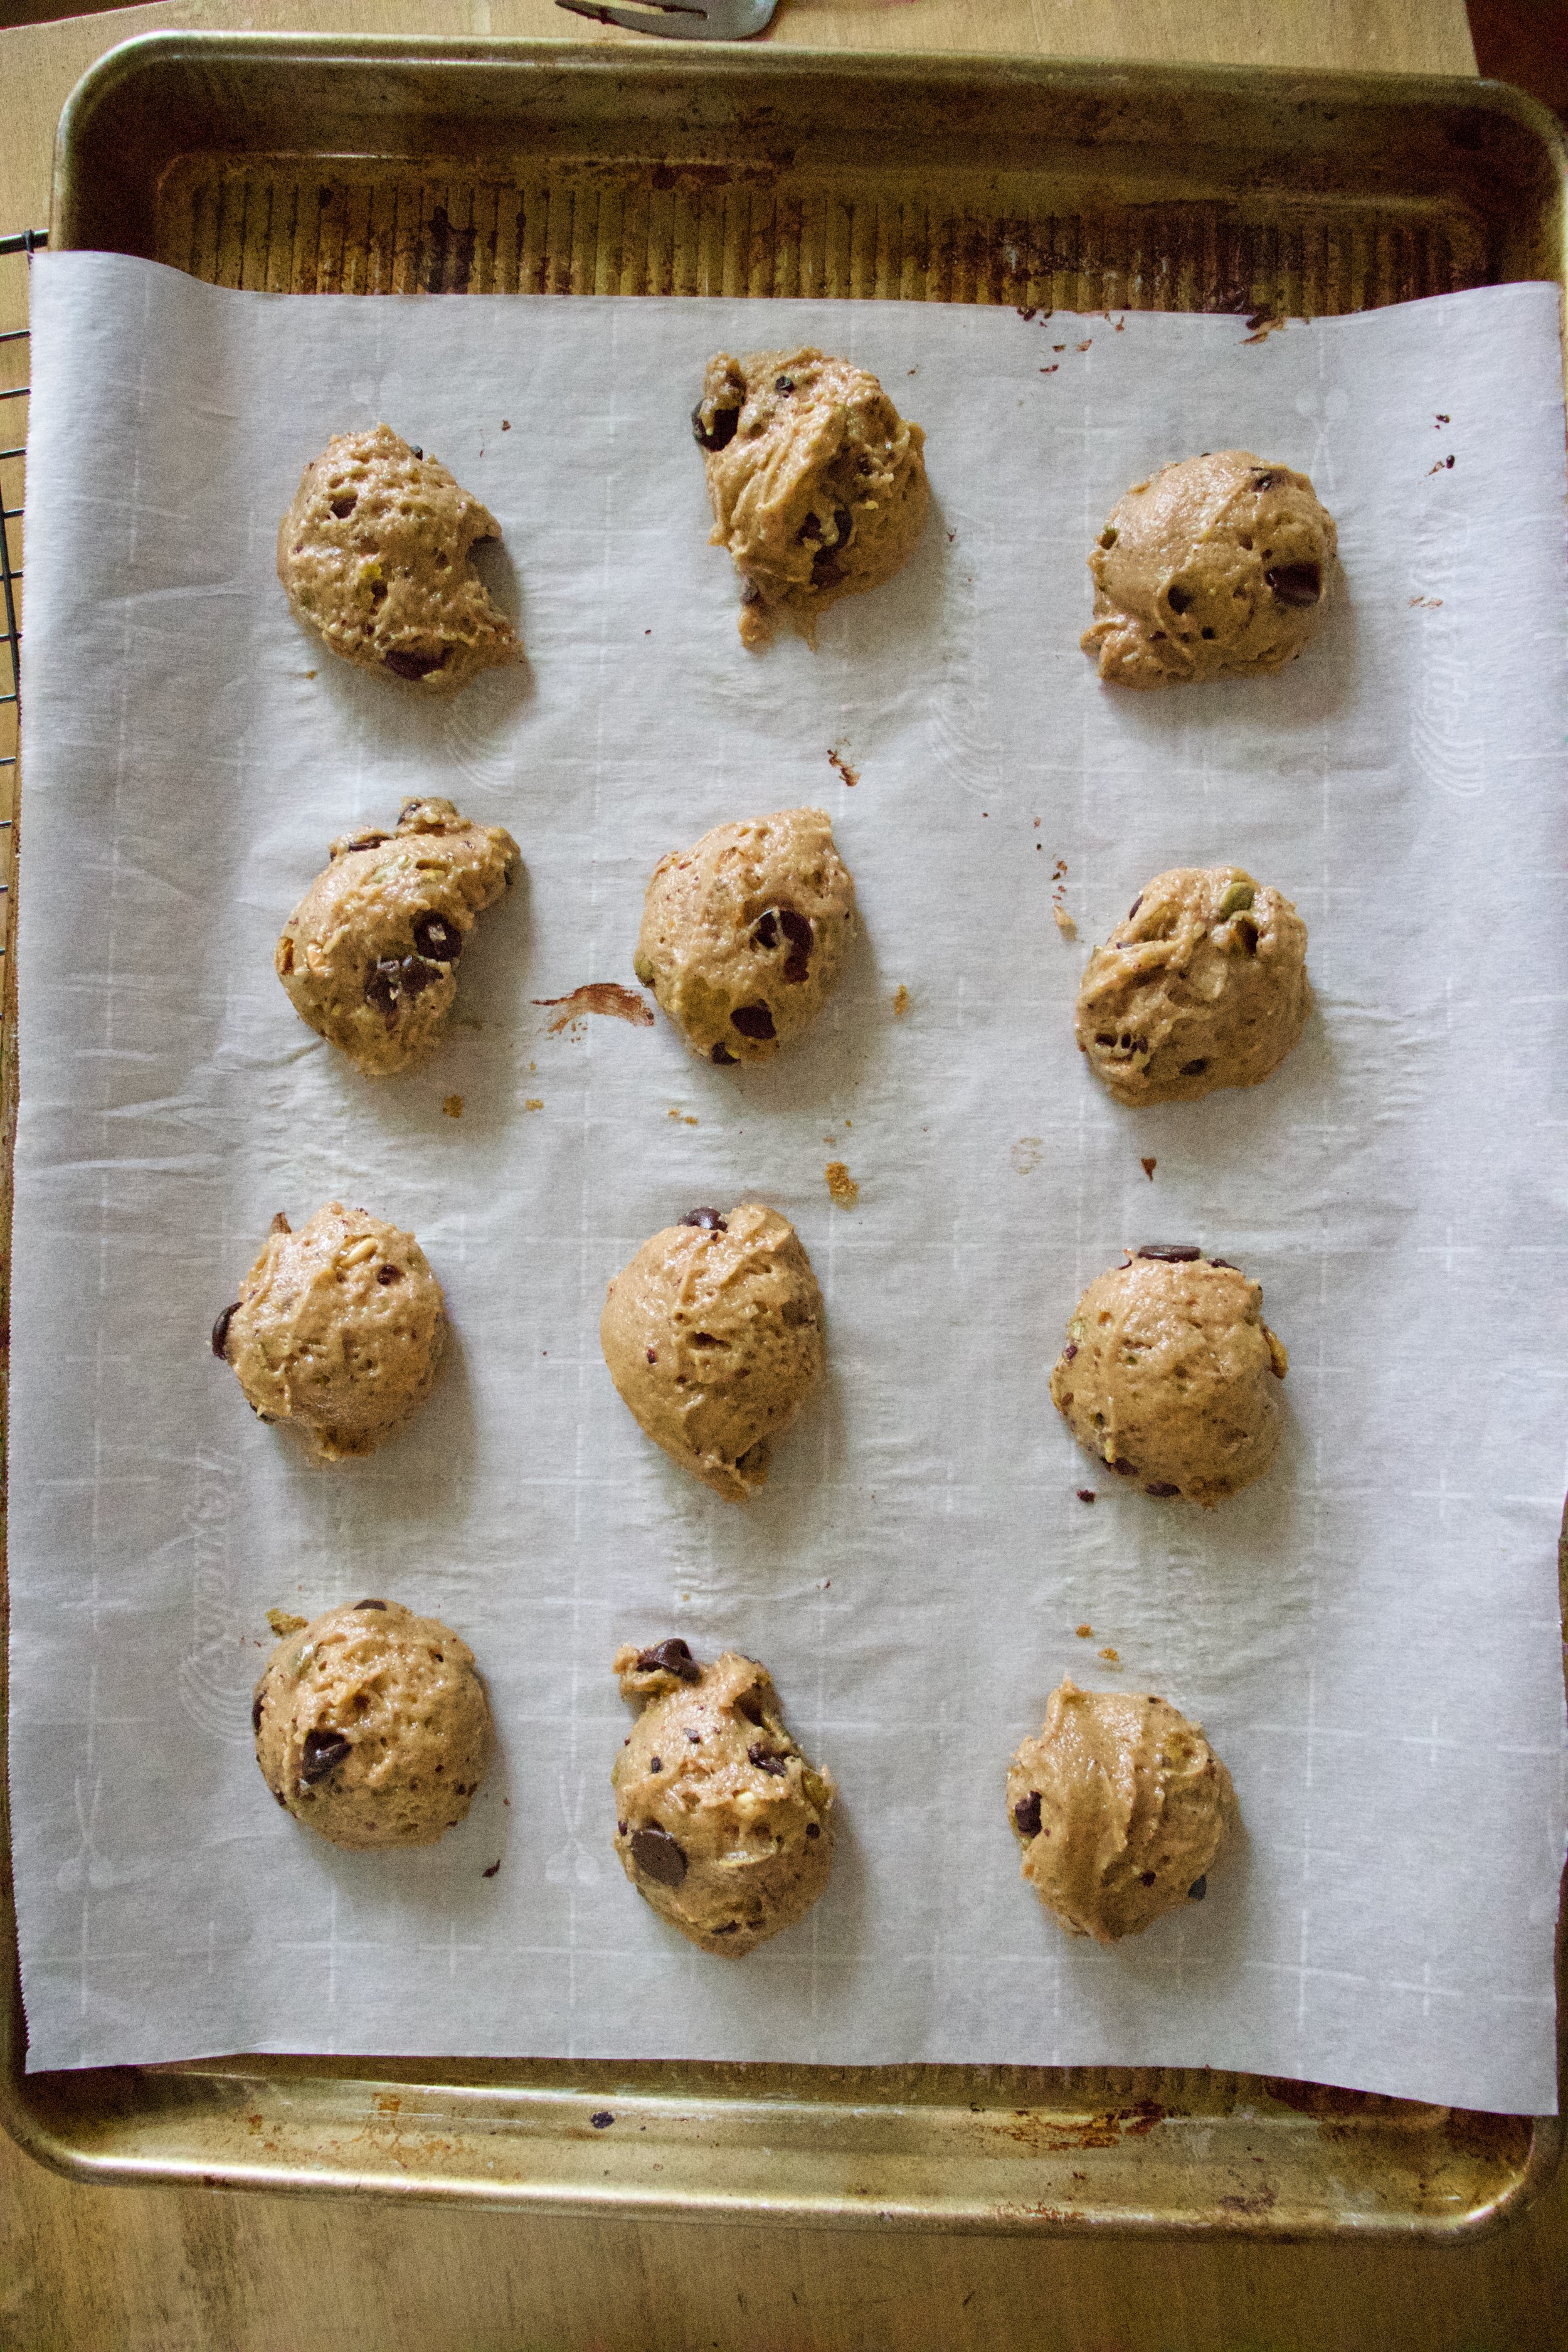
Scoop the dough onto a parchment lined baking sheet (important to line or use a splat mat, or else they will stick)

IMG_1821.jpg
IMG_1827.jpg

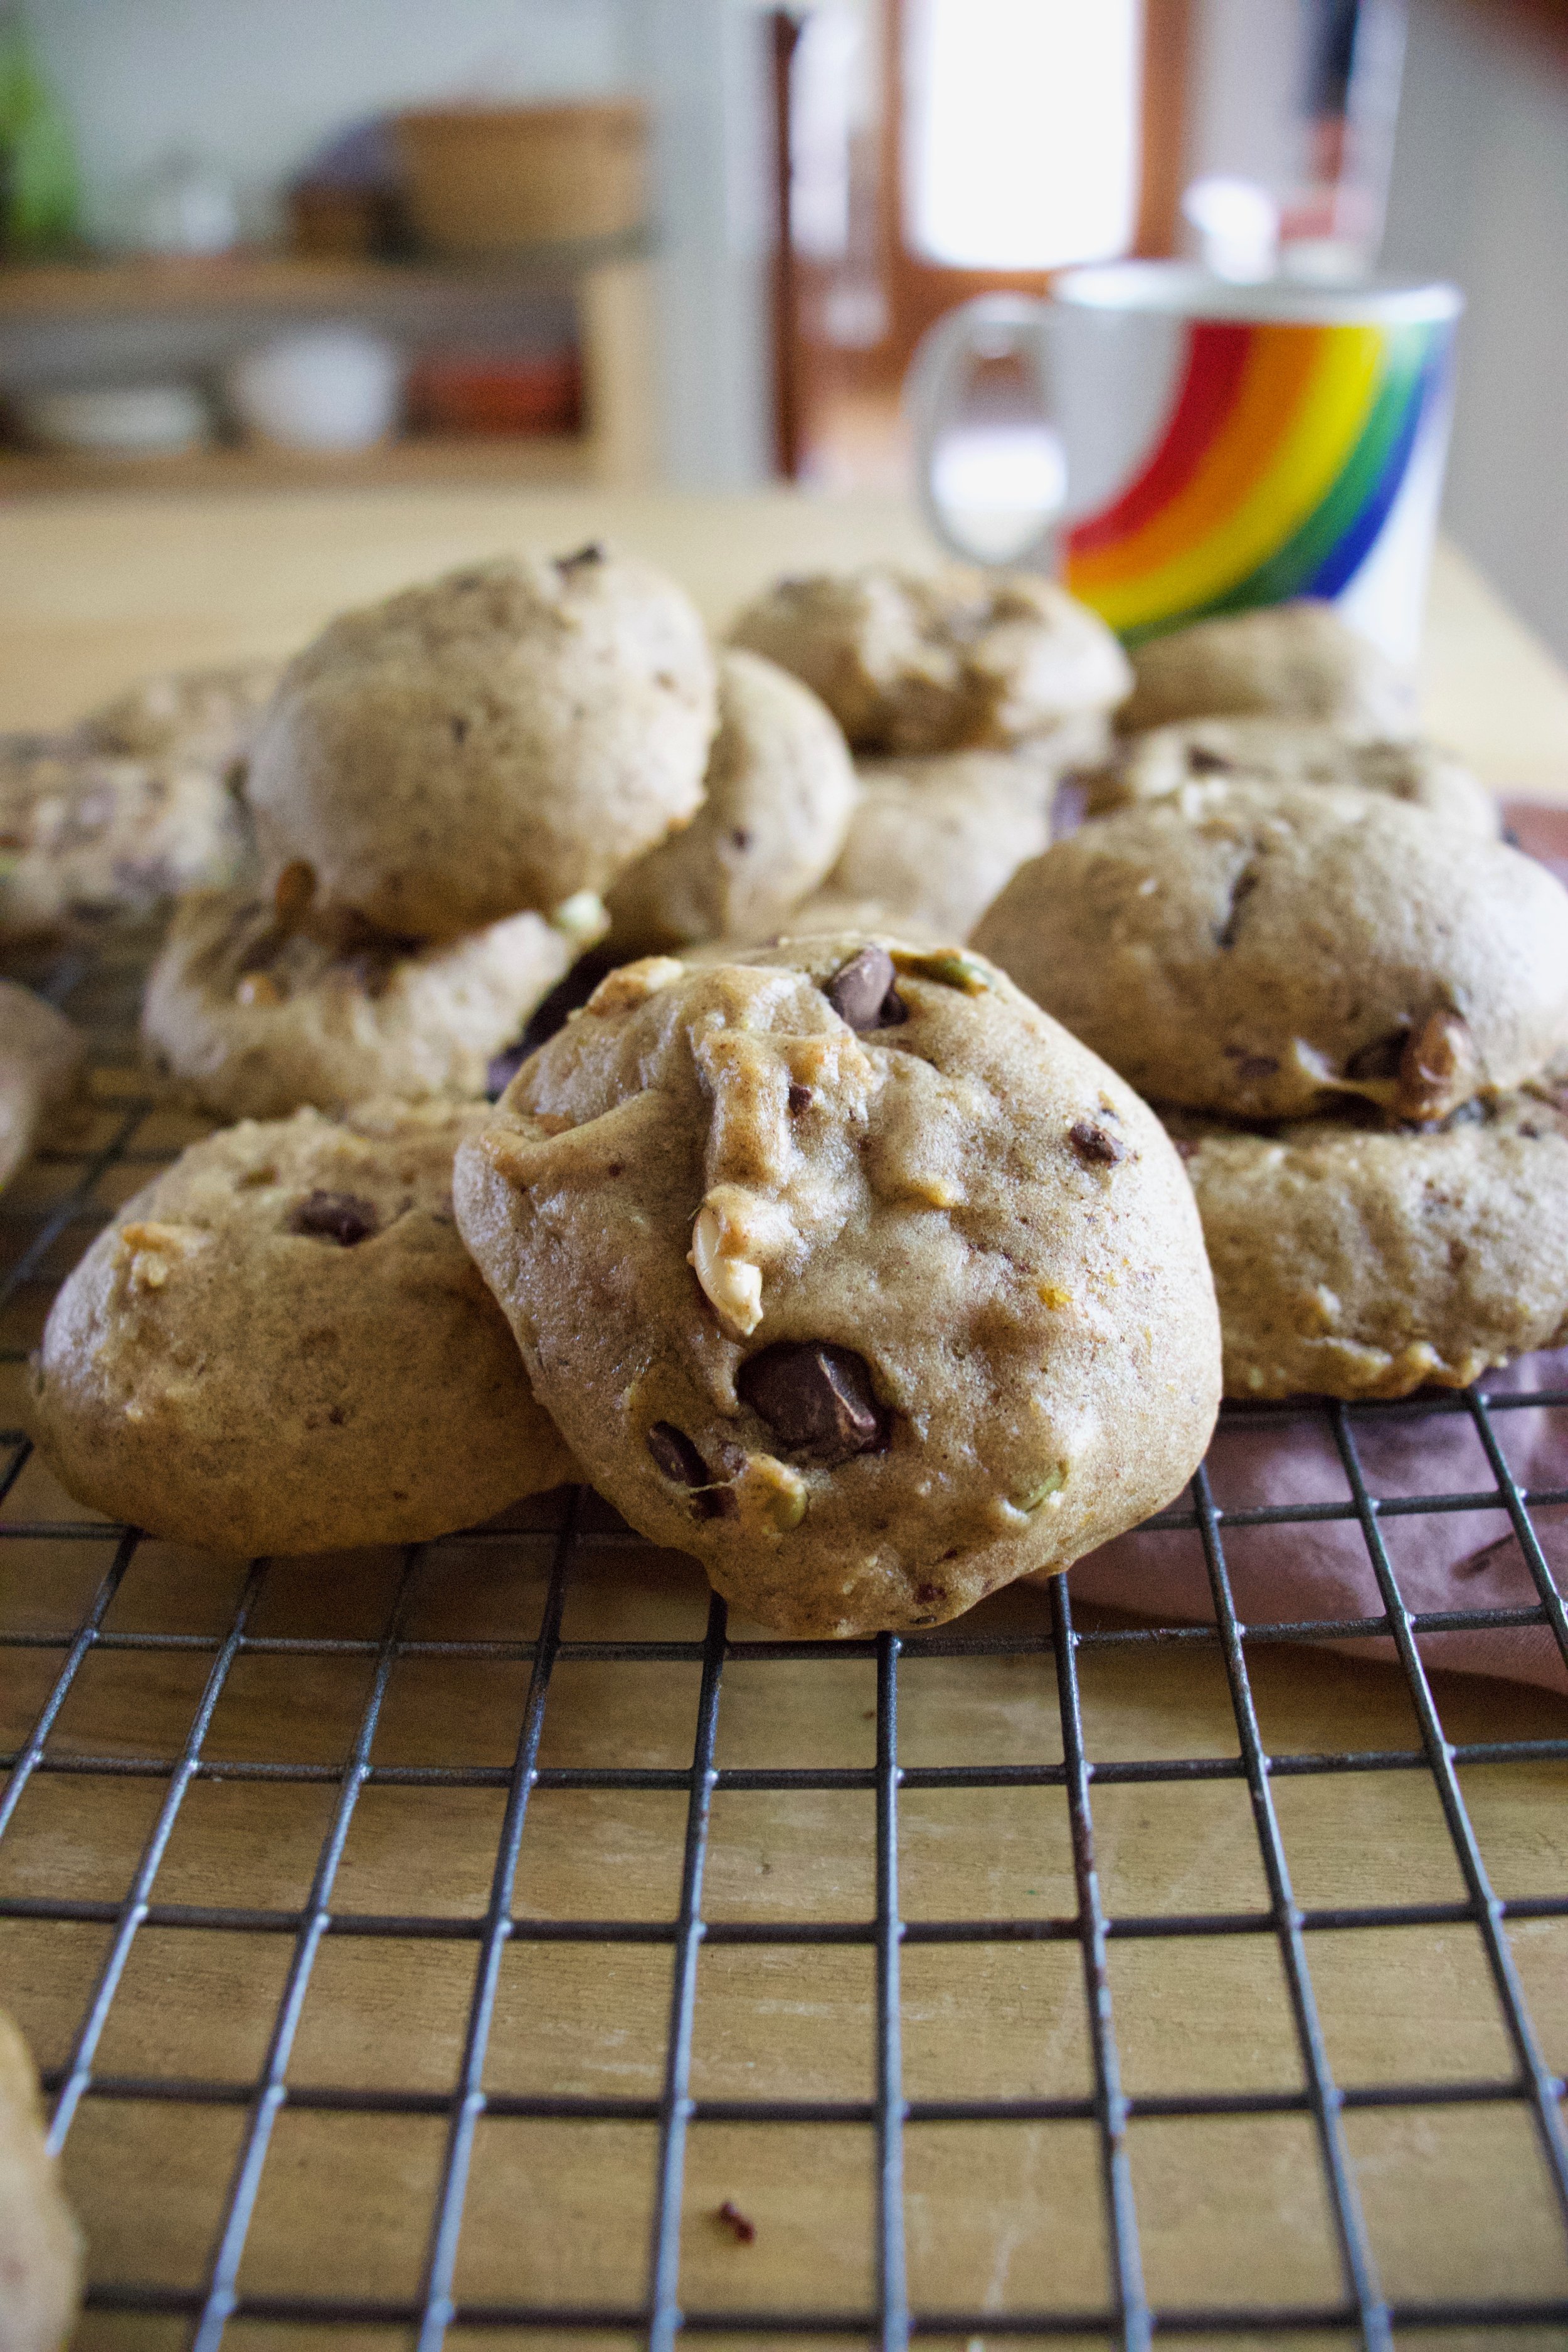
Into the oven and out of the oven. Bakes to a plump golden brown perfection.

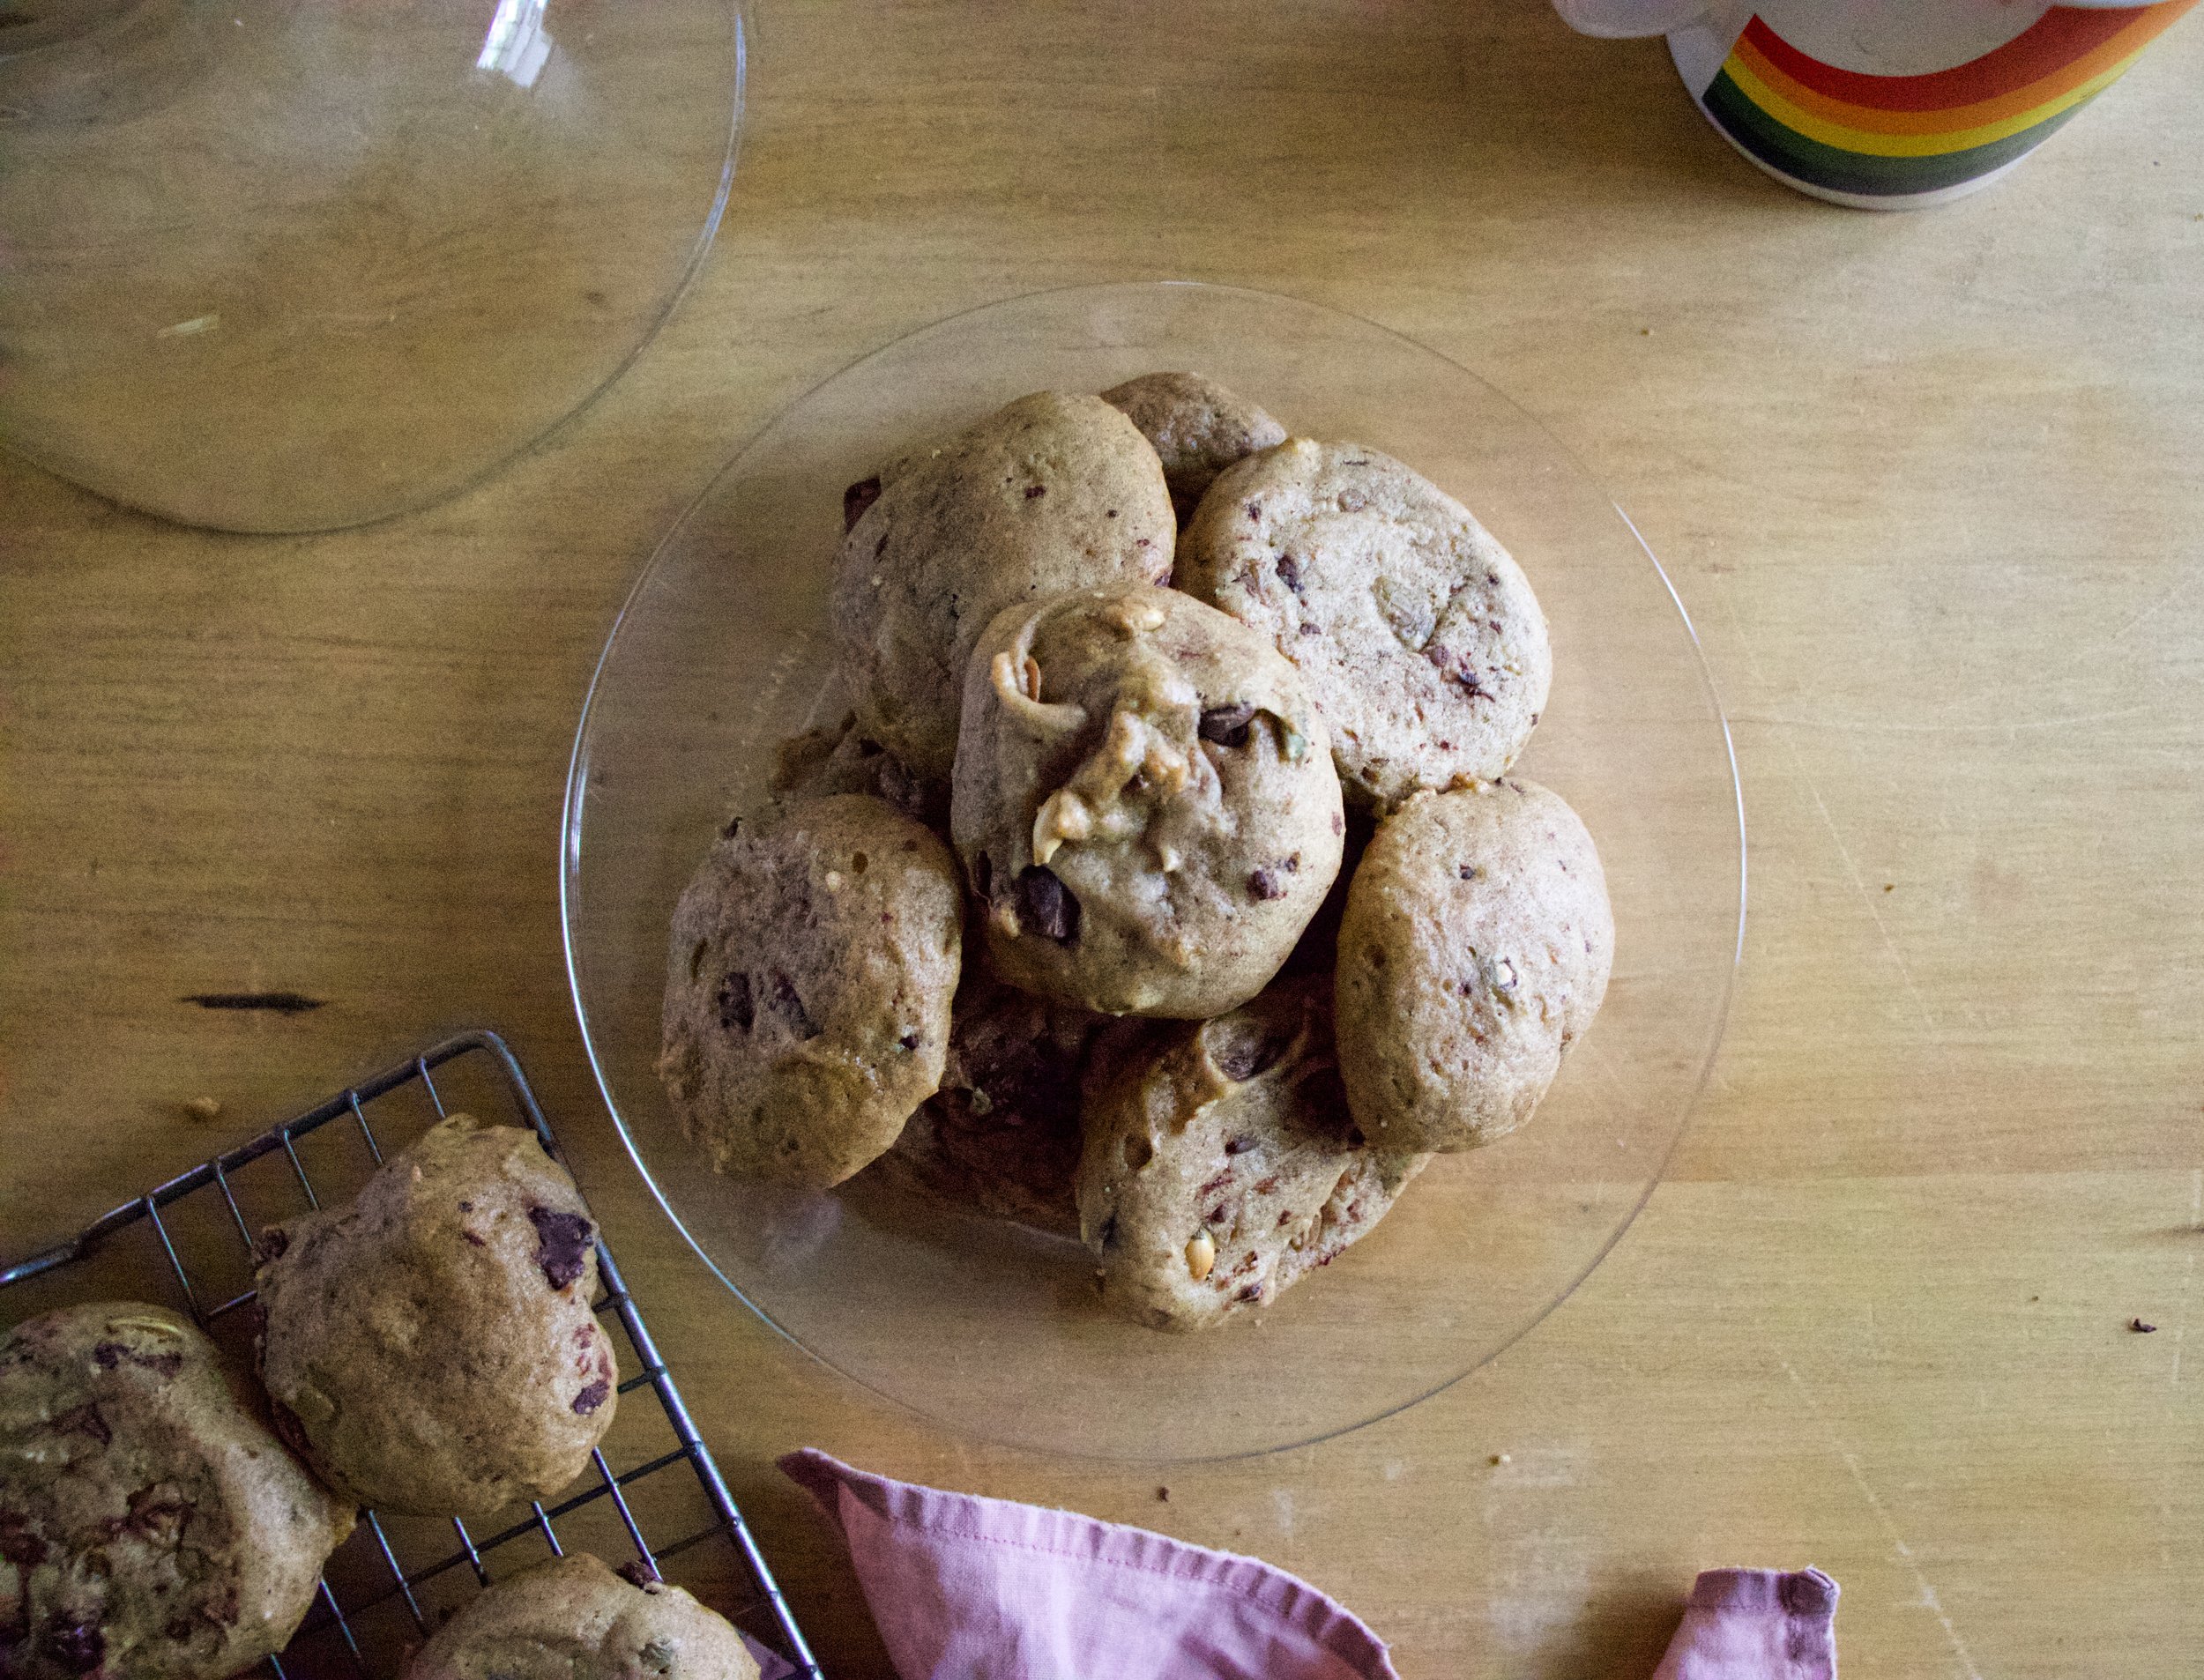
All the cookies cooling on a wire rack like all cookies should.

IMG_1908.jpg

And then thats it.

Cookies for you and cookie to share, if you are nice like that.

Happy weekend!

-C


Chocolate Chip and Pumpkin Seed Soft Pumpkin Cookies

make 2 dozen or so cookies

  • 2 1/2 cups all-purpose flour

  • 1/2 teaspoon salt

  • 1 teaspoons baking powder

  • 1 teaspoon baking soda

  • 2 teaspoon cinnamon

  • 1/2 allspice

  • 1/2 teaspoon nutmeg

  • 3/4 cup cane sugar

  • 1/2 cup packed brown sugar

  • 1 1/2 cups pumpkin puree

  • 1/2 cup vegetable oil

  • 1 teaspoon vanilla extract

  • 1/2 cup toasted pumpkin seeds

  • 2/3 cup chocolate chunks or chips

Preheat oven to 350

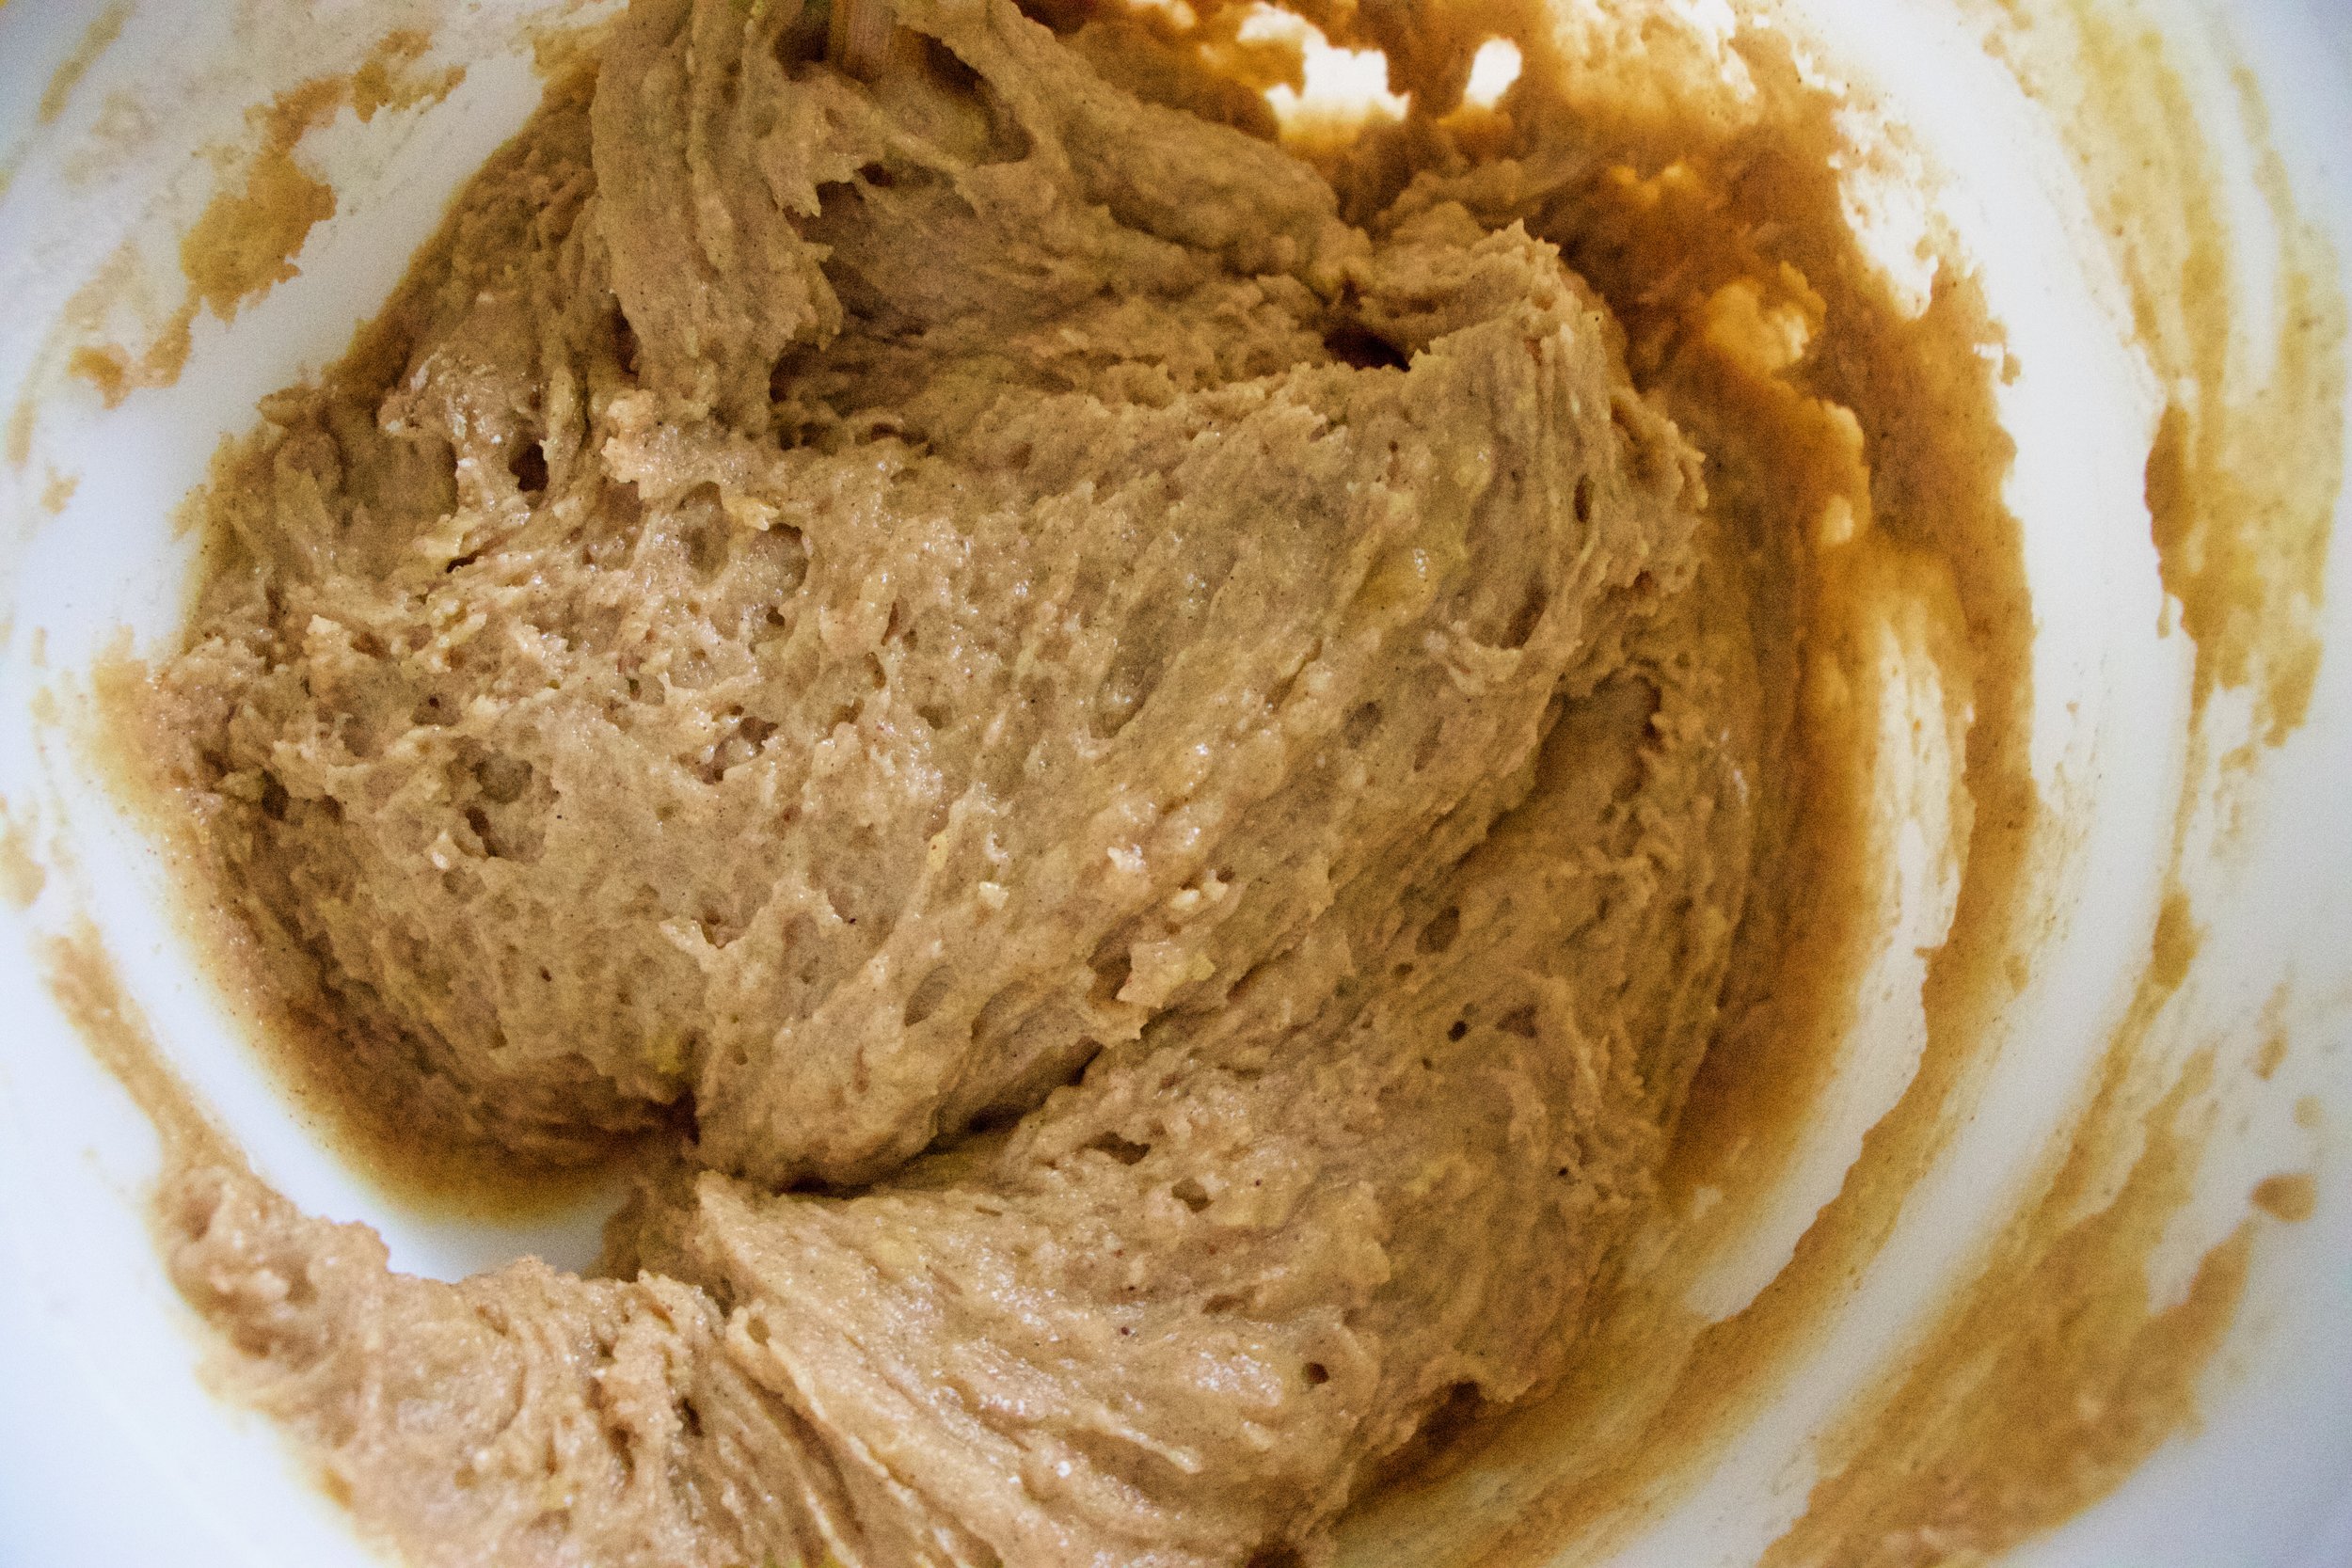
In a large bowl, mix together the sugars, purlin puree, oil, and vanilla until completely incorporated. In a smaller bowl, whisk together the flour, baking soda and baking powder, salt, all spice, cinnamon, and nutmeg. Once whisk, dump into the bowl with the wet gas gently mix together until just incorporated. Do not over mix.
Dump your chocolate ships onto cutting board and give them a rough chop just to break some of the chips apart. (or use small chips) Add the chop chocolate and the toasted pumpkin seeds to the batter and gently fold them, just to even distribute them.

Line being sheets with either parchment or use a splat mat and scoop equal size ball of dough onto the baking sheets. Leave enough room for the cookie to rise and spread. Place baking sheets into oven and bake fir 12-14 minutes or until the cookies have risen, are golden brown, and a tester stuck into the middle of a cookie comes out clean. Remove from oven and place the cookies on a wire rack to cool.

Then you eat them.

Any not eaten cookies should be store in an air tight container and can be left out at room temperature for a day or two but should be refrigerated or frozen for longer storage. The mr likes to eat them straight out of the freezer.


In Vegan, seeds, desserts, cookies Tags Chocolate Chip And Pumpkin Seed Soft Pumpkin Cookies, Vegan cookies, plant based, pumpkin, pumpkin cookies, cookies, vegan cookies, pumpkin seeds, dessert, vegan dessert, dairy free, egg free
Comment

Acorn Squash Spice Cake With Maple Frosting and Walnuts

October 13, 2018 Colleen Stem
IMG_1376.jpg
IMG_1433.jpg
IMG_1441.jpg

I have been making at least one cake, if not 3, a week for the past month. Last week I did not have a cake that I needed.to make, so what did I do? I made a cake.

I might have an alternative motive here, I have started my winter squash stash, and already it is looking pretty impressive. I have delicata, acorn, kombucha, and sugar pumpkins littered all over the house. As of now I think I have a count of about 27. Some came fro the garden, some from (and still coming, all winter long) from farm share, and some came from when they went on sale at the grocery store and I filled the shopping cart up. The cashier checking me out thought I was crazy, but I get that a lot. (Like when I buy 20 heard os cabbage.. it’s like I scare them) The alternative motive is that some of the squashes don’t have the shelf life of some of the others so I need to get on to eating the ones that don’t last as long, like the delicata and pumpkins, which I am doing, gladly might I add. So while I am eating those, I figured I would use up an acorn squash for cake because well, I don’t want to have a million acorn squash laying around and I am just too busy eating the pumpkins to get the acorn. And this is why I made an acorn squash cake.

What does acorn squash cake tase like? Basically like pumpkin cake. Every time I make any sweet thing with any squash other then pumpkin, no one really seems to notice the difference, but that is not to say there isn't one. I would say that acorn has a slightly sweeter and nutter flavor then pumpkin so you might get a more flavorful flavor out of an acorn squash. And really, if you like pumpkin, your gonna like the acorn. And people love them some maple frosting so smothering that along with walnuts on this cake, well I know made some people really really happy.

That’s the real reason why I made this cake. To make some people happy. Jeeze, I am just so nice. Ha HA!

The stuff. A roasted acorn squash. flour, baking soda and baking powder, spices of cinnamon, ginger and a pinch of nutmeg, salt, oil, soy milk, brown sugar, white sugar, and a little apple cider vinegar.

Start by pureeing your squash If you haven’t already which basically involved removing seeds and skin (save seeds to rest, eat skin, it delicious) and blending the squash until smooth.

IMG_1318.jpg
IMG_1324.jpg
IMG_1329.jpg
IMG_1338.jpg

You are now ready to cake. Add squash puree and oil into bowl with the sugars and mix until completely combined. Whisk together all the dry ingredients then add in the sugar, squash, oil mixture to the wet along with the milk and apple cider vinegar. Mix until just combined then stop mixing so you don’t over mix.

IMG_1345.jpg

Batter then gets poured evenly into two greased and lined cake pans.

And into the oven they go.

Golden brown and smelling all nice and cozy. A tester in the middle making sure that they are cooked completely.

IMG_1357.jpg

Cakes get popped out of pans and and placed on a rack to cool completely. In the mean time, make the frosting. Powdered sugar, salt, vegan butter, maple syrup, and maybe a splash of soy milk (you might or might not need it). And don’t forget the walnuts.

Sugar, salt, butter, and maple get beaten together until creamy and smooth.

Toasted walnuts get chopped into bits.

IMG_1366.jpg
IMG_1372 2.jpg

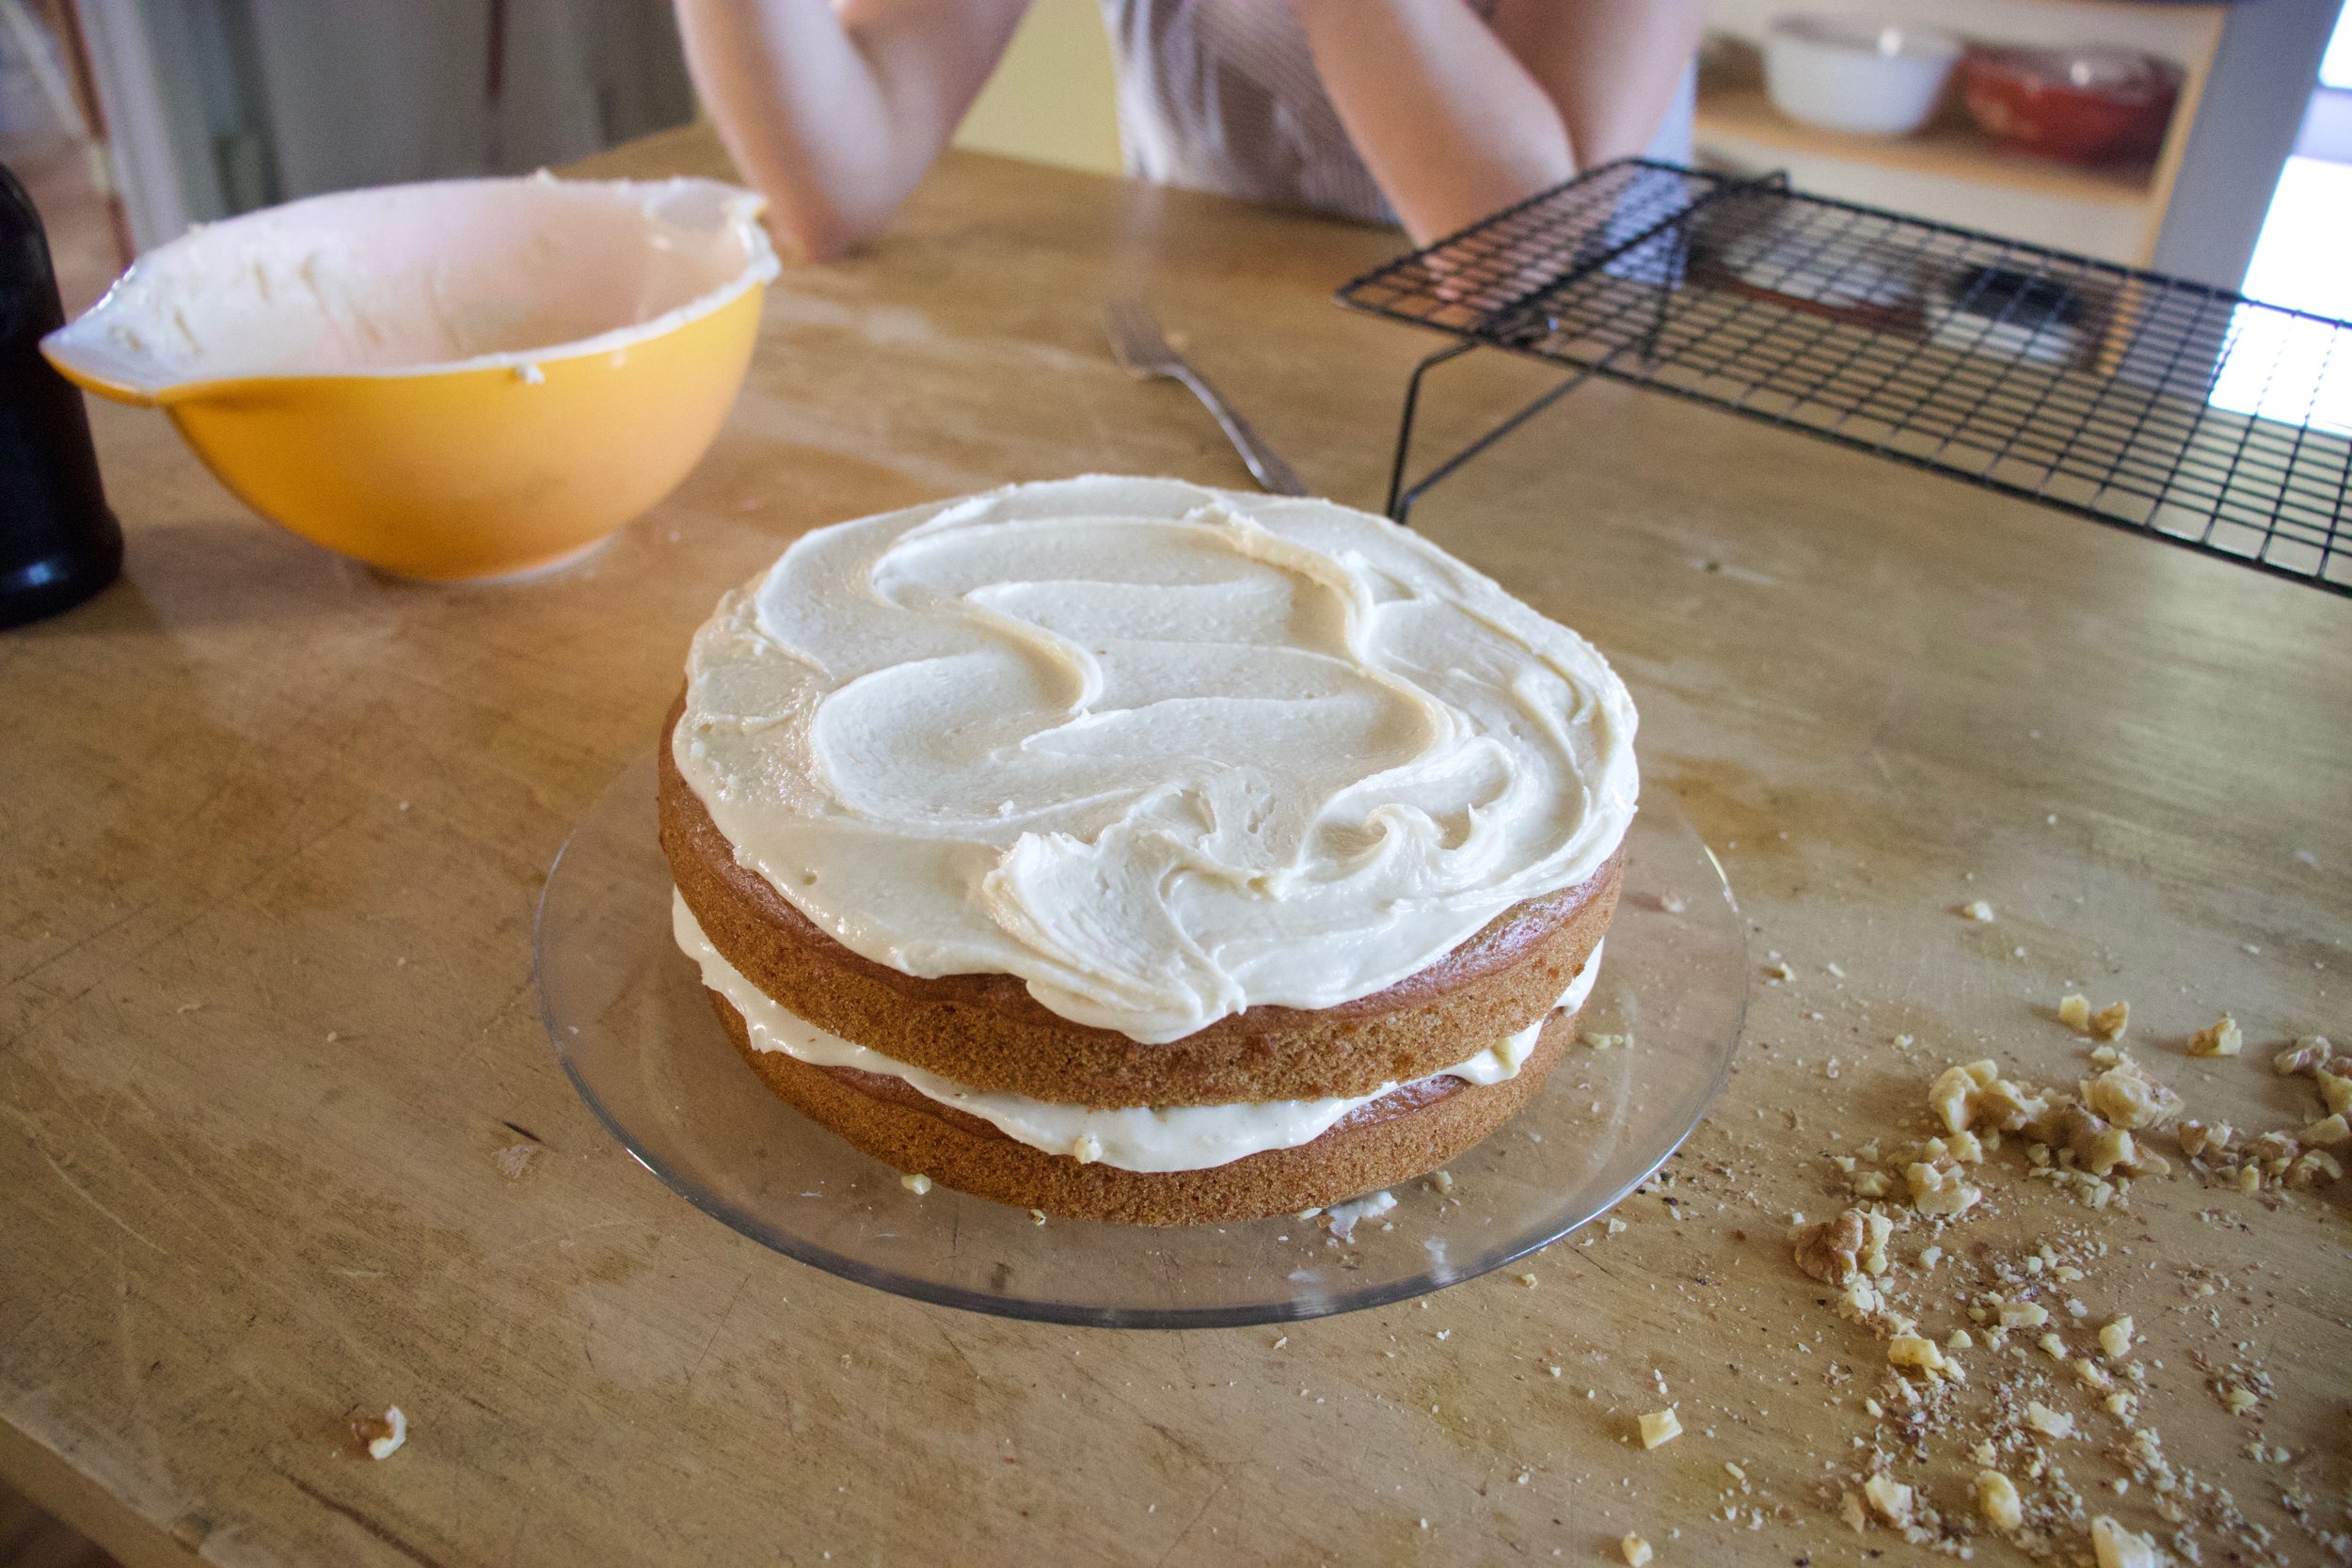
And now it’s cake assembly time. Place one completely cooled layer on a cake plate and spread half the frosting on top. Sprinkle with half the chopped nuts. Place second layer on, spread rest of frosting on top, and sprinkle with the rest of the nut.

And done.

IMG_1442.jpg

Now eat.

Enjoy the fall weekend and all the squash.

-C


Acorn Squash Spice Cake With Maple Frosting and Walnuts

makes and 8 inch 2 layer cake

For the Cake

  • 2 1/4 cups all purpose flour

  • 1/2 cup white sugar

  • 1/2 cup brown sugar

  • 1/3 cup neutral oil

  • 2 cups acorn squash puree*

  • 1 1/2 teaspoons baking powder

  • 1 teaspoon baking soda

  • 1 teaspoon salt

  • 1 tablespoon cinnamon

  • 1 teaspoon ginger

  • pinch of nutmeg

  • 1 1/2 cups plant milk (I used soy)

  • 1 tablespoon apple cider vinegar

    For the frosting

  • 3 cups powdered sugar

  • 1/2 cup earth balance or any vegan butter

  • 1/2 cup real maple syrup

  • 1/4 teaspoon salt

  • 1-2 teaspoons plant milk (if needed)

  • 1 cup toasted walnuts

Note. For acorn squash puree. roast an acorn squash by place entire squash into oven at 425 degree for about 1/2 hour or until fork tender. Once cooked, cut in half, let cool a few minutes, then scoop out all the seeds. Remove skin and blend the squash until smooth.

Preheat oven to 350

Place brown and white sugar into bowl along with the oil and squash puree. Mix until completely incorporated. In a larger bowl, mix together the flour, baking soda and powder, salt, and spices. Pour wet mixture into dry almond with the soy milk and apple cider vinegar. Mix until just completely incorporated then stop to prevent over mixing.

Grease and parchment line two 8 inch cake pans. Pour batter evenly between pans then place into oven for 30-35 minutes or until Depp golden brown and a tester stuck into middle of cakes comes out clean. When it’s done, remove from oven, let cook a few minutes, then remove from cake pans. Place on a wire rack o cool completely.

While cake is cooling, make the frosting. Beat together the powdered sugar, salt, maple, and earth balance until nice and creamy. If the frosting seems to thick, add a splash of milk, to thin, add a 1/4 cup more of powdered sugar.

Chop walnuts into small bits if they are not already.

Once cakes are completely cooled, assemble. Place first layer on cake plate and spread 1/2 the frosting onto first layer and sprinkle on half of the chopped walnuts. Place on second layer, spread the rest of the frosting on top, and sprinkle on the rest of the nut. And that is it. Now you just need to eat it.

Store any left overs in for a day on the counter, but any longer place in an airtight container in the fridge. I even froze a few pieces and the mr loved them frozen to if you like frozen cake…..

In Vegan, Sweets, Nuts, fall, desserts, cake Tags Acorn Squash Spice Cake With Maple Frosting and Walnuts, Spice cake, vegan, veagan cake, acorn squash, winter squash cake, vegan dessert, maple, maple frosting, fall, walnuts
Comment

Cherry Upside-Down Cake

July 14, 2018 Colleen Stem
IMG_0066.jpg
IMG_9790.jpg

Every year the same thing happens. Cherry season hits, I indulge and buy a few pounds of those cherries with great intentions of making something great, something to share, but then I always end up eating them all myself. What can I say, I love me some cherries.

But this year I realized my mistake. If I really did want to make something  with cherries other then eating them all,  I needed to buy a shit ton of cherries so I would have enough for my belly and some to share.  So I bought like 6 pounds at once so I would have to bake something before they went bad.  (Honestly I could have eaten them all but I was able to control myself.) 

I was going to make a straight up cherry pie, put then that would take me making pie dough, which I really like to do in most cases, but was just not feeling it this week. Plus that would have require a hell of a lot more cherry pitting which again, wouldn't have been that bad, but I was just hot really feeling it. But upside down cake, that I was feeling.  I always like the visual aspect of an upside- down cake so cake it was, cake it be.  Upside side down cake with a little lemony lemoness and  lots of gooey cherry goodness. Simple and stunning and better then cherry pie because it is baked upside-down and you can't bake a pie upside-down. 

I did good. (Here I pat myself on the back, give myself a high five, and finish off with a double thumbs up) 

IMG_9620.jpg

The stuff. Flour, baking soda, baking powder and salt in the bowl. A bowl of fresh cherries. White sugar, canola oil, soy milk, a lemon, a little apple cider vinegar, some vanilla extract, melted earth balance, and a bit of brown sugar. 

IMG_9644.jpg

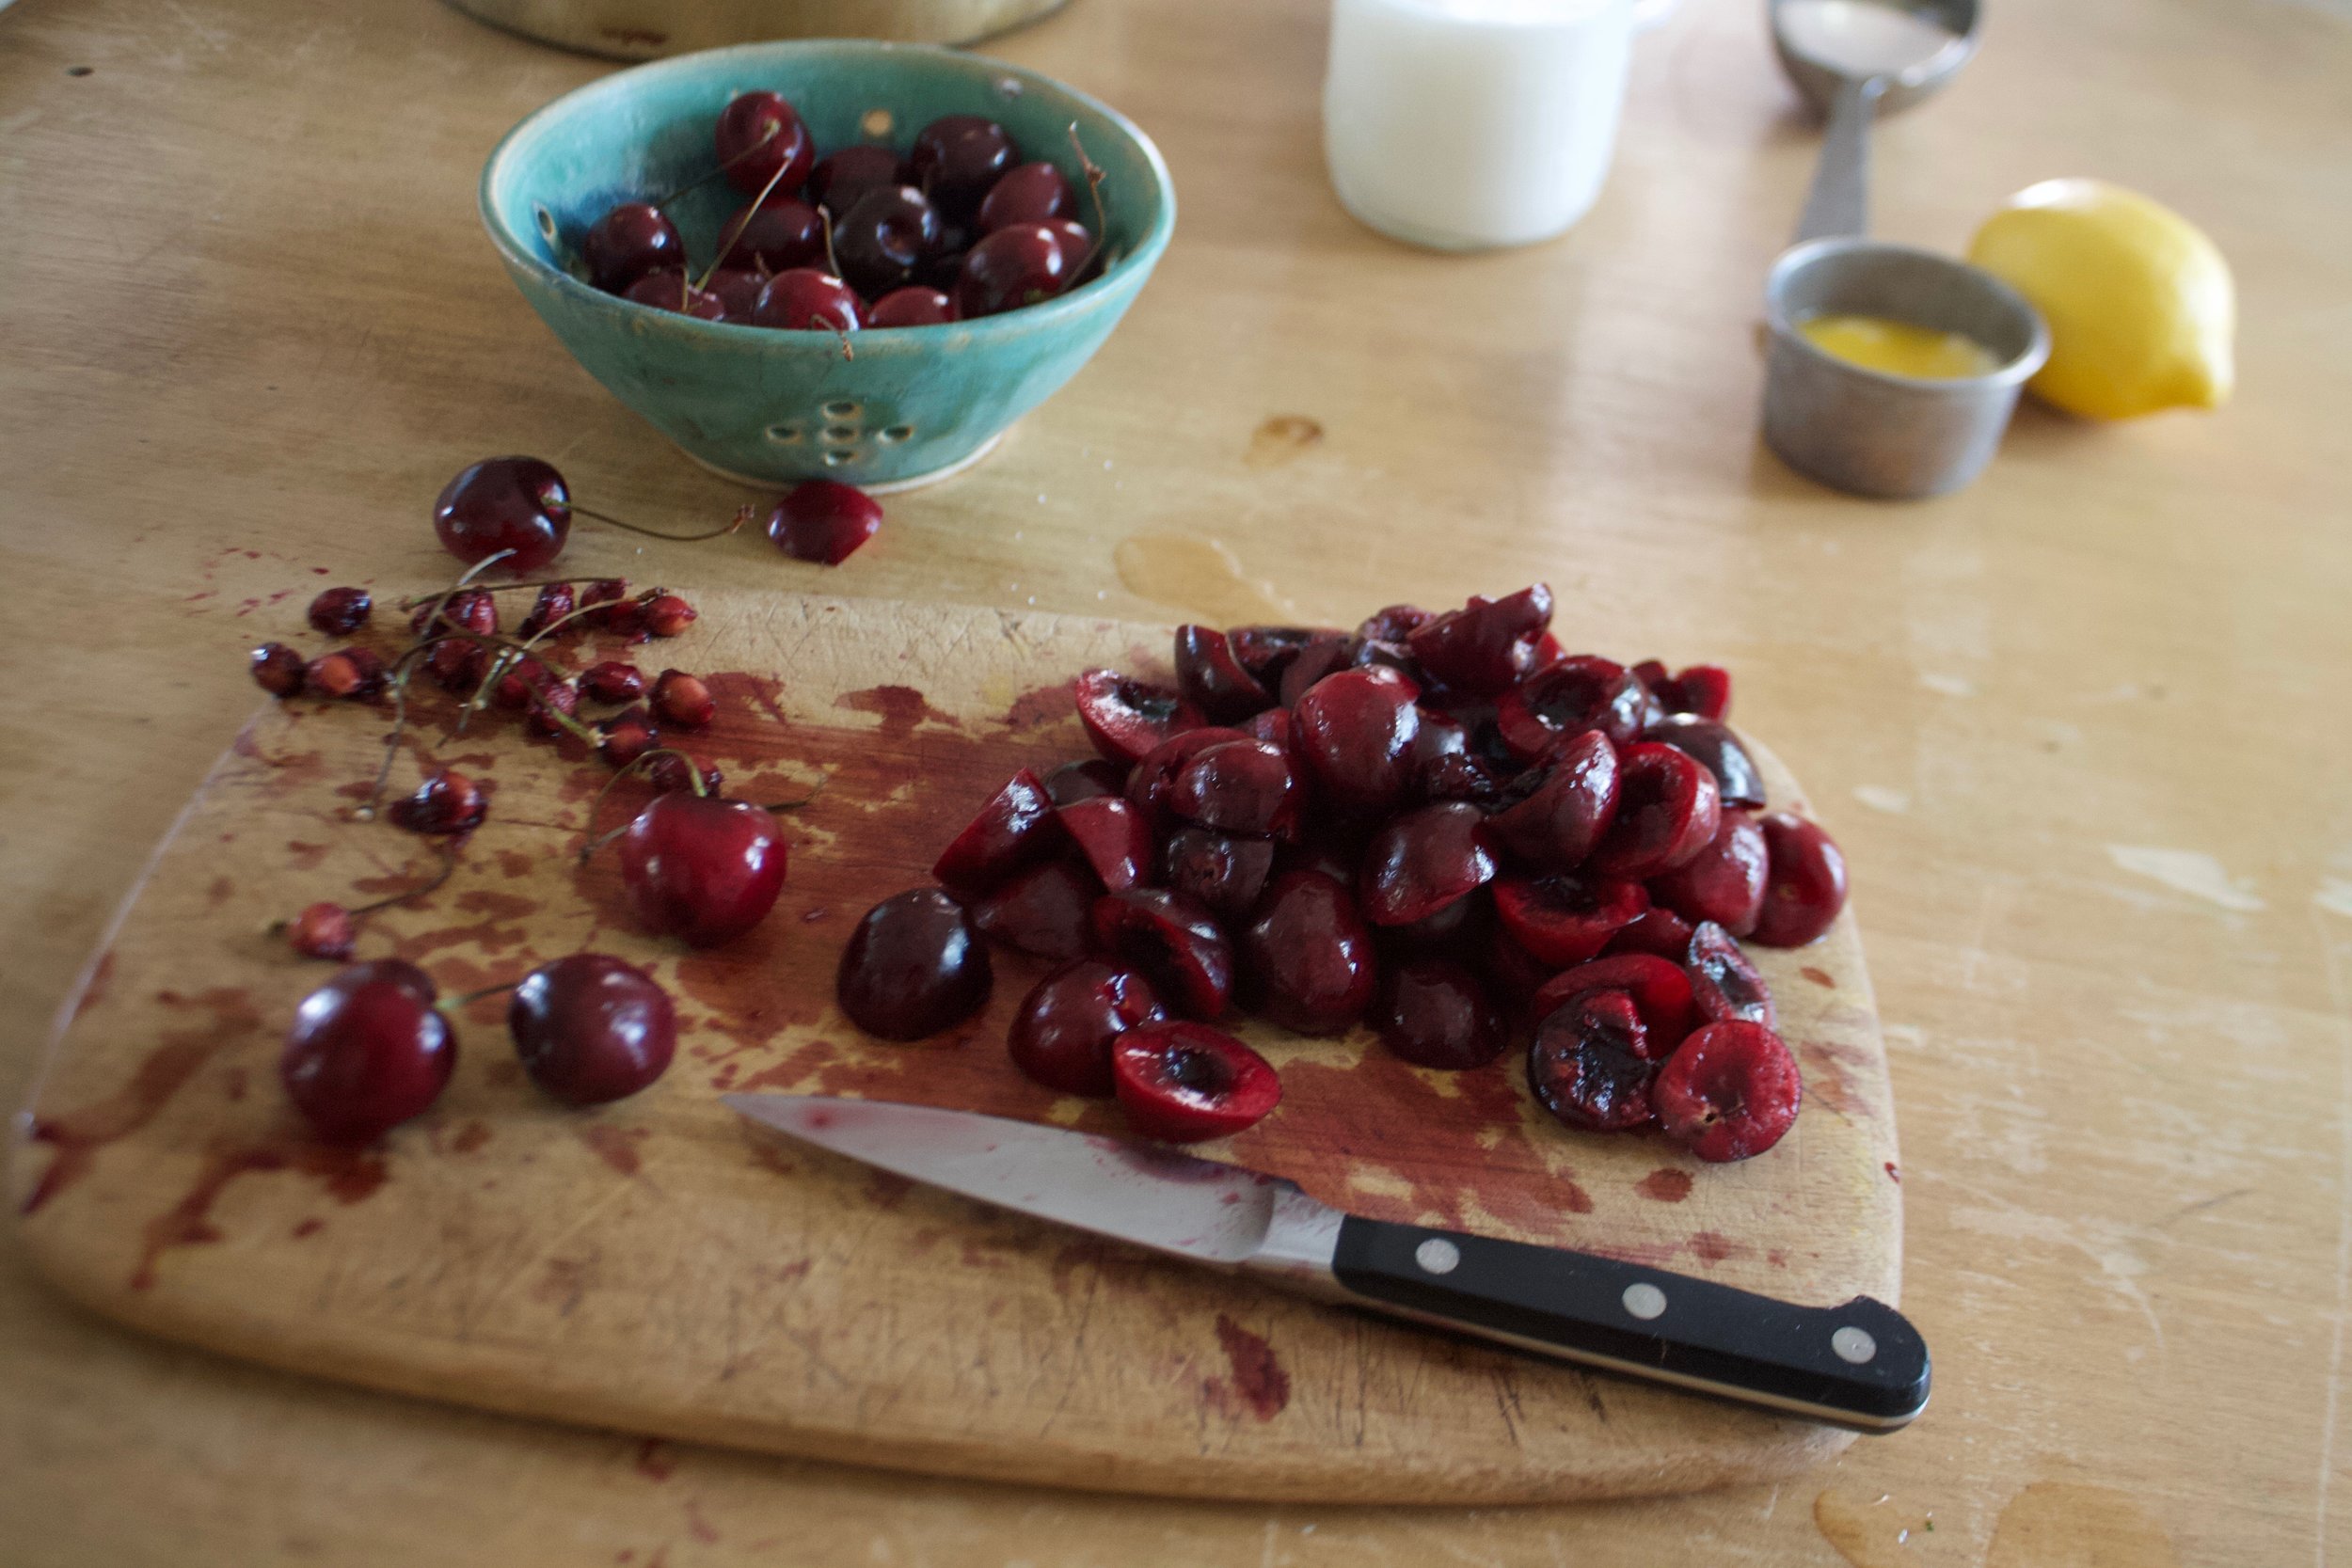
This is the most labor intensive part, pitting cherries. What I do is cut the cherries in half and then with my thumb, dislodge the pit. Pile the un-pitted halves to the side and once done pitting, double check you got all the pits out. No one will like you, including yourself, if they bit down and crack a tooth on a cherry pit. 

IMG_9650.jpg
IMG_9652.jpg
IMG_9657.jpg

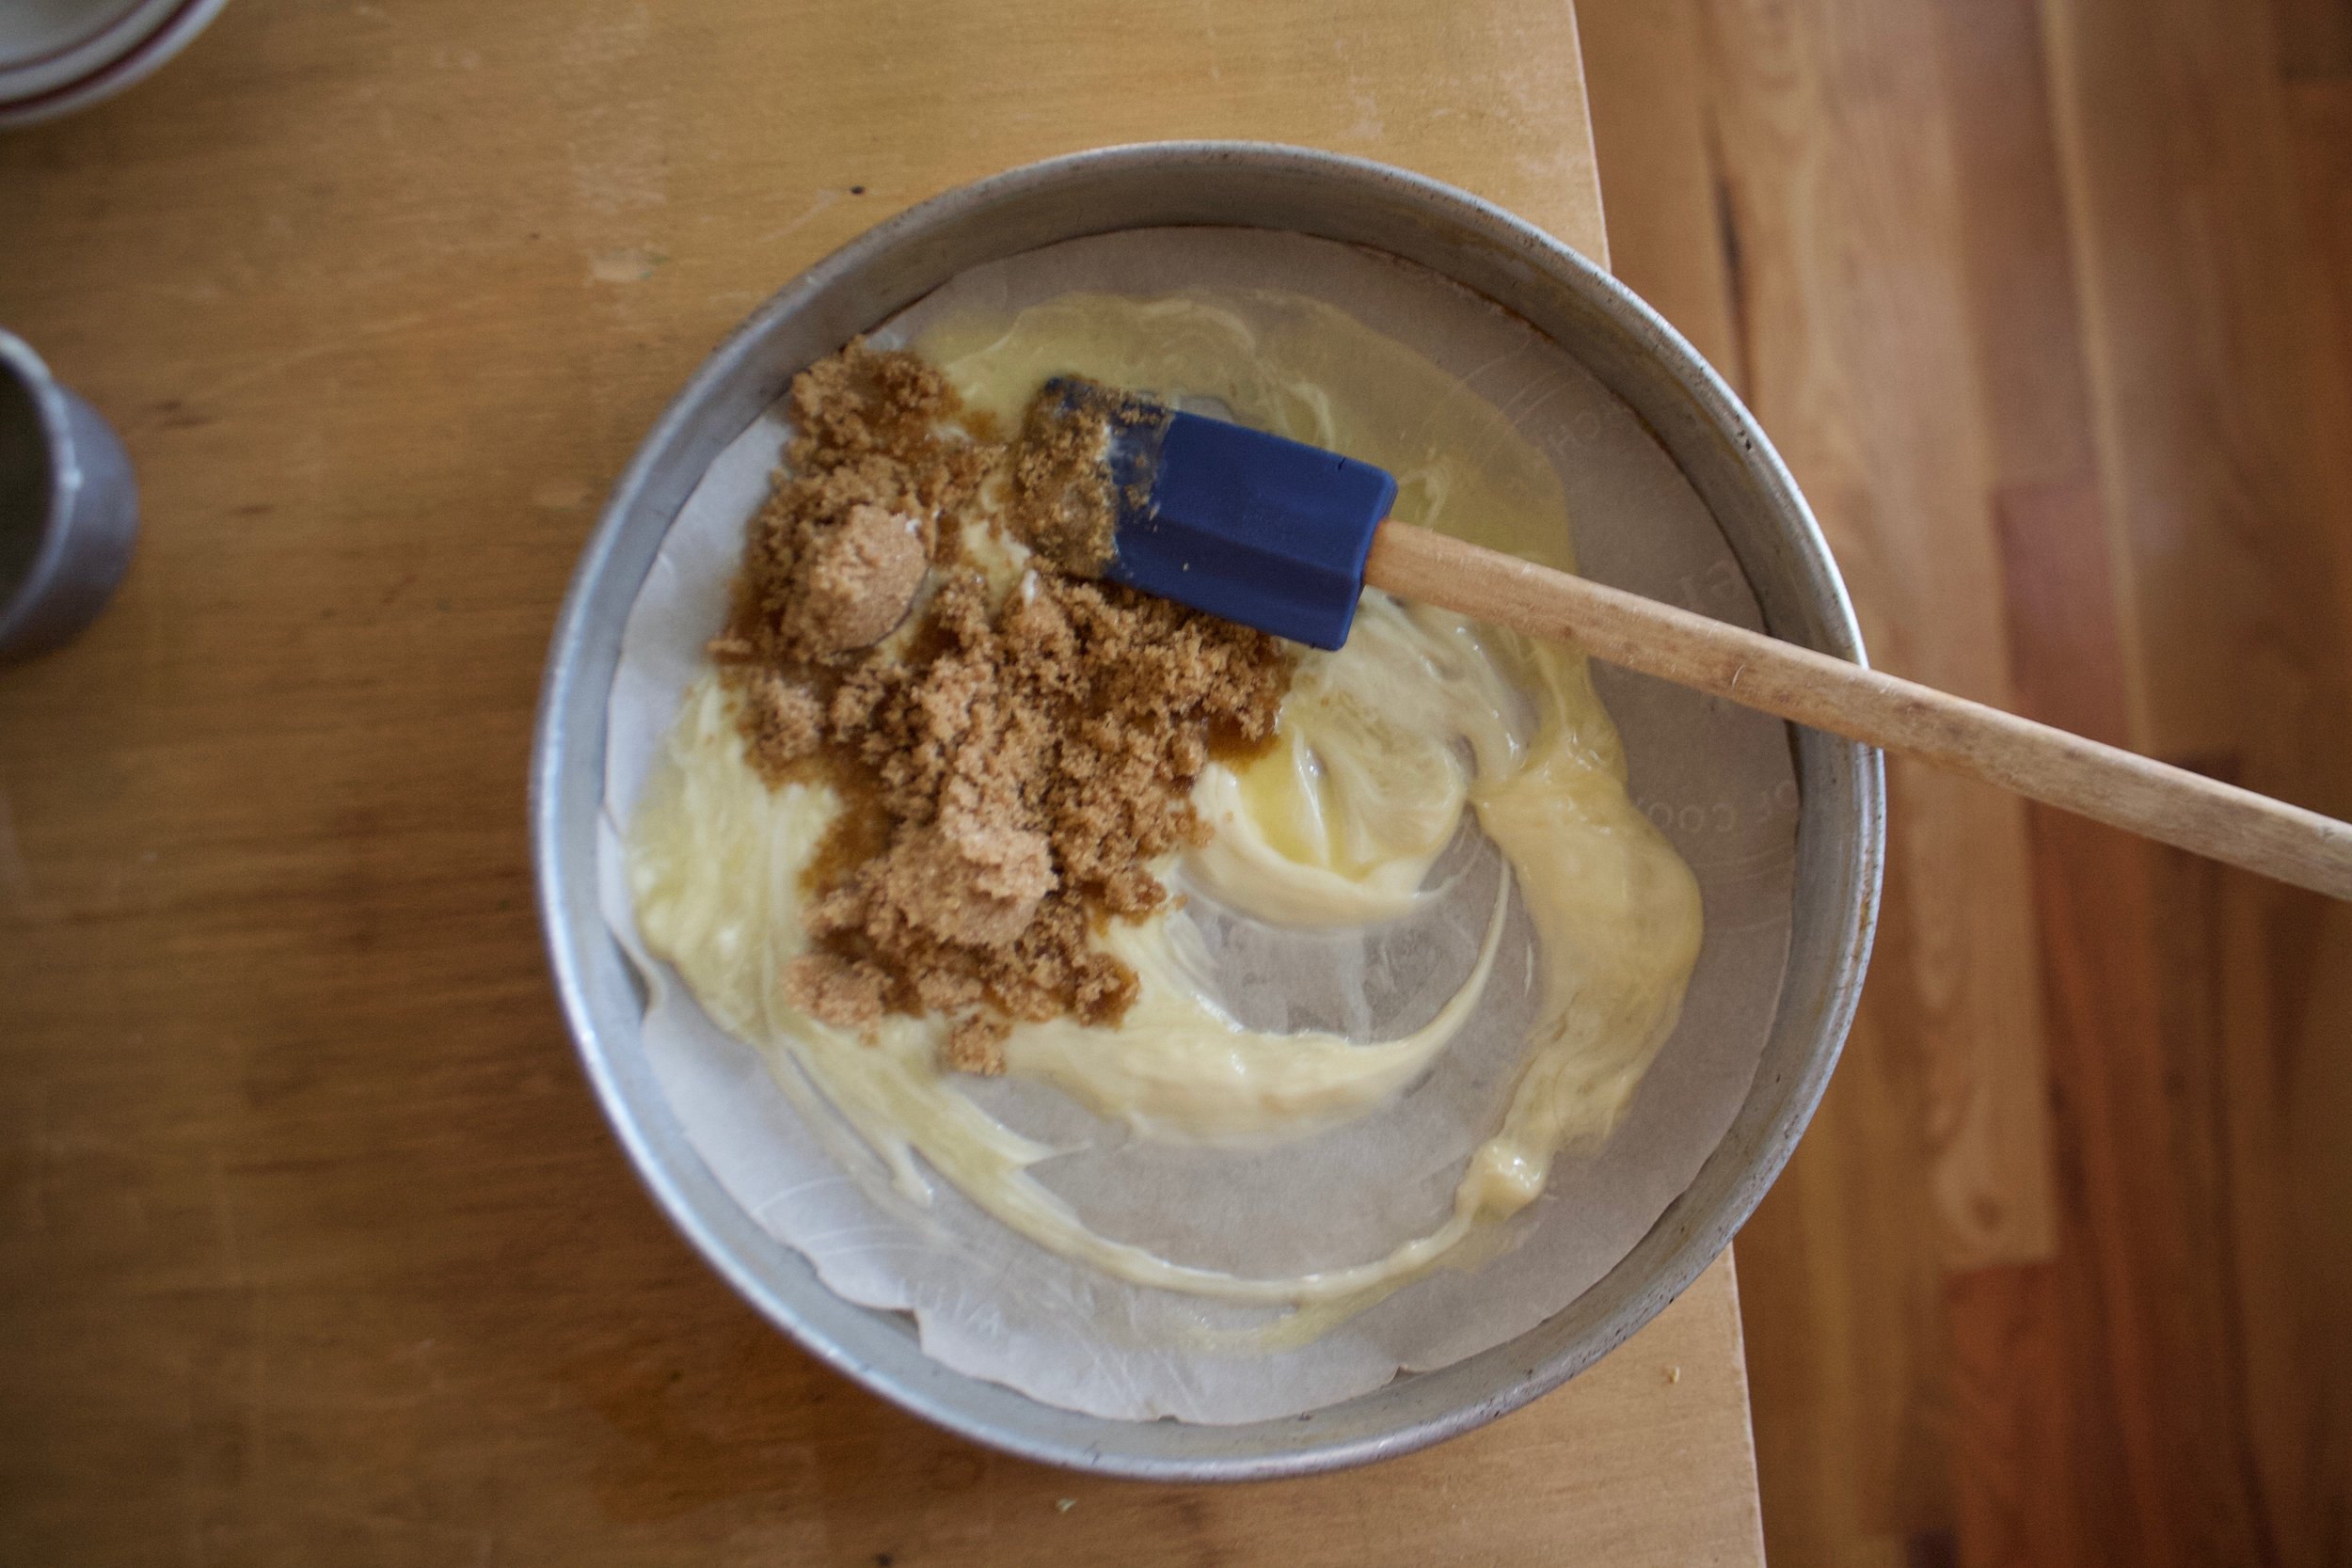
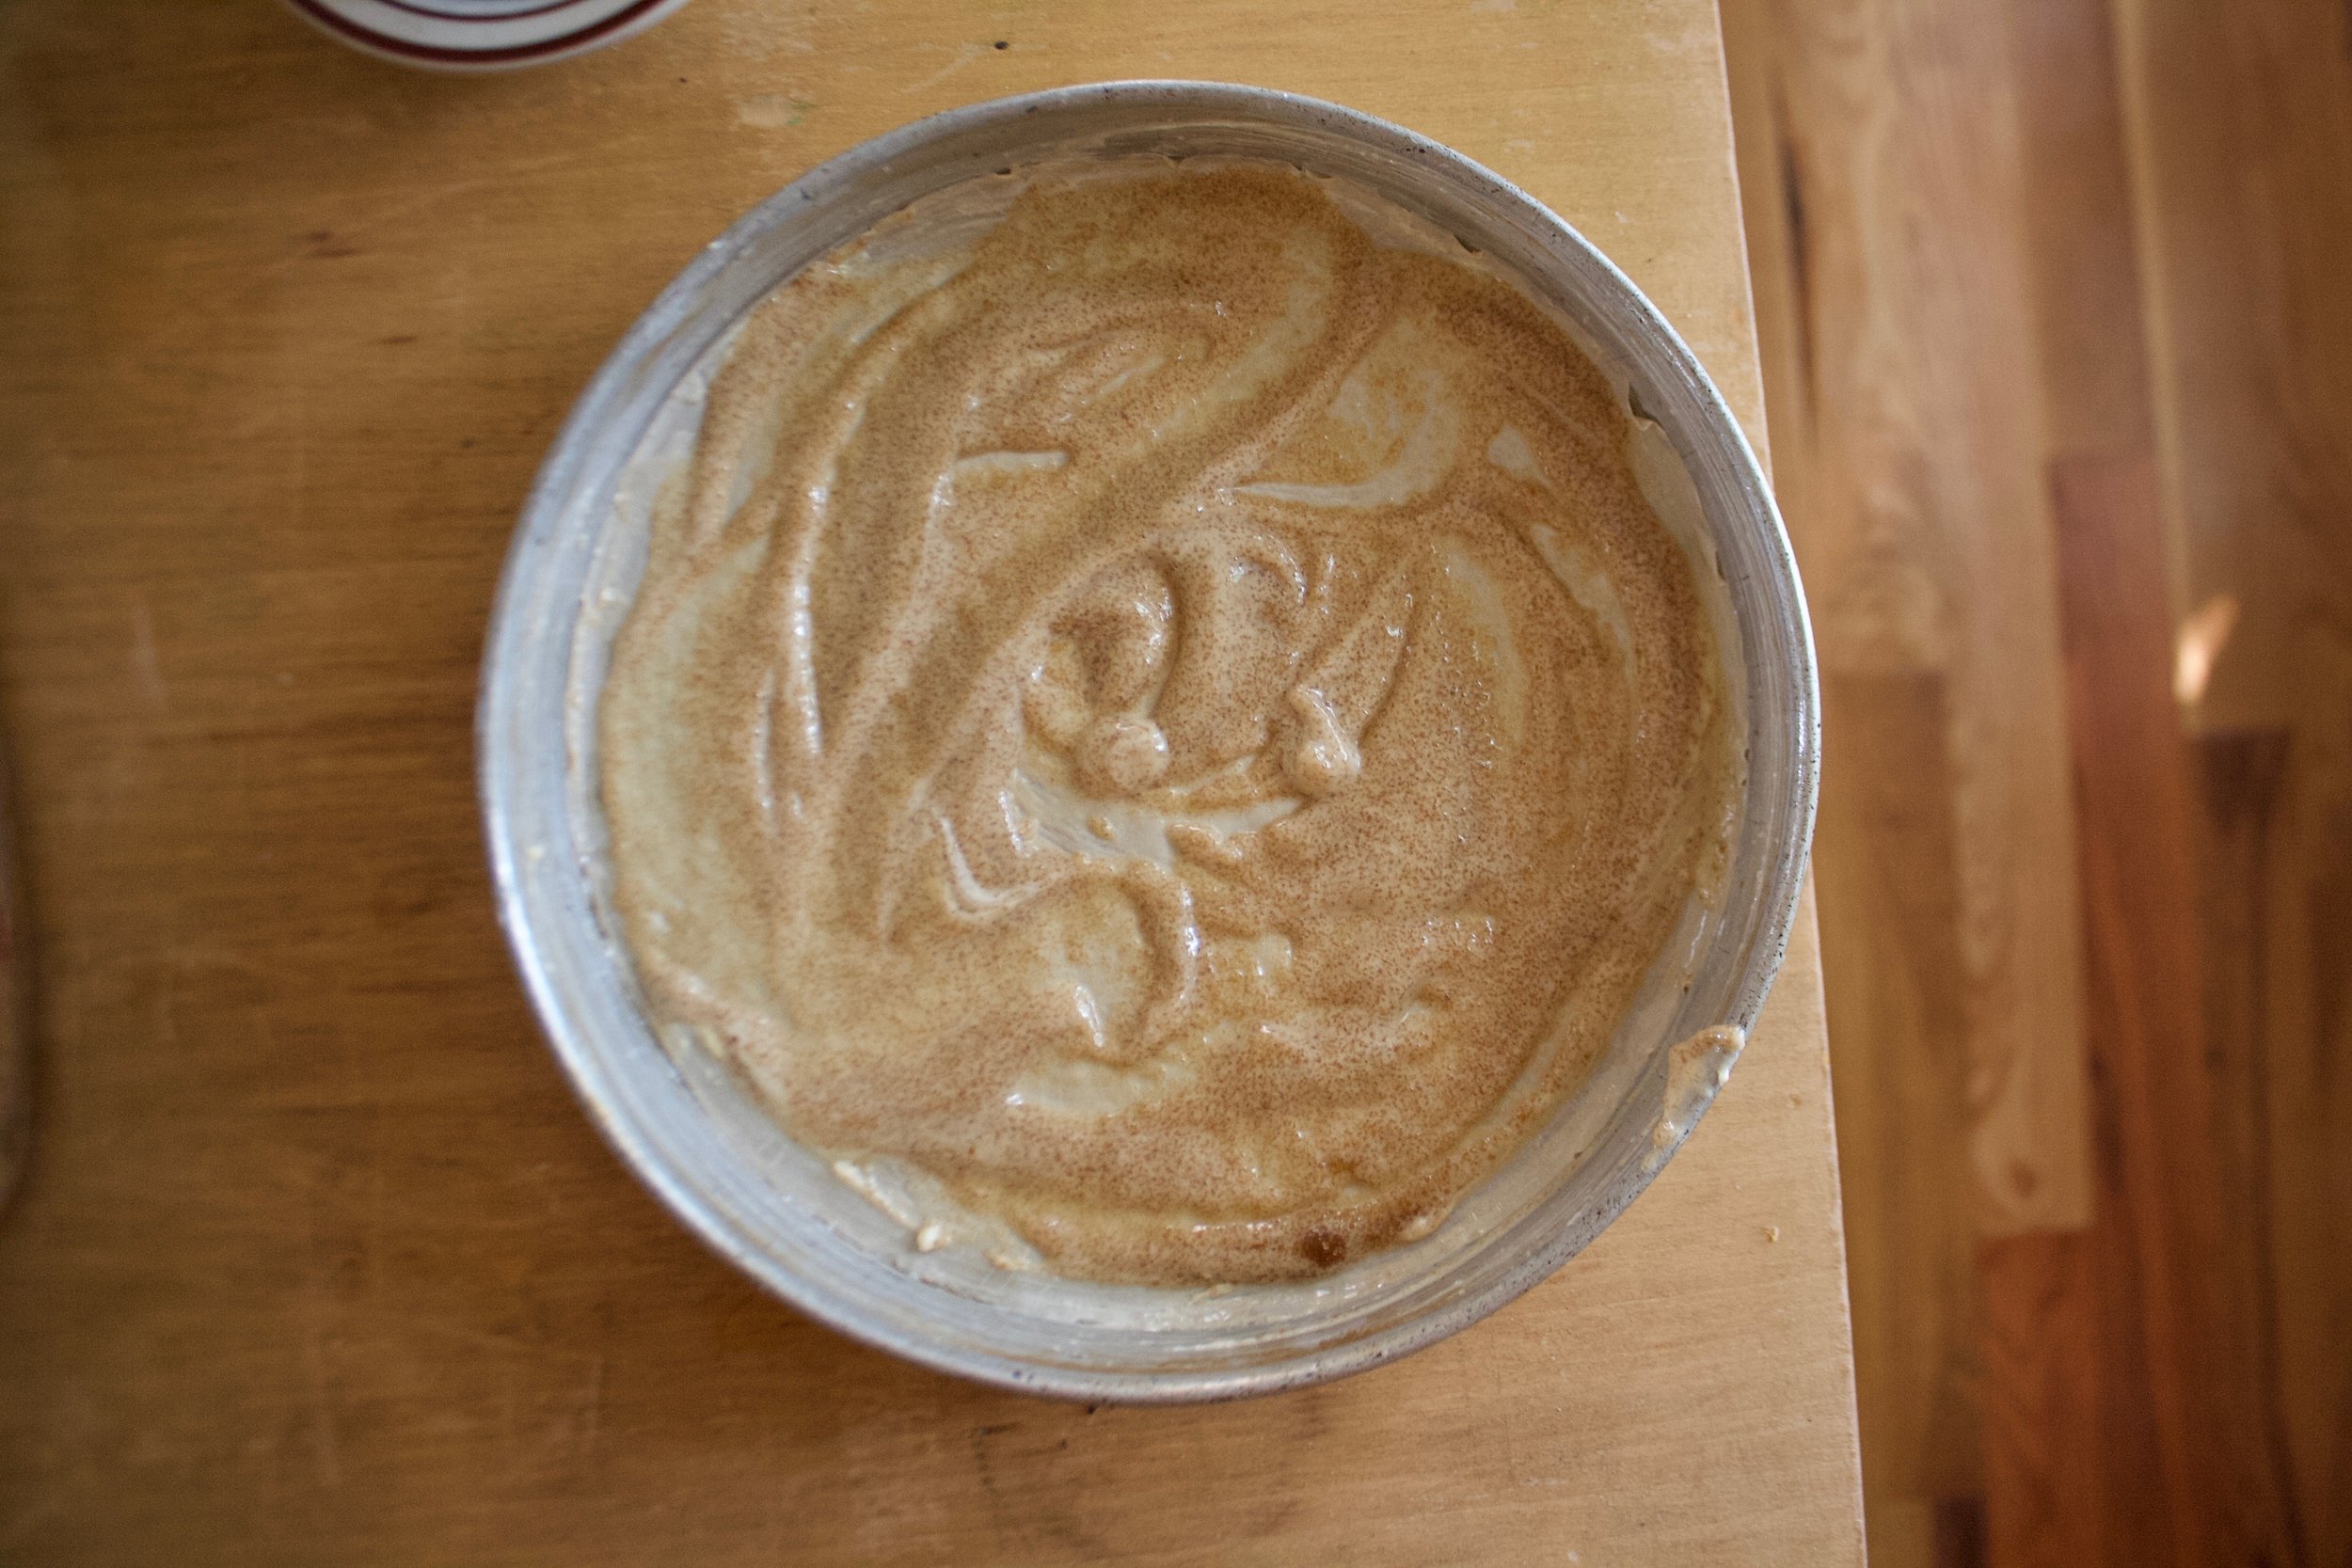
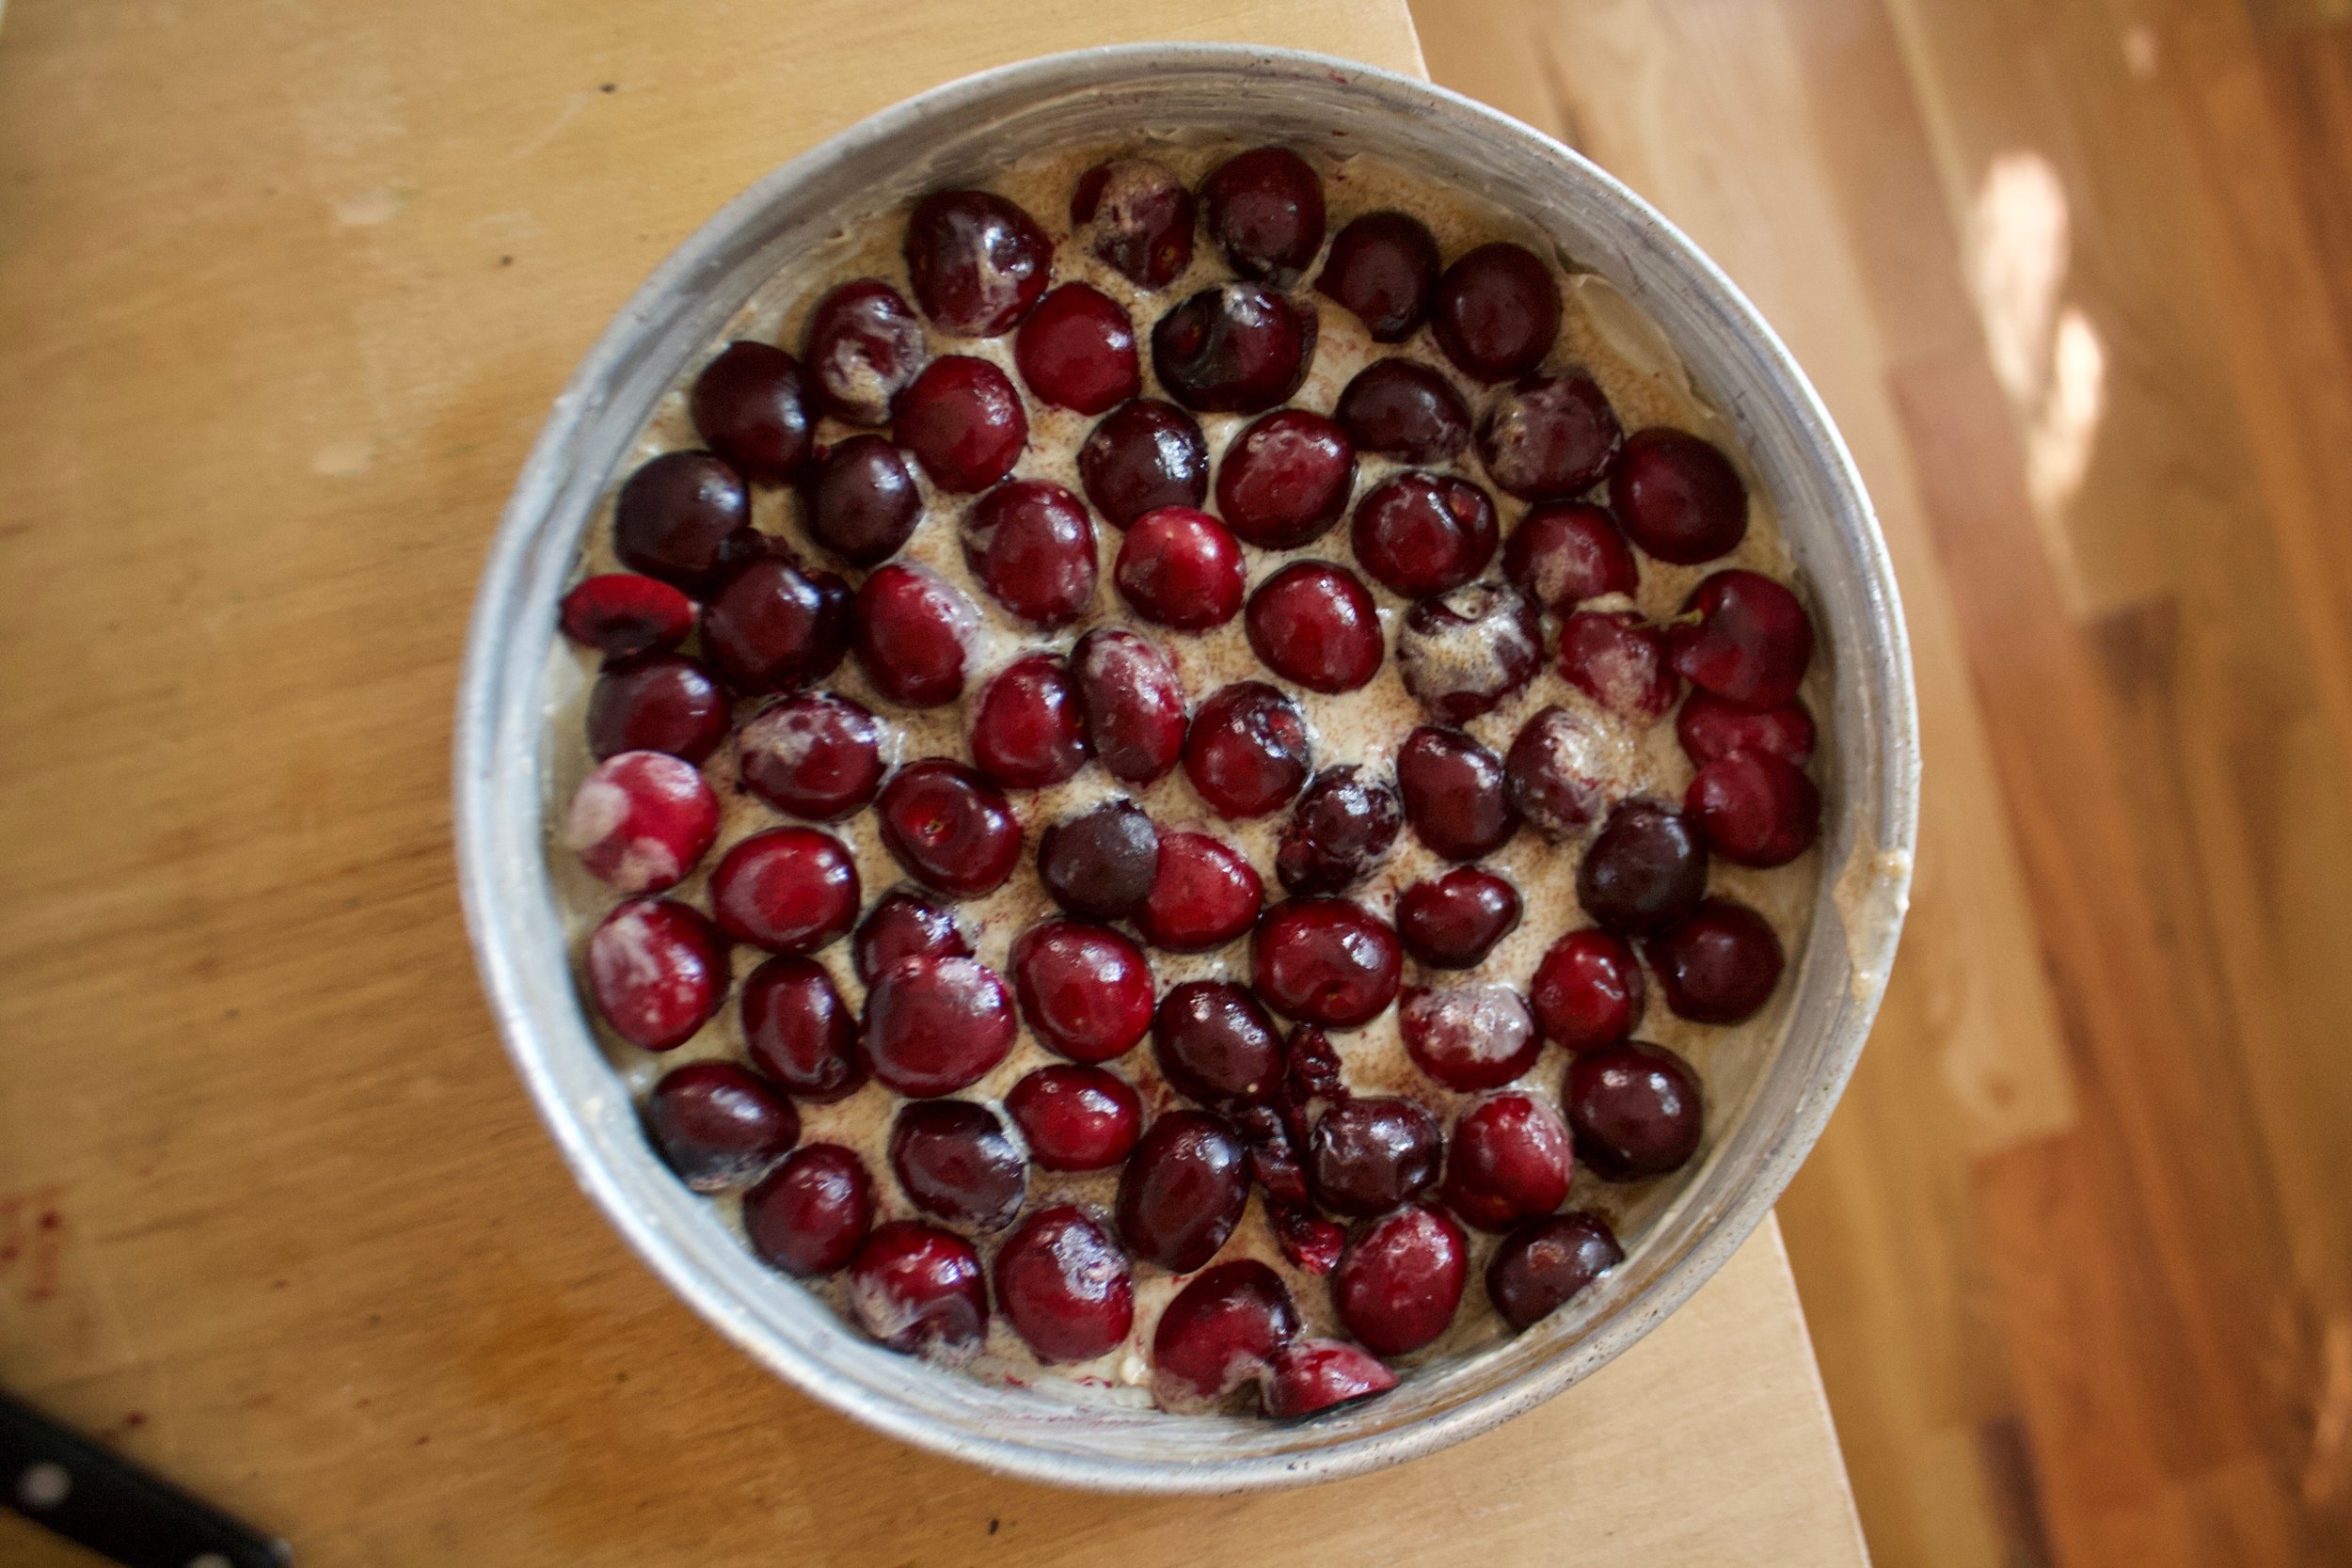
Cherries are pitted so now take the melted earth balance and brown sugar and mix together in the bottom of your greased cake pan. I lined my with parchment which I think was a good idea so you might want to do that too. Mix the mixture around to evenly coat the bottom then place the cherries in, singled layered and not overlapping, but get as many in as you can. (You can do them all facing hte same way like me or not, I don't know if it would really make much of a difference.) 

Time for cake batter. Mix the sugar and zest of the lemon into the bowl of flour, baking soda and powder, and salt. 

In goes oil. milk, apple cider vinegar, and vanilla. Give it all a good whisk 

IMG_9693.jpg

Stop when it is all mixed and incorporated. Don't want to over mix or the cake with get tough. 

IMG_9701.jpg
IMG_9709.jpg

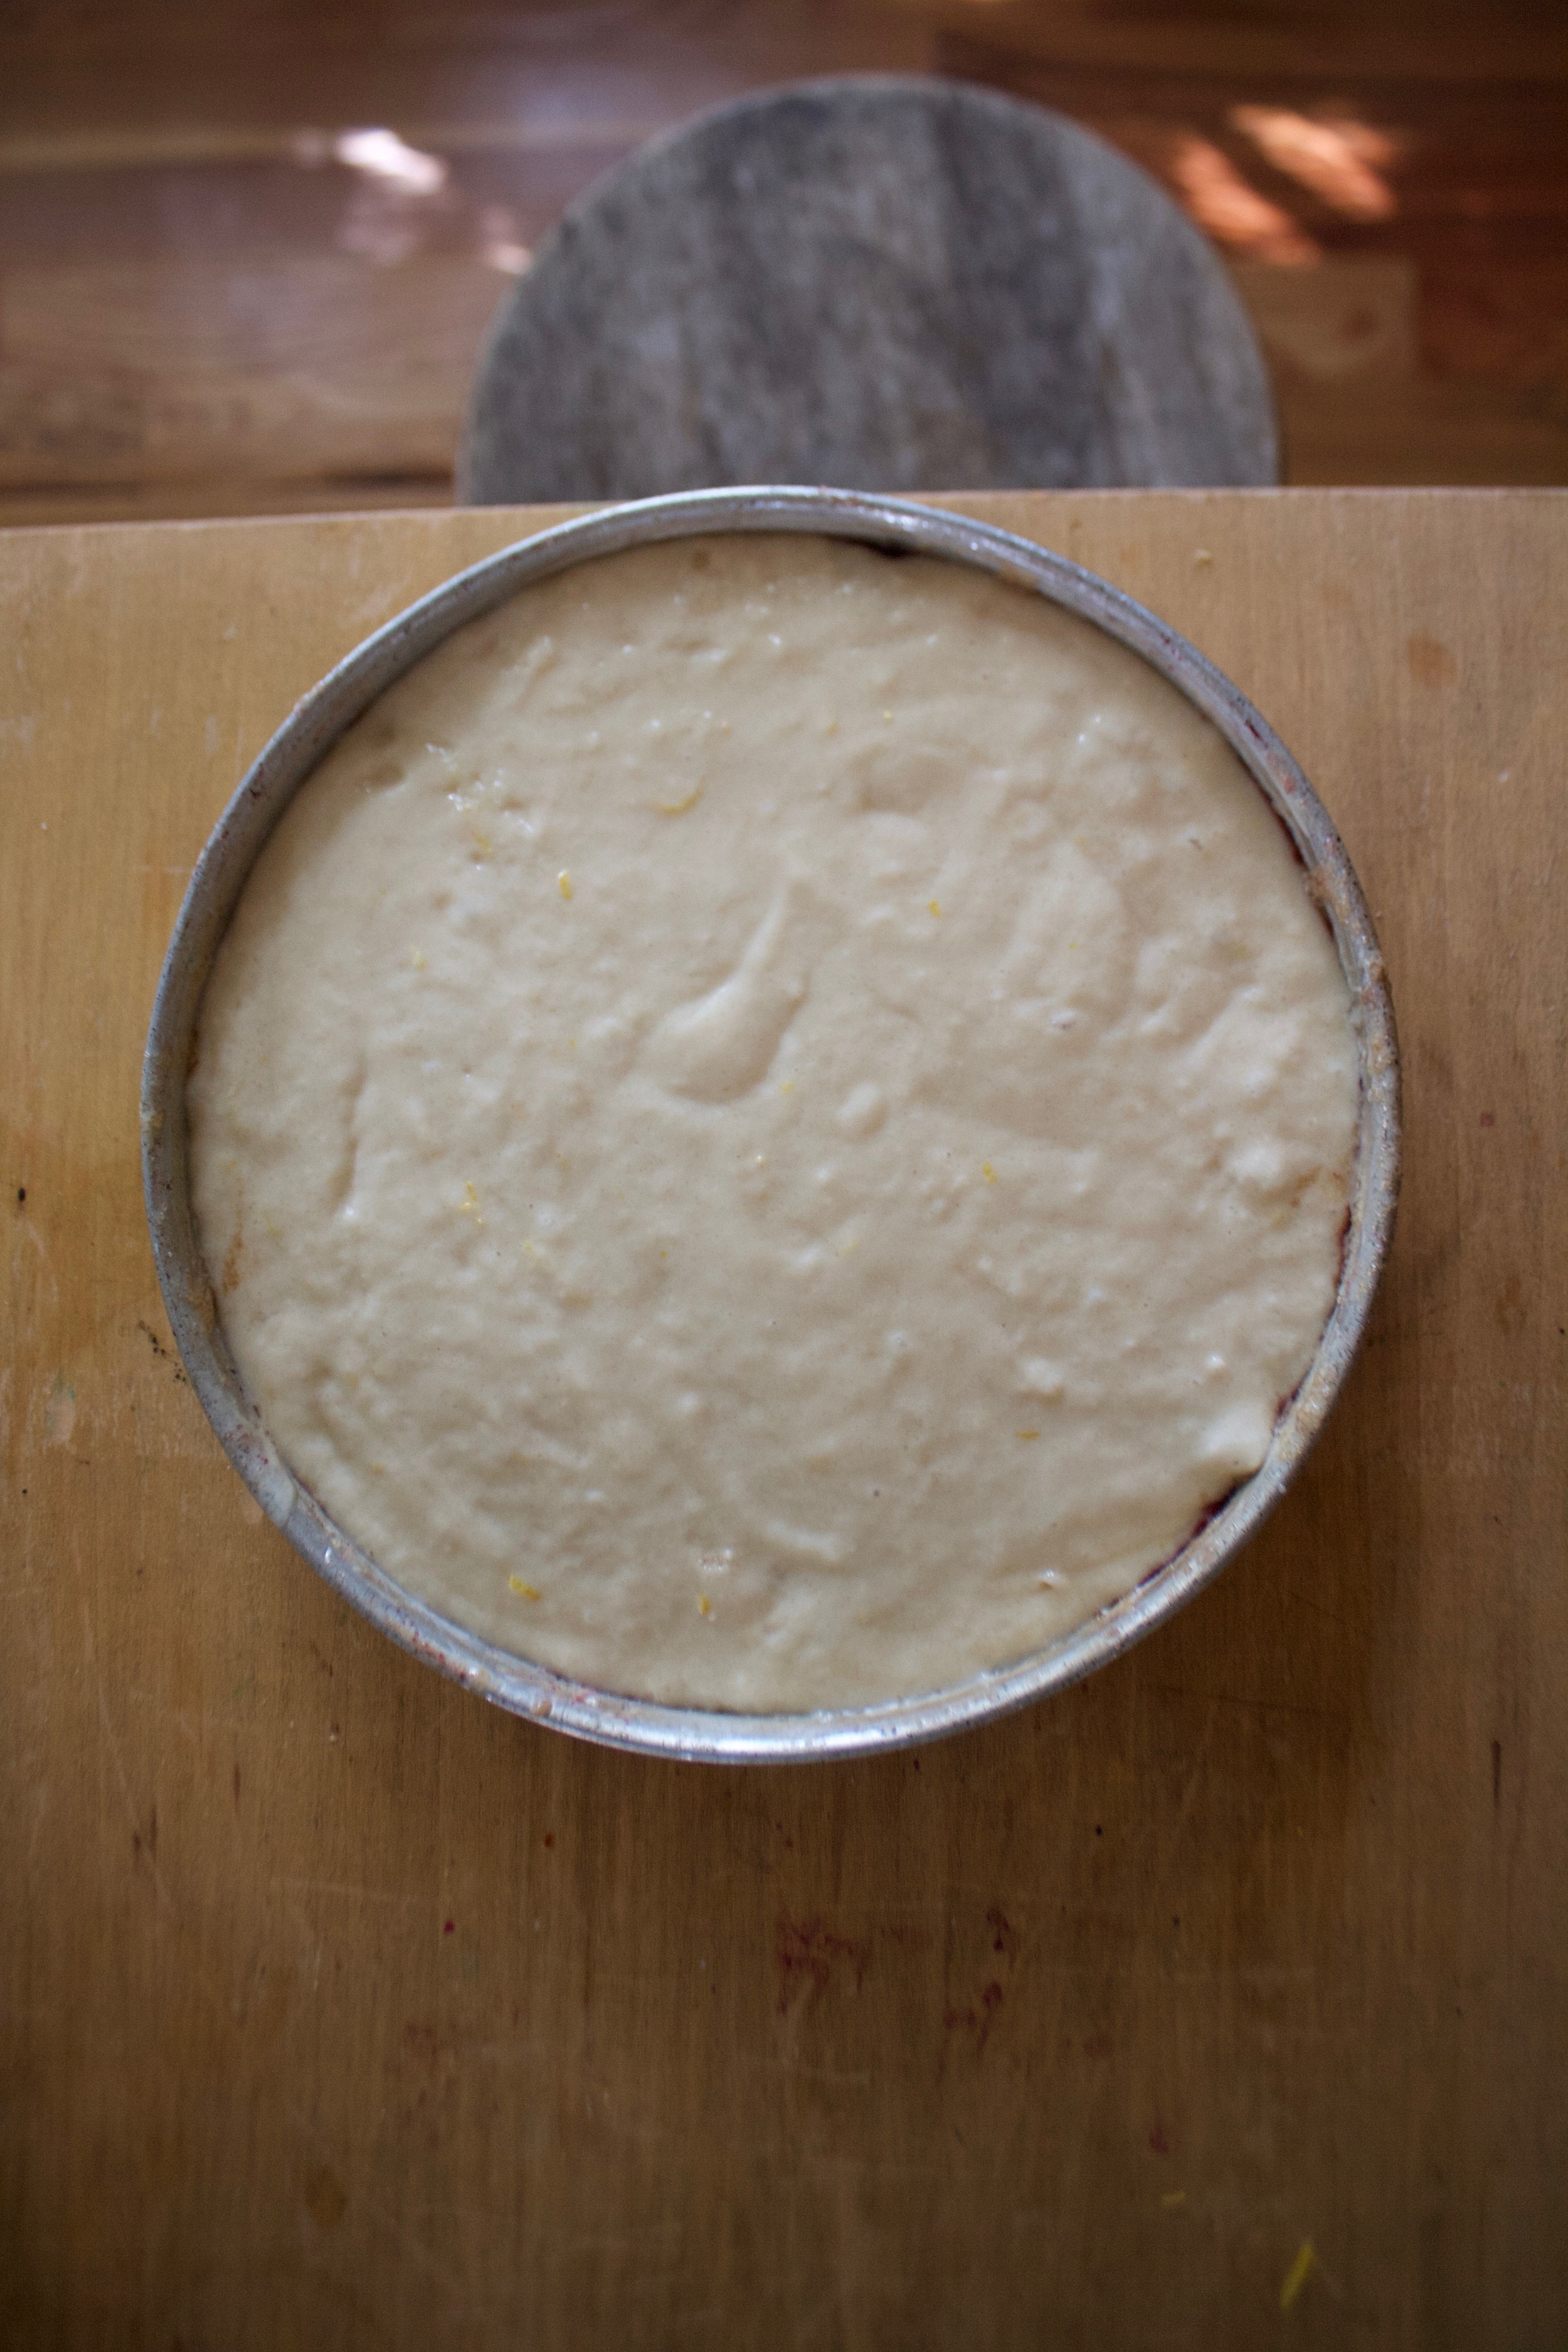
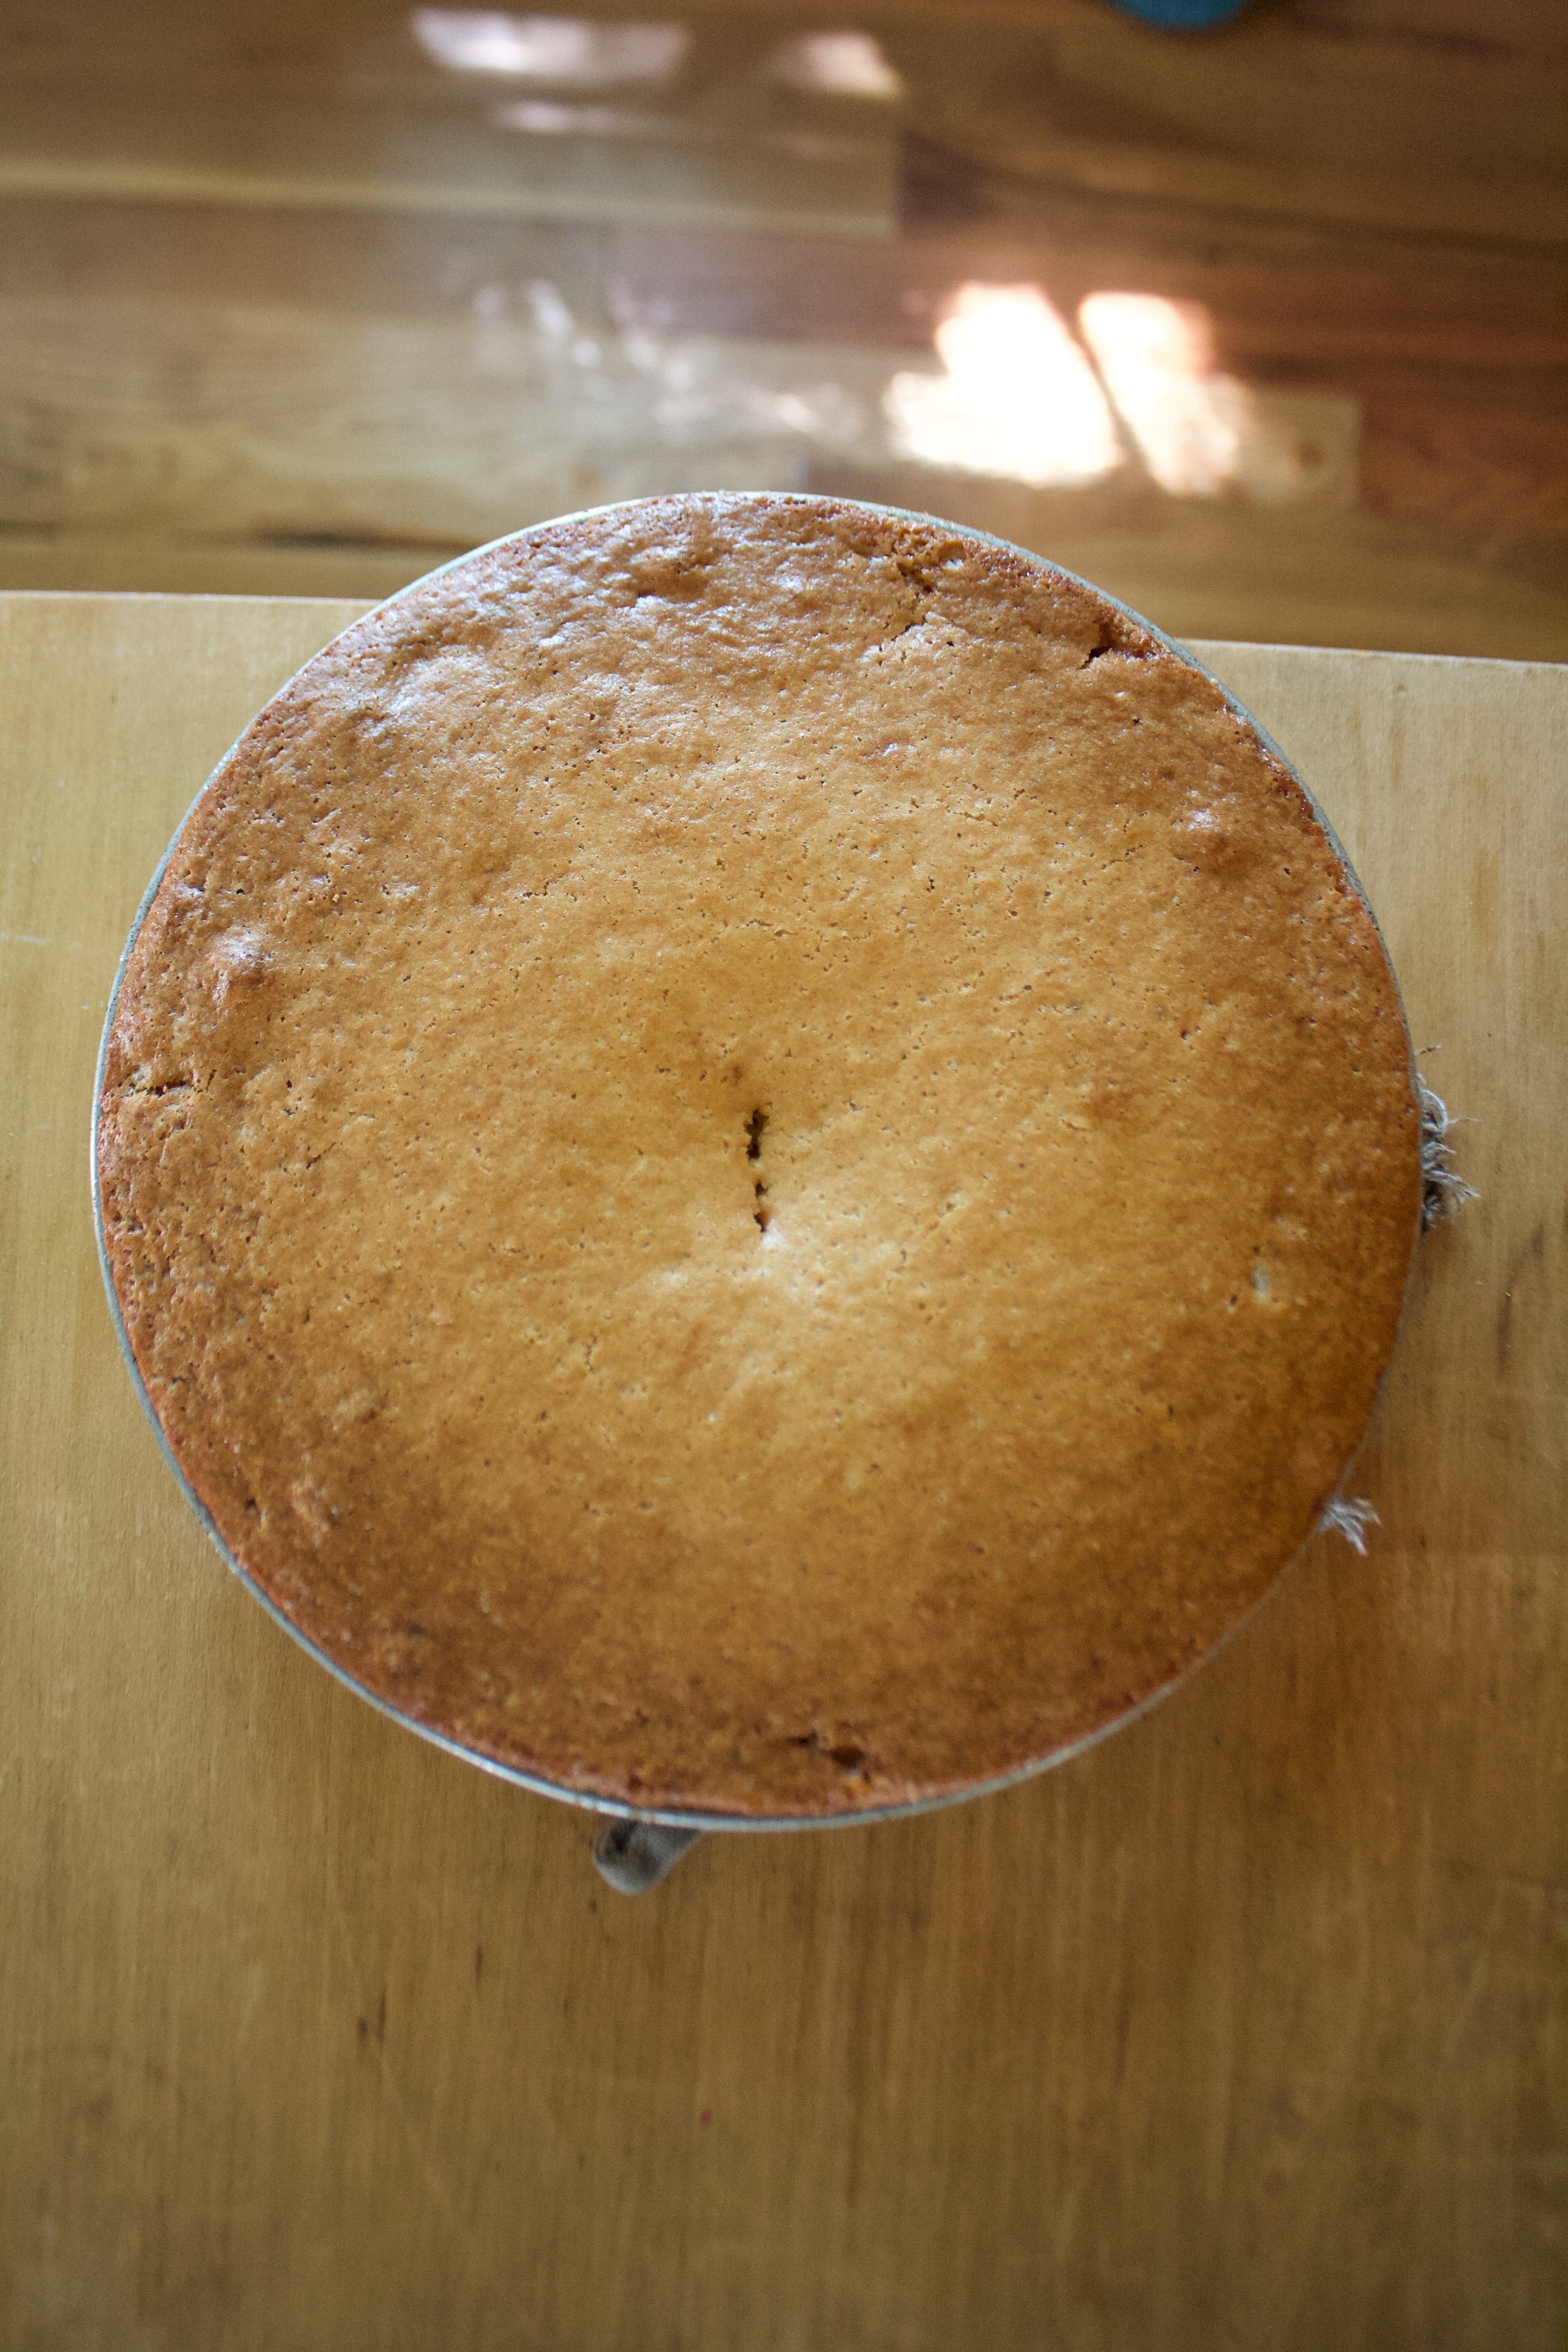
Batter gets poured right onto cherries in pan and the whole sha-bang gets popped into the oven for about 50 minutes to turn into golden brown, upside-down cherry greatness. 

IMG_9719.jpg

Now for the best part, you must wait at least a few minutes, if not ten, to pop the cake right side up? Or os it now upside down? And be careful cause it's hot. Tip . Before inverting cake, run a knife around the edge of the pan to make sure cake is loose. Once cake is upside down on cooling rack (use a cooling rack, not a plate so the  bottom dset getting soggy), give the pan a good tap tap with a wooden spoon until the cake pops out.  If a cherry or two got stuck, its ok, just stick it back to the cake.. no one will know. 

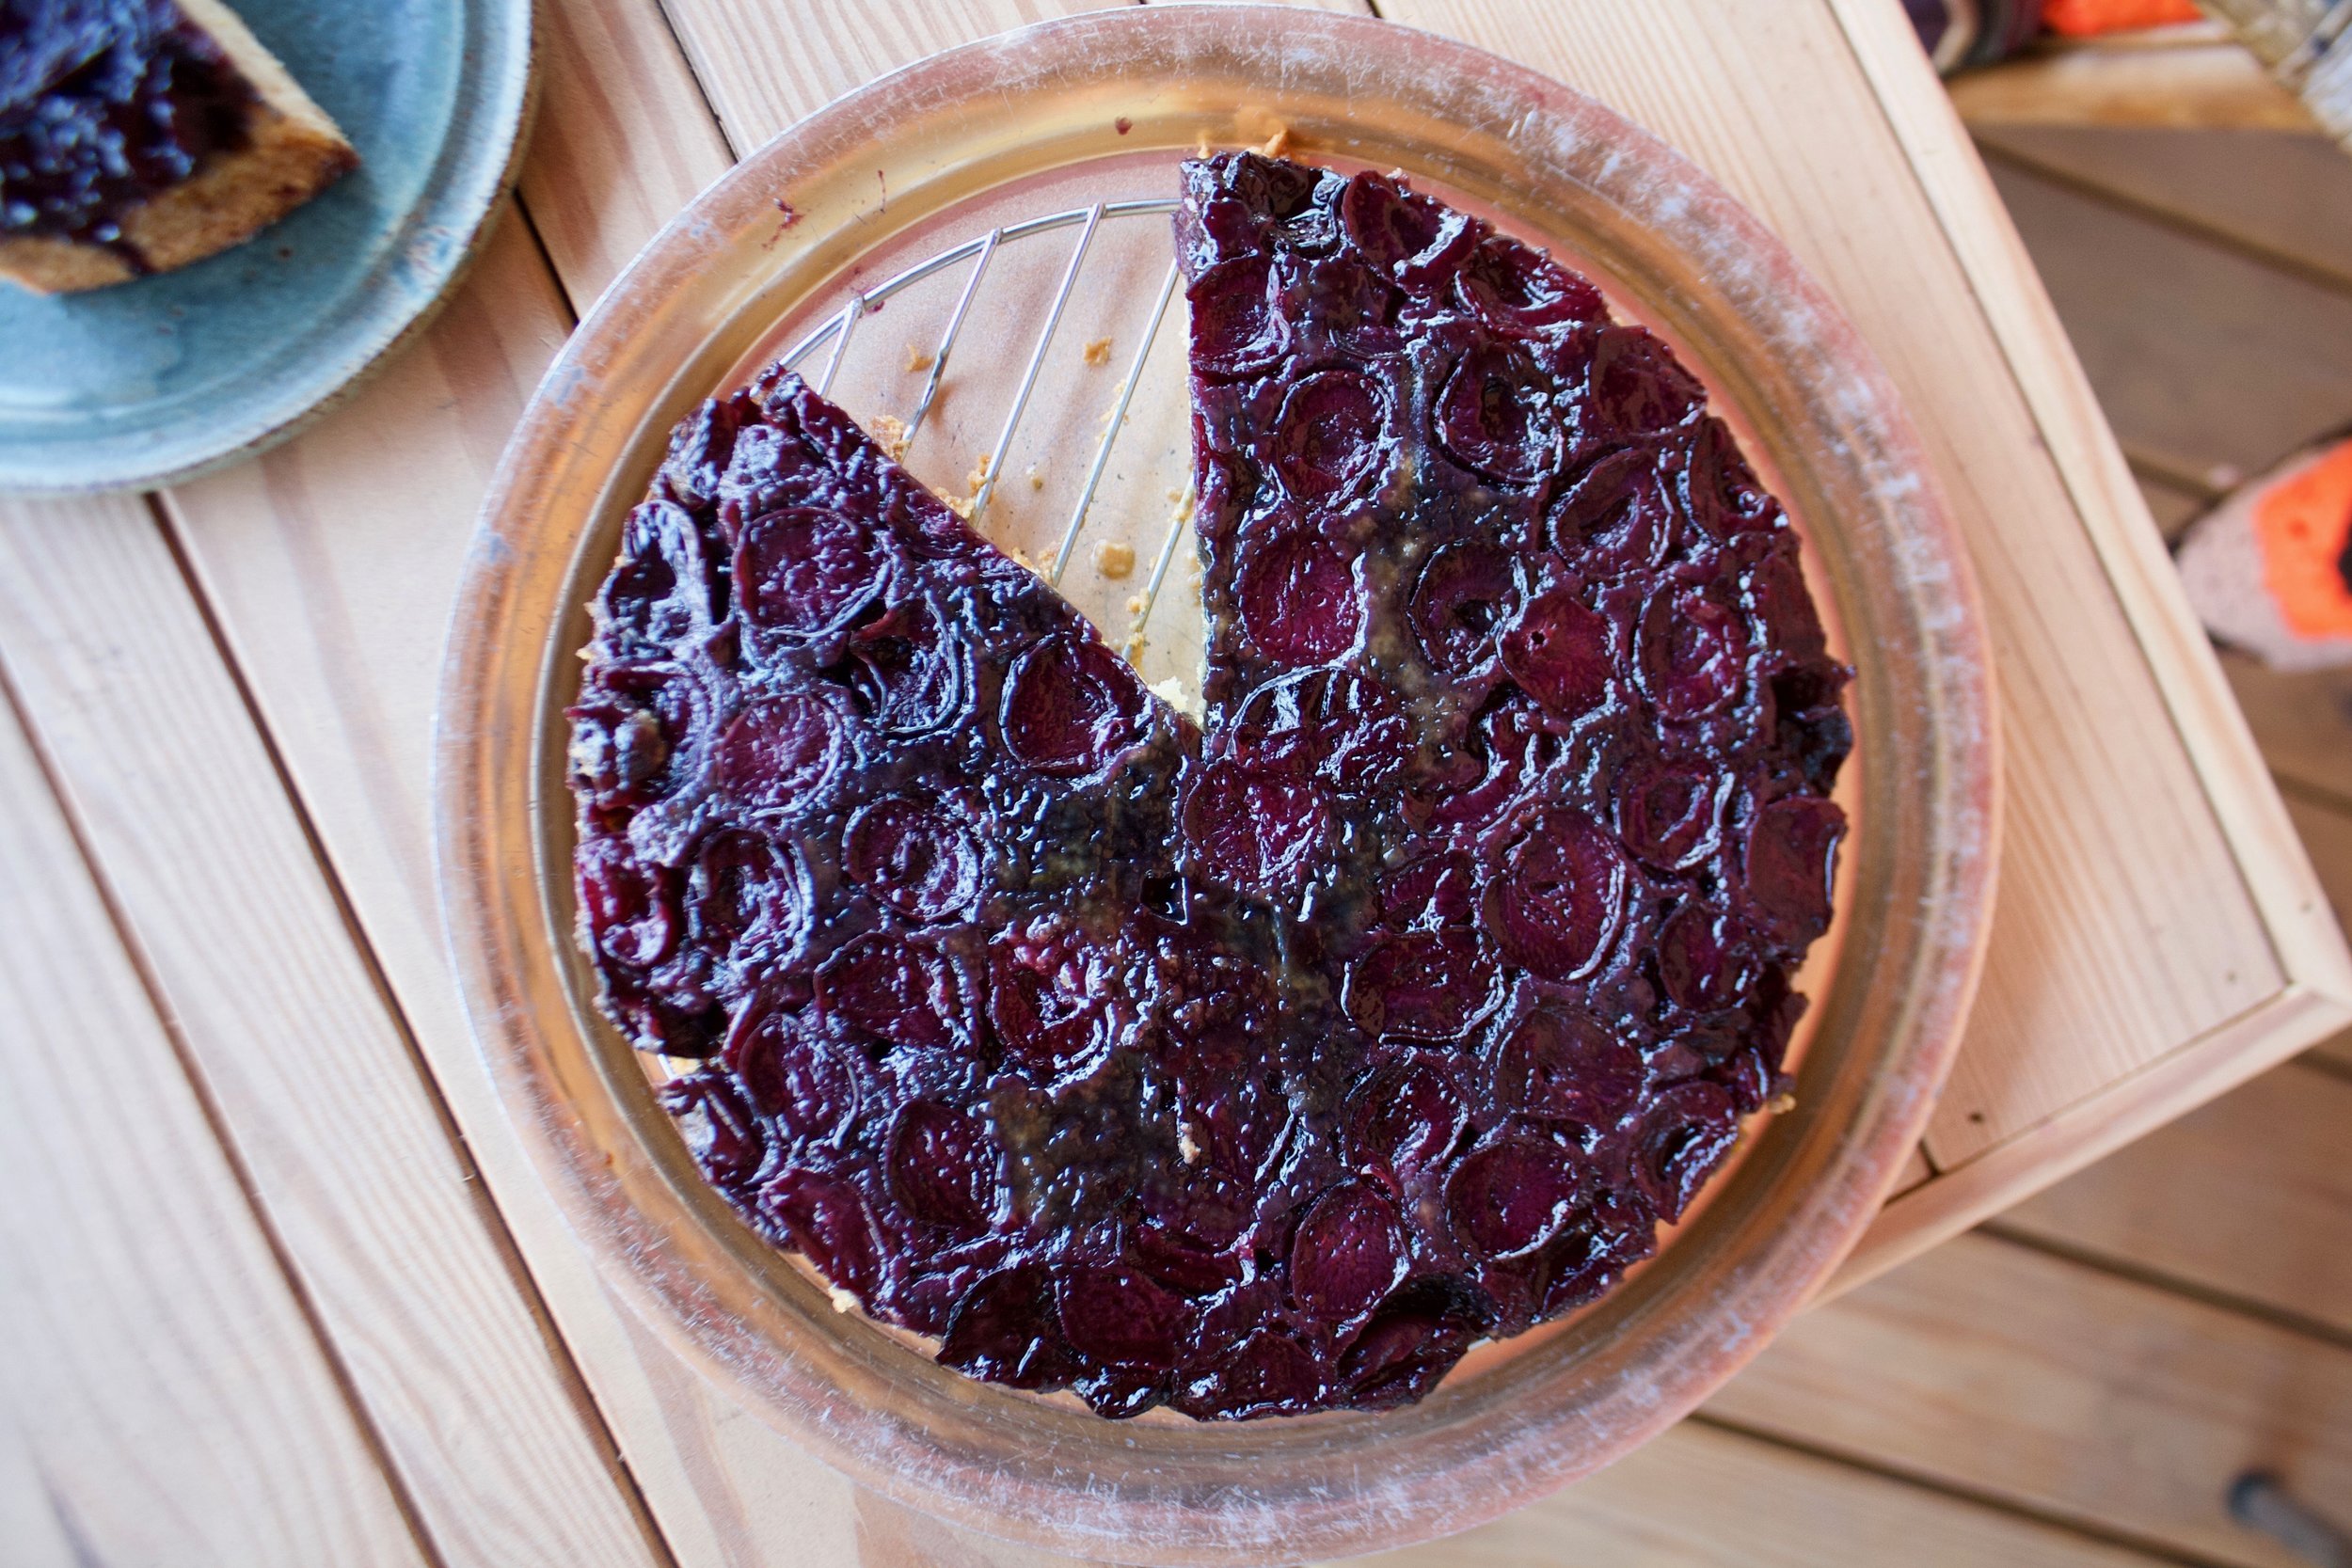
And loooooook at that. Upside down cakes are always like magic. 

IMG_9765 2.jpg

As you can see, it didn't stand a chance. A piece cut within minutes because how can you not.

IMG_0017 2.jpg

I finally did it, I shared my cherry stash, and I feel good about it because all the people looooved the cake so it was worth it. And I still have cherries left for me!!

Now go upside-down a cake. 

-C


Cherry Upside-Down Cake

makes a 10 inch upside-down cake. 

  • 2 1/4 cups all purpose flour
  • 1 teaspoon baking soda
  • 1  teaspoon baking powder
  • 1 teaspoon salt
  • 1 cup white sugar
  • 1/2 cup neutral flavored oil (I used canola) 
  • 2 tablespoons earth balance or vegan butter substitute 
  • 1 teaspoon vanilla extract
  • 1 cup soy milk
  • 1 lemon 
  • 1 tablespoon apple cider vinegar
  • 2 cups sliced in half and pitted cherries
  • 3 tablespoon brown sugar

Preheat oven to 350. 

Start by rinsing and pitting cherries. Remove all stems, cut cherries in half, and remove pits. I use my thumb and just kind of pop them out, but do it anyway you feel like. If using a fancy de-pitter, you are going to want to cut the cherries in half.  After you have removed all pits, DOUBLE CHECK that there are no pits.. Pits will crack a tooth for reals.

Grease and line a 10 inch cake pan with parchment. Dump the melted earth balance and brown sugar in bottom and mix together. Spread mixture all around then grab sliced cherries and place them, single layered, into mixture. Get as many as you can in there without overlapping.

In a large bowl mix together the flour, baking powder and soda, the salt, the white sugar, and the zest of the lemon. Once fully combined add in the soy milk, apple cider vinegar, the oil, and the vanilla. Mix that all up until just combined. Pour batter all over the cherries in the pan. Level out batter and pop into the oven (middle rack) for 45-55 minutes, or until the cake is a nice deep golden brown and a tester stuck in the middle comes out clean.

Once the cake is bake, let it sit on counter for about 10 minutes.  Once slightly cooled, grab knife and run it along the edge of the cake. Take a cooling rack and place on top of cake then flip upside down. Tap around he pan with a spoon then gently lift pan away. 

Tada. You should have yourself something fantastic and great. And no worries if a cherry or two got stuck to pan, just pop it back on to the cake.

And now all you need to do is eat the cake. So do that. 

In Vegan, summer, fruit, desserts, cake Tags Upside-down cherry cake, cherry cake, upside-down cake, vegan, vegan cake, cake, summer, vegan dessert, summer cake, cherries, fresh cherries, dairy free, dairy free cake
Comment
Older Posts →
 

https://thelovelycrazy.squarespace.com/config#/|/about/

Me. Food Maker.Food eater. Woo HOO!

STEM+NODE  SMALL BATCH AND ONE OF A KIND POTTERY

stem+node ceramics


____________________

Subscribe

GET NEW POSTS IN YO EMAIL

You are AWESOME!!!


@thelovelycrazy 2014-2021