• stem+node ceramics
  • HOME
  • Food Recipes
  • About
  • Contact
Menu

The Lovely Crazy

Street Address
City, State, Zip
Phone Number

Your Custom Text Here

The Lovely Crazy

  • stem+node ceramics
  • HOME
  • Food Recipes
  • About
  • Contact

Chocolate filled Vanilla Sugar Sandwich Cookies

October 19, 2019 Colleen Stem
IMG_3080.jpg
IMG_3060.jpg

As of right now, these are by far the best cookies I have ever made. Look at them. They are SO CUTE!. Worth all the effort, seeing that I do not own a ghost cookie cutter (although I think my version of ghosts are pretty fantastic) and had to hand cut out each cookie with a knife and a ghost cutout I made a few weeks back. They make me happy just looking at them. That right there is saying something. And I don’t know about you and where you are, but it is getting pretty freaking cold out and I refuse to turn the heat on for a few more weeks so I do what I need to do to stay warm. If that means turning on the oven to bake cookies, then so be it. I have a feeling I am going to be making a few more batches of cookies before the months over. HA! (For reals though.)

These cookies are more or less a traditional sugar cookie with a chocolate ganache type filling, both with a hint of coconut flavor from the use of coconut oil. Something about the whole combination; the cookie, the coconutieness, and the chocolate that really had everyone (I gave them out a Barbs birthday party) praise my amazingness. I guess they are pretty freaking delicious.

Cute and delicious. Best kind of cookie!

And quick note. Yes these are ghosts but think of all the fun shaped sandwich cookies you could make. I am thinking moose shaped cookies next or maybe Christmas trees… Oh the possibilities!

Now, to the cookies!

The stuff. White sugar, coconut oil, flour, baking powder, salt, vanilla, almond milk, cocoa powder, and powdered sugar. For cookies and filling.

IMG_2941.jpg
IMG_2944.jpg
IMG_2951.jpg
IMG_2955.jpg

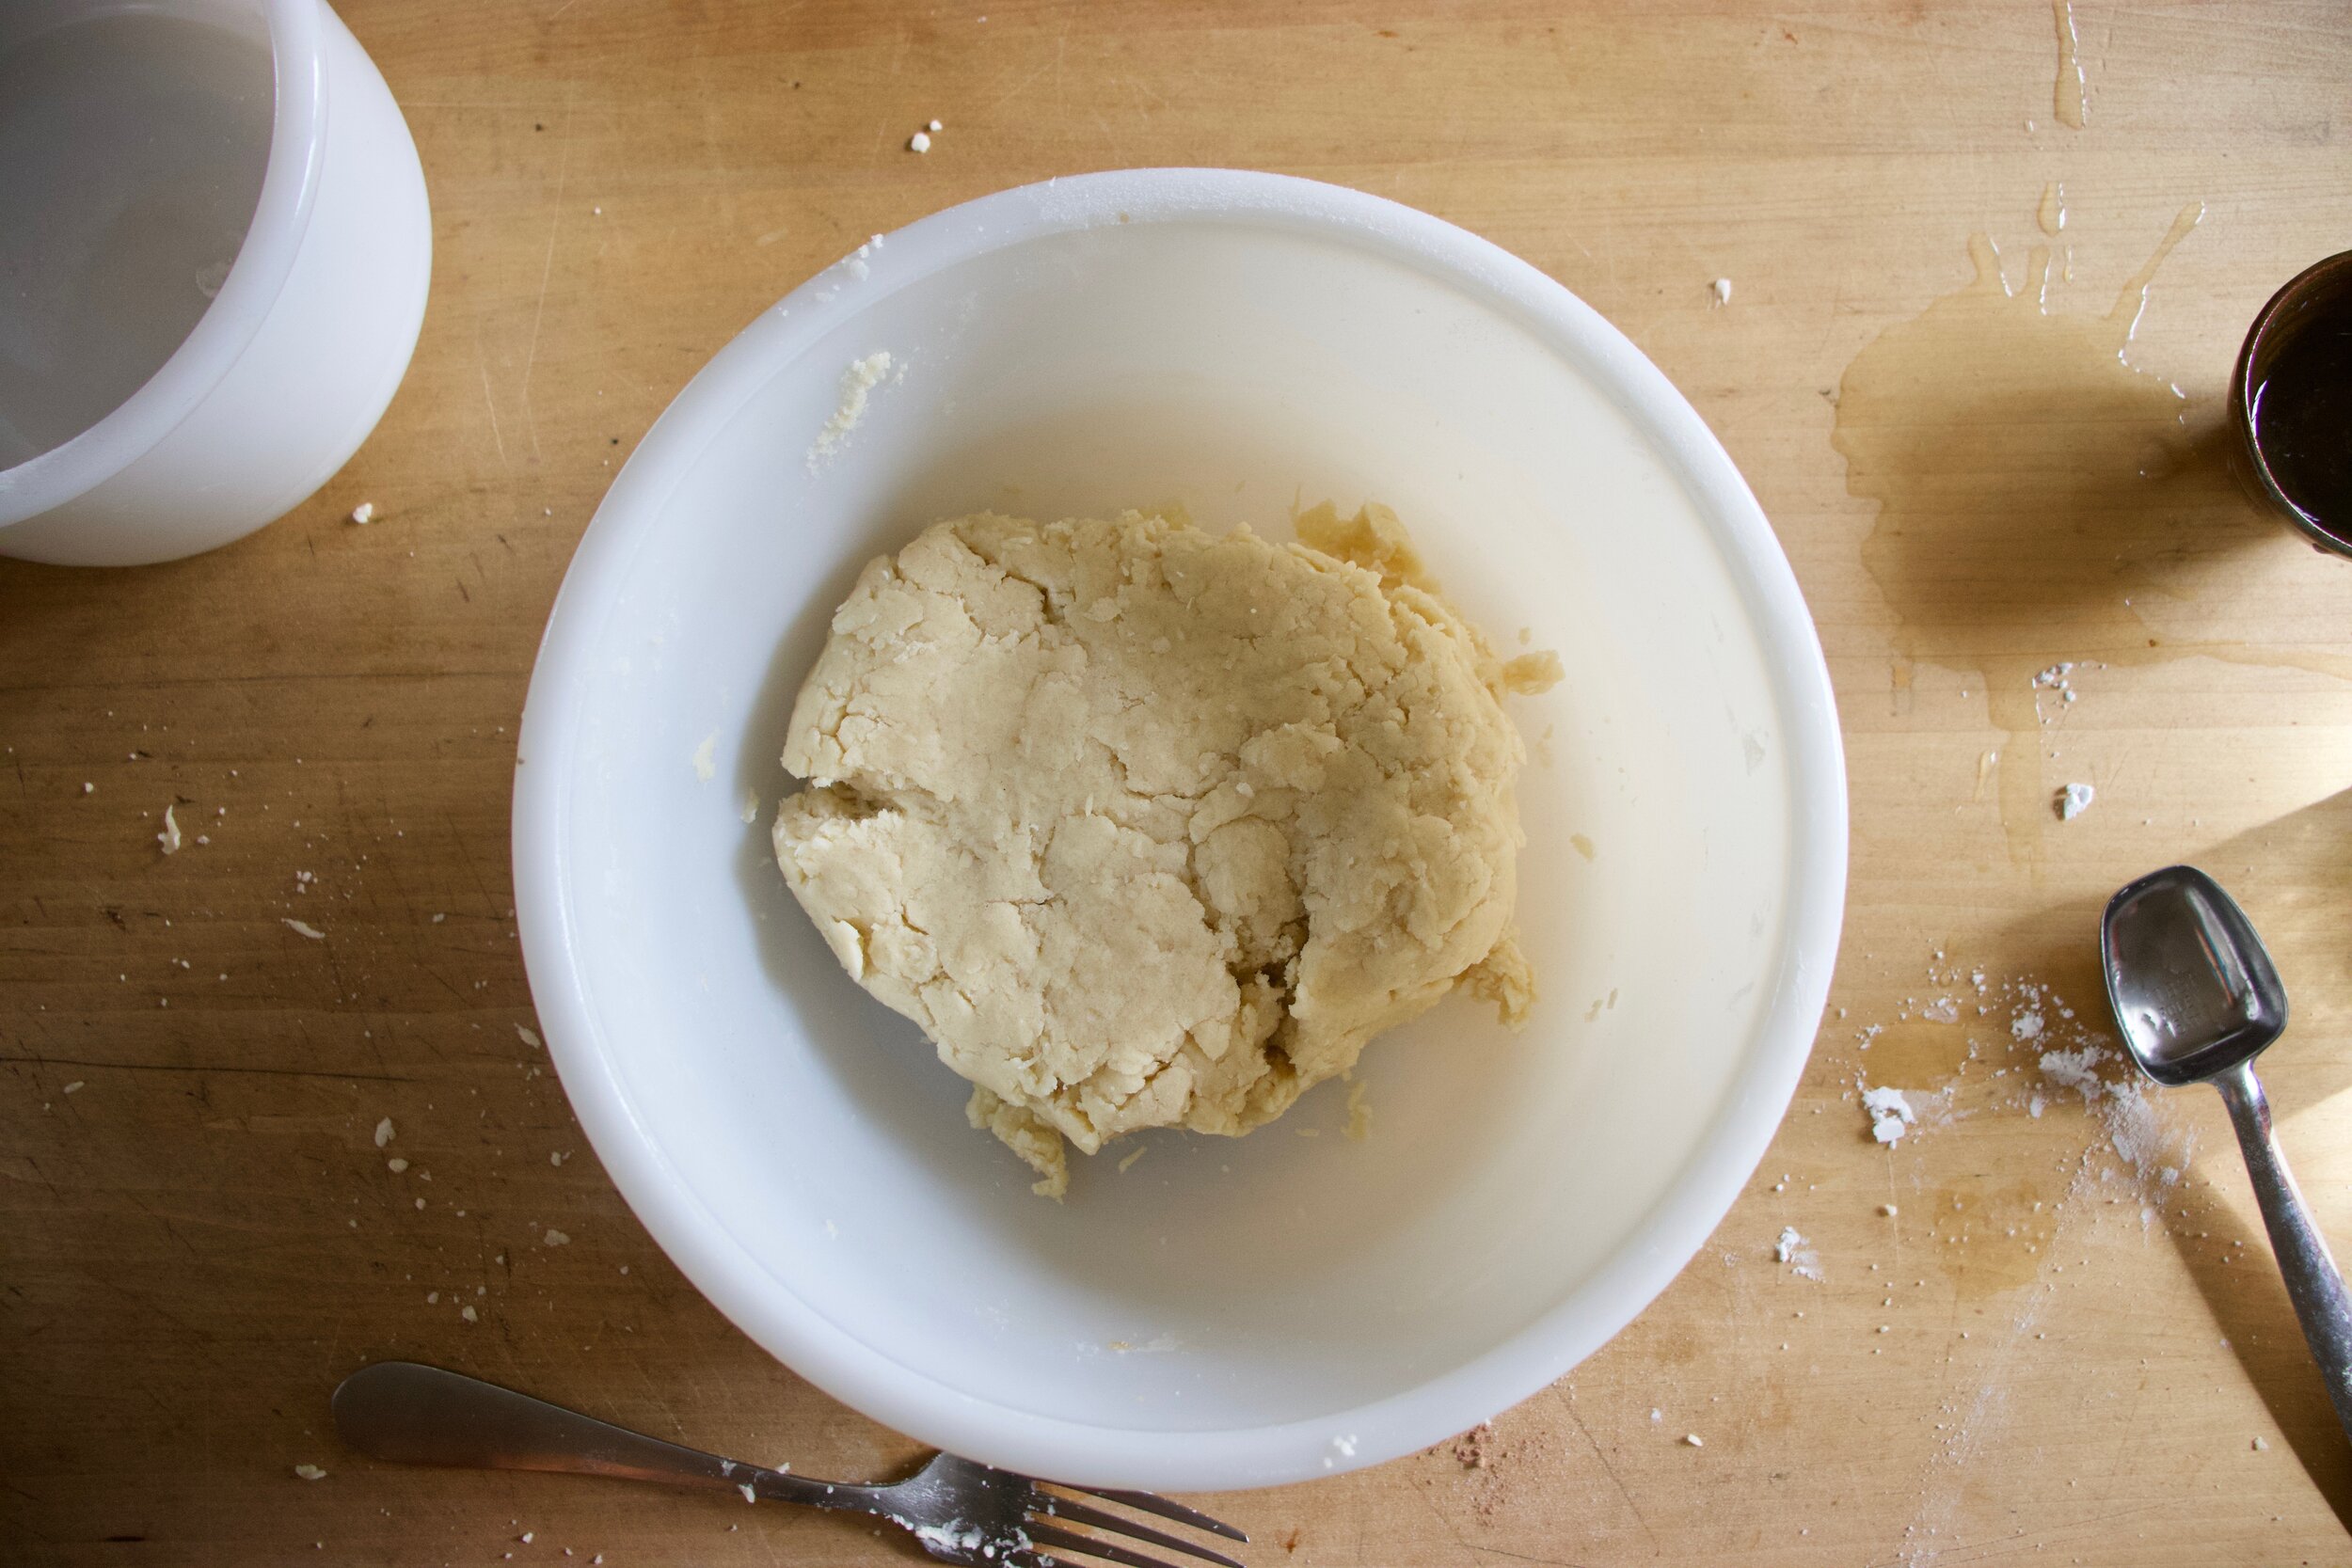
To make cookie dough. Beat toghetet the coconut oil with sugar and vanilla until smooth and fluffy. Add in all the dry ingredients and the almond milk and mix until a dough forms.

IMG_2960.jpg

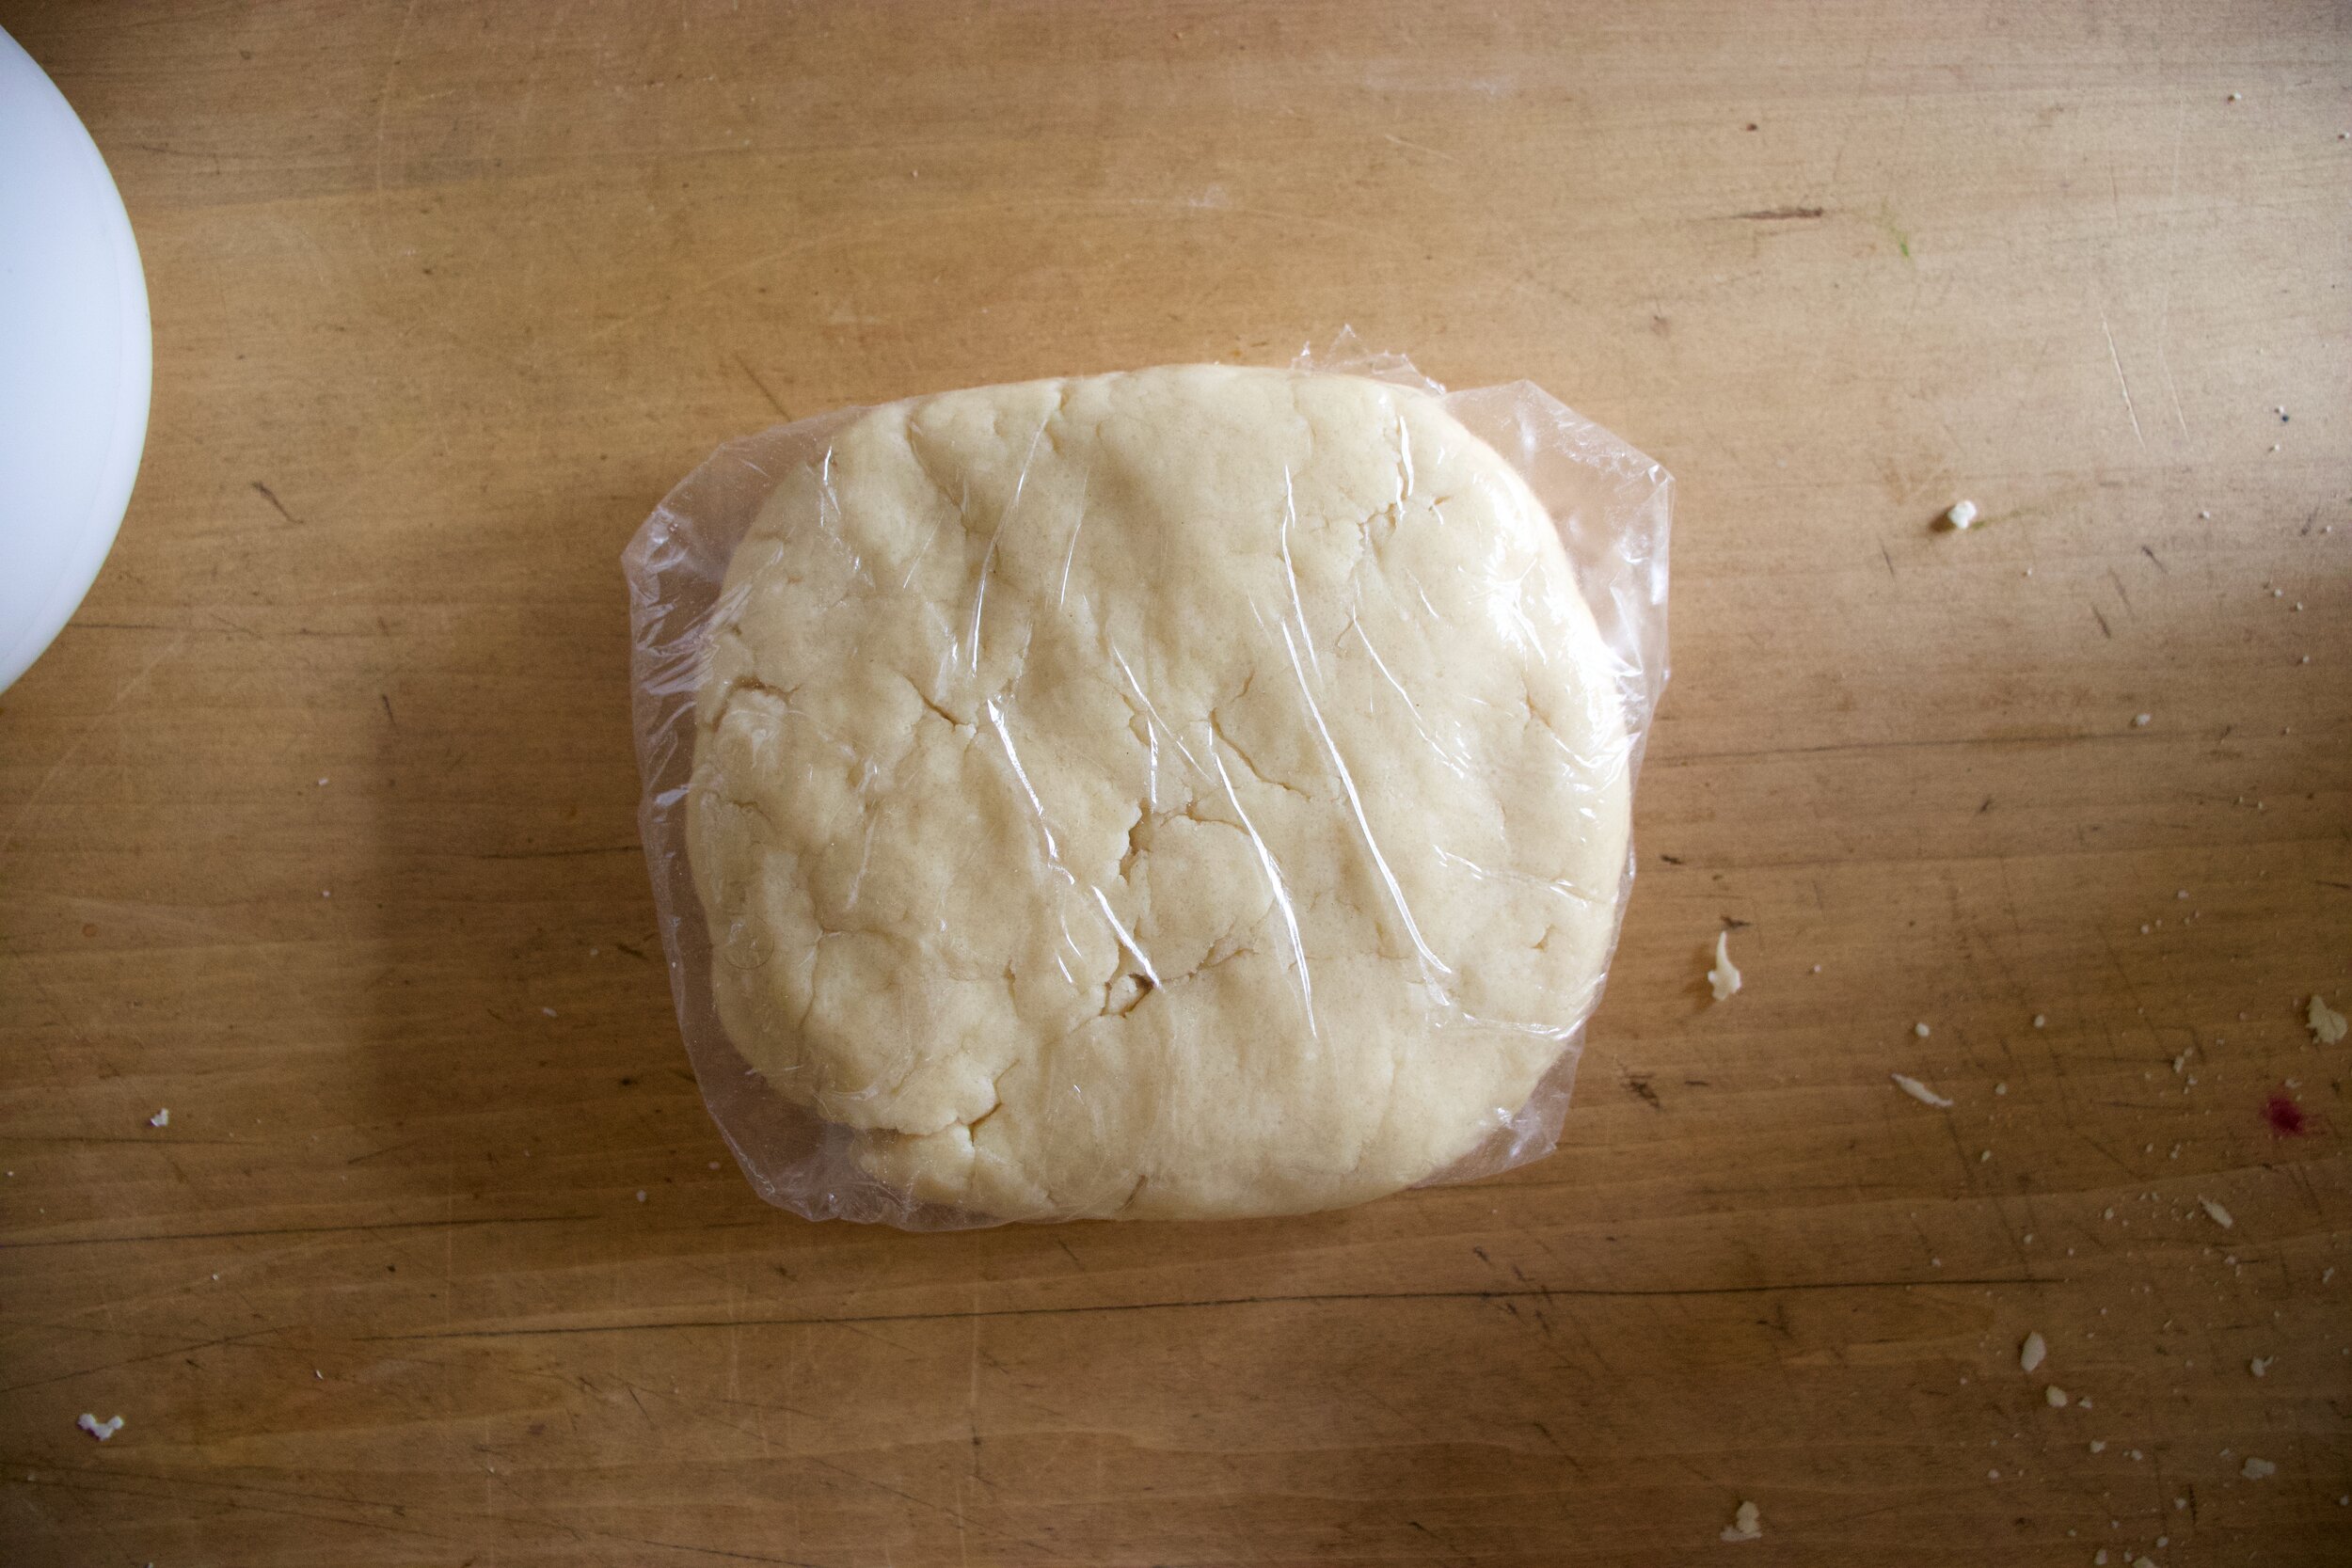
Wrap dough in plastic and squish tight. Place in fridge for an hour or up to a day.

After dough has had time in the fridge, grab it and roll it out on a lightly floured surface to about 1/4 inch thick.

IMG_2986 2.jpg

Cut out cookie shapes. If you want to cut out eyes or a few different shapes, remember each cookie needs a top and bottom so even numbers folks.

Place cut out cookies on a baking sheet then into the oven they go.

IMG_2999.jpg

Bakes and ghostly! Place them on a wire rack to cool and keep baking the rest of the cookies.

IMG_2961 2.jpg
IMG_2964.jpg

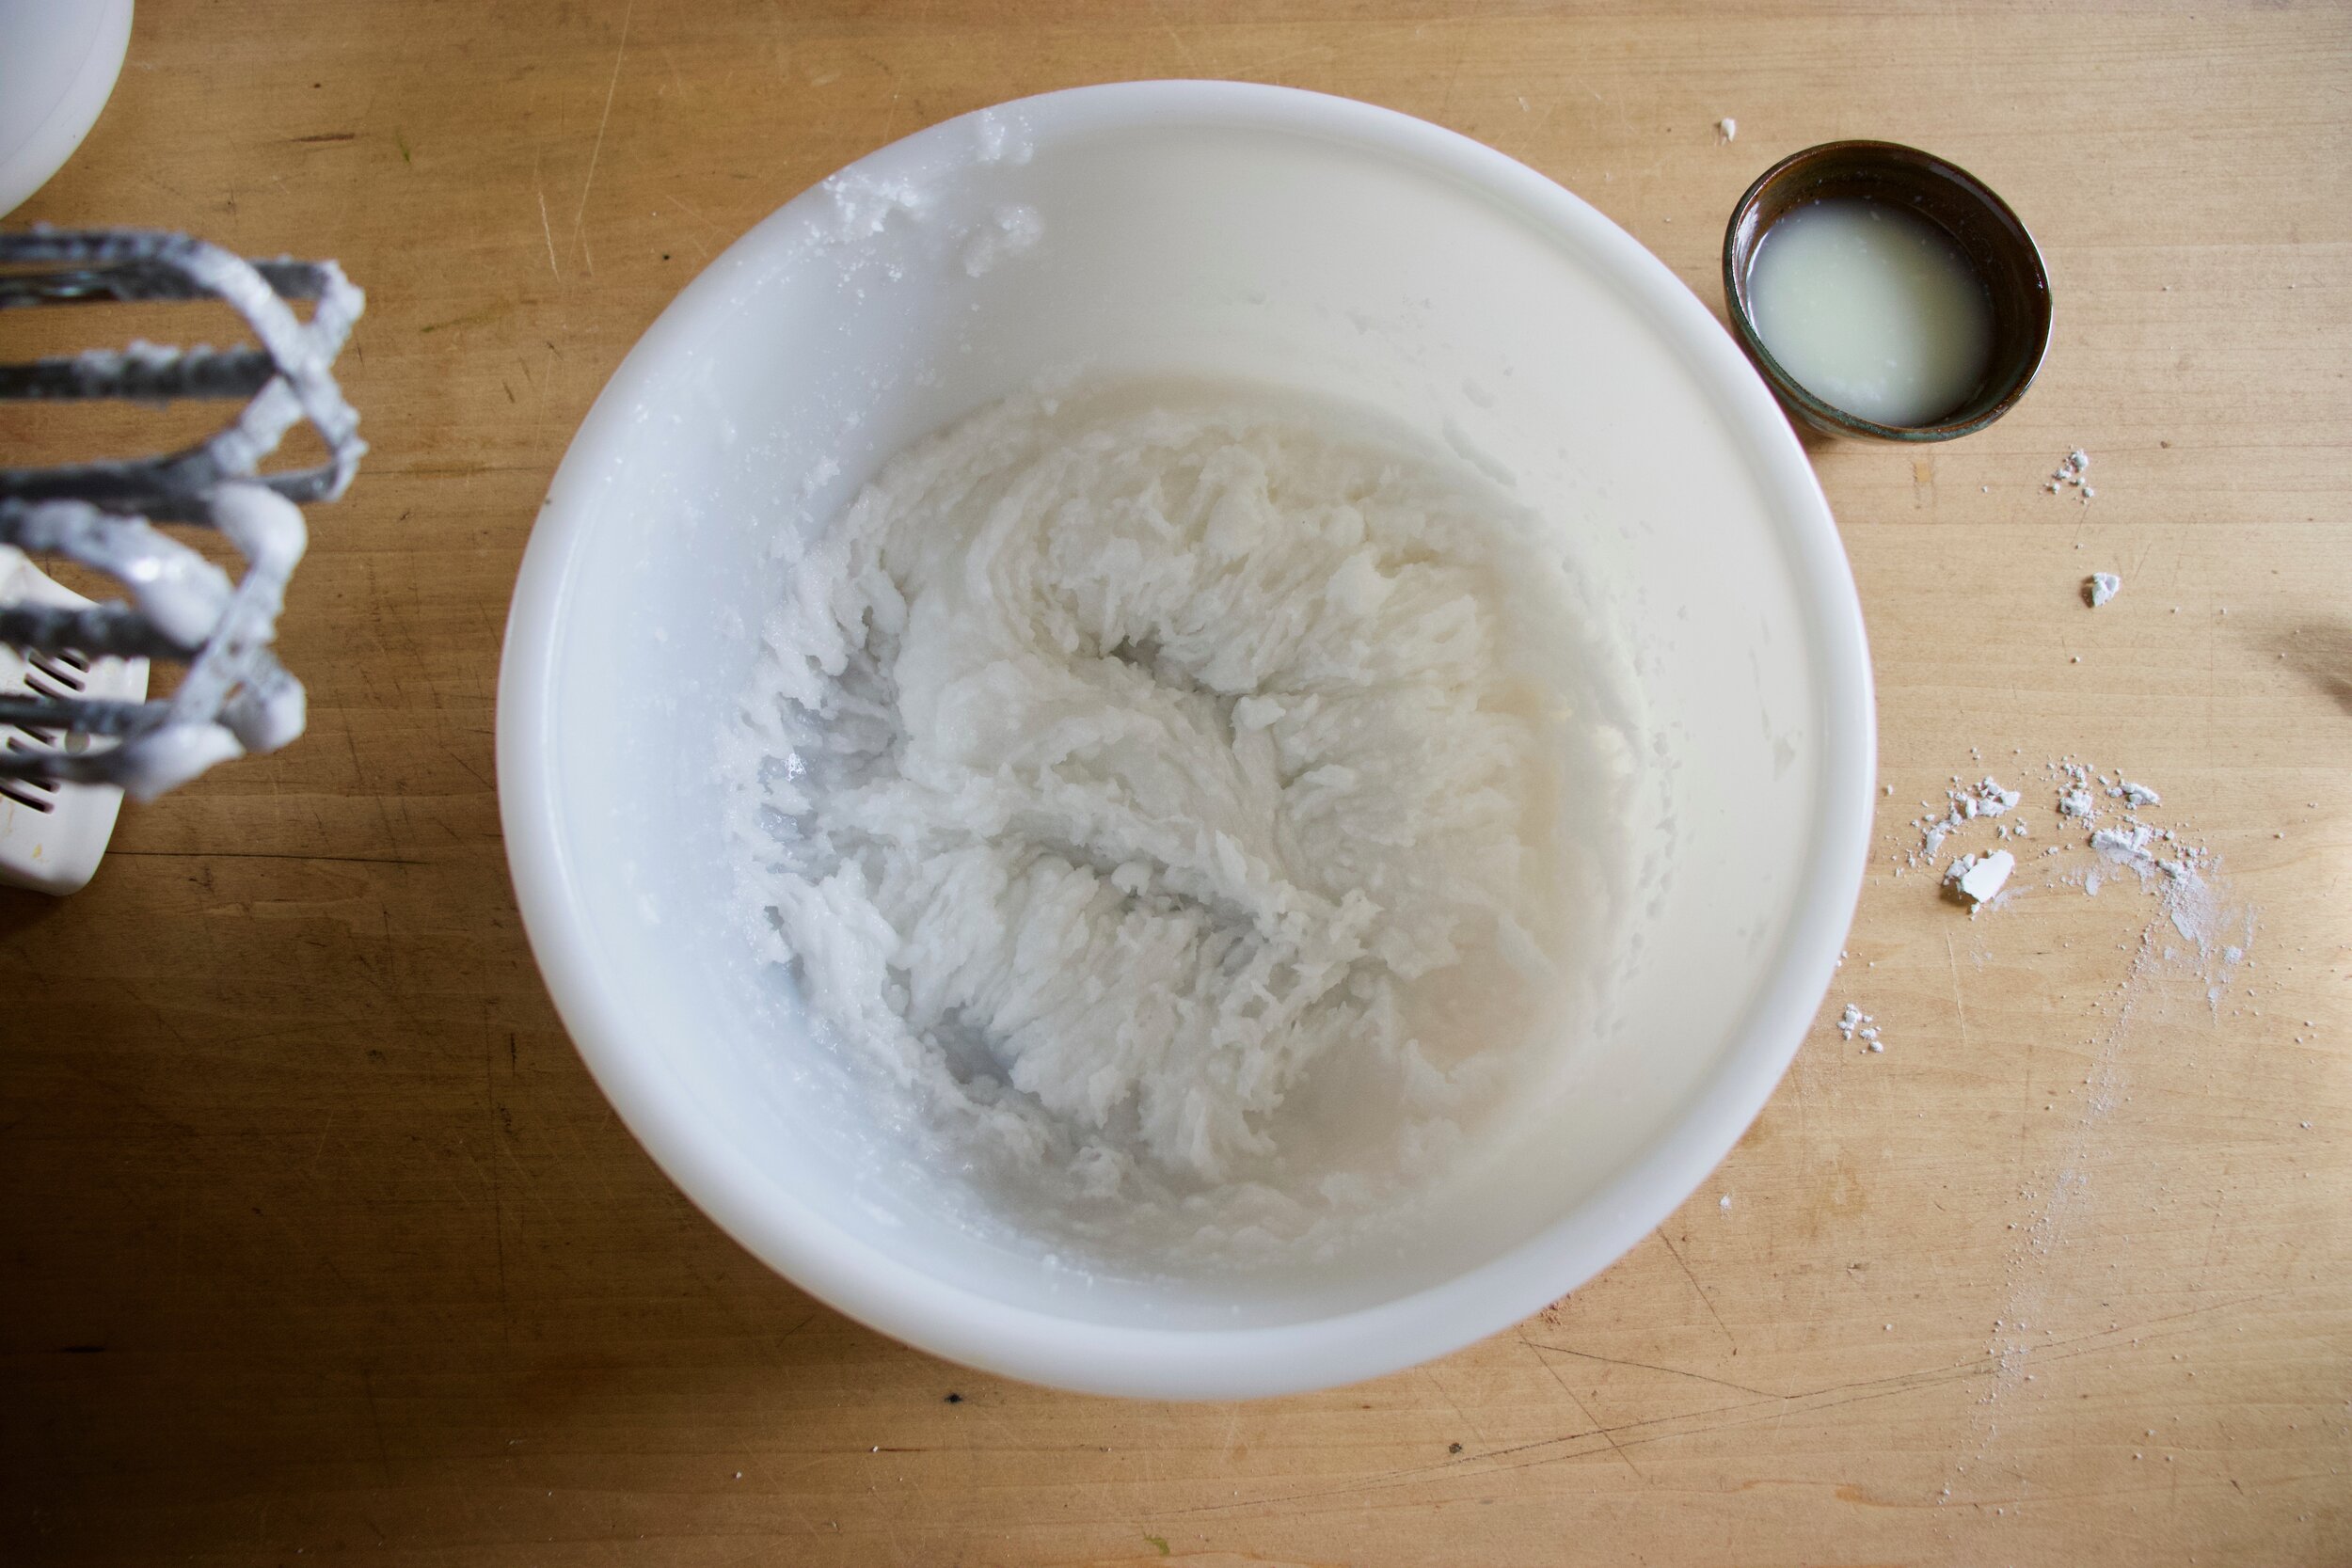
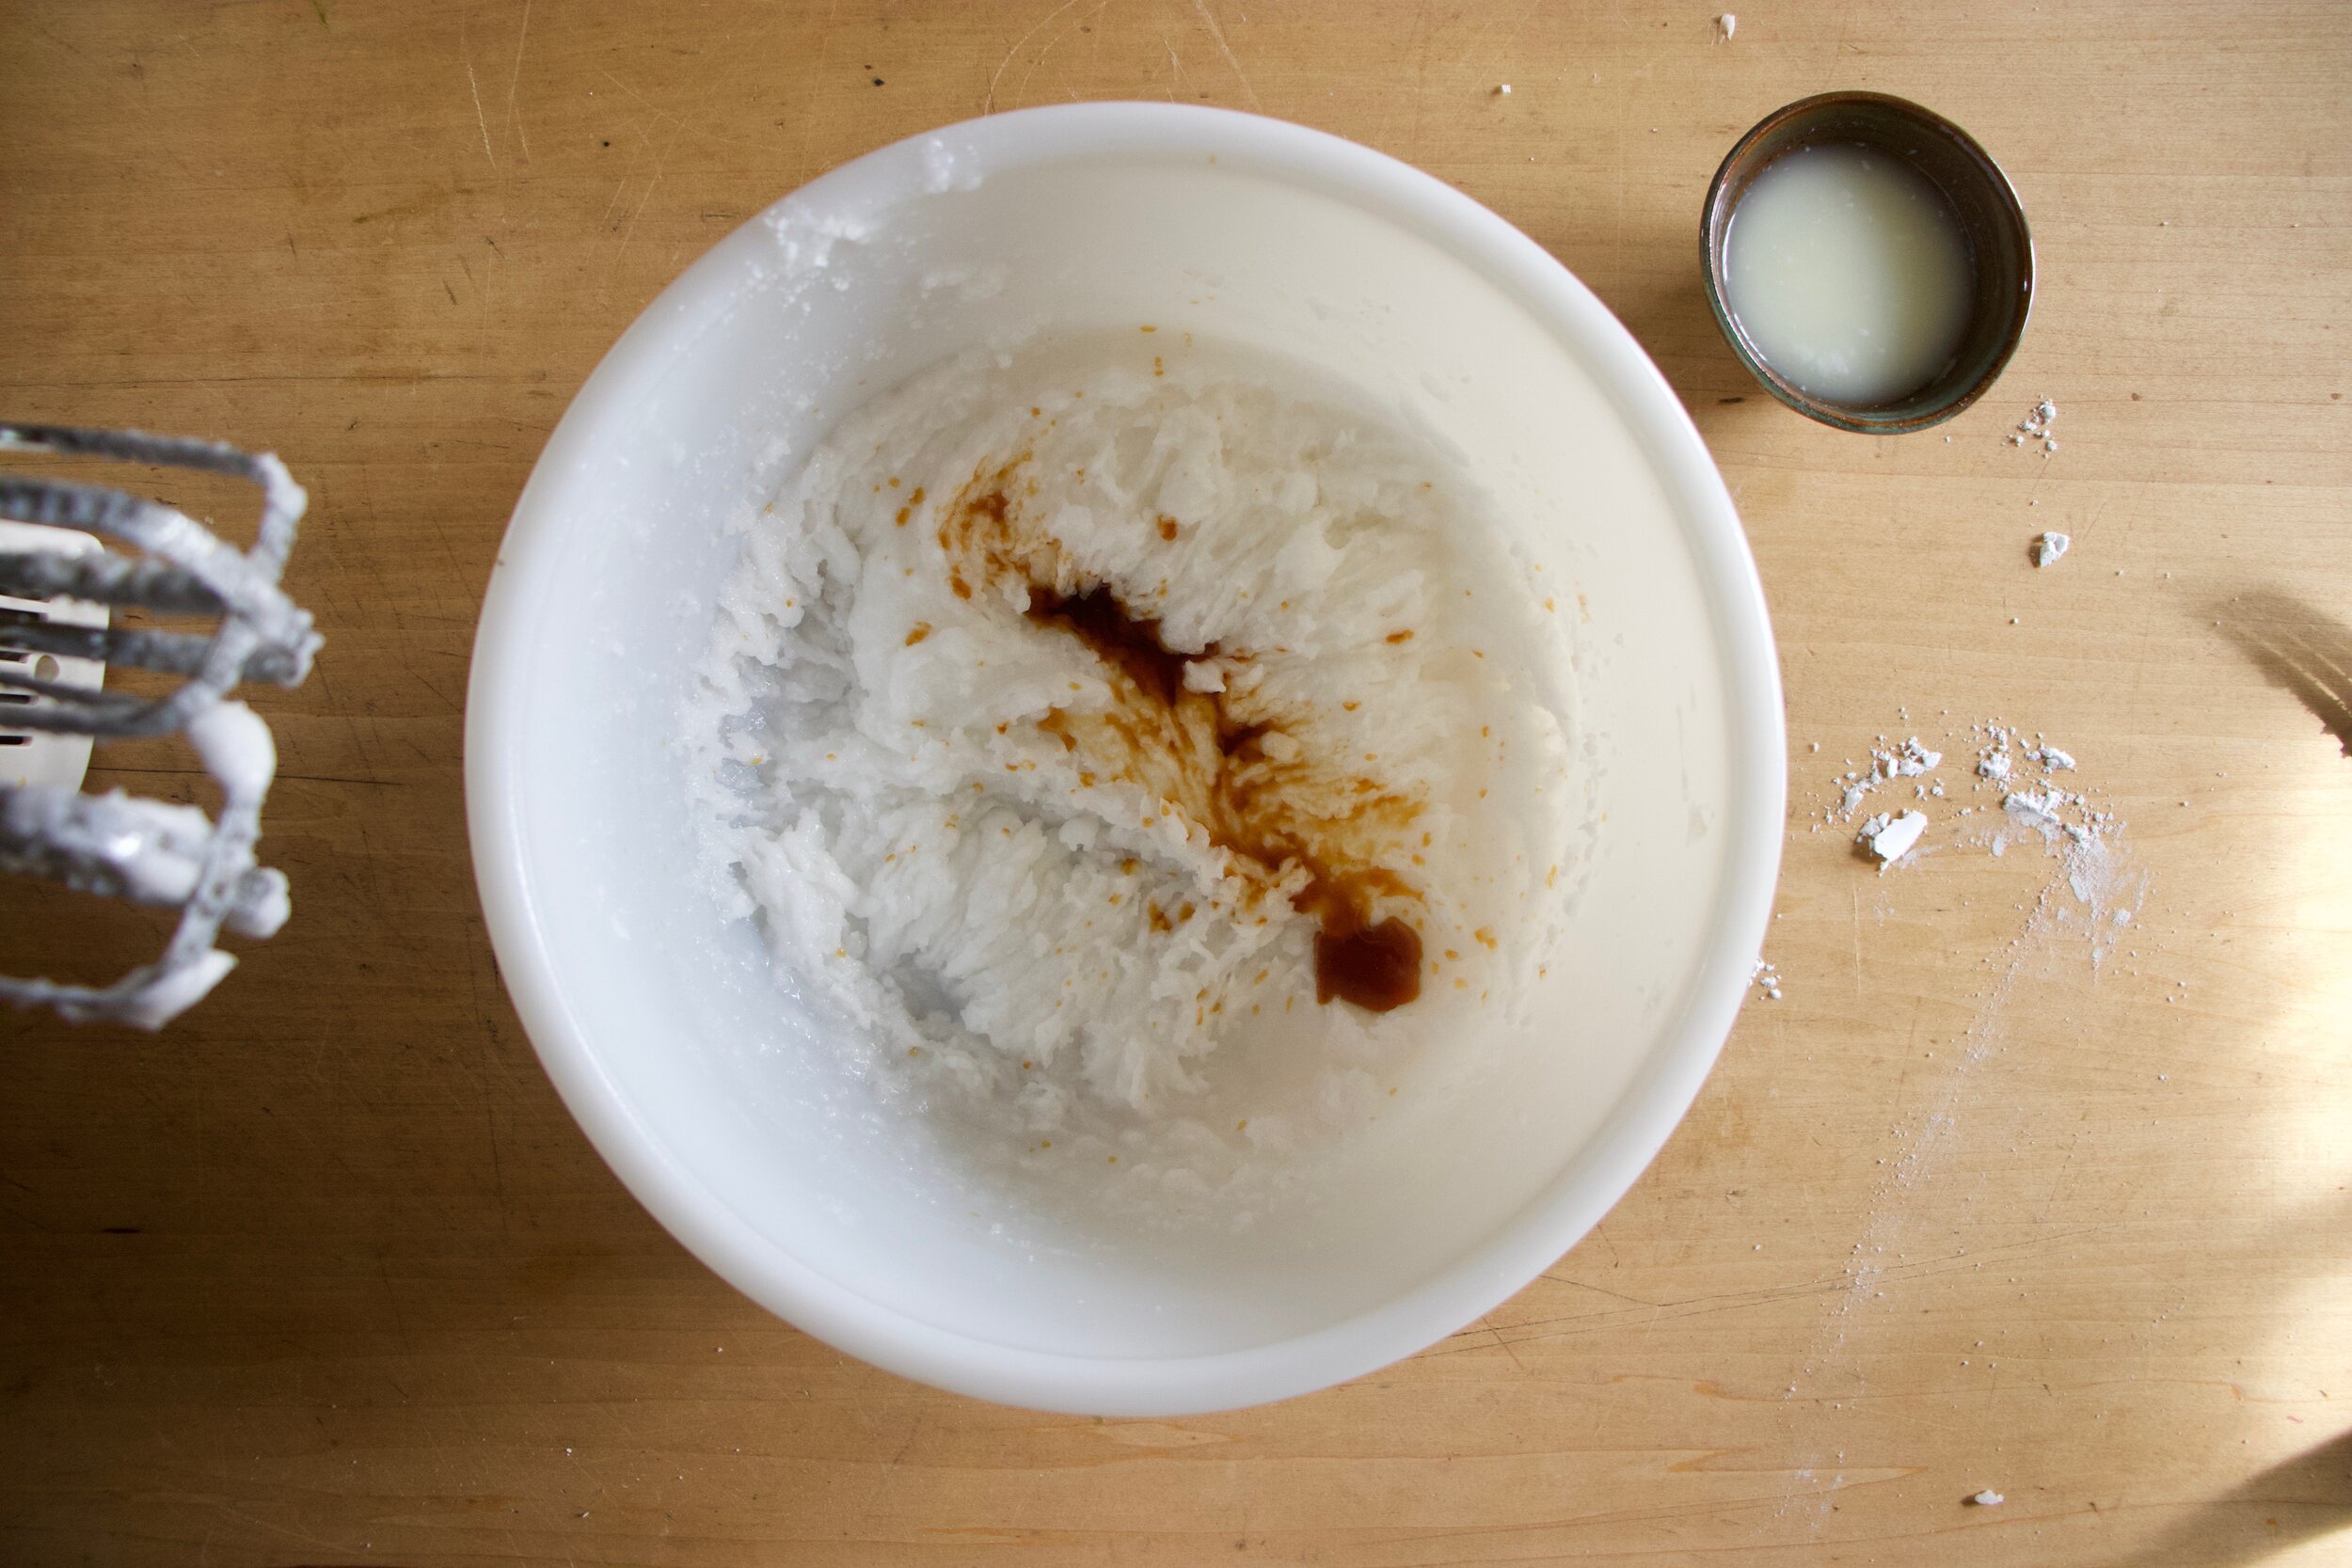
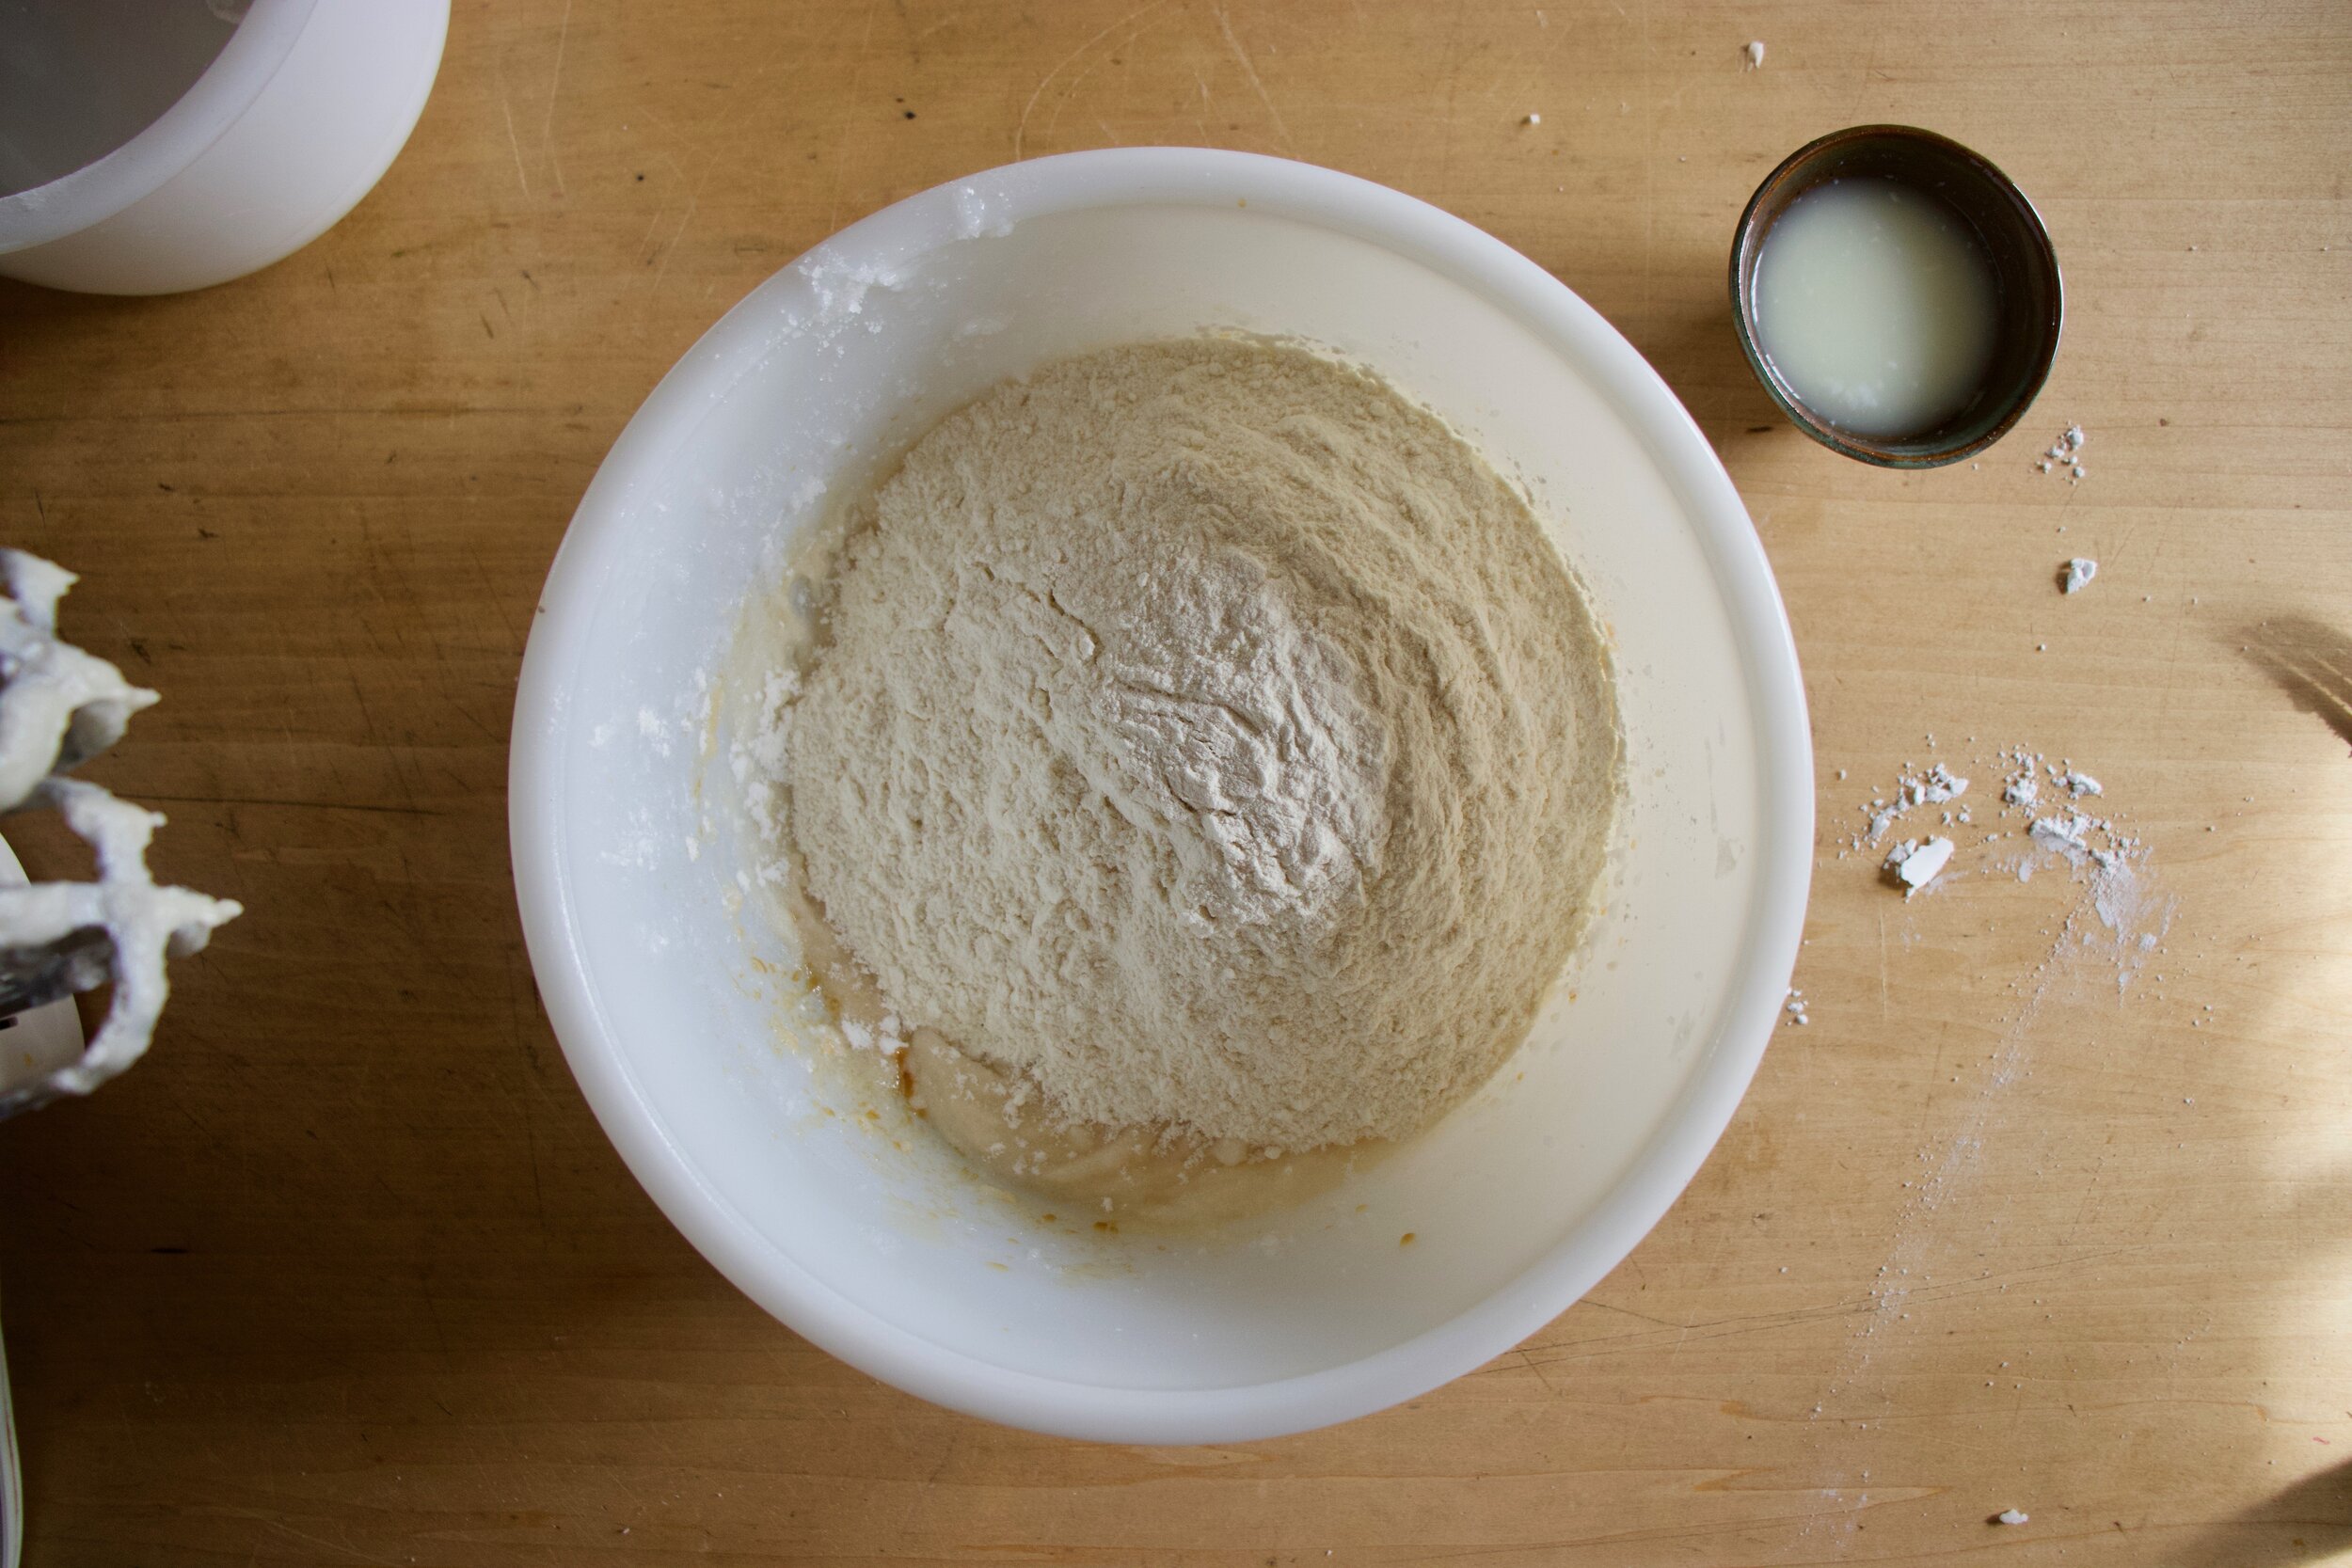
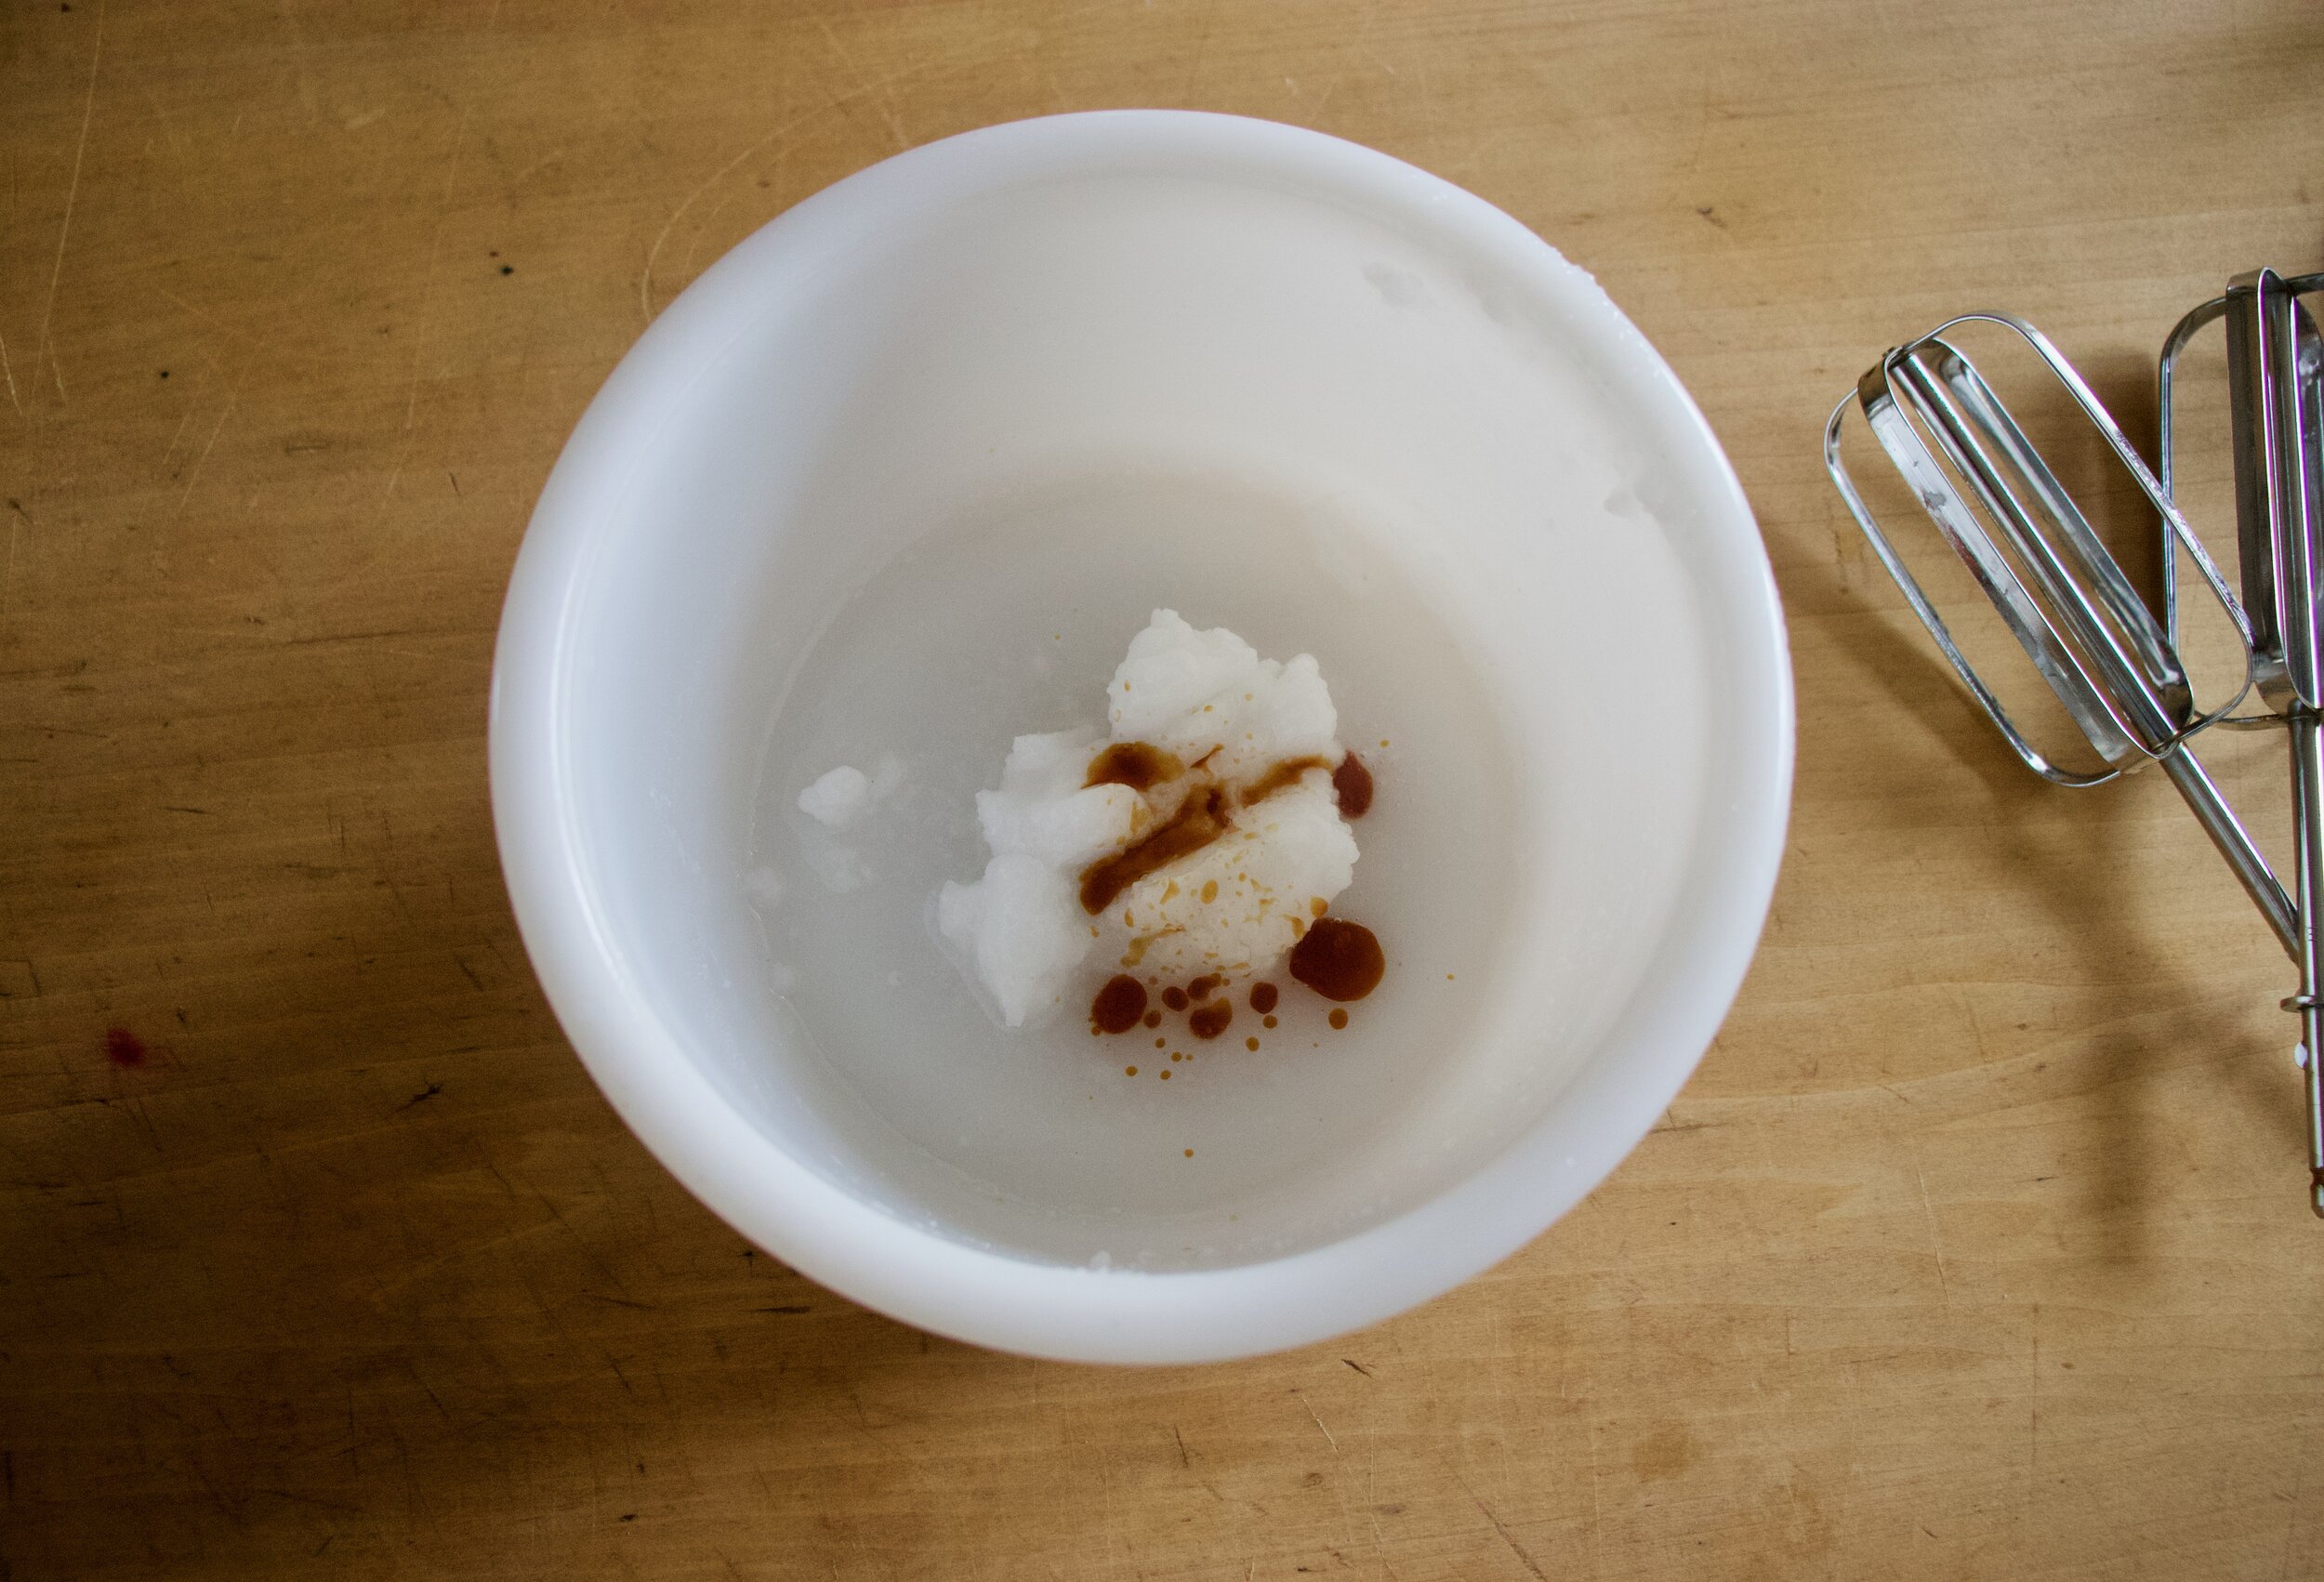
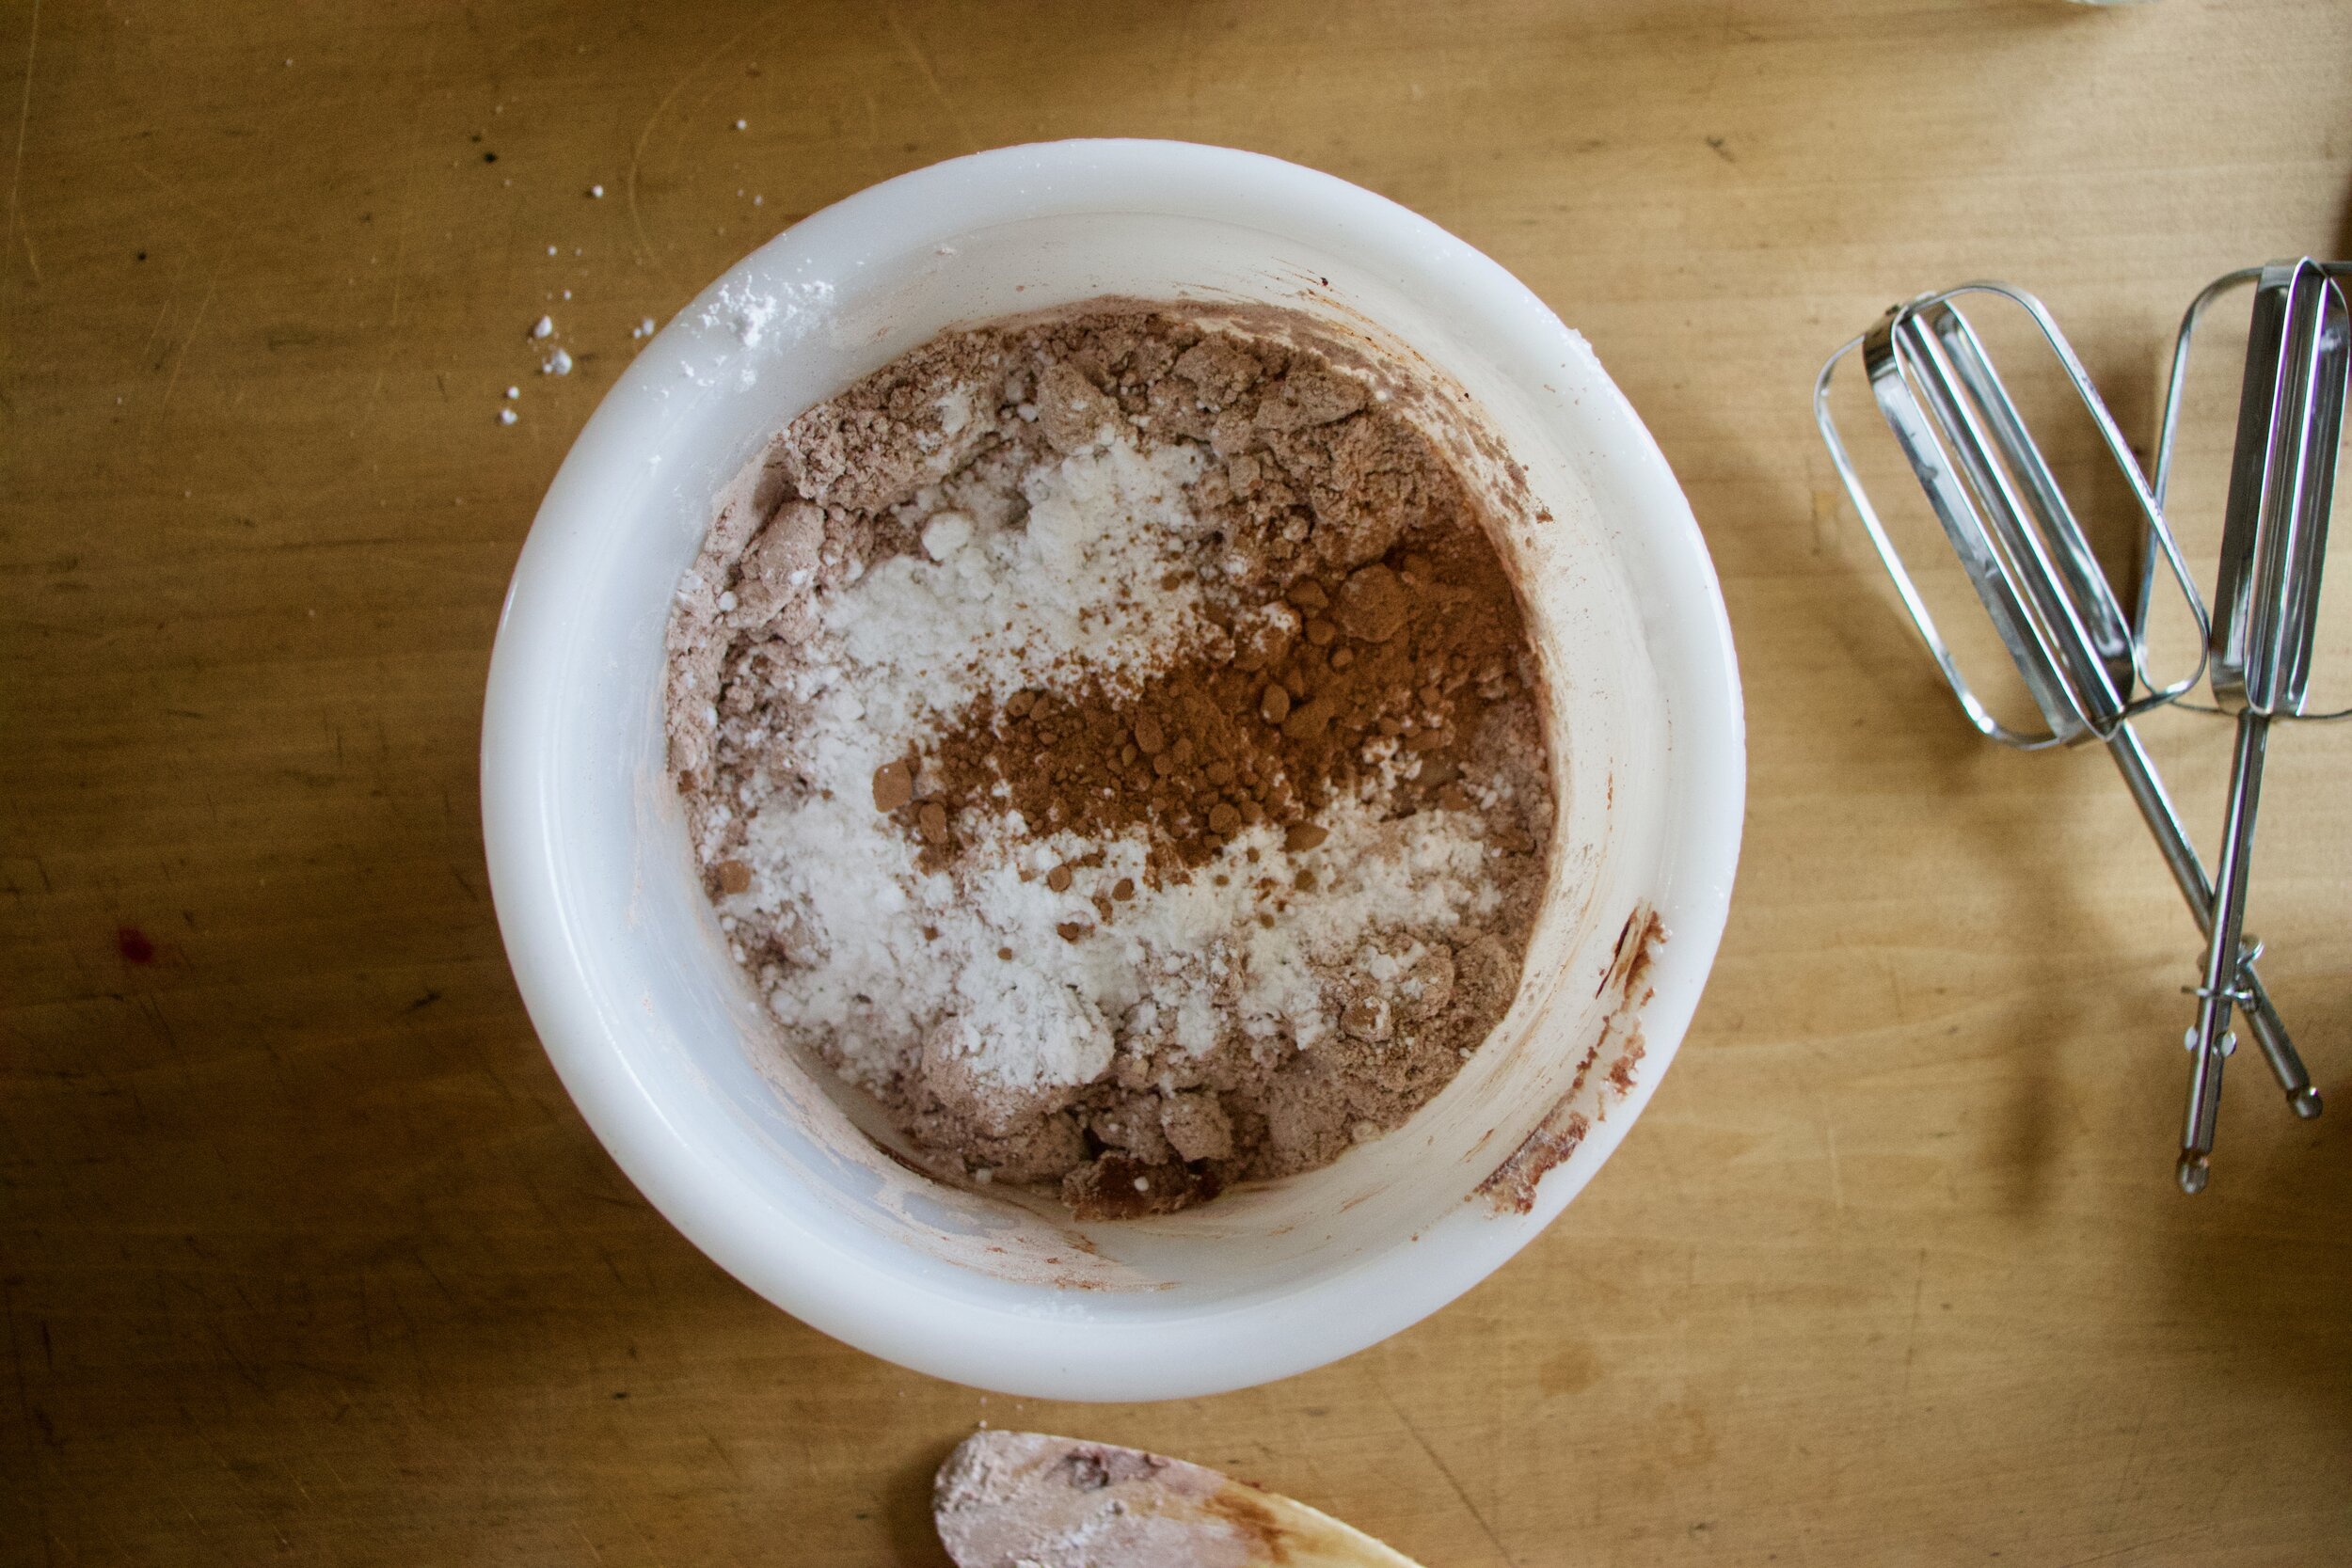
While cookies are cooling, make chocolate filling. Super soft, almost melted coconut oil goes in a bowl with vanilla and gets beaten together. Add in the cocoa powder, powdered sugar and pinch of salt and kept beating slowly anding in a bit of milk until the whole shebang comes together into chocolate filling awesomeness.

IMG_2969.jpg

Ghost filling!

IMG_3034.jpg

Once the cookies are completely cooled, fill them. The filling might have tightened up a bit so if it is not spreadable, pop into microwave for like 8 seconds to get it to move. Scoop or smear equal amounts of filling onto the bottoms of the cookies and top them off with their tops.

IMG_3055.jpg

Done, and ready to eat.

Ghosts cookies for all your ghost fueled festivities.

-C


Chocolate filled Vanilla Sugar Sandwich Cookies

makes at least 16 sandwich cookies

For the cookies

  • 2 1/4 cups all purpose flour

  • 3/4 cup white sugar

  • 1 teaspoon baking powder

  • 1/2 teaspoon salt

  • 1 teaspoon vanilla extact

  • 2/3 cup soft coconut oil

  • 5 tablespoons plant milk (I used almond)

For the filling

  • 1 1/2- 2 cups powdered sugar

  • 1/3 cup cocoa powder

  • 4 tablespoons melted coconut oil

  • 1/2 teaspoon vanilla extract

  • 2-3 tablespoons plant milk

  • 1/8 teaspoon salt

Preheat oven to 350

In a bowl beat together the white sugar with the coconut oil and vanilla extract. Add in the flour, baking powder, and salt and start to mix with a spoon or fork, adding in the milk as you go. Keep mixing until completely incorporated and turns to a ball of dough. Gather together into a ball and wrap in plastic. Pat flat and place into fridge for an hour or up to a day.

To cut out cookies. Roll fridgerated dough out on a floured surface to about 1/2 inch thick. Cut out shapes, making sure to have a top and bottom for each cookie. Gather left over dough into a ball and repeat until all the dough is used.

Place cookies on a baking sheet and bake for 13-15 minutes or until they are just starting to lightly brown around the edges. Remove from oven and place on a wire rack to cook.

For chocolate filling. Beat together the melted coconut oil with vanilla. Add in the lesser amount of powdered sugar, salt, and cocoa powder. Beat on low, adding in 2 tablespoons plant milk. Beat until mixture comes together into a thick but spreadable consistency. If it seems too thick, add more milk, too thin, a little more powdered sugar.

Cookie assembly. 2 cookies at a time. A top and bottom. Spread about a tablespoon of chocolate filling to bottom cookies and pop the top on.

Eat cookies. Store what is not eaten in a airtight container for up to a week, but these ghosts will definitely not last that long.


In cookies, Dairy Free, desserts, sandwiches, Sweets, Vegan, holiday Tags Chocolate Filled Vanilla Sugar Sandwich Cookies, sugar cookies, cut out cookies, vegan cookies, vegan sugar cookies, vegan, plant based, sandwich cookies, chocolate, king Arthur flour, food 52, vegan dessert, halloween, holiday cookies, cookie swap, fall, ghost, dairy free
Comment

Carrot Sugar Cookies with Orange glaze

April 20, 2019 Colleen Stem
IMG_7690.jpg
IMG_7717.jpg
IMG_7740.jpg

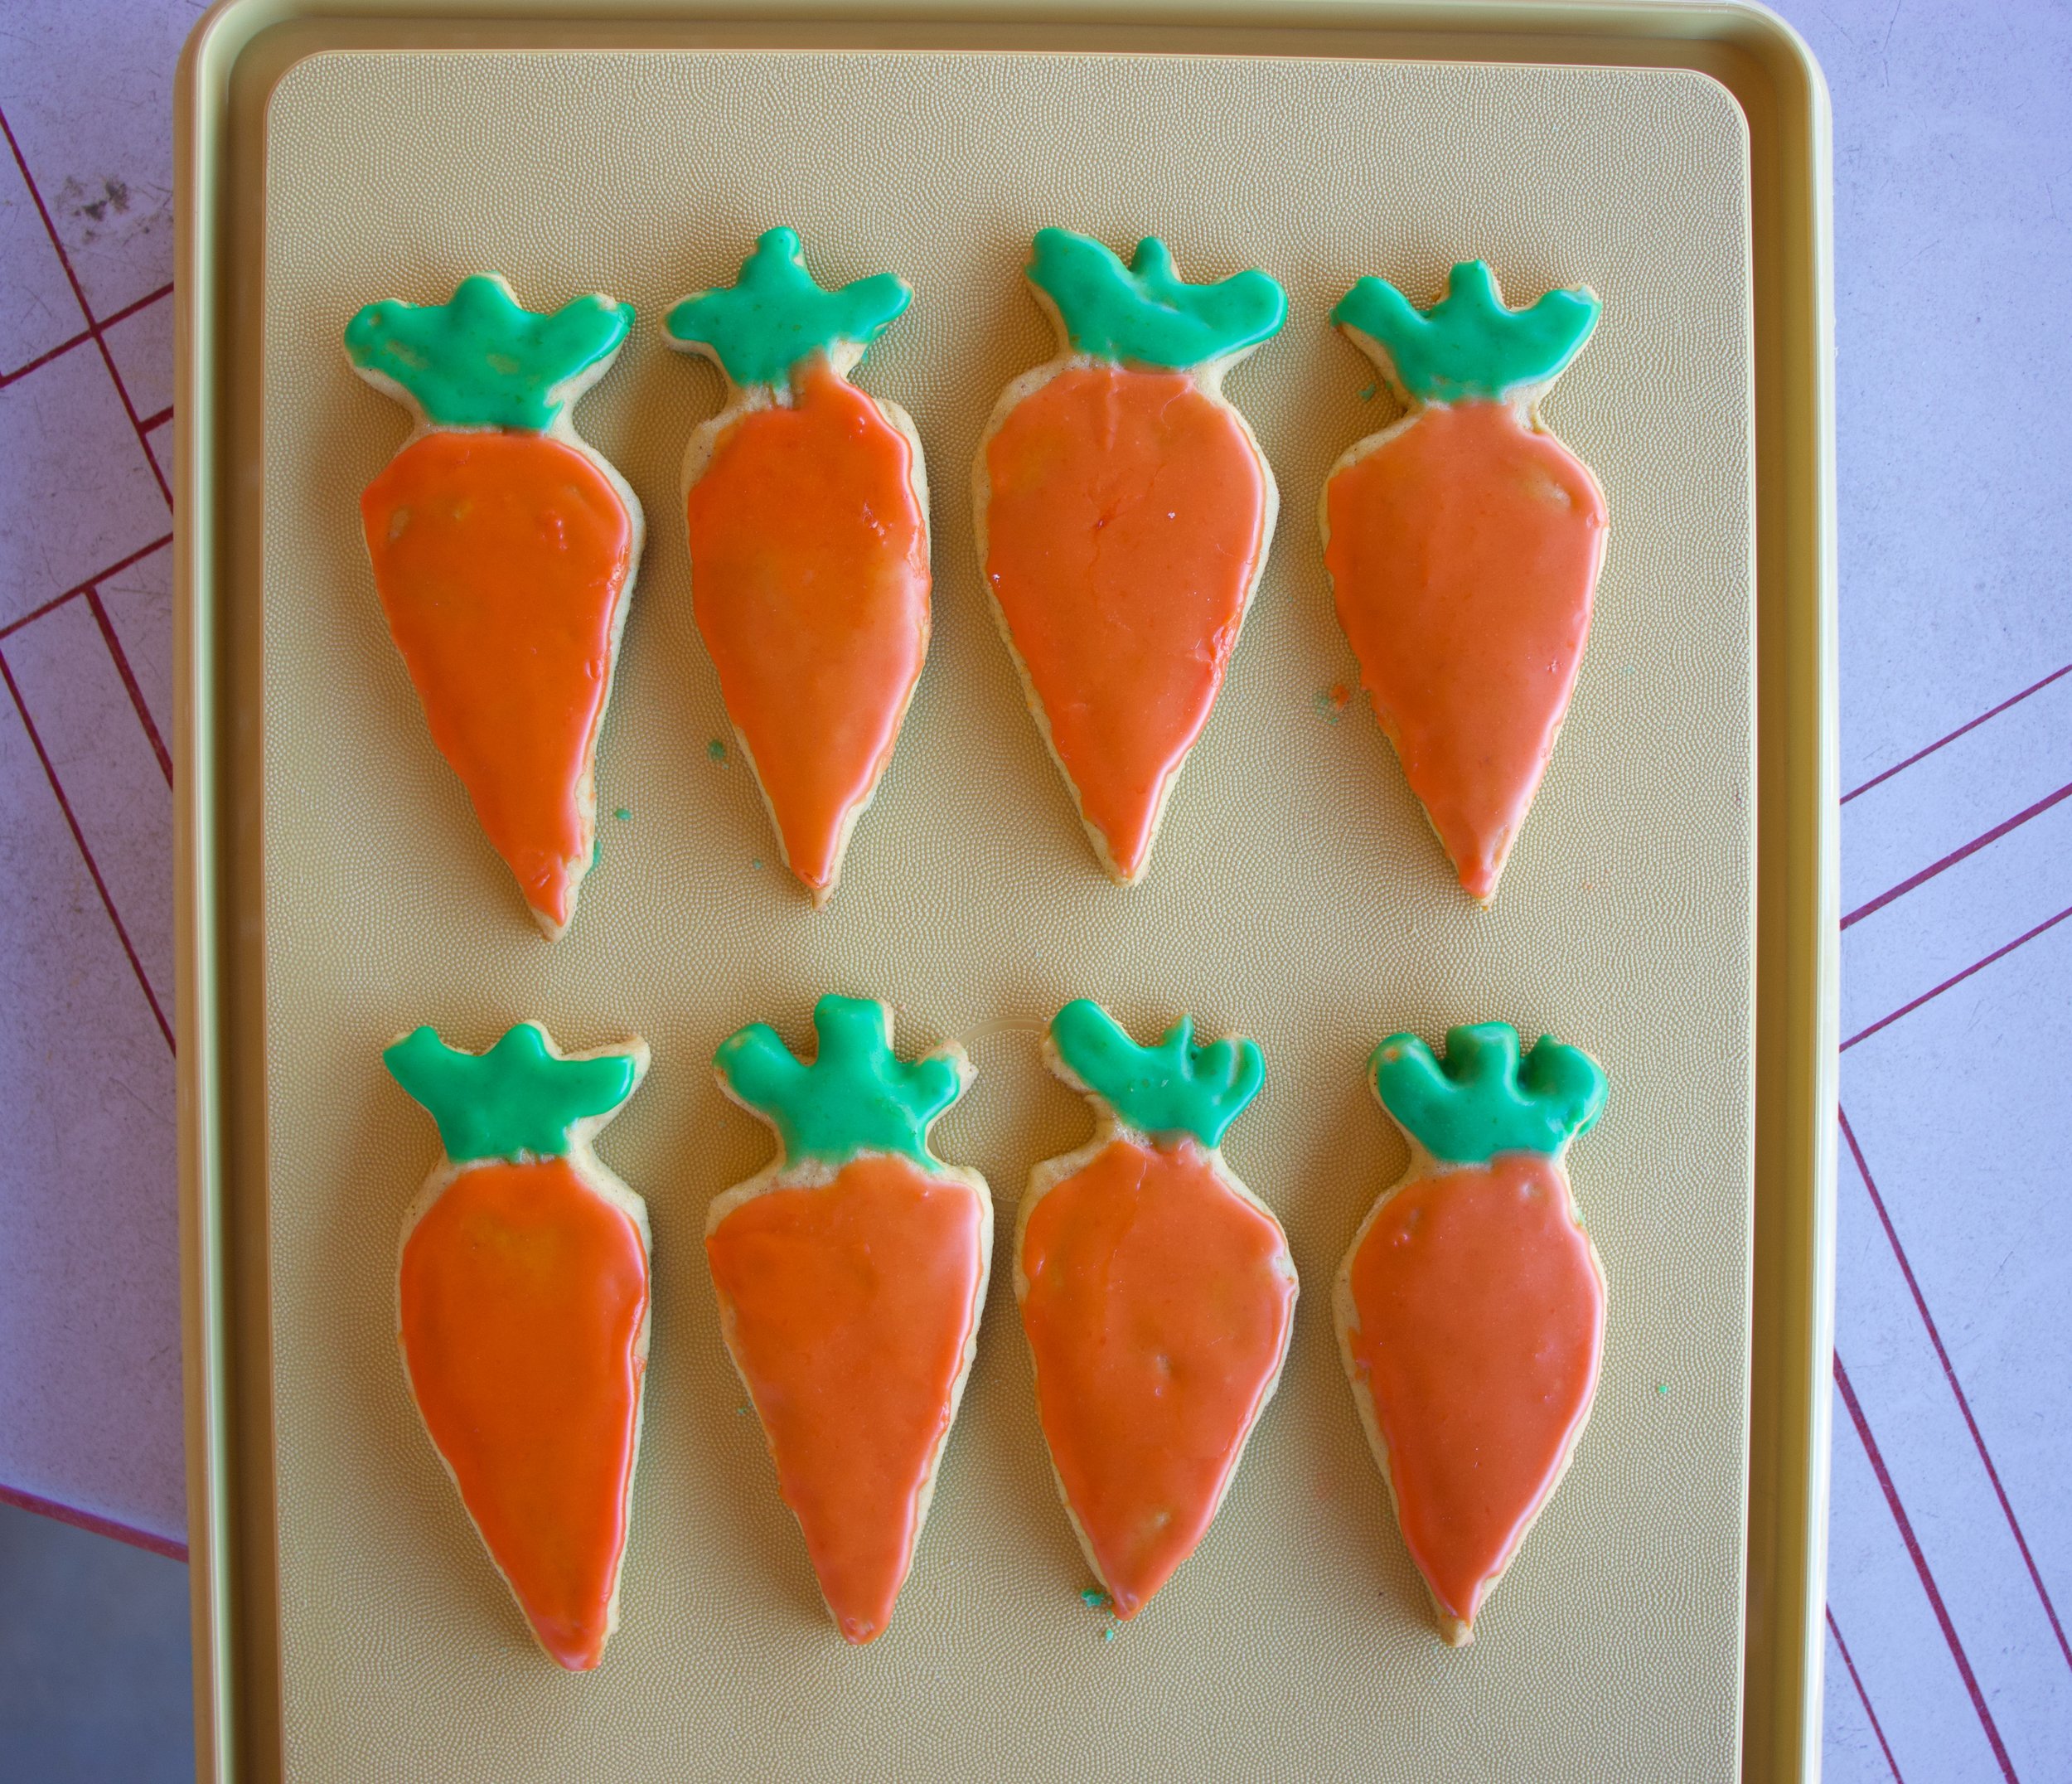
These are definitely my favorite shaped cutout cookies I have ever made. I mean seriously, carrot shaped carrot cookies, what could possibly ever be better? Nothing, and that’s truth for you.

Not only are they carrot shaped, they are also carrot flavored. Yup, Carrot shaped, carrot flavored, awesomeness. A little cinnamon added to the cookie for little extra boost of flavor and an orange glaze because it works and orange is good and fresh and springing. All good stuff.

You might be thinking, huh, carrot puree in a cookie, well that doesn’t sound right. But it is, it is right. And you know how I know that these cookies are awesome? Well I packed them up, (2 dozen of them) and took them over to the littles house for an after school treat. When I got there, the two older ones had friends over. I asked them if they wanted a carrot which earned me that look that said “are you serious” but them showed them the cookies. Of course the wanted a carrot so I gave them each one. They ate their cookies then proceeded to beat the shit out of the mr. Then they asked for another cookies and beat the shit out of the mr some more. This when on and on for about a 1/2 hour until all the cookies were gone and the mr was crouched in the corner with a broom trying to defend himself against 4 rulely kids who where slashing at him with light sabers and spraying him in he face with kitchen cleaner. It’s because they wanted more cookies. (and yes, the littles are getting crazy). So yeah, the cookies are good. Ass kicking good.

Anyway, a cookie with some goodness mix into it, shaped into a great shape, that will make everyone smile and happy. You could make them by yourself, make them with your friends, make them with some kids, with some old people. They are the perfect cookie to leave out for the easter bunny(do you leave carrots out for the easter bunny?) or to serve up at any easter party, spring party, or any garden party you might be attending. This cookie is pretty much perfect for any and every occasion that required a cookie. Or a carrot because carrots are always welcome.
To the carrots! I mean, the cookies!

The stuff. Flour, baking soda, salt, sugar, vegan butter, carrot puree, cinnamon, an orange, some powdered sugar, and food coloring.

IMG_7554.jpg

Into a big bowl the sugar, vegan butter, and carrot puree go.

Beat for a minute or two until completely incorporated.

IMG_7574.jpg

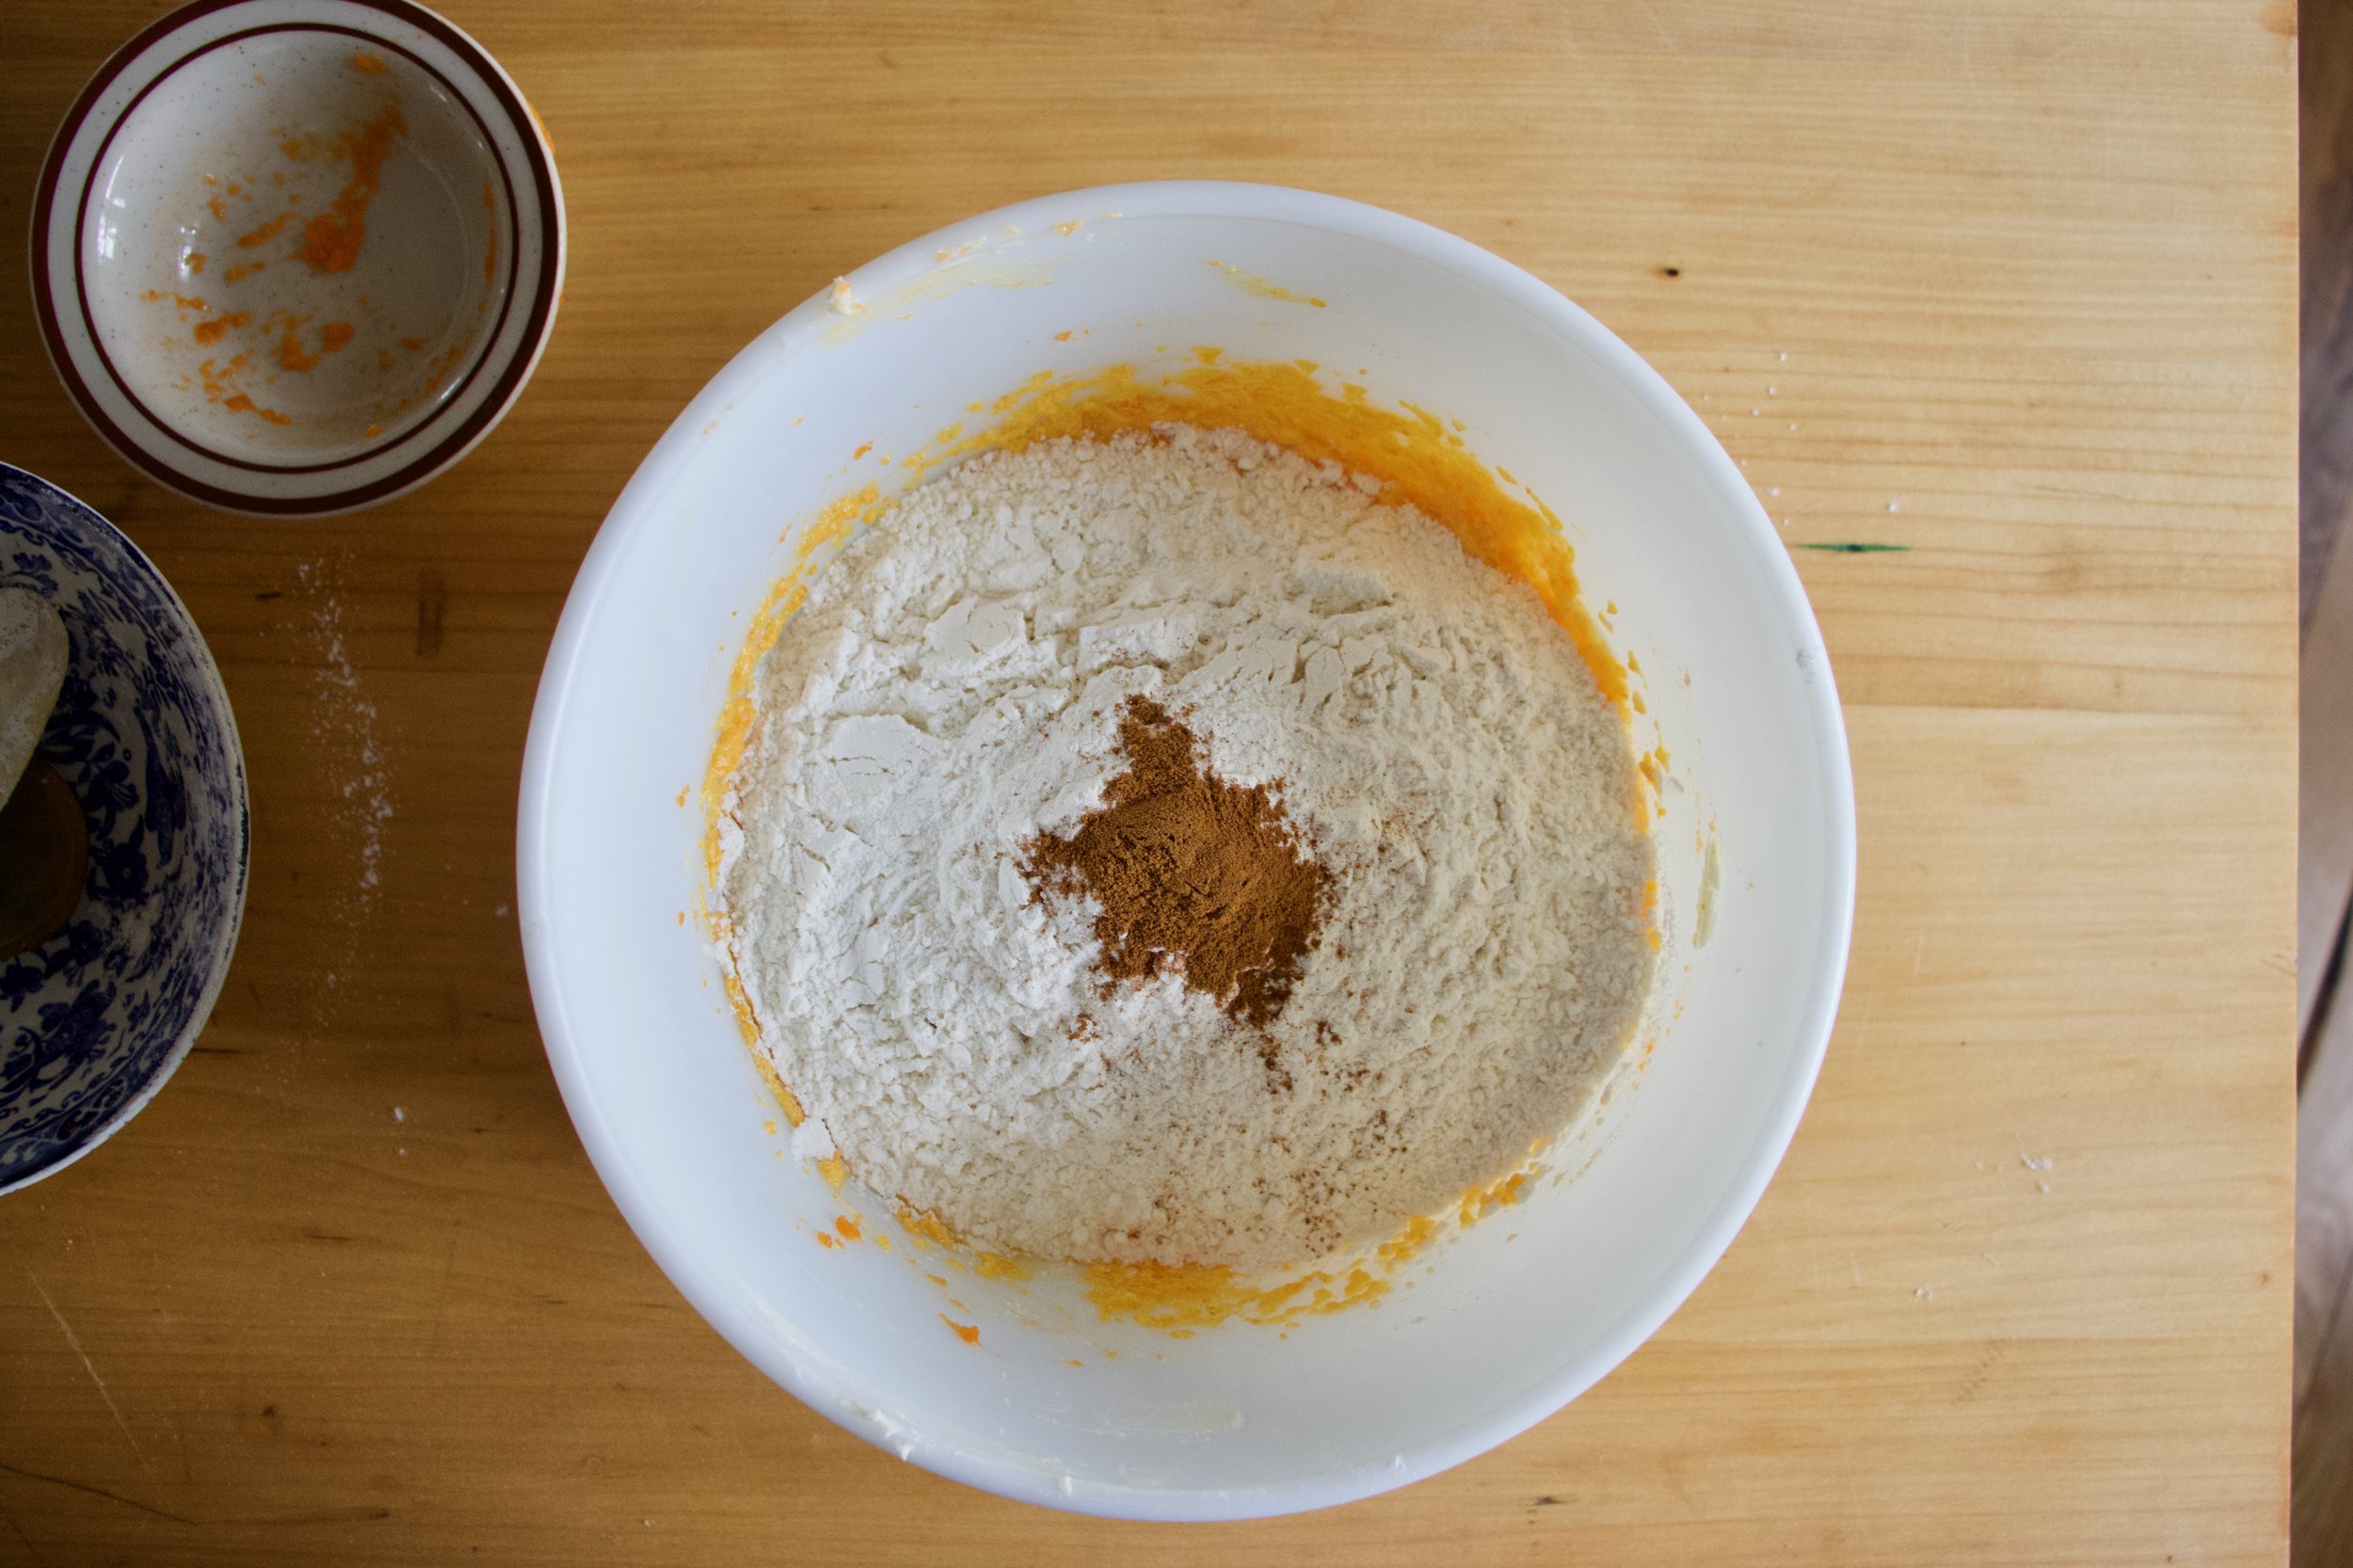
Add in all the rest of the dry stuff and mix by hand until it turns to dough.

IMG_7590.jpg

This is the dough it turned into.

Gather the dough and wrap it or place in a plastic bag and stick it Into the fridge for a few hours or overnight. The dough NEEDS to chill.

IMG_7607.jpg

After you let the dough be, remove from fridge, liberally dust counter, and roll out dough about 1/4 inch thick.

IMG_7610.jpg
IMG_7621.jpg

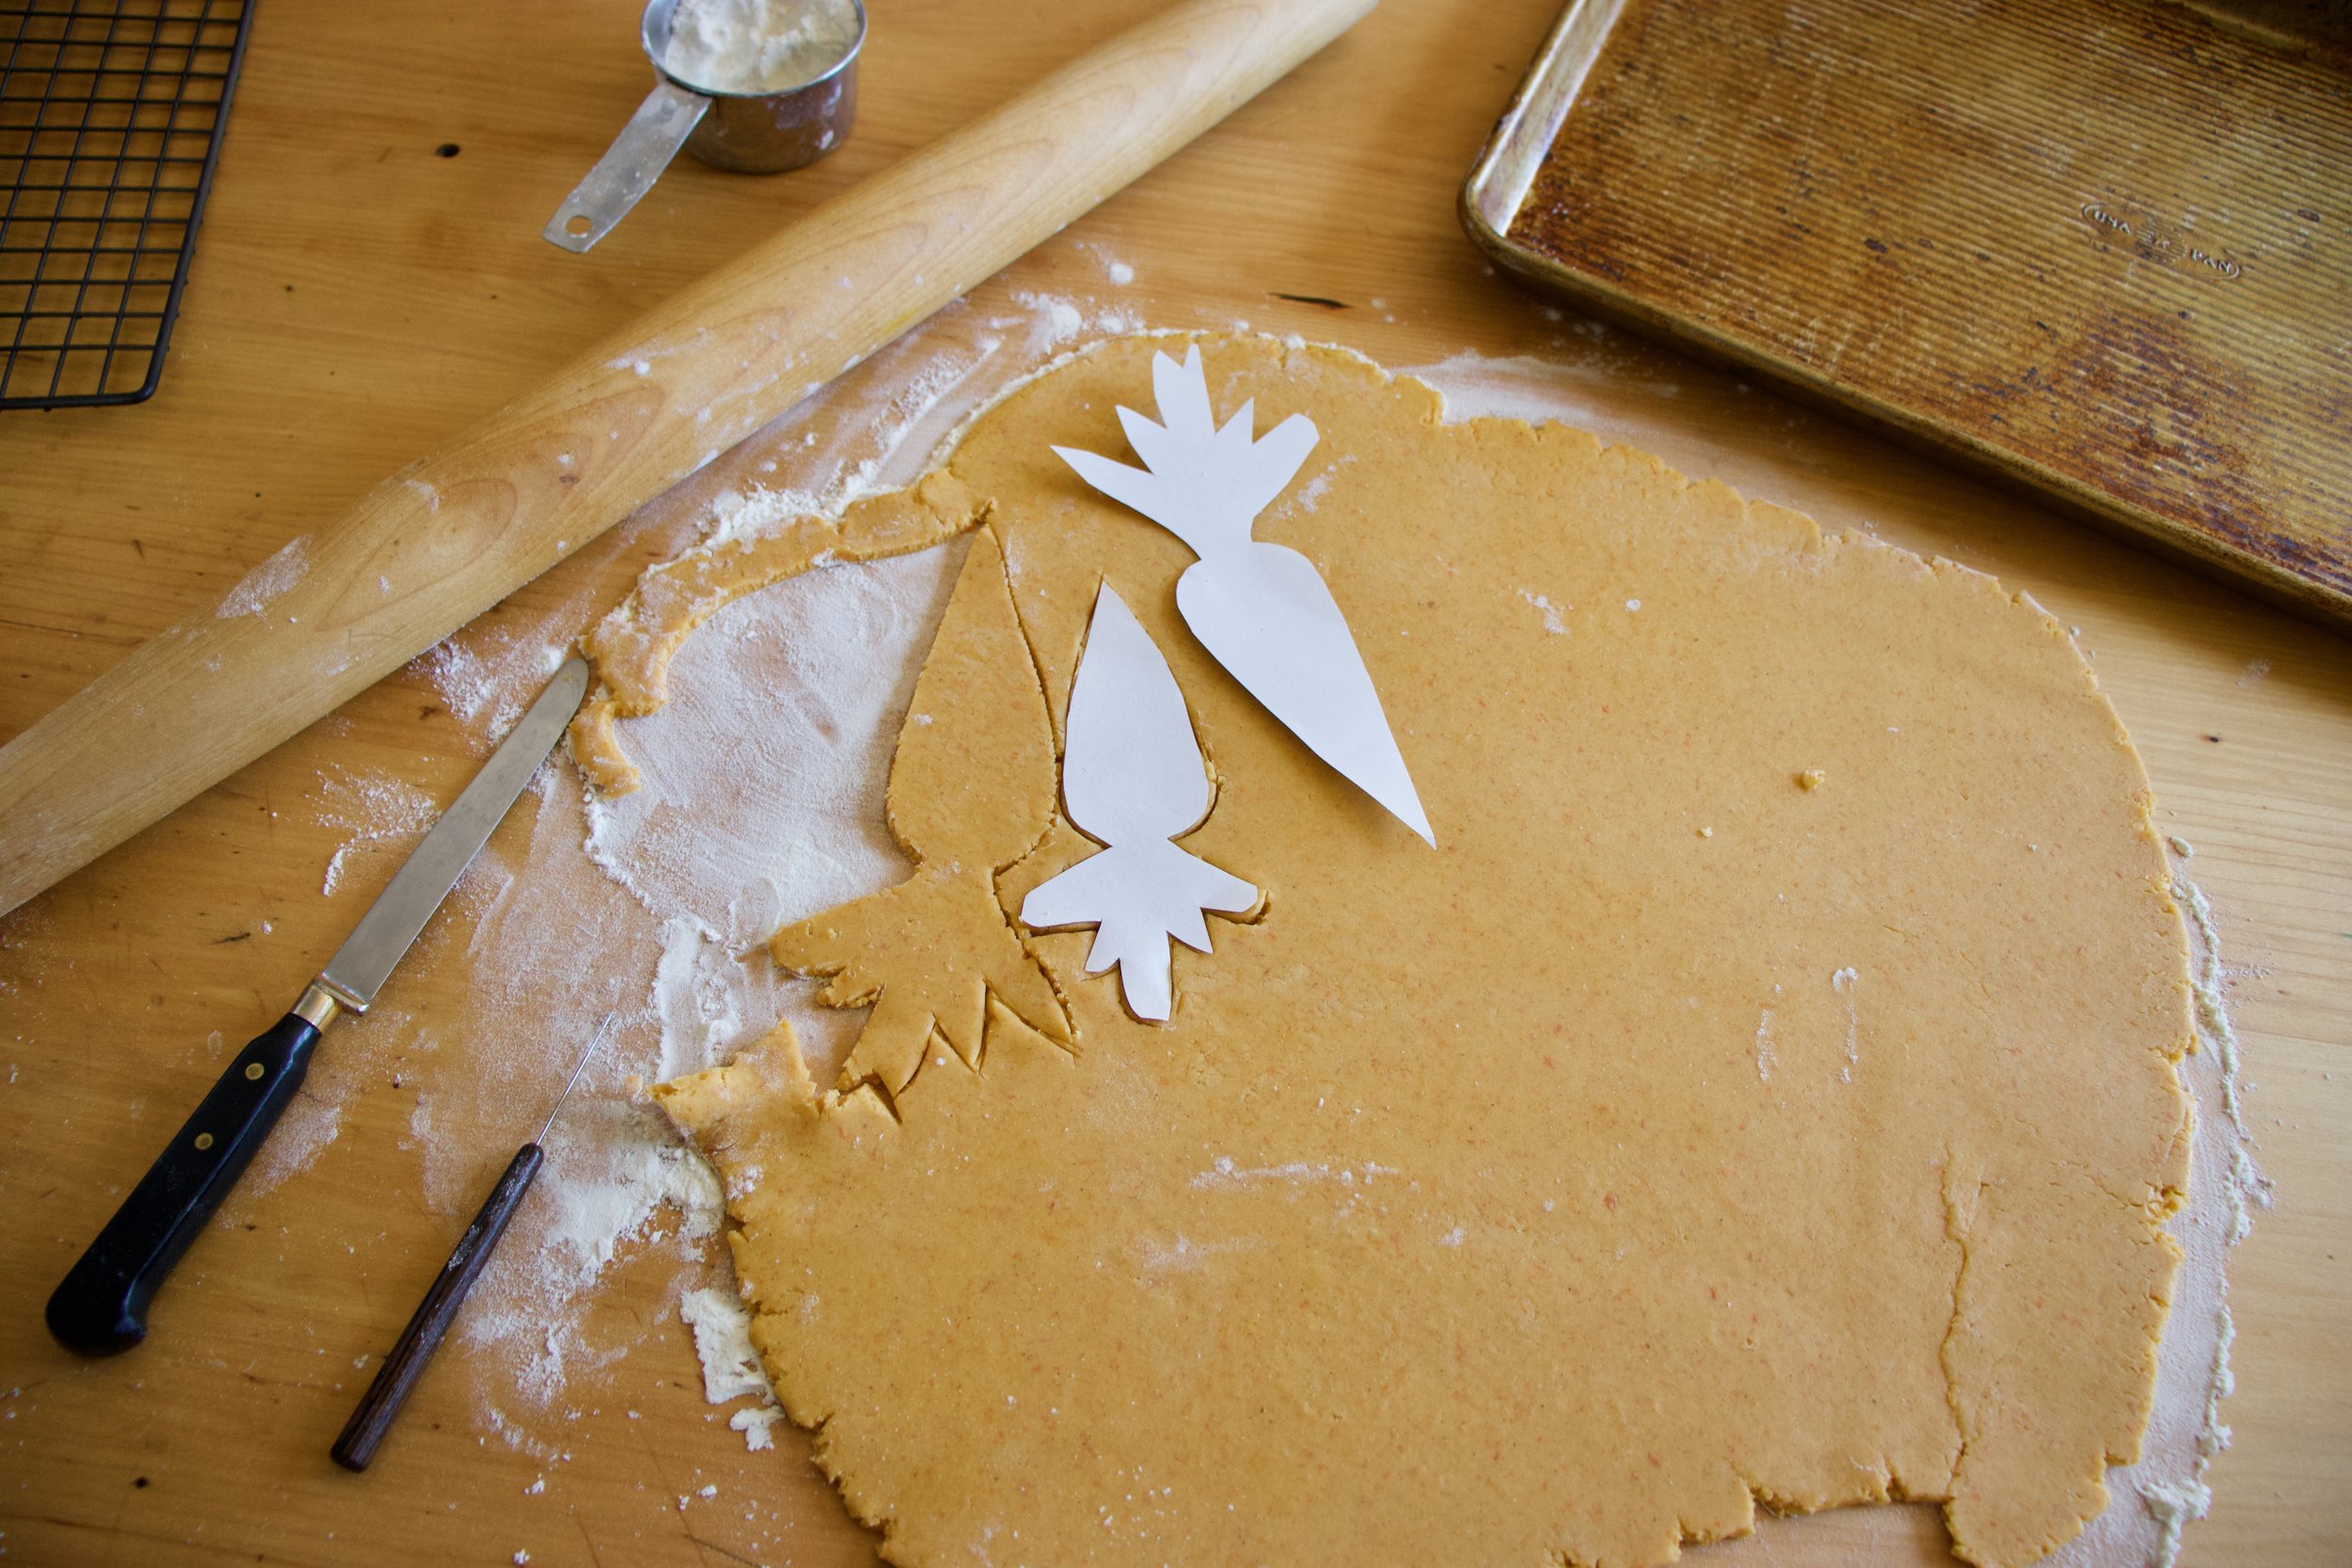
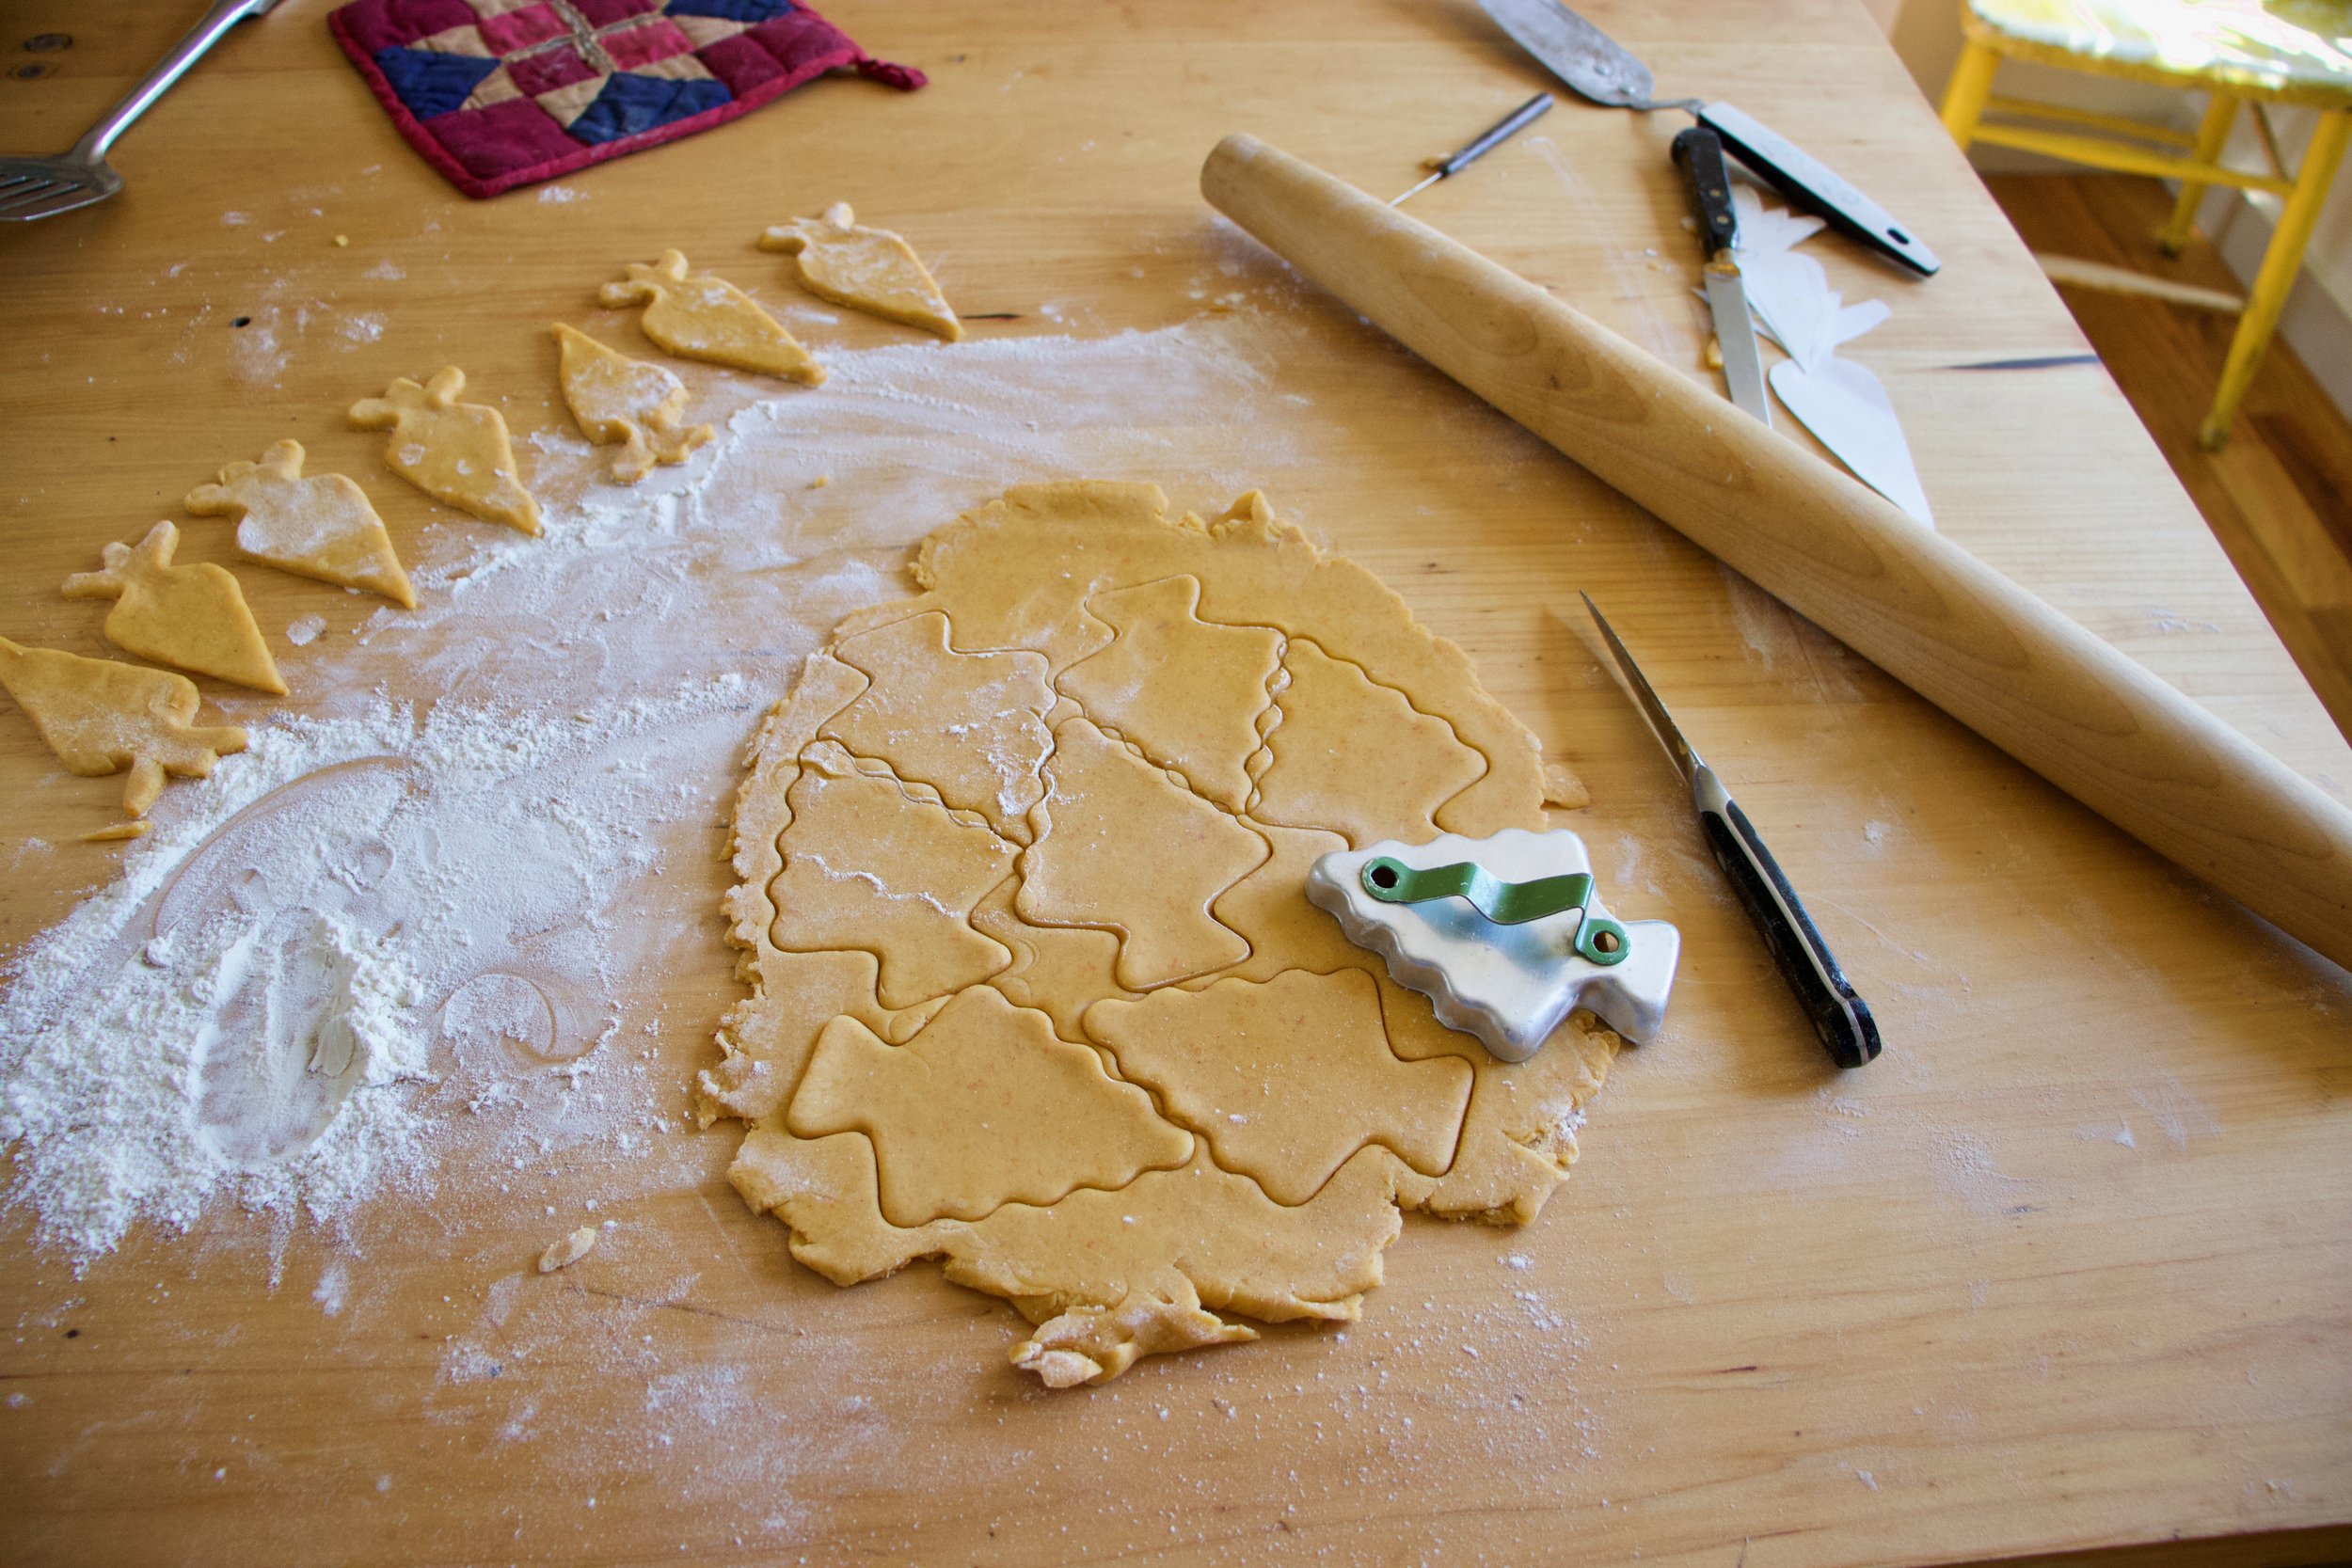
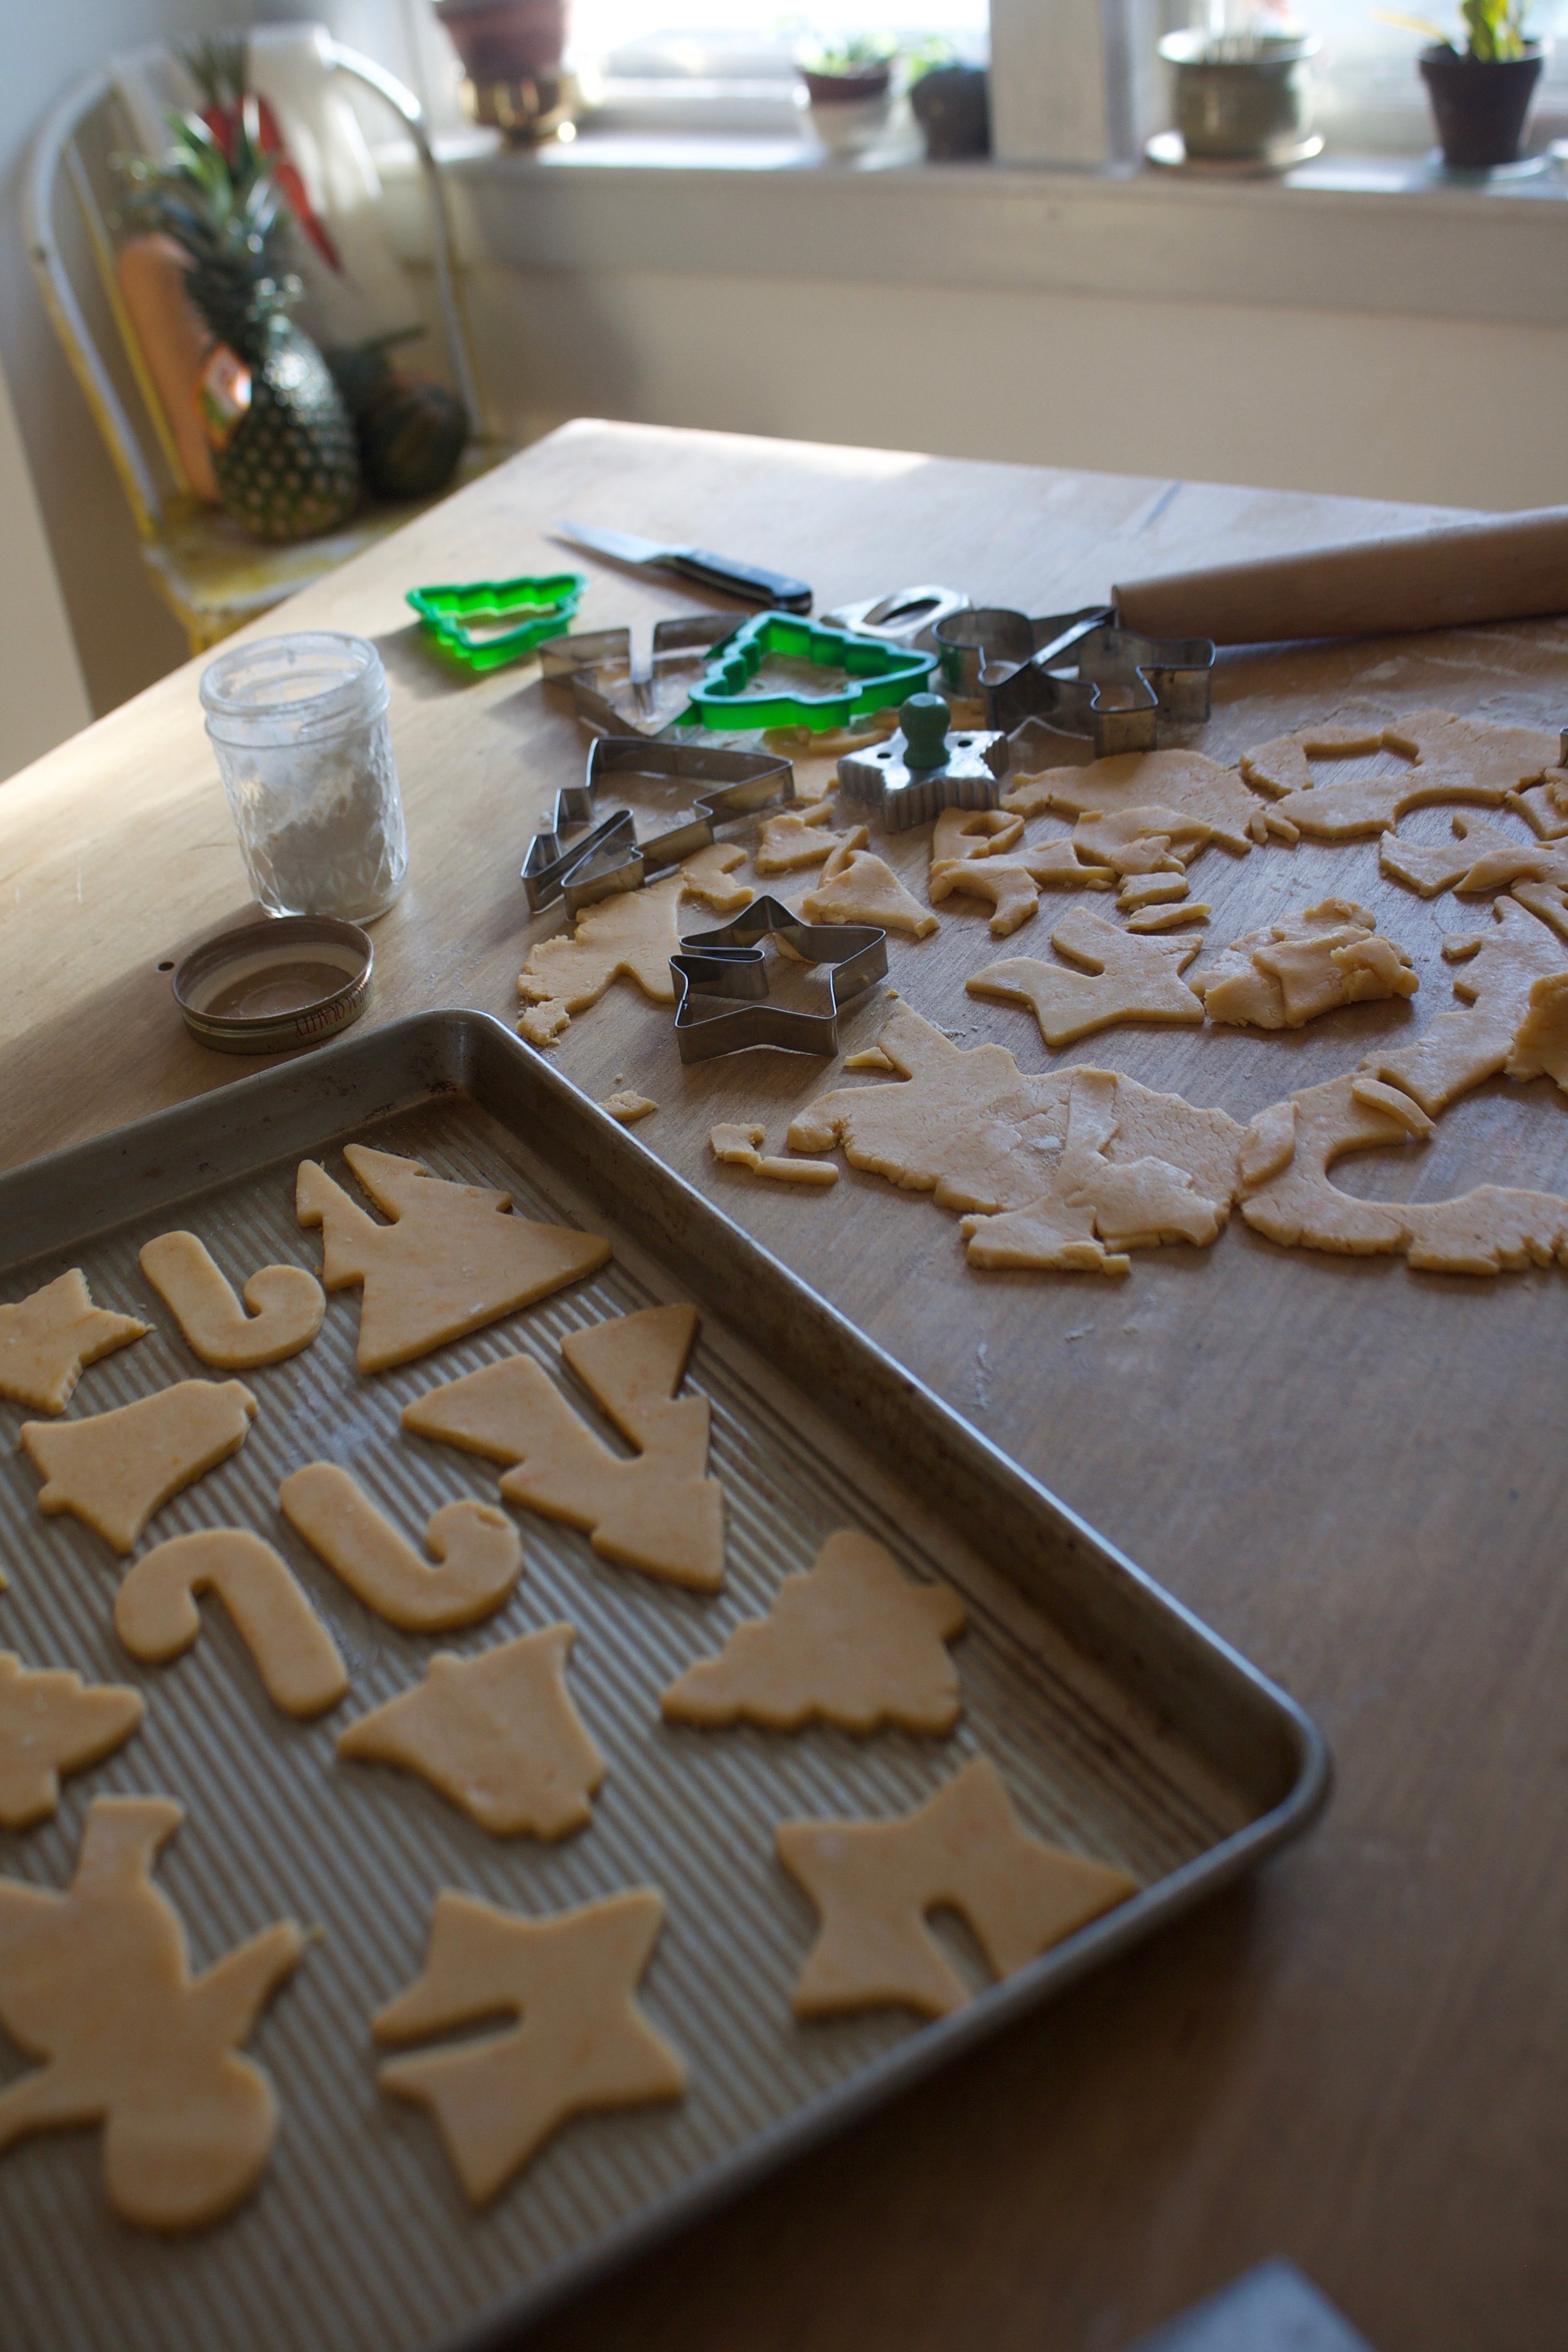
And then it’s time to cut the cookies out. I unfortunately do not have a cookie cutter so I improvised and make 2 carrot cutouts from paper and hand cut each cookie. That worked but took forever so I got crafty and used a fat Christmas tree cookie cutter then just did a little trim and pinch to make it into a cookie. (I am a genius for that). Any way works, and you can also do other shapes too, the cookies don’t change taste in different shapes. (but that would be so cool if they did)

Carefully place cut out cookies onto a baking sheet, giving them a little space because they do spread a tiny bit.

And into the oven to bake they go.

Out in 10 minutes looking all carrot like.

IMG_7653.jpg

Carrots waiting to cool so they can be glazed.

The glaze. Pretty straight forward. Just zest orange into powdered sugar and juice the orange into the sugar and mix.

Divide glaze and dye one orange and one green

IMG_7678.jpg

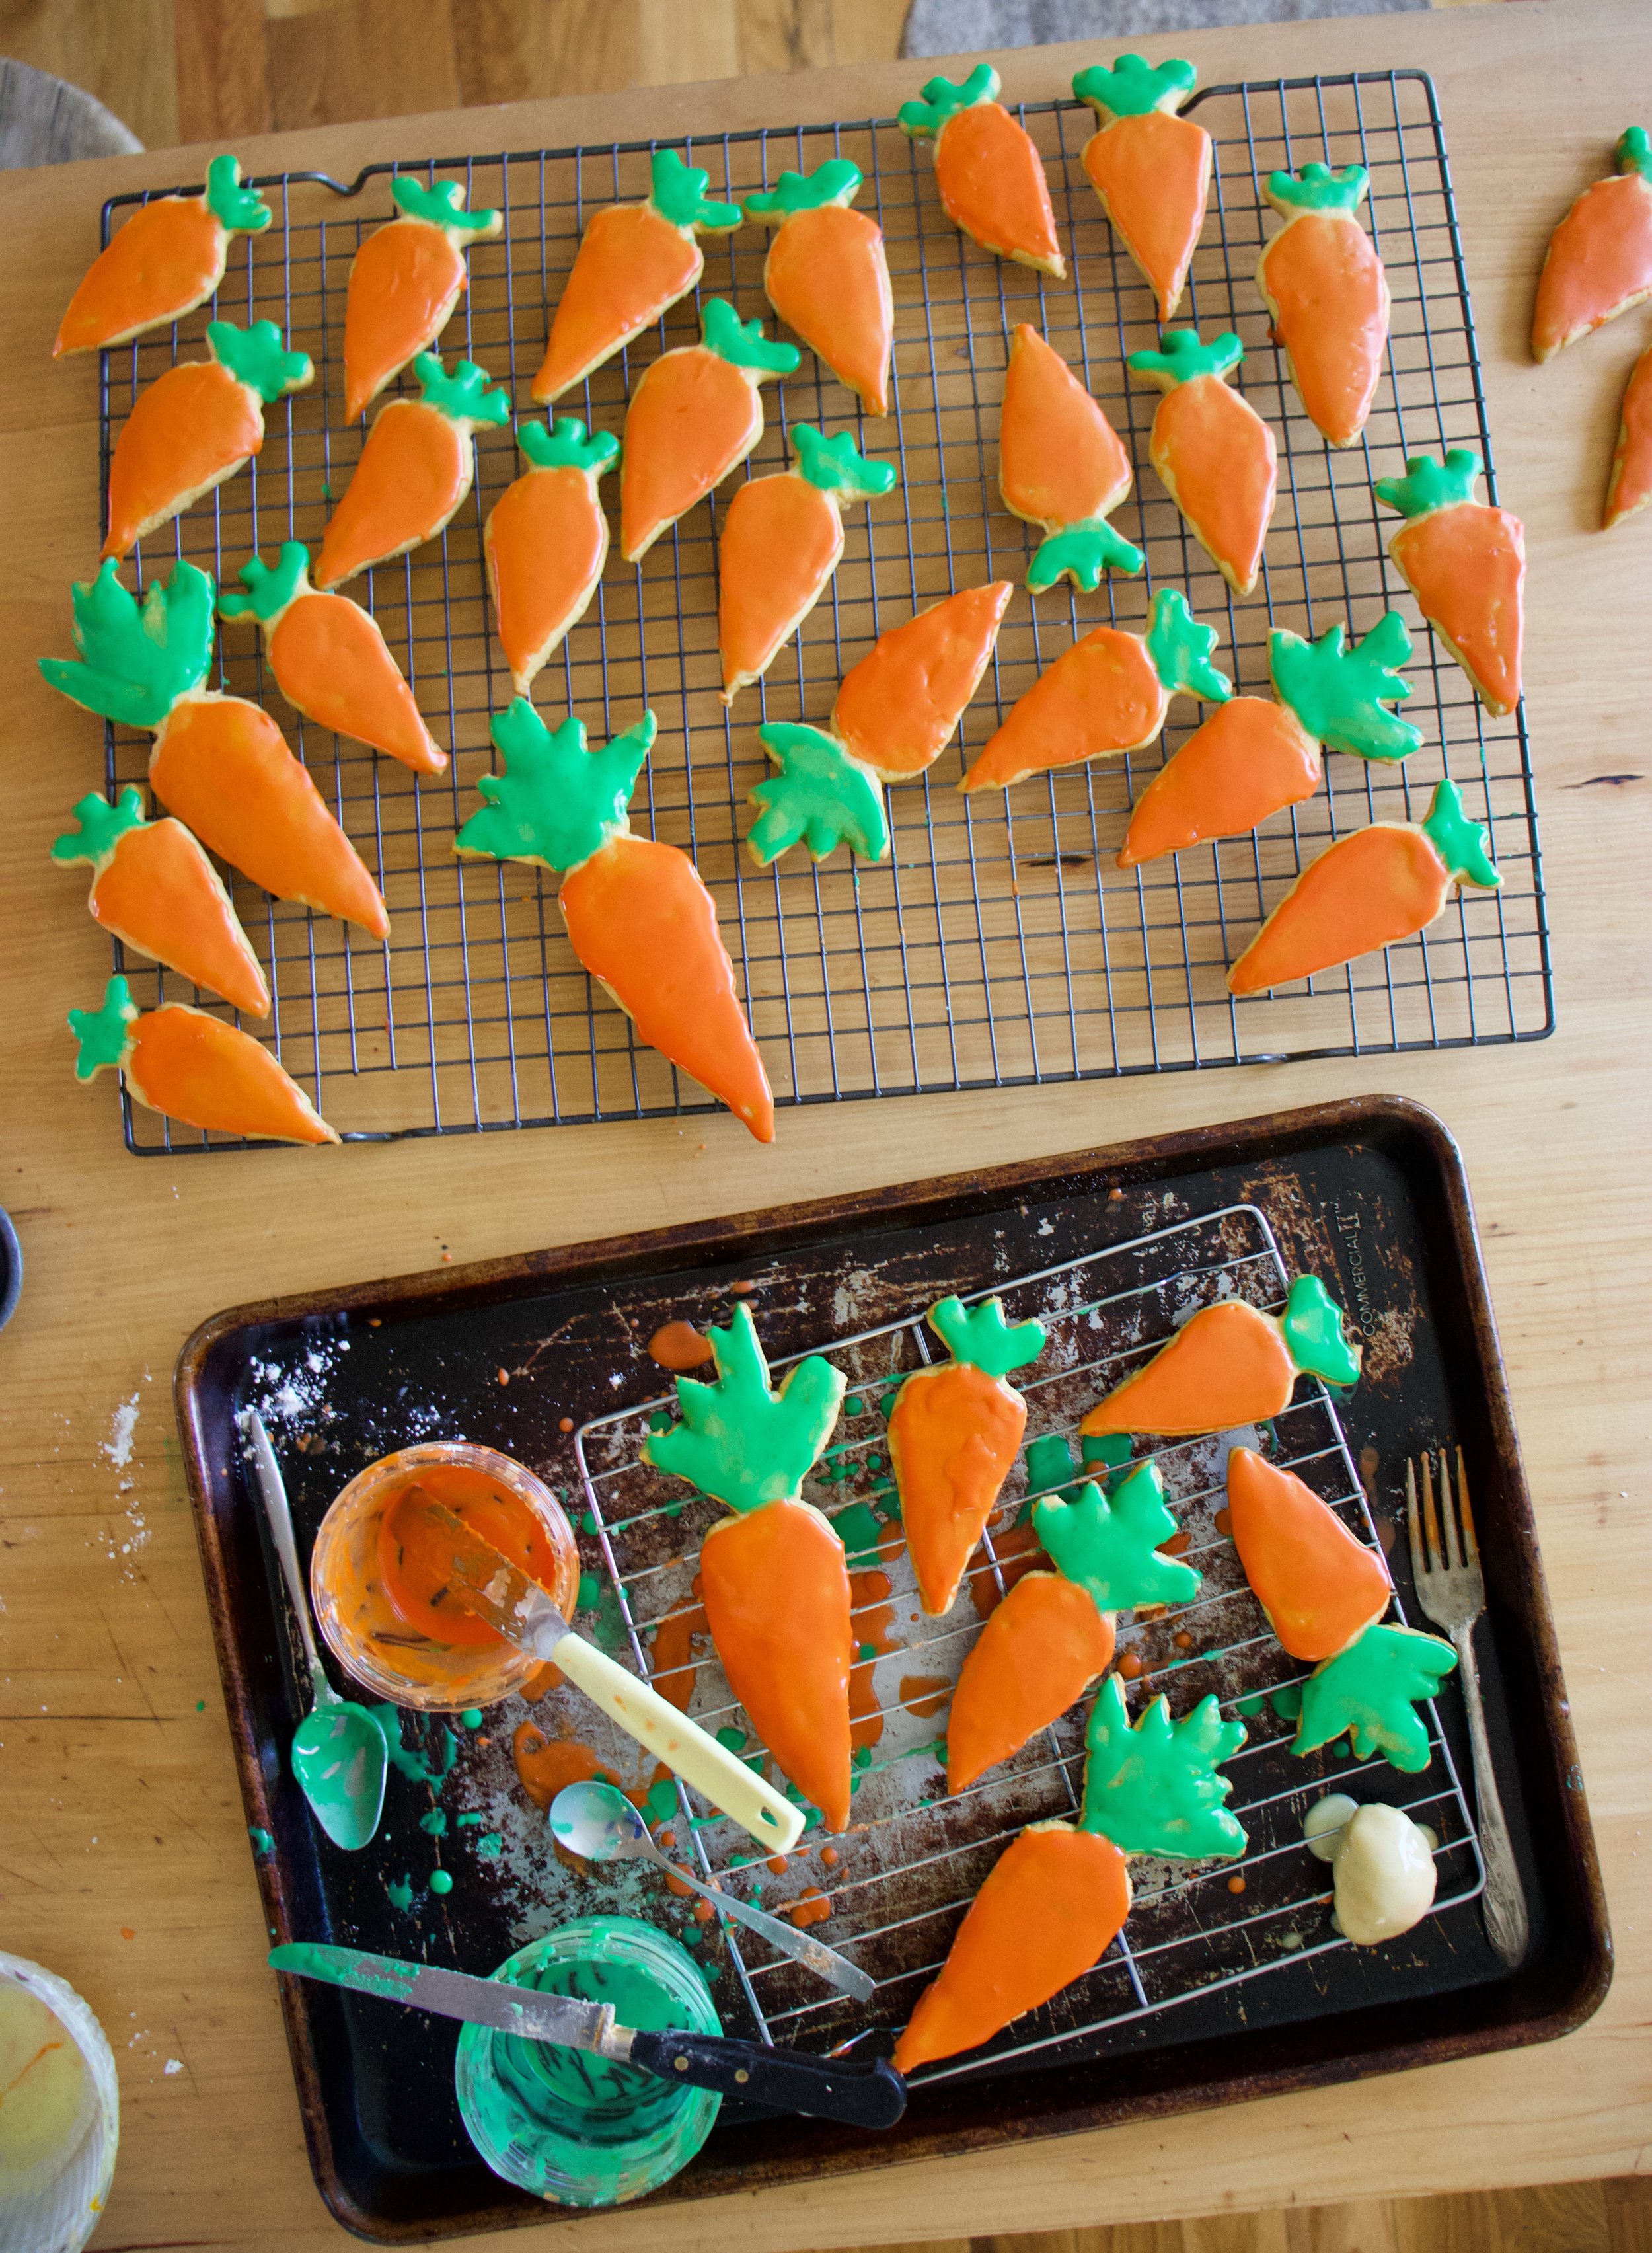
And glaze away. I recommend doing it over a rack and baking sheet to minimize mess because they do drip a bit.

Now just you look at that, carrot shaped carrot sugar cookies .What a sight!

IMG_7754 2.jpg

And of course, carrots come in bunches. HA

Enjoy some carrots!

-C


Carrot Sugar Cookies with Orange glaze

makes about 2 and a half dozen (depending on size)

  • 2 1/4 cups all purpose flour plus more for dusting

  • 1 teaspoon baking soda

  • 1/2 teaspoon salt

  • 1 teaspoon cinnamon

  • 1/2 cup vegan butter

  • 3/4 cup granulated sugar

  • 1/2 cup carrot puree ( see note about how to make puree)

    For the glaze

  • 2 to 3 cups powdered sugar

  • on orange

  • orange and green food coloring

Note. To make carrot puree, steam a couple carrots until completely soft them blend until smooth.

Place sugar, vegan butter, and carrot puree into a big bowl. Beat with a beater until light and fluffy. Add in the flour, baking soda, salt, and cinnamon and mix by hand until completely incorporated and mixture tunes into dough. Gather dough into a disk and wrap in plastic or place in a plastic bag and refrigerate for at least 2 hours or up to overnight.

Once dough has chilled enough and you are ready to go, preheat the oven to 350.

Place dough on a flour dusted counter and roll out about 1/4 inch thick. Cut out the cookies with a cutter or by hand and place on a baking sheet. Bake cookies for 10-11 minutes or until just starting to turn slightly brown around the edges. Remove from oven and place on a wire rack to cool.

Once cookies are all baked and cooling, make the glaze. Place powered sugar into a big bowl, zest in the orange then add in the juice od half the orange. Mix completely and check consistency. You want it to be slightly running but not liquid, but also not to stiff. Add more juice or more sugar to get it right. Once it is the right consistency, separate into 2 bowls. Dye one green and one orange. Now glaze you cookies. A knife or small spatula works best and yes, the glaze drips a little so do it over a baking sheet, but after about 10 minutes the glaze hardens.

And then you have carrot cookies and all is good. Now go eat a carrot cookie!

Store uneaten cookies in an airtight container for up to 5 days. They can be frozen too.

In Vegetables, Vegan, Sweets, Spring, desserts, cookies Tags Carrot Sugar Cookies with Orange glaze, Carrot cookies, vegan, vegan sugar cookies, sugar cookies, carrot cookies, carrots, plant based, desserts, cookies, easter, spring, holiday, garden party, vegetable, roots, orange, citrus, glaze, fun, food, egg free, dairy free
Comment

Lemon Sugar Cookies

December 16, 2017 Colleen Stem
IMG_8860.jpg
IMG_8896 2.jpg

Right now it is all about the holiday cookies. There are the chocolate ones, the filled ones, the nutty ones and all at the other ones, but really, what is the holiday without a good basic sugar cookie covered in way to much icing and sprinkles? Not right it what it is.

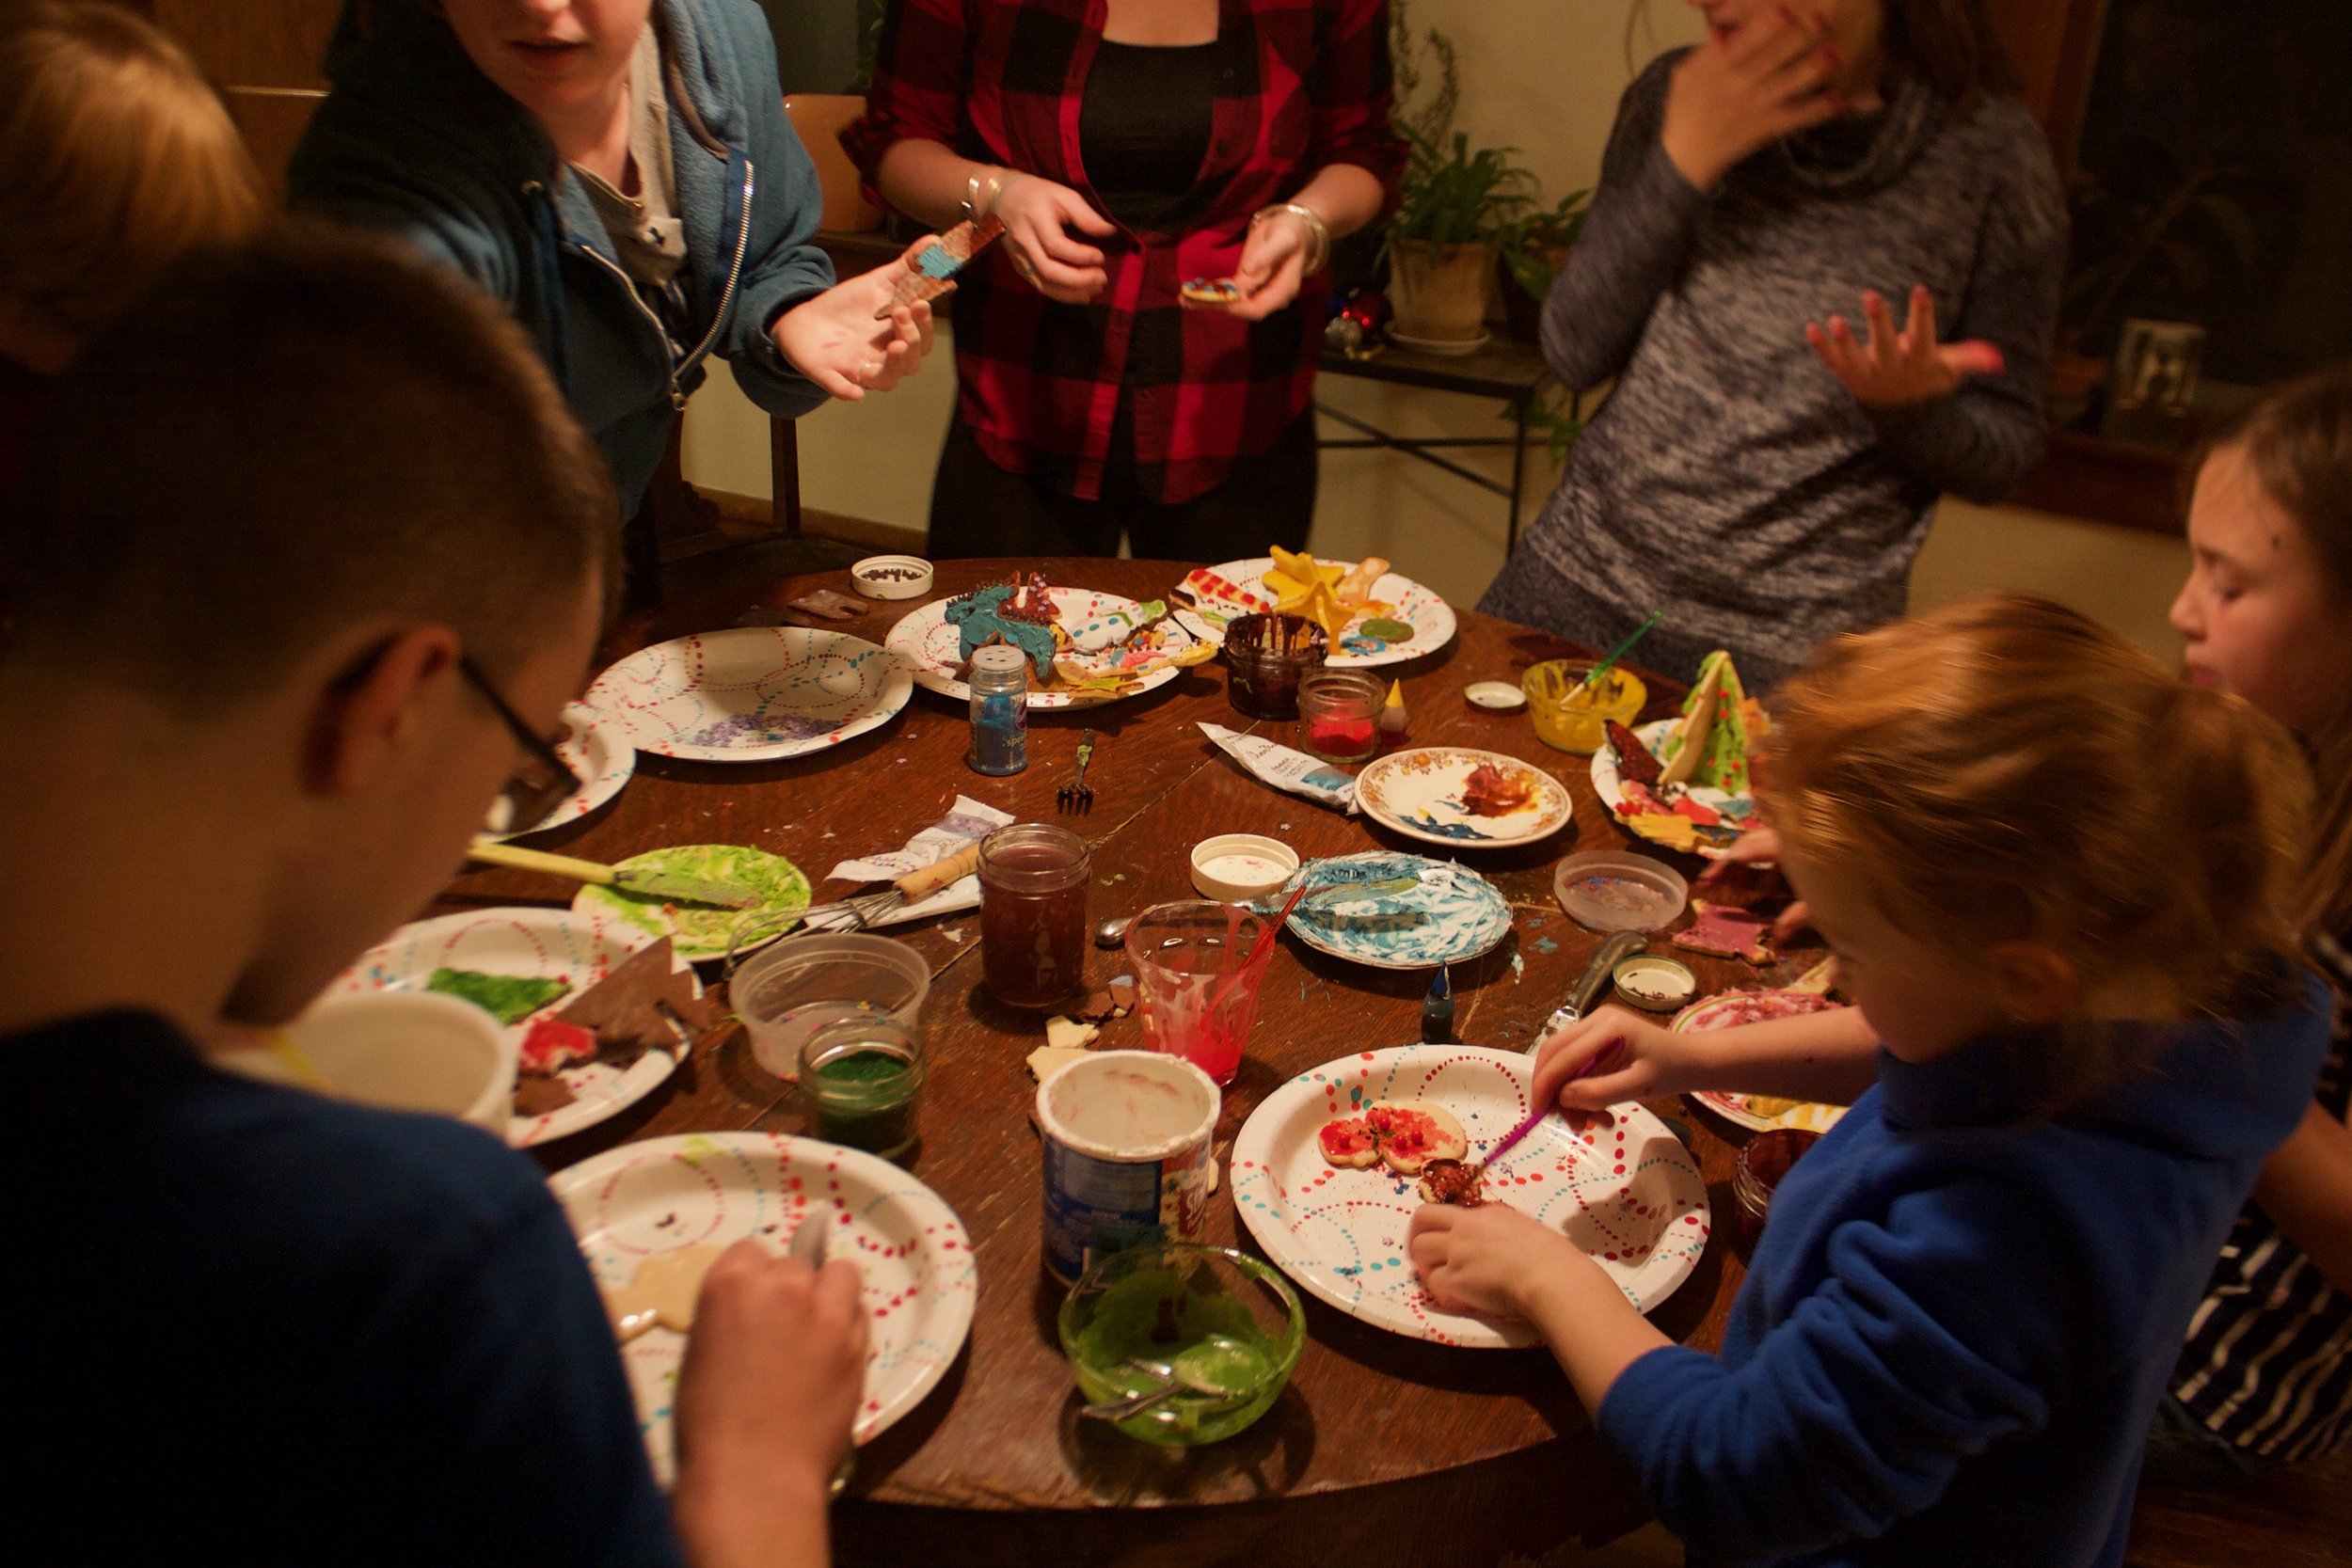
So to kick off holiday cookie baking I had a cookie decorating and pizza  party with the littles and big littles. Cookies, icing and frosting, and so many sprinkles. I went the smart route with preparation and precut all the cookies before the party. I was thinking that I would have everyone cut there own cookies out but then I was thinking  a bunch of little and hot pans and more likely then not burnt cookies. I just didn't want to deal with it and it was a good choice on my part. I am so smart. 

These cookies are kind of your basic sugar cookies with a little lemon twist. The lemon adds that extra something, a little zip behind the sweetness, especially after all the glaze. And they can be baked to be slightly soft or to have a nice crisp edge. A good, tasty,  all around cookie, perfect for any holiday cookie party. 

And just a warning about cookie parties. There will be madness and states of being that only an emense amount of sugar can produce.

The stuff. Flour, baking powder sugar, and salt. Squash puree, earth balance, vanilla, and some lemons. 

IMG_8813.jpg

Sugar, butter, puree, lemon zest, lemon juice and the vanilla get cozy into big bowl and then mixed together.

Some people prefer to do this step with an electric beater but I like to use a wooden spoon because arm powder. Either way, make sure the mixtures is completely mixed and that there are no huge chunks of butter. 

Now add in the dry and mix mix mix until if forms a dough.

 Don't be afraid to use your hands here.. I started out with the spoon and finish with my hands. It is much easier.

The dough needs a little time in the fridge so wrap it in plastic (or a large plastic bag) and stick in the fridge for a least and hour or up to a day. 

IMG_8841.jpg

When your ready for cookie cutting time, remove dough and let sit on counter for a few minutes to warm up. Then place on a lightly floured surface and roll out about 1/4 inch thick (you can go a little thinner if you like)

Cut your cookies.

IMG_8859.jpg

And keep gathering and rolling ou the dough until all the dough is a cookie.

Bake the cookies for anywhere between 10-13 minutes. This is dependent on if you like a softer cookie or one with more of a crunch. 

IMG_8869 2.jpg

All the naked cookies.

IMG_8873.jpg

And you are probably going to want to make some glaze, which is super simple. Powedred sugar, water, corn syrup, and vanilla extract. 

You of course need to get crafty with colors so color the icing  to your liking.

IMG_8904.jpg

Then it's all about decorating. The mr and I did a few cookies ourselves before the cookie party began. We figured we wouldn't really get a chance to once all the littles showed up. We were right. 

Also I bought brand new synthetic paint brushes (important that they are new) to use to paint on the glaze. It was a very good idea. We loved it and so did all the little. 

Our cookie masterpieces. Who doesn't love a rapper snowman?

Let the party begin. I ended up making 3 batches of cookies because the more cookies the better. And again, so smart to have the cookies all precut and ready. I couldn't imagine having to deal with cutting cookies with everyone. There would have been tears (most likely mine) 

IMG_8917.jpg

Christmas music on, happy little littles, it started out so wholesome and good.  Glaze, frosting, so many sprinkles. I could smell the sugar in the air. I also said that there was to be no cookie eating until after dinner so naturally I think that each little ate about 5 cookies before dinner. It would have been worse if I had they could eat any at all. 

And then we ate dinner and more cookies and they all went freaking crazy. Like running around screaming, stoping once in a while to maybe think they might throw up,  then kept on running and screaming.  Sugar can do crazy things. 

 Just a few of the creations from the night. There were snowmen, 3D trees and reindeer, and stars. I guess I don't have a snowflake which bummed me out but stars made do. And yes, that is indeed a target employee cookie.. so awesome.

All in all, the party was a success. The cookies came out great. The decorations were on point. The littles and big littles had fun and were all in a sugar coma by the end of the night.  Annnd my house is covered in a light film of stickiness. 

Enjoy your weekend and make lots of cookies because that is what you are suppose to do. 

-C


Lemon Sugar Cookies 

makes 20-25 cookies (all depending on you shapes ands sizes of cutters)

Cookie

  • 2 1/4  cups flour 
  • 1/2 teaspoon salt
  • 1 teaspoon baking powder
  • 1/4 cup squash puree
  • 3/4 cup white sugar
  • 1 teaspoon vanilla
  • 1/2 cup room temp  vegan butter
  • 1 tablespoons lemon juice
  • 2 teaspoons lemon zest

Icing 

  • 2 tablespoons corn syrup
  • 2 cups powdered sugar
  • 2 tablespoons plant milk or water
  • 1 teaspoon extract (vanilla, almond, or lemon)  
  • food coloring (optional) 

preheat oven to 350

In a large bowl beat  together butter, sugar, vanilla, squash, lemon zest and lemon juice until fully incorporated. Add in flour, salt, and baling powder and mix until it all comes together. When dough gets a little hard to mix with a spoon, use your hands and compress the dough into a ball.  Take dough and wrap in plastic wrap or place in a zip lock pulled to dough tight and place in the fridge for at least 1 hour or up to a day.

After the dough has had time in the fridge, remove and let sit for a few minutes.. Lightly flour the counter and roll dough out to about a quart inch thick. Grab your cookie cutter and cut away at rolled out dough. Place cut cookies on a baking sheet, gather up remaining dough and roll out all over again. Repeat process until all the dough has been used. Place cookies  in oven and bake for 10 minutes or until cookies are just barely turning golden brown.  If you like a crispier cookies, cook for 2-3 minutes longer. Remove and place on a cooling rack to cool. 

Prepare your icing.

Mix all the ingerdients together until full incorporated. Color to your liking. 

And once the cookies are  cool its time to start you decorating! You can dip, pour, paint, or pip icing onto cookies. Embellish with sprinkles and candies.

Eat your cookies 

In cookies, Dairy Free, decorations, desserts, holiday, Sweets, Vegan Tags vegan cookies, vegan sugar cookies, lemon sugar cookies, holiday, cookies, lemon, plant based, king Arthur flour, decorations, Christmas cookies, cut out cookies
Comment
 

https://thelovelycrazy.squarespace.com/config#/|/about/

Me. Food Maker.Food eater. Woo HOO!

STEM+NODE  SMALL BATCH AND ONE OF A KIND POTTERY

stem+node ceramics


____________________

Subscribe

GET NEW POSTS IN YO EMAIL

You are AWESOME!!!


@thelovelycrazy 2014-2021