
I don't know if it's because it's spring and the days are longer and we getting more sunshine, but I am feeling good and feeling like anything and everything is possible. Like I could take on the world and do it all. What all is I am not sure yet but I am feeling it. The winter thaw, the spring awakening. Only complaint I have is all the dog poop that is now surfacing from under the snow. And maybe the crazy ass dreams that I have been having. Does anyone else have crazy dreams in the spring? I think it's a thing because it happened to me every year.
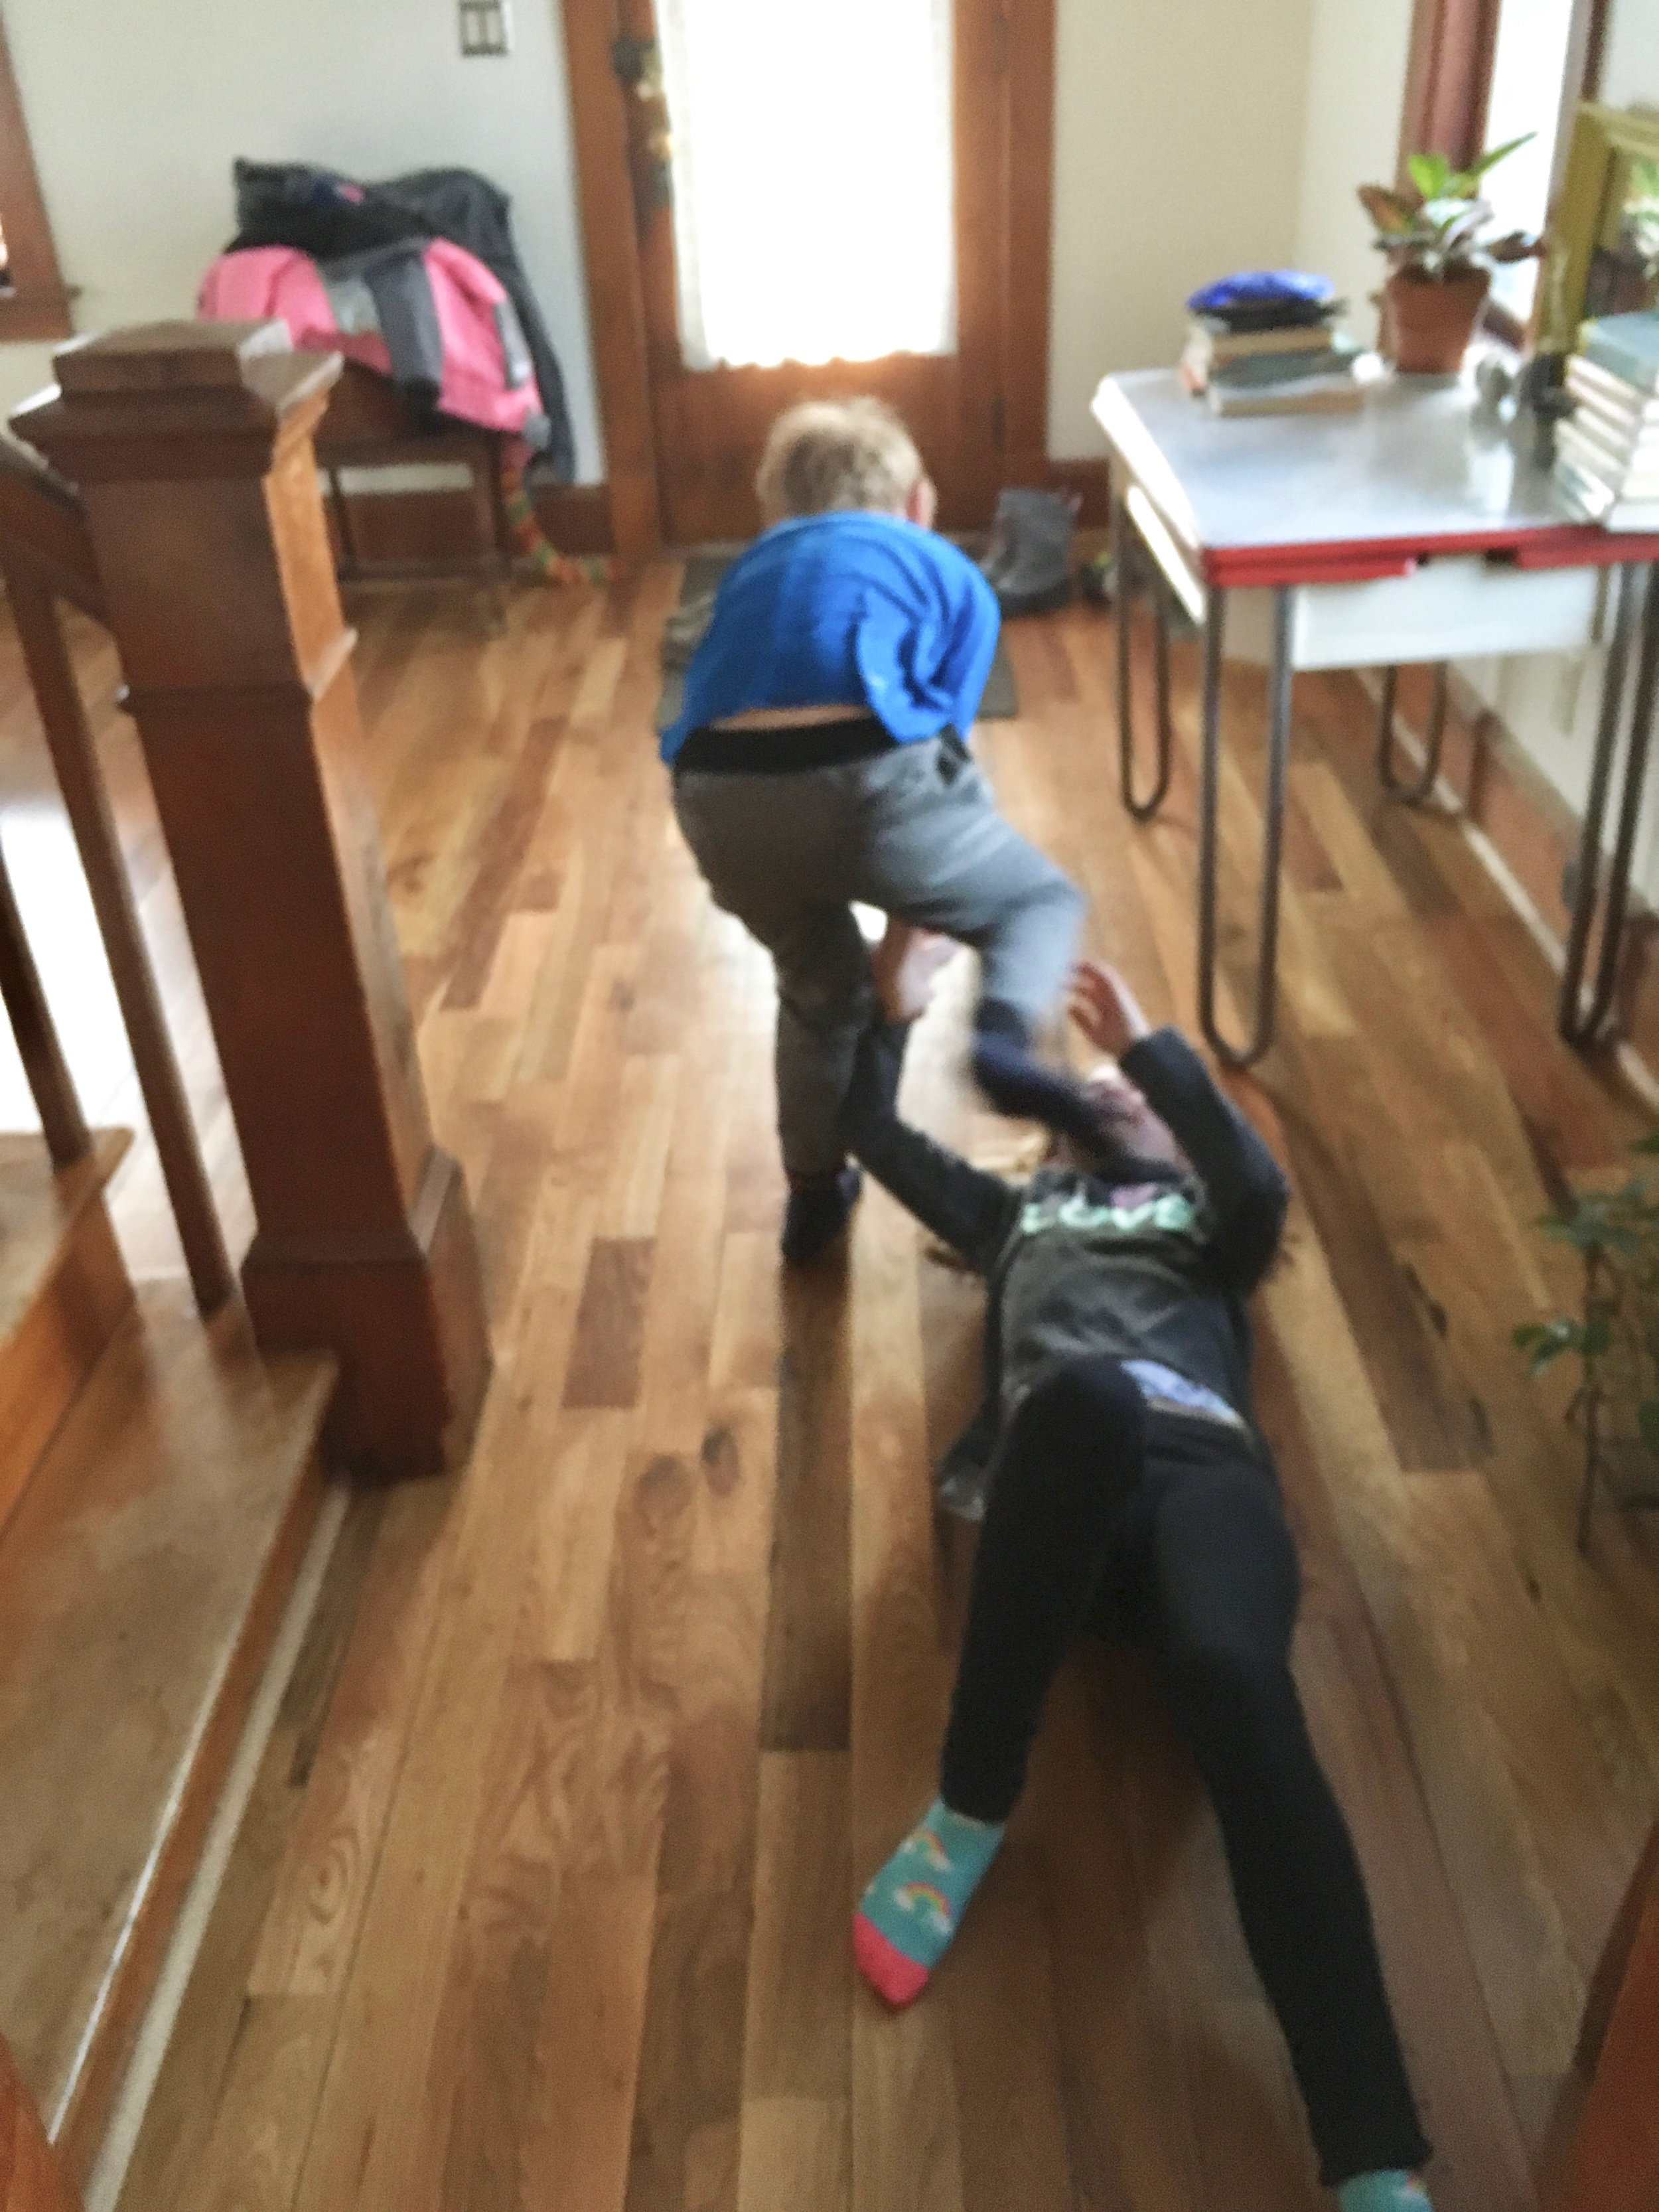
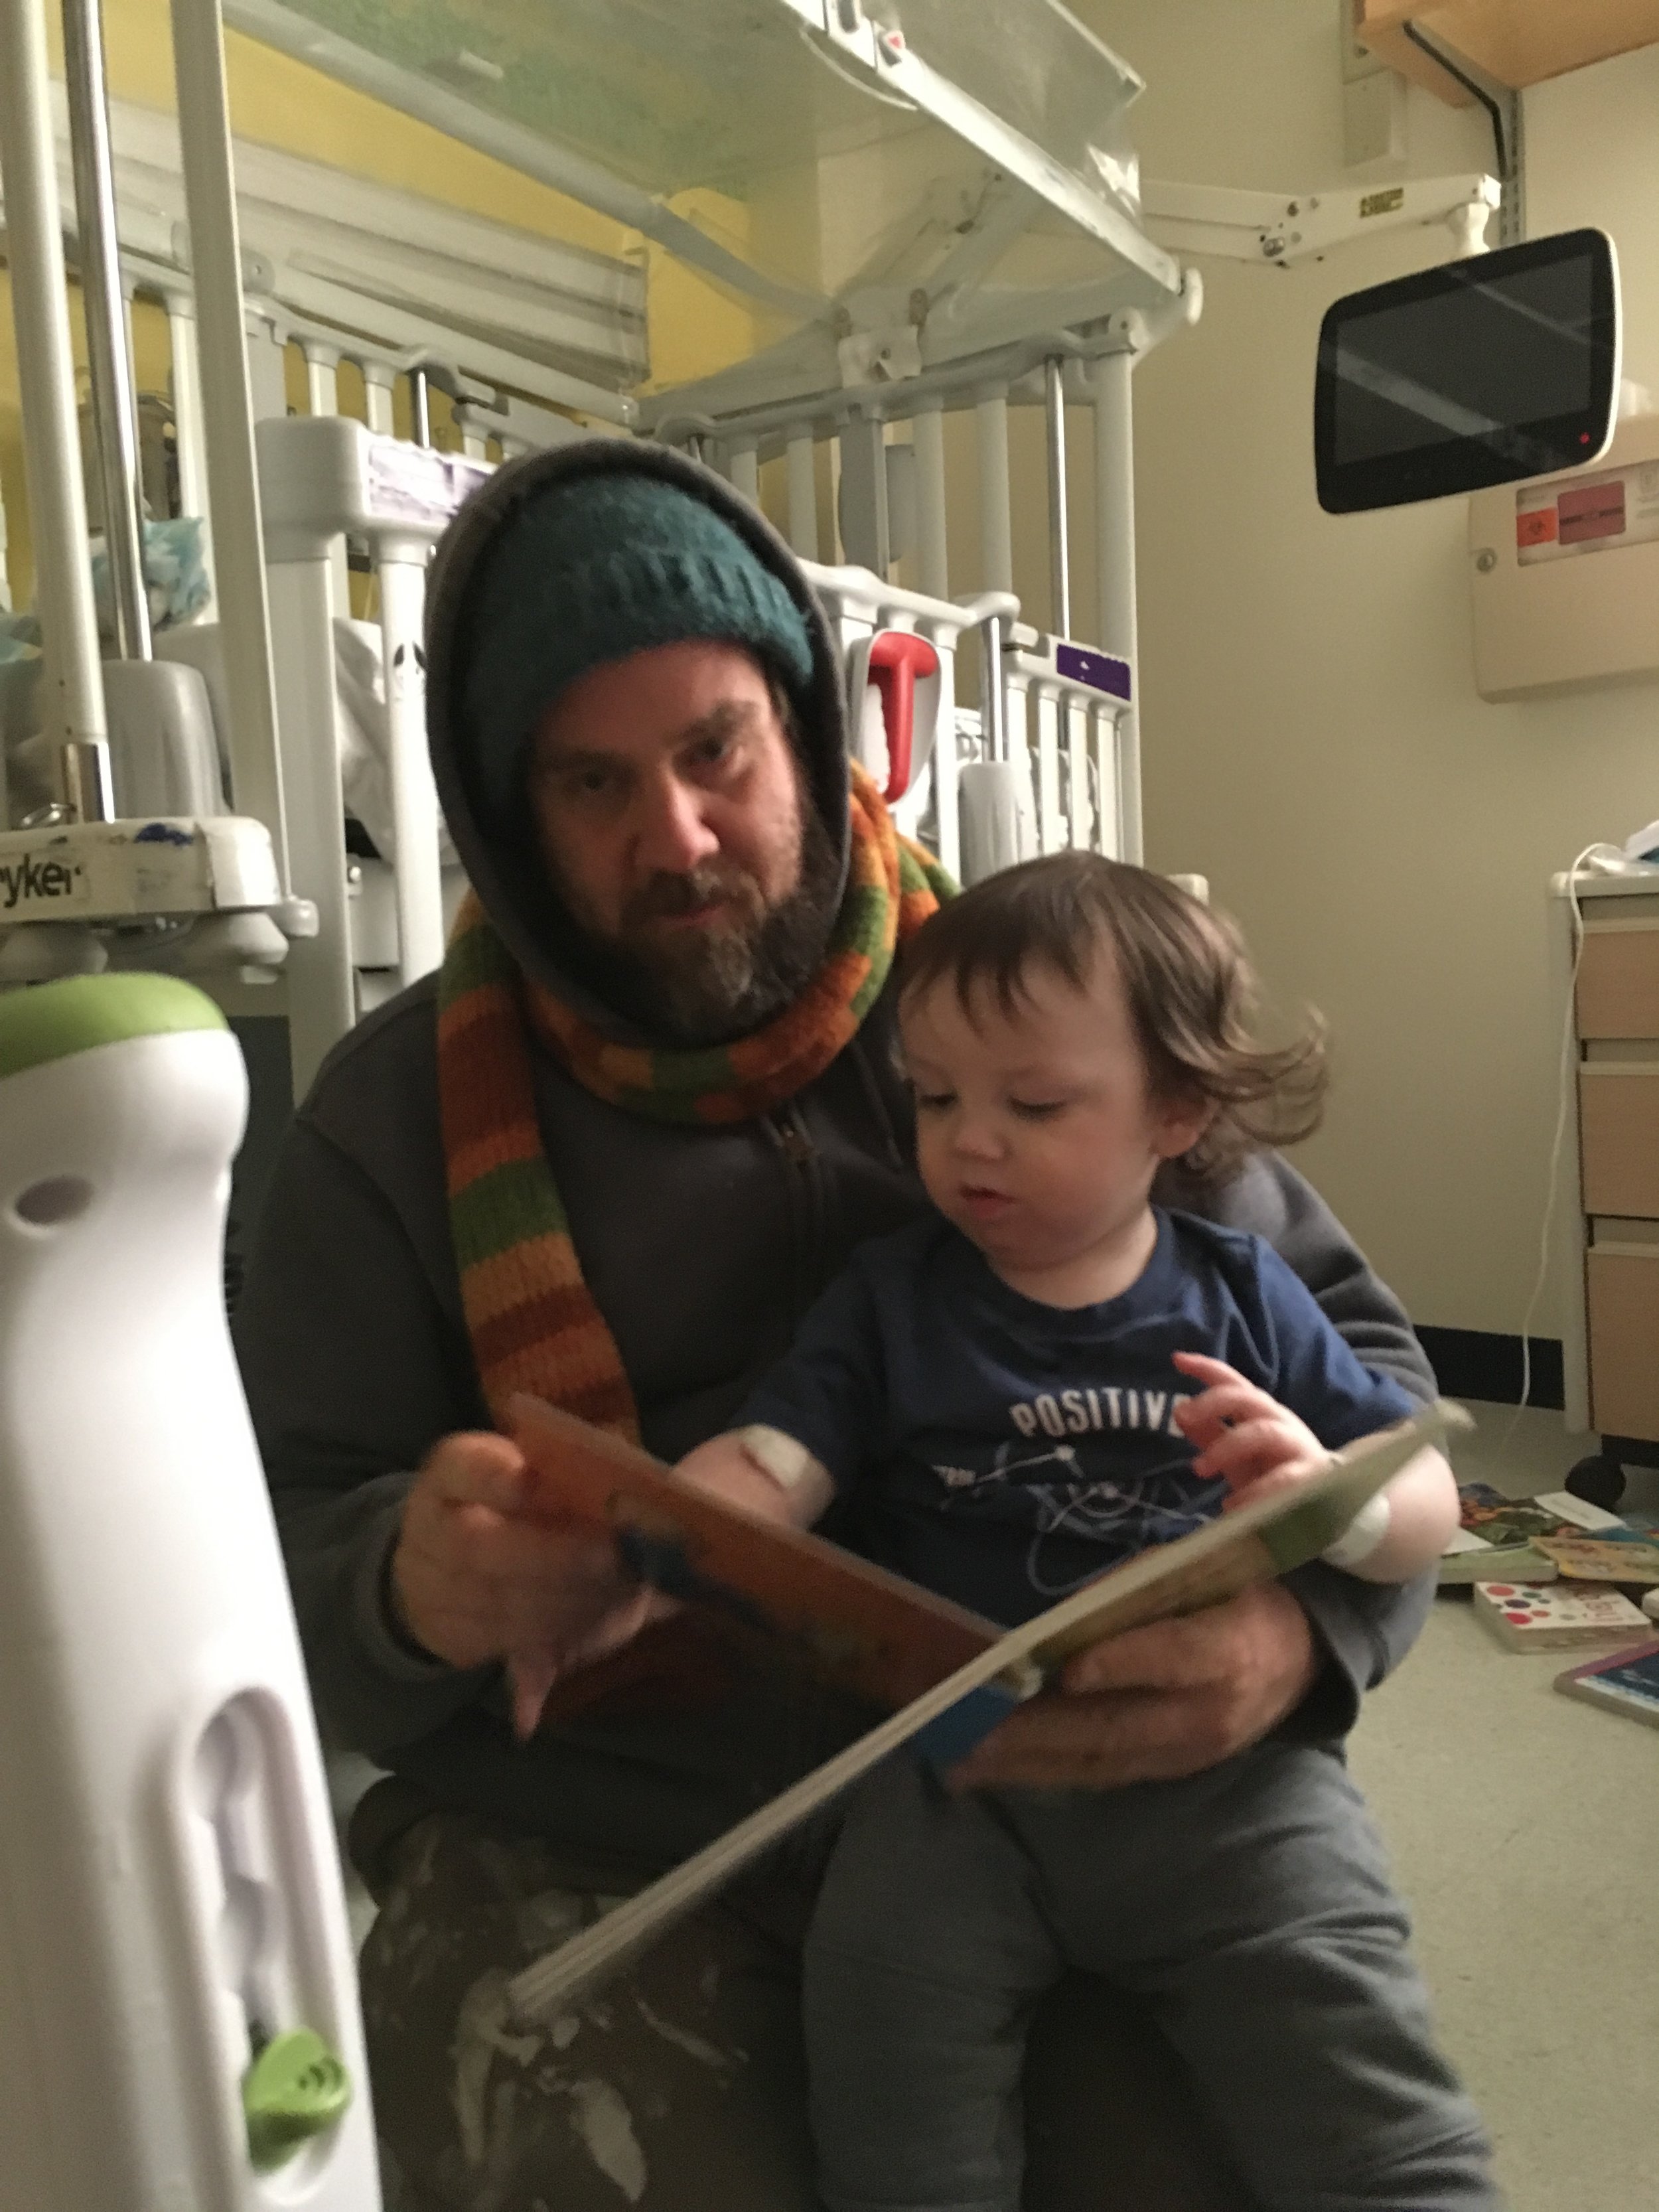
This past week was all about the littles. Coco was in the hospital with some nasty bronchitis shit all week which means we had Miley and Judah for the week. We had pretty good routine going on. Wake up, make breakfast and beat on the mr. Off to school they went and we had a few hours to do what we could do (like chop apart huge trees, sew chair cushions, stock up an food because they eat A LOT, and clean their house and bedrooms). Then pick up and conversation on the way back to our house, snack time, homework, drawing and game playing, make dinner, go for a walk, watch some Iron man (they had a Iron Man movie marathon going on), nighttime reading, brush the teeth then bed. And that was not just the littles, that was all of us. We function well together. Then Coco the hulk (the meds they had him on made him into hulk monster.. it was amazing) was released from his hospital room and is doing great and the littles are all at their home and now I miss them. But at least I don't have to sit through any more Iron man so I am ok with that. And the mr and I deep cleaned the house yesterday of all the sticky..... How do they make everything sticky? Those littles. They are freaking awesome.
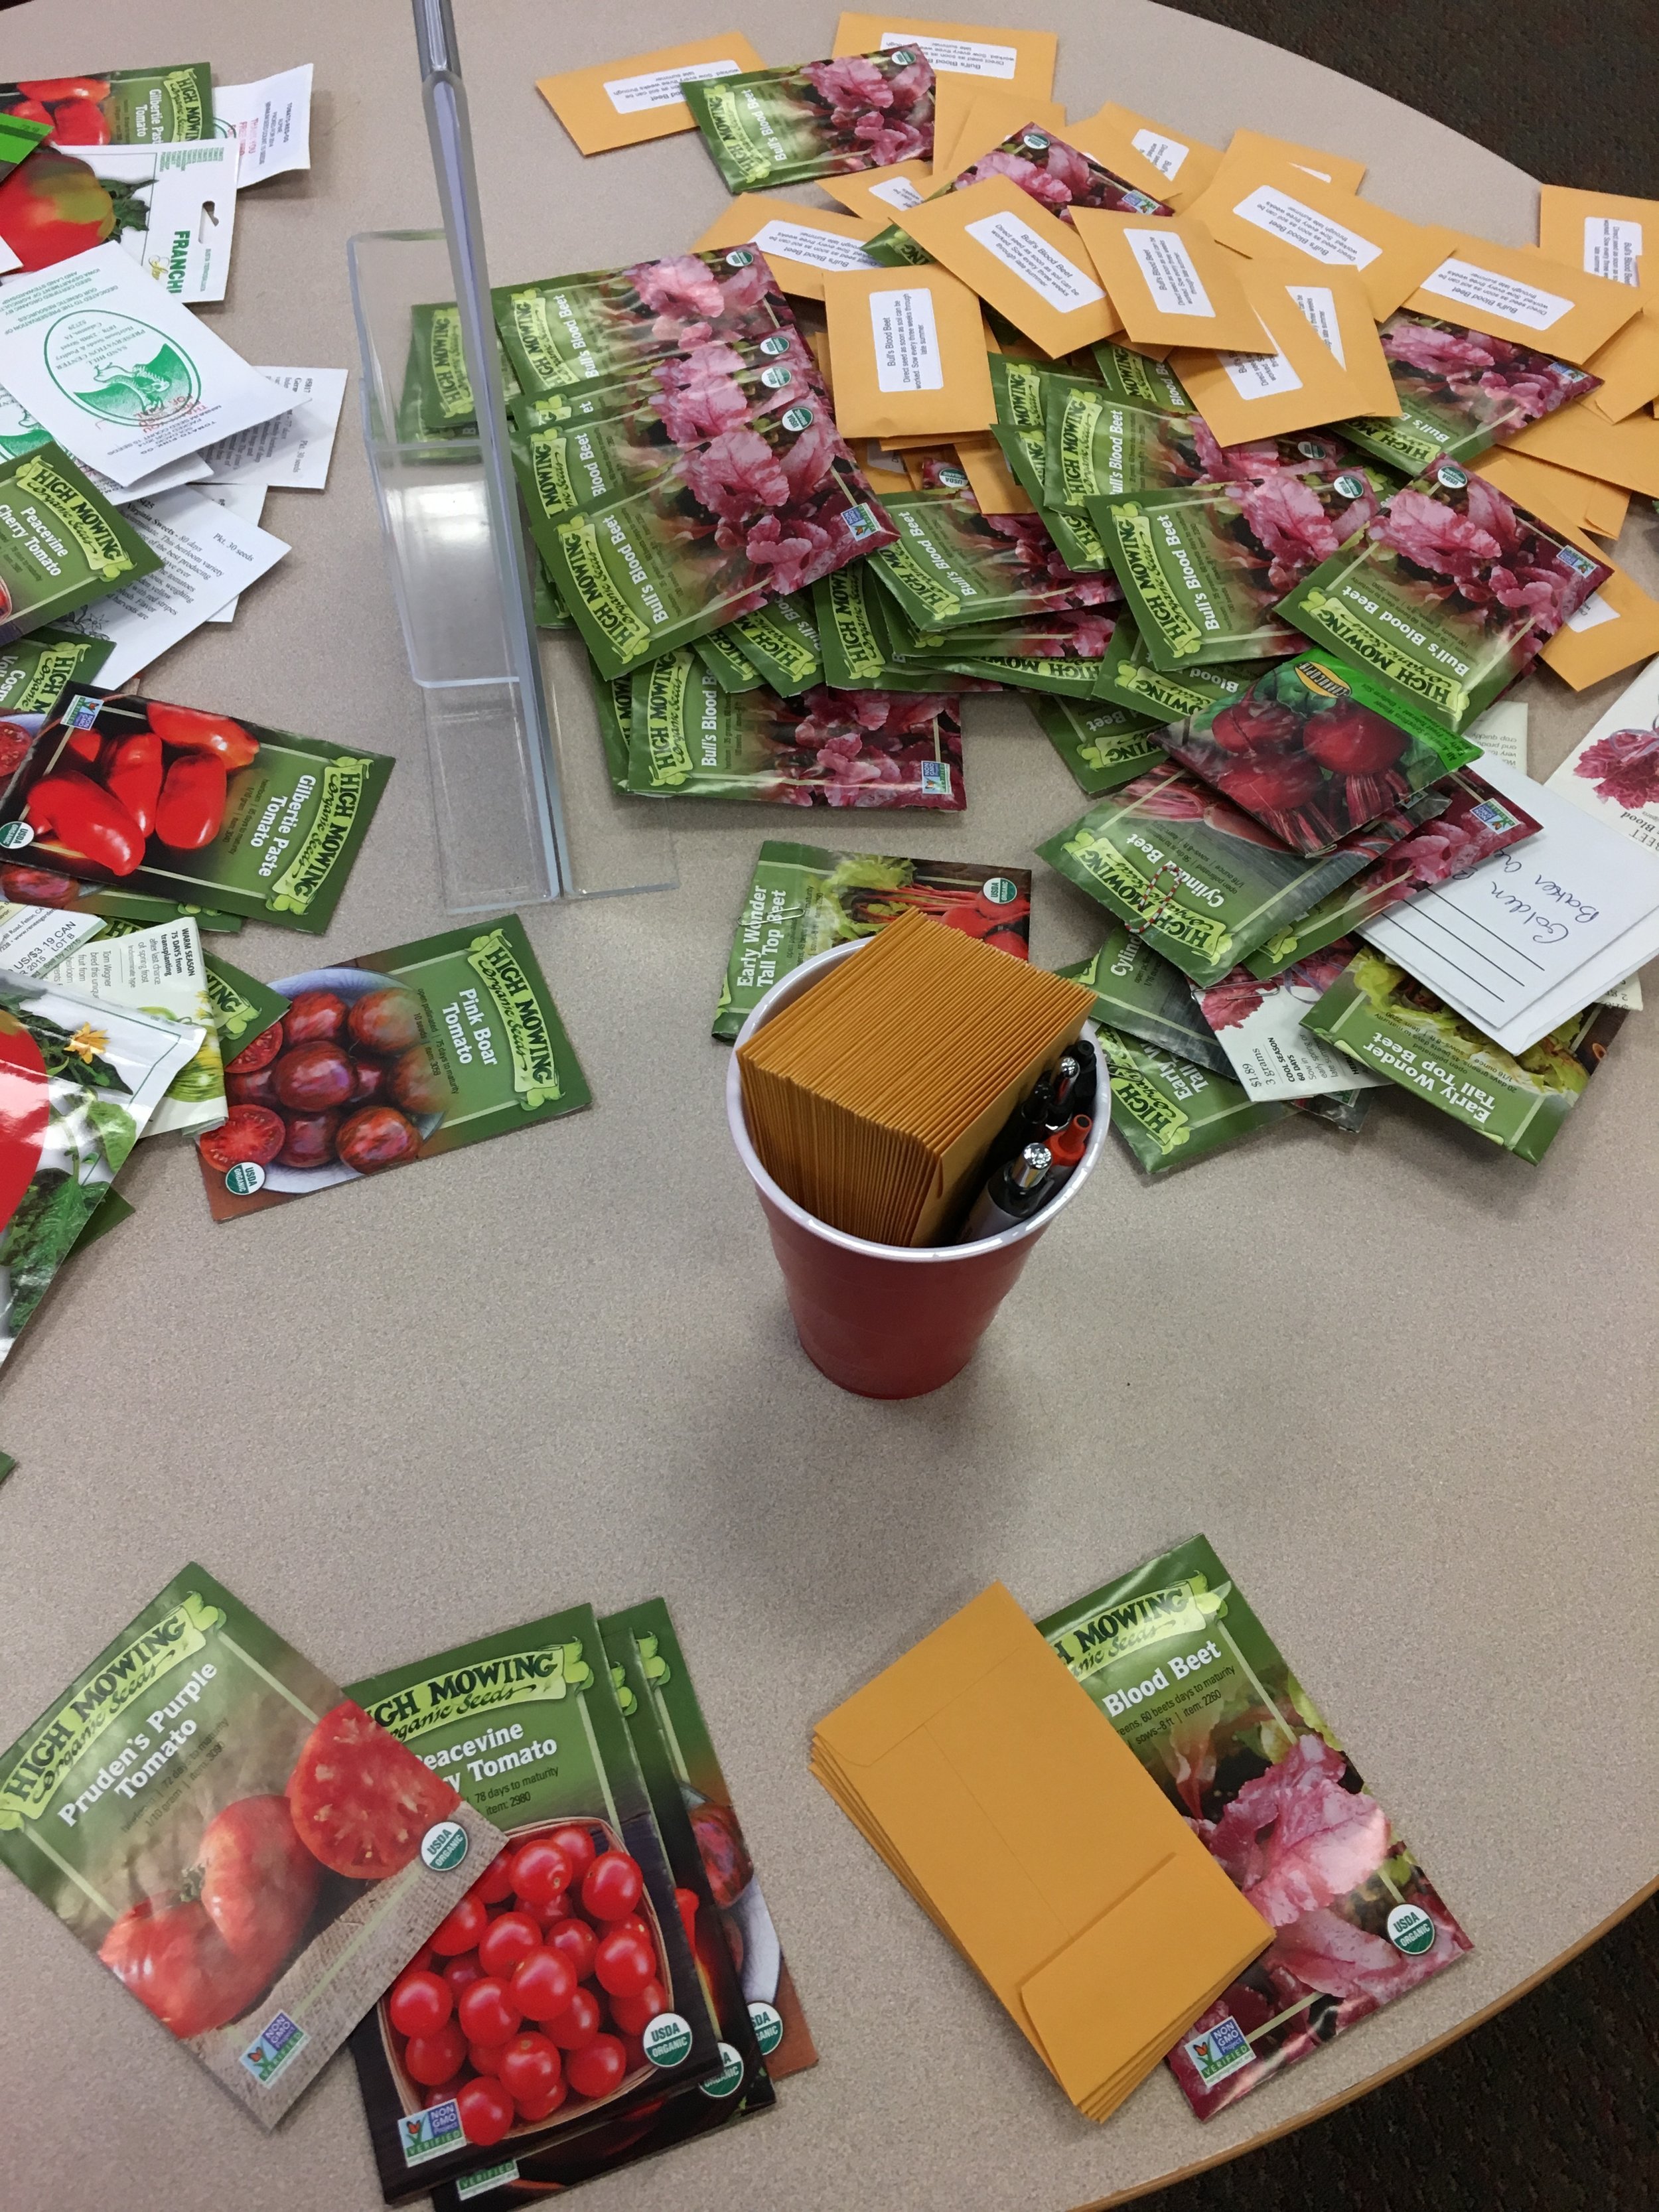
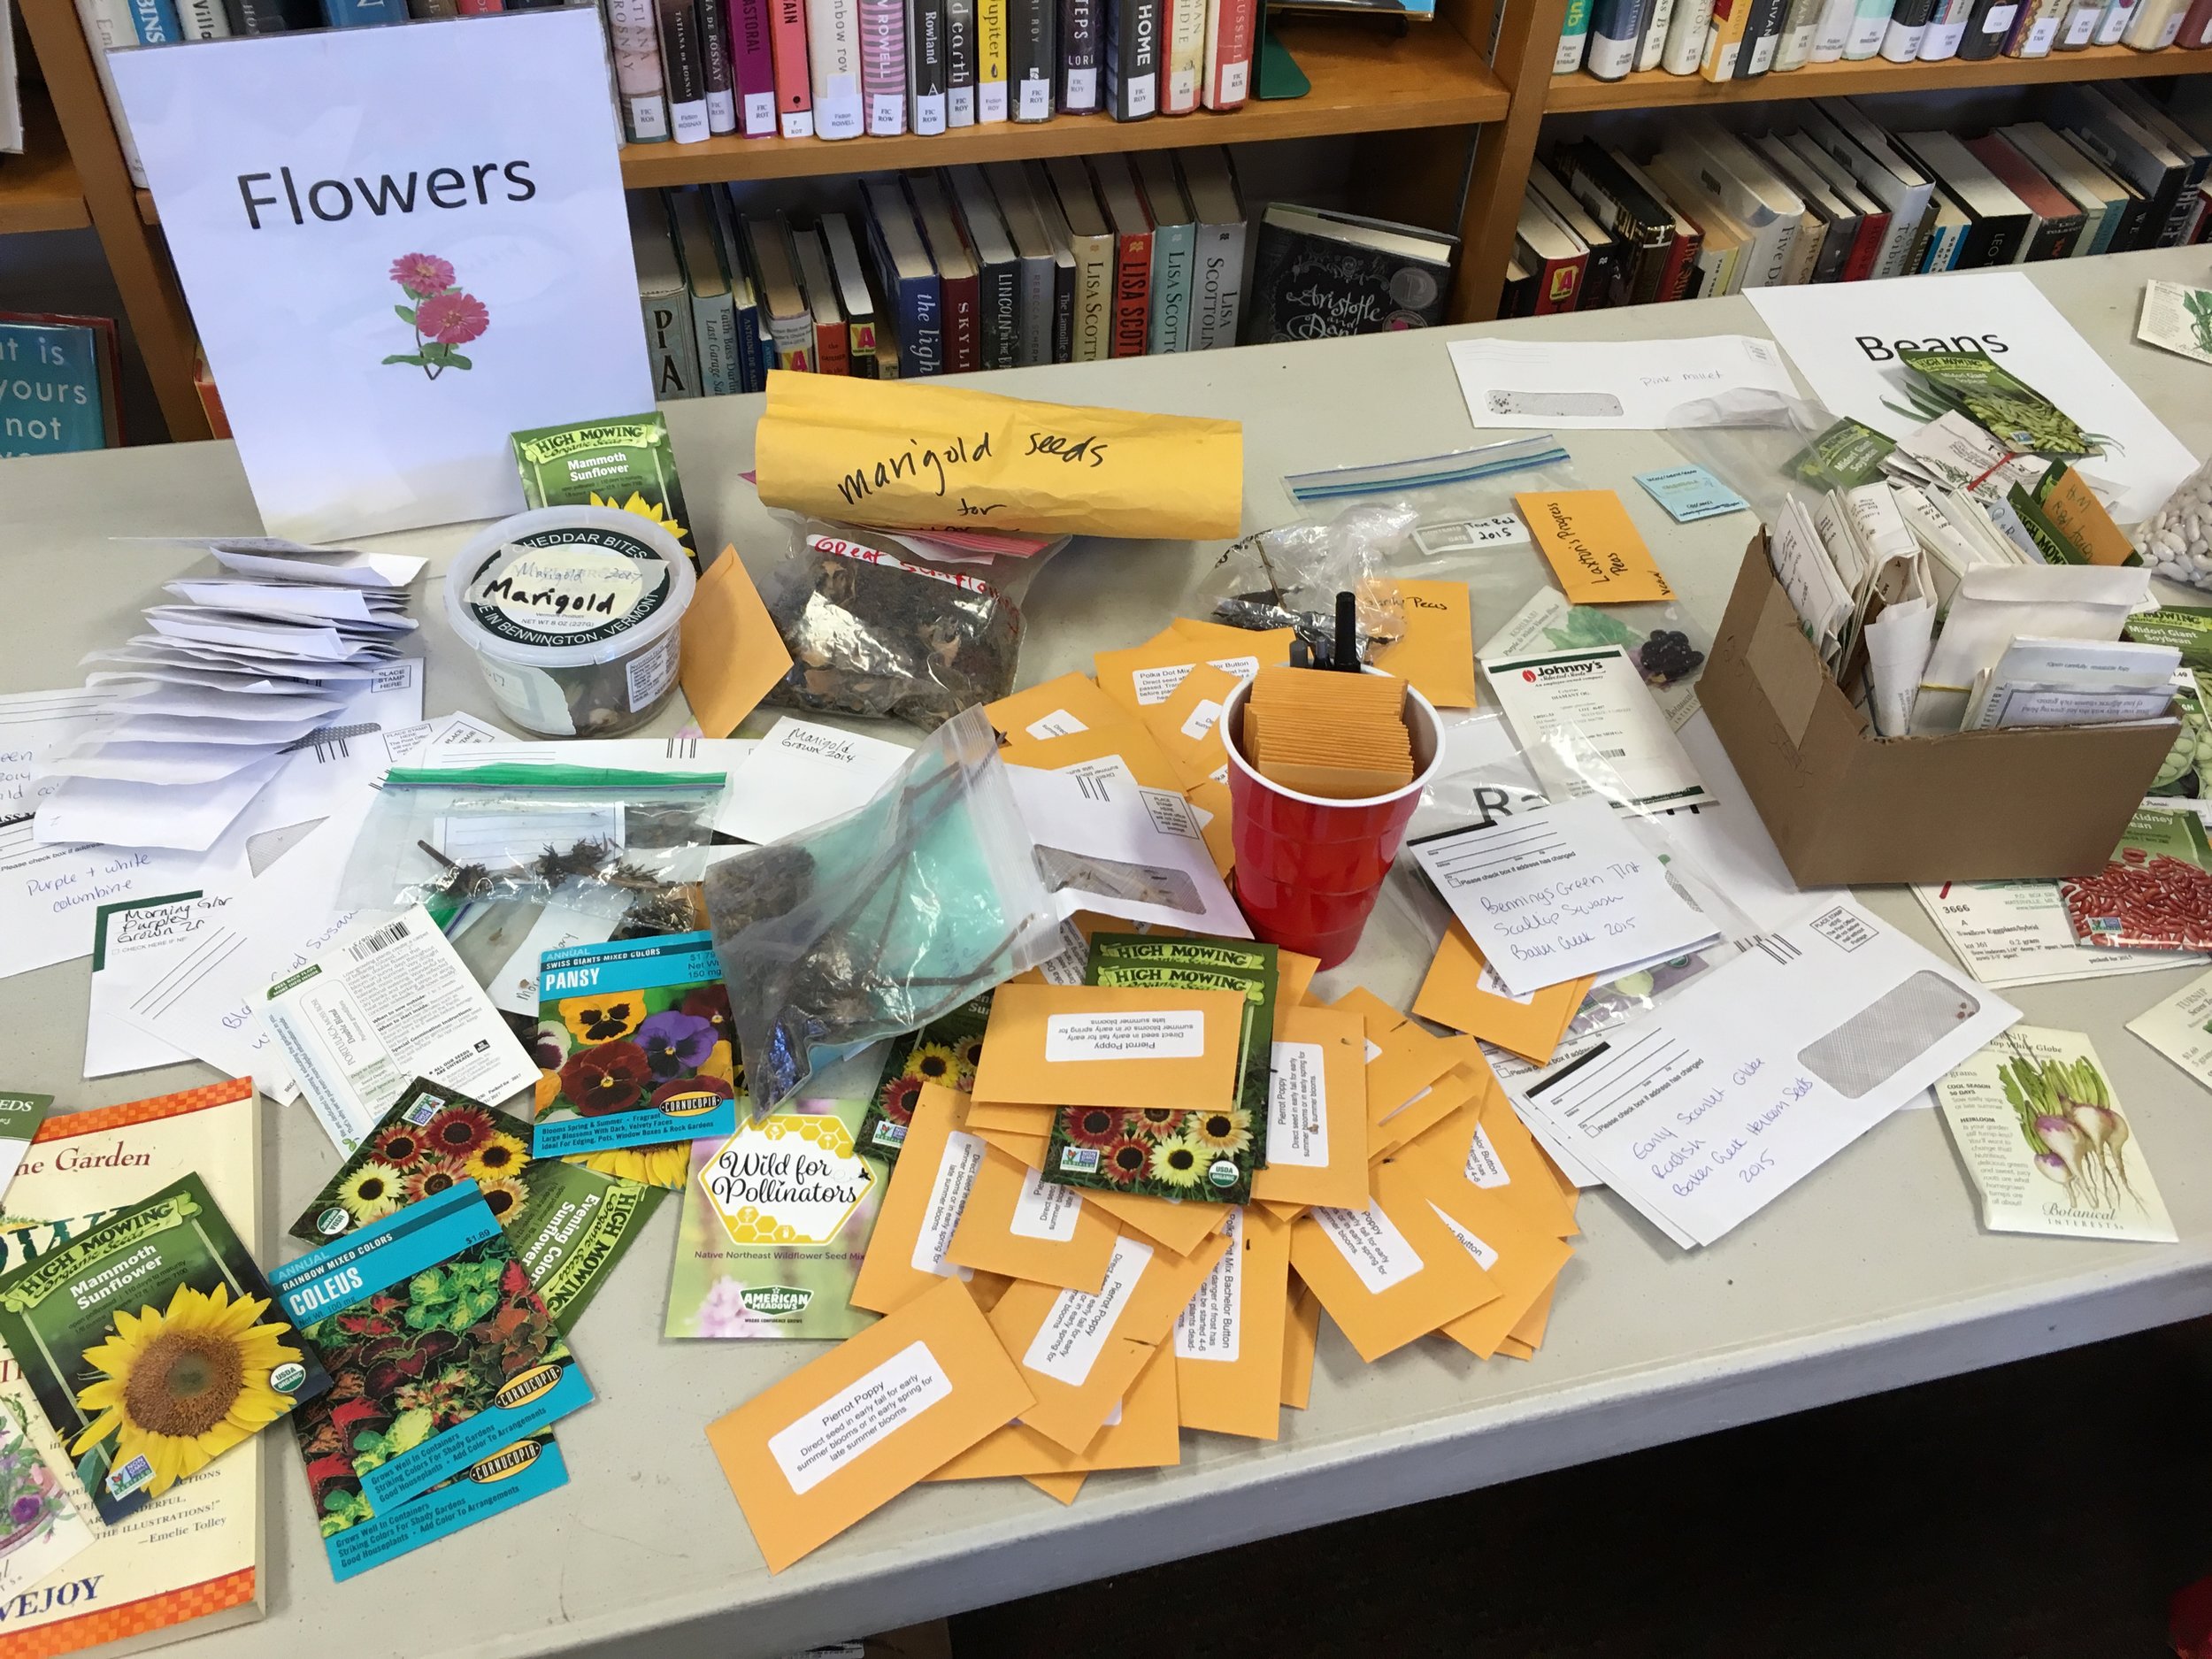
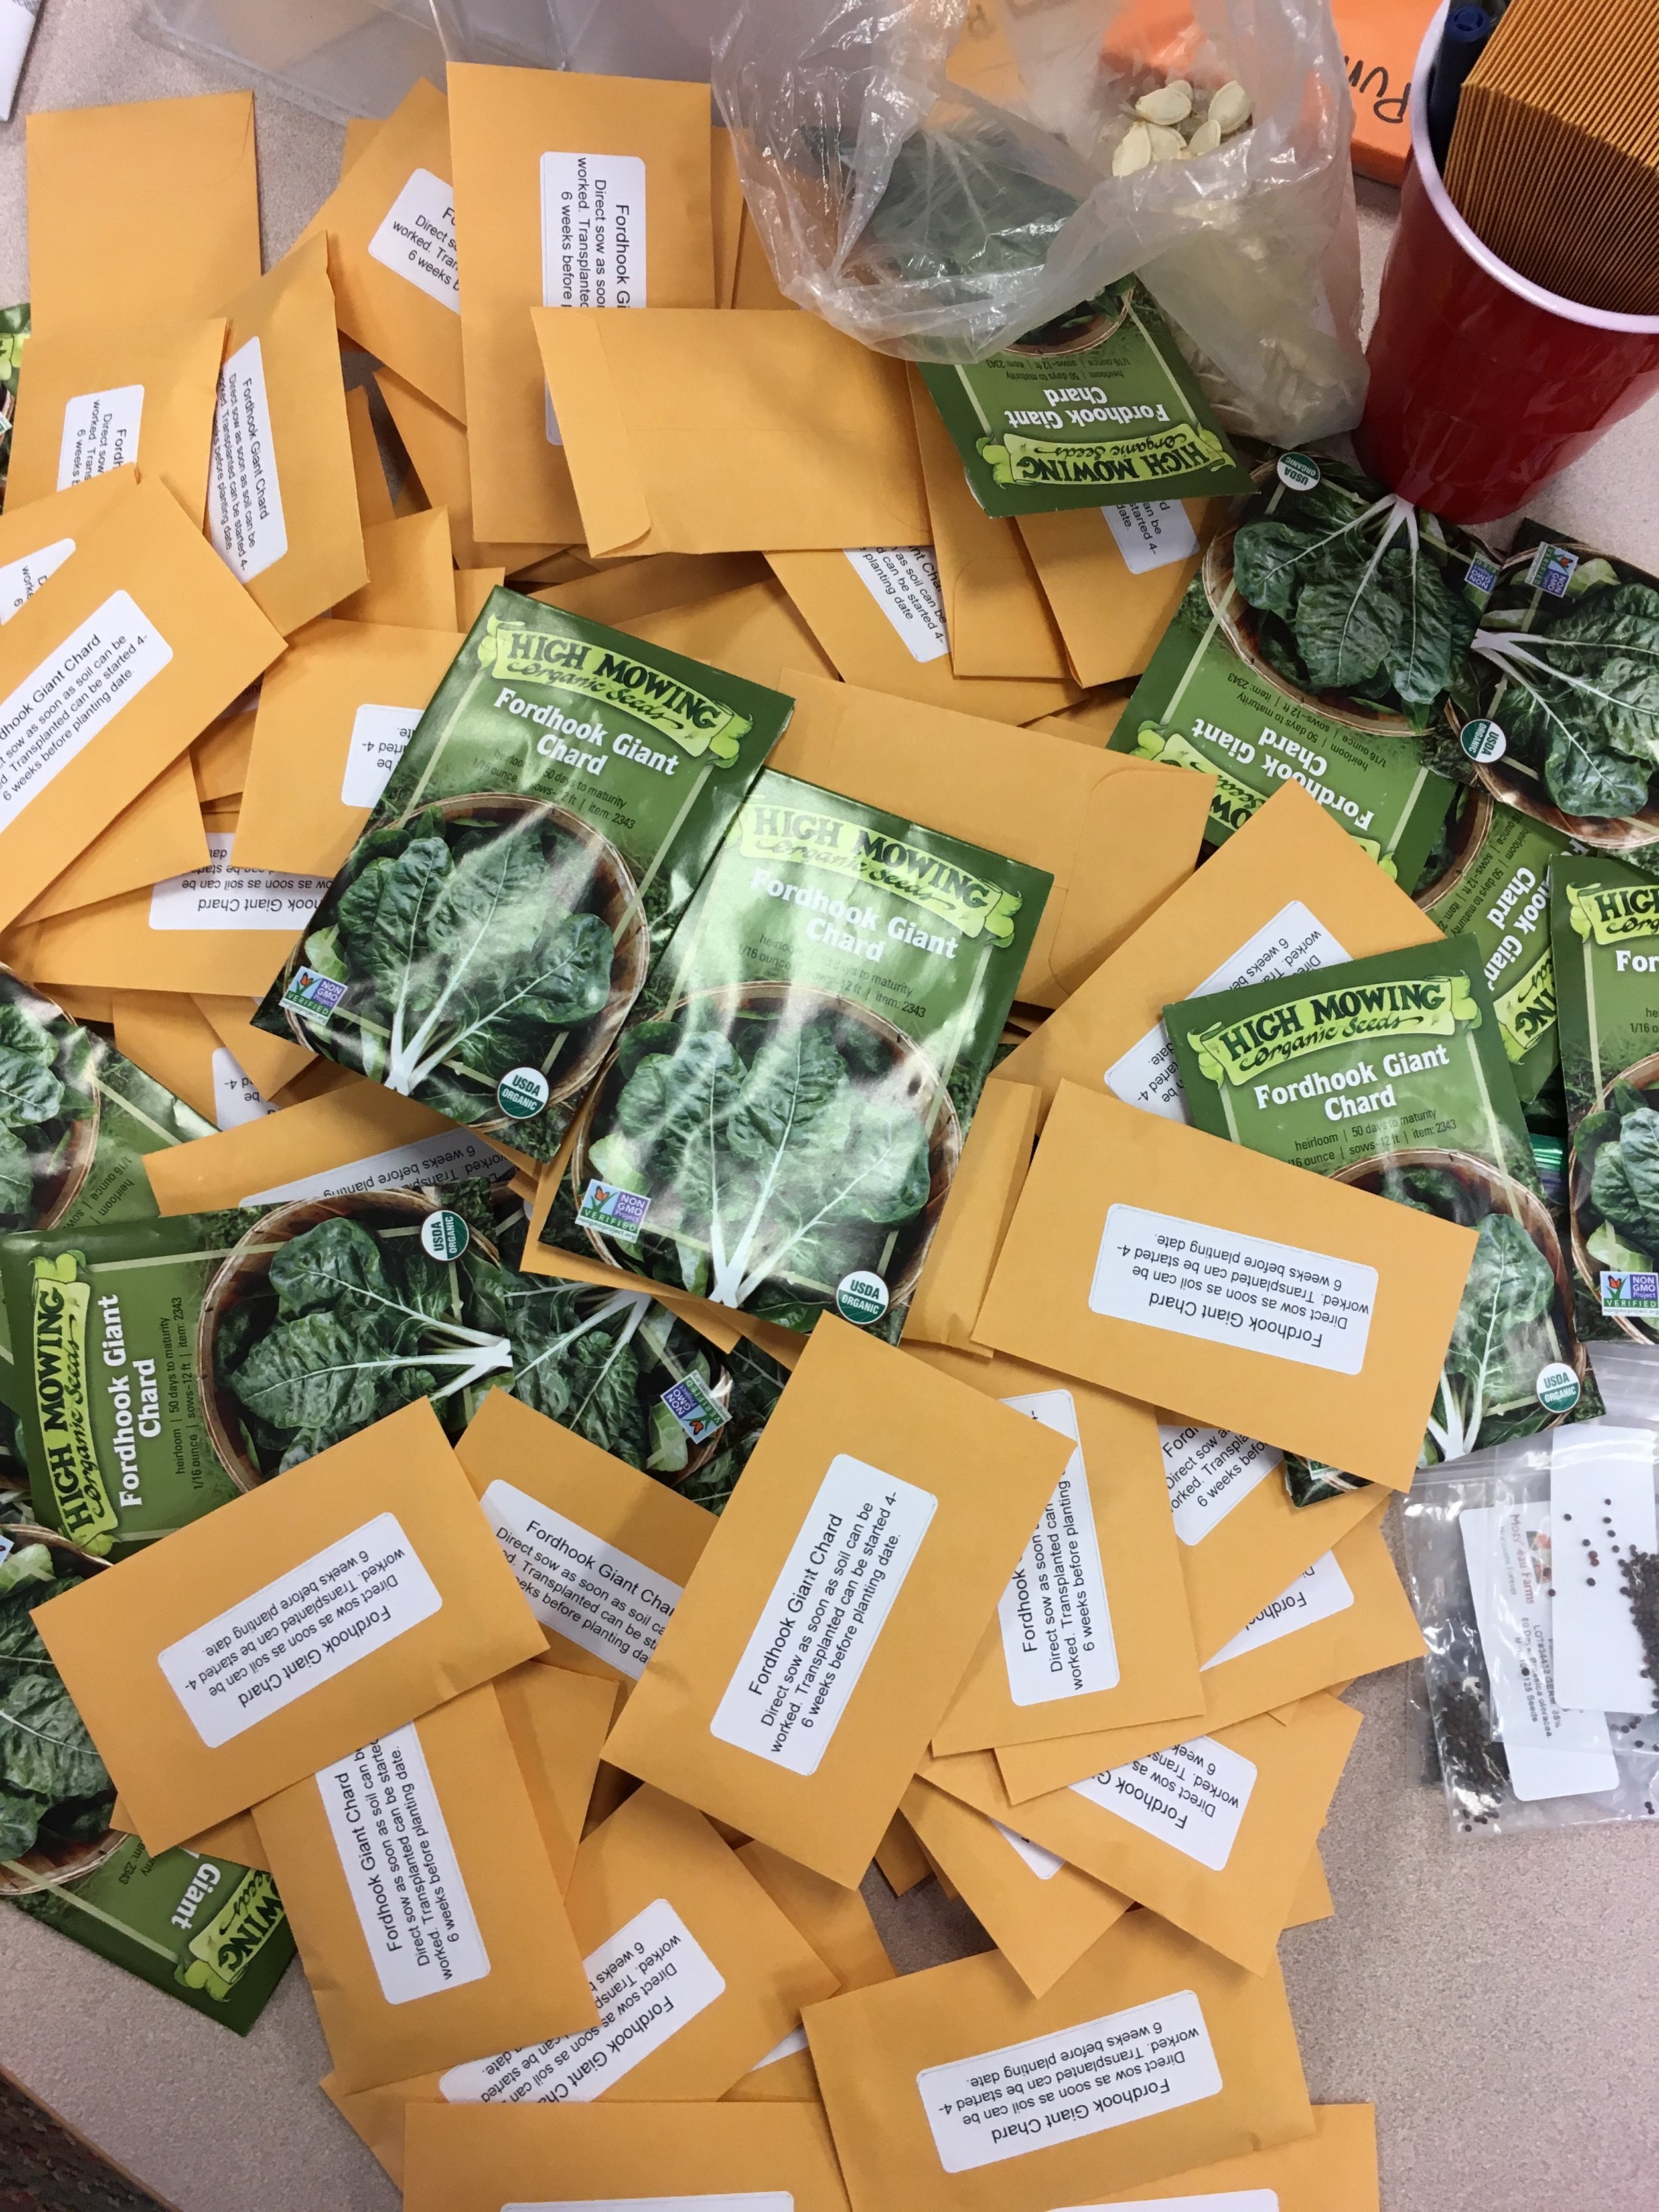
Today, we are childless with a clean house and it's Sunday so Yeah!!!! The mr is probably going to go off and work on his fly fishing cabinet and I need to go through all the seeds we got at the seed swap yesterday. Plus I rented like 10 books from the library and have been getting back into painting with acrylics so I think I am going to spent the day doing just that, planting some seeds, reading, and painting. And we have plans for a good long walk. It's all about taking it easy today. And hey, it's spring so it's time to spend all the time outside!
Interneting from the week.
-Hundreds of Thousands March For Gun Control Across The U.S. The message is simple. Never again. These young people are amazing.
-As soon as the weather is nice enough, this will be my new project, seriously. Couple builds tiny A-frame cabin for just $700
-What’s the Deal With Olive Oil’s Shelf Life? I think I have kept a bottle around long enough to go rancid.....oops.
-This show was one of the best growing up. Guitar rift here. Explain It All: Why Was it So Easy for Sam to Climb into Clarissa’s Window?
-What Ever Happened to Colored Toilet Paper? It always seemed wrong to me. Glad it's not around much anymore.
-To all the people who think they know me so well, you are delusional..haha..Invisibilia: We All Think We Know The People We Love. We're All Deluded
-This is a good thing to know. I have definitely used unactivated baking powder and it's a bummer. The Surefire Way to Test Whether Baking Powder Is Still Good
-I just really liked this. The Acrobatic Entanglements of Everyday Objects
-Doing my research on insects in the garden for. I get ladybugs, but I also get aphids. Let them eat each other I guess. Ladybug Patrol
-Why Do Cats Have Whiskers? Every now and then I notice how freaking long Only's whiskers actually are. Like really long.
Week in Pictures


Have a great day.
-C
 And that's how I know that this is a winner.
  As an awesome aunt, when I have any of my nieces or nephews, I feel the need to make something special for dinner, something that the kiddos might not get very often, but also keep it on he healthy side. I have 2 littles for the night which gives me the perfect opportunity for a trash food recipe. You know trash food, things like boxed mac and cheese, beefaroni in a can, or, in this case, sloppy joes.
  The stuff… We start with onion and green pepper, chopped into pieces. Black beans, bulgur, can crushed tomatoes. Chili powder, garlic powder, a bit o apple cider vinegar (which I forgot to picture) ,and some salt and pepper. Oh and cheese if you want… Plus a bun of some sort is necessary.
 Toss the chopped onion and peppers into a deep skillet or pot with a drizzle of oil. Cook on medium heat until tender and toss in the spices. Give a stir. Add in the beans, bulgur, and tomato, a splash of vinegar. Stir it all up, cover, and let simmer for about 15 minutes, or until the bulgur has absorbed the liquid and is nice and tender.
 And Then dump a good heaping pile right onto a bun. Add some cheese, or not..and eat with wild abandonment, making sure to get as much on your face as you get in you mouth.
  I don't know if I have bitched enough about it, but I only have one window in my living space. And as much as I love love love our little tiny loft, I am a person who needs the sun. So when I am home I spend a lot of time siting in front of the window.
  So this project is really easy and fast. I recommend that if you are going to go to the trouble (it's really no trouble) of making one, you might as well make 2 or 5. I actually made a bunch (think Mothers day or Easter presents) and ended up only keeping a s couple. I am going to have to make a few more soon.
 Take a piece(s) of paper a little bit bigger then the hoop you are working with and stick it into a pan or tray of water. Let it sit there for a few minutes until the paper is completely soaked.
 Take the wet paper and, oh so gently, crumple into a ball. This part can be a little tricky. You want to make as many creases as possible without ripping that paper. (I ripped a few pieces) I found that if I folded that paper a few time, then crumpled that it was less likely to rip.
 Uncrumple the paper and lay it gently onto the inner part of the hoop. Now the fun part. Go to town with the watercolors. I used 2 colors per piece, but you could do 1 or 3, or more. When applying the color, use big gentle strokes and let the colors kind of meld together. Watch as all the crumple veins soak up the paint. Try using different dilutions of color. I applied some color on thinly and some on the thicker side. But really, you can't go wrong, just keep applying paint until you are happy. I stopped a few times and held it up to the window just to see what it looked like. When it looked good, I was done.
 When you are happy with the colors, let the paper dry for a while on the hoop until it is not longer super wet. I would say about an hour or so, but if you stick it near the heater, it might dry faster. (Just don't stick it in the oven while you are making bread like I did with one.. It just ended up setting on fire. Oops)


